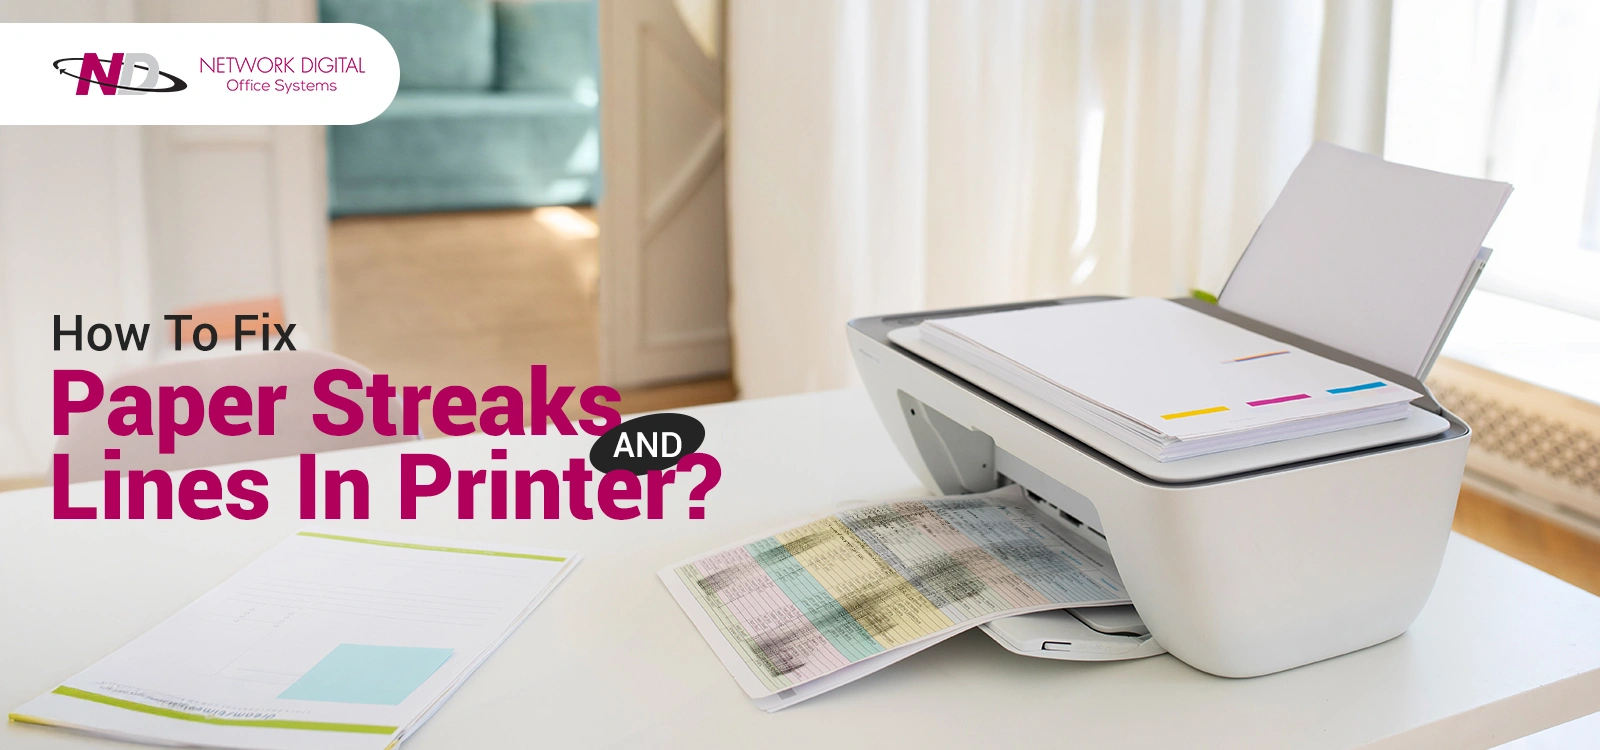
Are you tired of seeing streaks ruining your important prints? Those annoying lines can make your documents look unprofessional and waste your costly ink or toner.
But don’t worry—fixing printer streaks is easier than you think. You’ll discover simple, effective steps to get your printer back to producing crisp, clean pages. Keep reading, and you’ll learn how to save time, money, and frustration with quick fixes anyone can do.
Your perfect printout is just a few clicks away!

Credit: www.reddit.com
Common Causes Of Printer Streaks
Printer streaks can ruin important documents and photos. They appear as lines or bands on printed pages. Understanding common causes helps fix these streaks fast. Several issues can lead to streaks. Most problems come from parts inside the printer or the materials used.
Dirty Print Heads
Print heads push ink onto paper. Dirt or dried ink blocks nozzles. This causes uneven ink flow and streaks. Cleaning print heads often clears the problem. Regular maintenance prevents build-up and keeps prints sharp.
Low Ink Or Toner Levels
Running low on ink or toner causes streaks. The printer cannot spread enough color evenly. Replacing cartridges or refilling ink stops streaks. Always check ink levels before important print jobs.
Damaged Drum Unit
The drum unit transfers toner to paper. Scratches or damage here create streaks. Drum damage requires replacement for clear prints. Inspect the drum if streaks appear regularly.
Incorrect Paper Type
Using the wrong paper affects print quality. Some papers absorb ink poorly. This causes smudges and streaks. Choose paper types recommended by the printer. Proper paper helps avoid printing issues.
Credit: networkdig.com
Preparing Your Printer For Cleaning
Preparing your printer for cleaning is the first step to fix streaks on your prints. It keeps the process safe and effective. Taking time to prepare helps avoid damage and ensures better results.
Powering Down And Unplugging
Turn off your printer using the power button. Wait a few seconds for it to shut down completely. Then, unplug the power cord from the wall outlet. This stops any electricity from running through the machine. It also prevents accidents during cleaning.
Gathering Cleaning Supplies
Collect all the items needed for cleaning before you start. Use a soft, lint-free cloth for wiping. Have some distilled water or a mild cleaning solution ready. Avoid using harsh chemicals or paper towels. You might also need cotton swabs to reach small areas.
Removing Cartridges Safely
Open the printer’s cartridge access panel carefully. Follow your printer’s manual instructions for removing cartridges. Hold cartridges by the sides to avoid touching the nozzles. Place them on a clean, dry surface. This prevents damage and keeps ink from spilling.
Cleaning Print Heads And Nozzles
Cleaning print heads and nozzles is key to fixing printer streaks. Dirt or dried ink can block tiny nozzles. This causes uneven ink flow and streaky prints. Regular cleaning keeps your printer working well. It also improves print quality and saves ink. There are ways to clean print heads manually or with printer tools. Knowing when to replace print heads is also important.
Manual Cleaning Techniques
Turn off your printer and unplug it first. Open the printer cover and locate the print heads. Use a soft, lint-free cloth dampened with distilled water. Gently wipe the print heads to remove dried ink. Avoid using harsh chemicals or tap water. For stubborn clogs, use a cotton swab dipped in isopropyl alcohol. Be very gentle to avoid damage. Let the print heads dry fully before closing the printer.
Using Printer Cleaning Functions
Most printers have built-in cleaning functions. Access these through the printer control panel or software. Choose the option for print head or nozzle cleaning. The printer will spray ink to clear blocked nozzles. Run the cleaning cycle once or twice as needed. Print a test page to check results. Avoid running too many cycles to save ink and avoid damage.
When To Replace Print Heads
Cleanings do not always fix streaks. Print heads can wear out or break. Signs include persistent streaks or missing colors. If cleaning does not help, consider replacing the print heads. Check your printer manual for replacement instructions. Use only compatible parts for your printer model. Replacing print heads can restore print quality and prevent further problems.
Checking And Replacing Ink Or Toner
Printer streaks often result from problems with ink or toner cartridges. Checking these cartridges can reveal if they are low, empty, or faulty. Replacing old cartridges with new ones restores print quality. This section covers how to identify cartridge issues, select replacements, and install them correctly.
Identifying Low Or Empty Cartridges
Print streaks can signal low ink or toner levels. Most printers show cartridge status on their display. You can also check levels through your computer’s printer software. Look for faded or missing print areas as signs of empty cartridges. Removing the cartridge to inspect it physically helps too. Some cartridges have a clear window to see ink inside.
Choosing Compatible Replacement Cartridges
Use cartridges made for your printer model. Check the printer manual or manufacturer website for part numbers. Generic cartridges may cost less but can cause problems. Original cartridges usually offer better print quality. Ensure the cartridge matches ink type: inkjet or toner. Avoid mixing different brands to prevent streaks.
Installing New Ink Or Toner Properly
Turn off the printer before replacing cartridges. Open the cartridge access door carefully. Remove the old cartridge by pressing the release tab. Handle the new cartridge without touching the nozzles or drum. Insert the cartridge firmly until it clicks in place. Close the door and turn the printer back on. Run a test print to check for streaks.
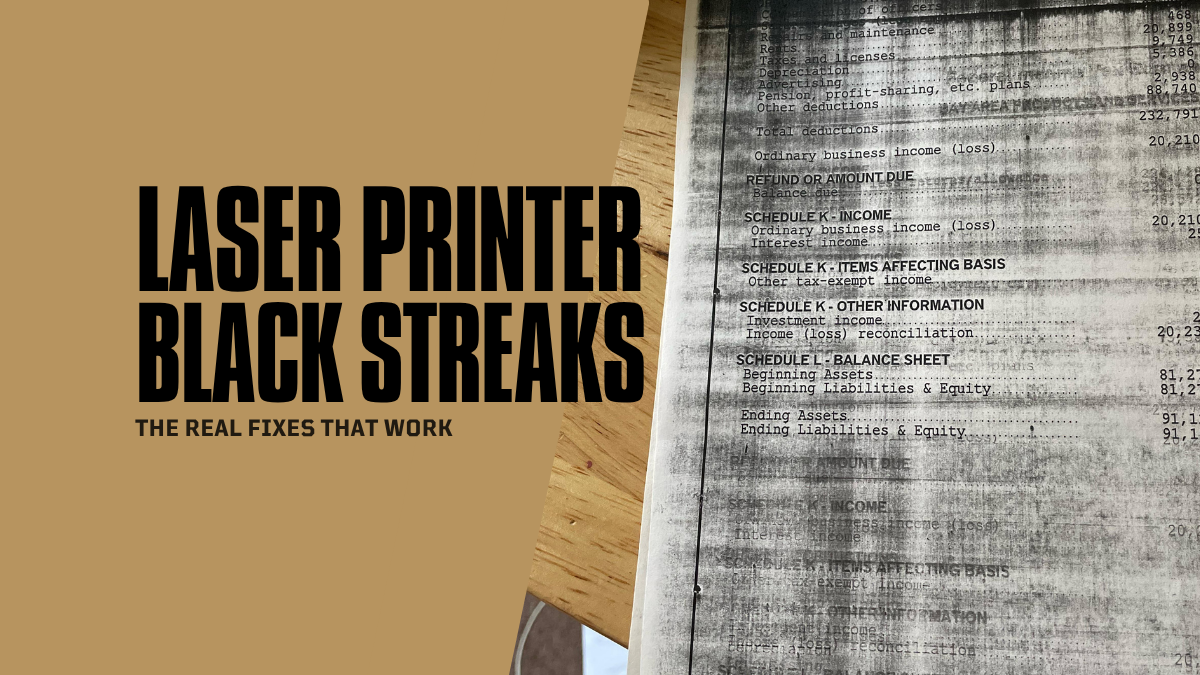
Inspecting And Maintaining The Drum Unit
The drum unit is a key part of your printer. It transfers toner to paper and creates the printed image. Streaks often come from problems in this unit. Regular inspection and care keep your printer working well. Fix streaks by checking the drum unit carefully.
Signs Of Drum Damage
Look for scratches or lines on printed pages. Dark or light streaks may appear repeatedly. The print may look faded or blotchy. These signs point to a damaged drum surface. A worn drum causes poor print quality and needs attention fast.
Cleaning The Drum Surface
Turn off the printer and open the cover. Remove the drum unit gently. Use a soft, lint-free cloth to wipe the drum. Avoid touching the drum with your fingers. Clean slowly to remove dust and toner bits. Do not use water or liquids that can harm the drum.
Drum Replacement Tips
Replace the drum if cleaning does not help. Check the printer manual for the right drum part. Buy a genuine or compatible drum unit. Handle the new drum carefully to avoid damage. Install it firmly and close the printer cover. Run a test print to check for streaks again.
Adjusting Printer Settings For Better Quality
Adjusting your printer settings can improve print quality and reduce streaks. Simple changes make a big difference. Follow easy steps to get clearer prints.
Selecting The Right Paper Type
Choose the correct paper type in your printer settings. Different papers need different settings. Using the wrong type can cause streaks and smudges. Select the paper that matches your print job. This helps the ink dry better and prevents lines.
Optimizing Print Quality Settings
Set your printer to a higher quality mode. Many printers have options like draft, normal, and best. Use the best or high-quality setting for important prints. This slows printing but improves ink distribution. Adjust color options if needed. Better settings reduce streaks and improve sharpness.
Running Test Prints
Print a test page after adjusting settings. This shows if streaks still appear. Use test prints to check color and sharpness. Make small changes and print again. Repeat until the print looks clean. Test prints save paper and ink in the long run.
Preventing Future Printer Streaks
Preventing printer streaks helps keep printouts clear and sharp. It saves time and ink by avoiding frequent fixes. Simple habits protect your printer and improve its lifespan.
Regular Maintenance Schedule
Clean the printer heads often to stop streaks. Follow the printer’s manual for cleaning steps. Check for clogs or dirt on the nozzles. Run test prints regularly to spot problems early. Replace worn parts to keep print quality high.
Proper Storage Of Ink And Paper
Store ink cartridges in a cool, dry place. Avoid direct sunlight or heat that can spoil ink. Keep paper in its original packaging until use. Use paper designed for your printer type. Store paper flat to prevent bends or damage.
Avoiding Environmental Factors
Keep the printer away from dust and dirt. Use a cover when the printer is not in use. Avoid placing the printer near windows or vents. Humidity can cause paper jams and ink issues. Maintain stable room temperature for best results.
Credit: www.compandsave.com
Frequently Asked Questions
Why Does My Printer Print Streaks On Paper?
Streaks often come from dirty or clogged print heads. Dust or dried ink can block the nozzles, causing uneven prints.
How Can I Clean Printer Heads To Remove Streaks?
Use the printer’s cleaning function from the settings menu. You can also gently wipe the heads with a soft, lint-free cloth.
Can Low Ink Levels Cause Printing Streaks?
Yes, low or empty ink cartridges can cause streaky prints. Replace or refill cartridges to ensure smooth printing.
Does Paper Quality Affect Printer Streaks?
Poor quality or damp paper can cause streaks. Use clean, dry, and recommended paper types for best results.
How Often Should I Maintain My Printer To Avoid Streaks?
Regular cleaning every few weeks helps prevent streaks. Also, keep the printer covered to avoid dust buildup.
Conclusion
Fixing printer streaks can be simple with the right steps. Clean the printer parts carefully and check the ink levels. Use good-quality paper for better results. Regular maintenance helps avoid streaks in the future. Small actions can improve print quality a lot.
Keep your printer in good shape and enjoy clear prints every time. Don’t let streaks waste your paper or ink. Try these tips and see the difference yourself. Your printer works best when you take good care of it.