Your screen protector just cracked, and now your phone feels vulnerable. You might be wondering if you need to buy a new one or if there’s a simple fix you can try yourself.
Don’t worry—fixing a broken screen protector is easier than you think. You’ll discover practical steps to restore your phone’s protection without wasting money or time. Keep reading to learn how to handle that cracked screen and keep your device safe.
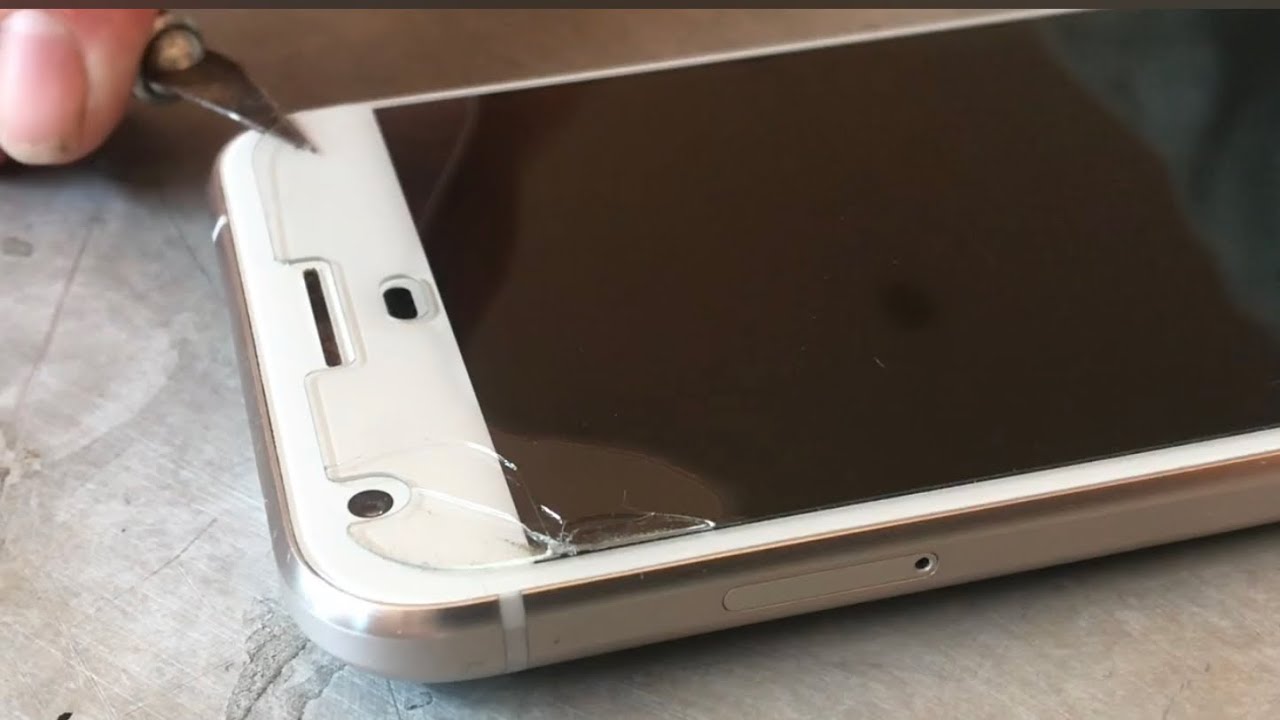
Credit: www.youtube.com
Common Causes Of Screen Protector Damage
Screen protectors shield your device from scratches and cracks. Yet, they can get damaged over time. Knowing the common causes helps you prevent and fix issues fast.
Damage often results from daily use or small accidents. Sometimes, the problem starts during installation. Understanding these causes keeps your screen protector working longer.
Everyday Wear And Tear
Daily use causes tiny scratches and scuffs. Carrying your phone in pockets or bags exposes the screen protector to dust and keys. Over time, this wears down the surface, making it look dull or cracked.
Accidental Drops And Impacts
Dropping your phone can crack or shatter the screen protector. Even small impacts cause chips or cracks. These damages reduce protection and affect screen visibility.
Poor Installation Issues
Improper installation leads to bubbles or misalignment. Dust trapped under the protector causes lifting or peeling. This weakens the bond and increases the chance of damage.
Assessing The Damage
Assessing the damage to a broken screen protector is the first step to fixing it. Understanding the type and extent of cracks helps decide the right action. Some cracks are repairable, while others need a full replacement.
Look closely at the screen protector under good light. Check if the cracks spread across the screen or are small and isolated. This assessment saves time and prevents further damage to the device.
Types Of Screen Protector Cracks
Screen protector cracks come in different forms. Spiderweb cracks spread from one point and look like a spider’s web. These cracks often weaken the entire protector.
Hairline cracks are thin and small. They usually do not affect touch sensitivity. Edge cracks appear near the screen borders and may cause lifting or peeling.
Shattered cracks break the protector into many pieces. This kind of damage compromises screen safety and clarity. Identifying the crack type guides the repair method.
When To Replace Instead Of Repair
Replacing the screen protector is best if cracks cover a large area. Deep cracks that affect touch response also mean replacement is needed. If shattered pieces fall off, do not try to fix it.
Minor cracks or scratches can sometimes be repaired with special kits. But extensive damage risks the device’s screen. A new protector ensures full protection and clear display.
Consider replacement if the protector is old or worn out. Repairing old protectors may not last long. A fresh protector improves both protection and screen appearance.
Diy Fixes For Minor Cracks
Minor cracks on a screen protector can be annoying but often fixable. DIY methods can help extend your protector’s life. These quick fixes work well for small cracks and scratches. They can improve the look and protect your screen better.
Using Clear Nail Polish
Clear nail polish fills tiny cracks and stops them from growing. Clean the screen gently with a soft cloth first. Apply a thin layer of clear nail polish over the crack. Let it dry for about 10 minutes. Wipe off any extra polish around the crack. This method smooths the surface and hides cracks.
Applying Toothpaste For Surface Scratches
Toothpaste can reduce the look of light scratches on a protector. Use non-gel, white toothpaste for best results. Dab a small amount on a soft cloth. Rub it gently on the scratched area in circles. Do this for about 30 seconds. Wipe off the toothpaste with a damp cloth. Let the protector dry completely before use.
Using A Repair Kit
Repair kits for screen protectors often include resin or glue. These kits help fill cracks and restore smoothness. Clean the screen before starting the repair. Follow the kit instructions carefully for the best results. Usually, you apply the resin on the crack and let it dry. Some kits require curing under a UV light. After drying, wipe off extra resin to clear the surface.
Steps To Remove And Reinstall Screen Protector
Replacing a broken screen protector needs care and patience. Follow clear steps to remove the old protector and apply a new one. This keeps your device safe and your screen clear. Let’s break down the process into easy parts.
Preparing Your Device
Turn off your device first. This prevents accidental touches and helps see dust better. Find a clean, flat surface to work on. Wash your hands to avoid fingerprints. Use a thin tool or your fingernail to lift one corner of the broken protector gently. Pull it slowly to avoid damaging the screen.
Cleaning The Screen
Use a microfiber cloth to wipe the screen softly. Remove all dust and oil spots. You can use a small amount of screen cleaner or a mix of water and alcohol. Avoid sprays directly on the screen. Use a clean cloth to dry the screen completely. Check for any leftover dust with a bright light. Dust causes bubbles under the new protector.
Applying A New Protector Properly
Peel off the backing of the new protector carefully. Align it with your screen edges perfectly. Start applying from one edge, slowly laying it down. Use a card or squeegee to push out air bubbles gently. Work from the center to the edges for a smooth fit. Double-check for any dust or bubbles and fix them immediately.
Preventing Future Damage
Preventing future damage to your screen protector saves you time and money. Taking simple steps can keep your screen safe longer. A good screen protector guards against scratches and cracks. Proper care helps maintain its strength and clarity. Follow these tips to avoid frequent replacements.
Choosing The Right Screen Protector
Select a protector made from tempered glass or high-quality plastic. Tempered glass offers stronger protection against drops and impacts. Check the thickness; thicker protectors last longer but may reduce touch sensitivity. Choose a protector that fits your device screen perfectly to avoid peeling. Look for features like anti-fingerprint and scratch resistance for better durability.
Proper Installation Tips
Clean your screen thoroughly before applying a protector. Use a microfiber cloth and alcohol wipes to remove dust and oils. Align the protector carefully with your screen edges. Apply it slowly to avoid air bubbles. Press gently from the center outward to secure the protector. Avoid touching the sticky side to keep it clean.
Daily Care And Handling
Keep your device in a soft case to prevent drops. Avoid placing the phone in pockets with keys or coins. Clean the screen protector regularly with a soft cloth. Do not use harsh chemicals or abrasive materials. Handle your phone gently to reduce the risk of cracks. Replace the protector at the first sign of damage for best protection.

Credit: fixmygadget.com

Credit: www.wikihow.com
Frequently Asked Questions
How Can I Fix A Cracked Screen Protector At Home?
You can try using clear tape over small cracks to hold pieces together. For larger cracks, replacing the protector is safer and more effective.
Is It Safe To Use A Broken Screen Protector?
A broken screen protector may not protect your device well. It can cause scratches or touch issues, so replace it quickly.
Can I Remove A Broken Screen Protector Without Damaging My Phone?
Yes, gently lift a corner using a fingernail or card. Slowly peel it off to avoid leaving residue or damaging the screen.
How Do I Clean My Screen Before Applying A New Protector?
Use a microfiber cloth and a little screen cleaner or water. Make sure the screen is completely dry and free of dust before applying.
When Should I Replace A Cracked Screen Protector?
Replace it as soon as cracks appear to protect your screen properly. Waiting can cause damage to the phone’s actual screen underneath.
Conclusion
Fixing a broken screen protector can save money and protect your phone. Small cracks may be repaired carefully at home. For bigger damage, replacing the protector is the best choice. Always clean the screen before applying a new protector. Take your time to avoid bubbles and dust.
Protectors keep your phone screen safe from scratches and drops. Regular checks help catch damage early. Keep your device looking good and working well with a good protector. Simple steps can extend your screen’s life and your phone’s value.