
You can solve most issues with your appliance by checking the power supply, the door latch, and the control settings, which is often how ge profile oven troubleshooting begins. If your oven won’t turn on or heat up, the first step is to confirm that the circuit breaker hasn’t tripped and that the unit is receiving power. When the display is blank, check the outlet or the breaker box before assuming the control board has failed.
Troubleshooting your GE Profile oven issues
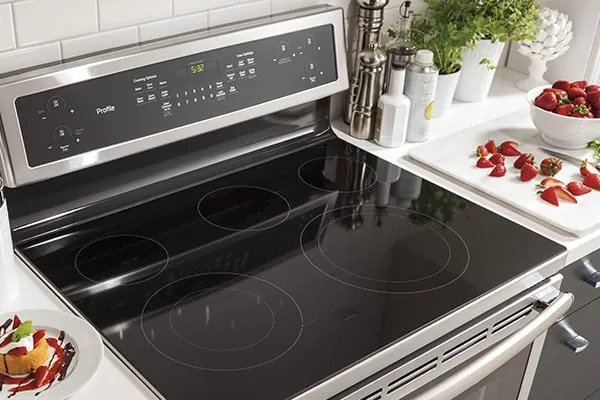
Modern ovens rely on a complex sequence of signals to function safely. If the control board detects an open circuit or a faulty component, it will disable the heating elements to prevent damage or fire hazards. The most common cause is a tripped circuit breaker or a loose connection in the electrical supply. If the oven has power but the display is dark, the thermal fuse may have blown to protect the unit from overheating.
Another frequent cause is a door switch that fails to register as closed. Your oven won’t start a heating cycle if it can’t confirm the door is locked and sealed. If the latch mechanism is damaged or blocked by debris, the sensors will prevent the heating elements from activating.
You should also check for a “demo mode” setting, which is a factory state that lights up the display but prevents the heating elements from drawing power. If the oven shows an error code, note the specific letters and numbers, as these indicate exactly which sensor is reporting a fault. You can find official guidance on interpreting these codes in the GE Appliances owner manual library.
Check the power and display settings
If your oven doesn’t respond to button presses, start by performing a hard reset. Turn off the circuit breaker for 60 seconds to clear the memory of the control board. After you restore power, verify that the clock is set, as some models won’t allow the oven to heat until the time is programmed. If the oven still doesn’t start, inspect the display for any flashing icons that might indicate a child lock or a delayed start timer is active.
Look for a small key icon or the letters “LOC” on the screen. If you see these, hold the “Cancel” or “Clear” button for five full seconds to override the safety lock. Many users mistake a locked interface for a broken board, leading to unnecessary service calls that are inexpensive compared to board replacement.
This fix is for users who have a functioning display but no heat. If the unit has no power at all, don’t attempt to disassemble the unit, as internal components like the capacitor can hold a lethal charge even when unplugged.
If the reset doesn’t work, the issue likely resides in the main control board or the wiring harness. These parts require specialized knowledge and testing equipment. If the reset fails to restore function, you must call a certified technician to inspect the internal electrical components safely.
Inspect the door and latch assembly
The door latch is a critical safety component that must engage fully for the oven to begin its cycle. If you notice the door feels loose or doesn’t click shut, check the latch assembly for any food debris or hardened grease that might prevent a solid seal.
Gently wipe the latch area with a damp cloth to ensure the contact points are clean. If the door doesn’t close tightly, the oven will treat it as an open door and refuse to heat.
This fix is for cases where the oven display works, but the heating elements never engage. If the latch is physically broken or the sensor inside the housing does not “click” when the door is shut, the oven will remain in standby mode. If you see a door-related error code on the screen, this confirms that the latch sensor is the culprit.
Many users mistakenly assume the problem lies with the heating element itself, leading them to order expensive parts that don’t solve the issue. Test the door switch by listening closely as you close the door. If you hear no audible click, the switch is likely stuck or disconnected.
Never force the door or the latch mechanism, as this can break the plastic housing. If you can’t clear the obstruction or the latch remains loose, a qualified repair person needs to replace the sensor or the latch assembly. If the door springs have lost their tension, the latch will never align, requiring a full hinge replacement rather than a simple sensor swap.
Reset the thermal fuse or breaker
Ovens are equipped with a thermal fuse designed to cut power if the internal temperature exceeds safe limits. If this fuse blows, the oven will stop heating entirely. This often happens after a self-clean cycle where the unit gets hotter than during normal cooking. Check your home’s electrical panel to see if the oven’s dedicated breaker has tripped. If the breaker is fine, the thermal fuse has likely tripped and will need professional replacement.
If there’s no button, the component is a one-time-use part that must be replaced.
Don’t mistake a tripped fuse for a simple power outage. If the oven display remains lit but the heating element stays cold, the fuse is the culprit. If the display is dark, the issue is almost certainly the breaker.
If the fuse blows again after being replaced, don’t keep trying to use the oven. This points to a failing cooling fan that can’t dissipate heat. Continuing to run the unit without a working fan risks melting the control board, which can cost three times as much as the initial repair. At this point, call a technician to diagnose the root cause.
Common mistakes during troubleshooting
Using excessive water to clean the interior often forces moisture into sensitive door switches or touchpads. This seepage triggers short circuits that permanently disable the main control board. If your display flickers or registers ghost inputs after a cleaning, stop immediately and use a fan to dry the unit for at least 24 hours before testing again.
Bypassing a safety interlock is a critical error. These sensors exist to ensure the oven door is properly closed during operation. Ignoring them creates fire hazards. Ignoring them creates immediate fire hazards. If the door fails to latch, replace the hinge pins rather than forcing the sensor arm.
Harsh abrasive cleaners erode the protective coating on digital control panels. This damage renders touch sensors unresponsive. Use only mild, non-abrasive detergents applied to a microfiber cloth.
Preventing future oven issues
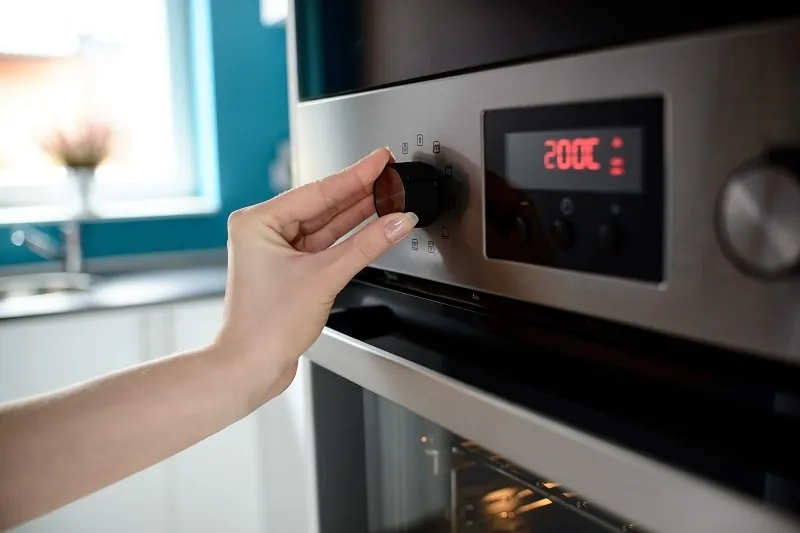
Regular maintenance is the most effective way to keep your appliance running for years. Avoid using the self-clean cycle too often, as the extreme heat puts significant stress on the internal sensors and the thermal fuse. Instead, wipe up spills as soon as the oven has cooled to prevent buildup.
Most owners make the mistake of waiting until a spill smokes before acting. This carbonizes the residue, forcing you to use abrasive tools that scratch the enamel and compromise the oven’s thermal seal. If you notice a faint burning smell, stop using the oven immediately. Check the heating element for debris; if the element looks blistered or warped, it has already begun to fail and requires replacement before it shorts out your control board.
If you bake at high temperatures frequently, inspect your door gasket regularly. Run your finger along the seal to check for gaps or frayed edges, which force the thermostat to work overtime. The frequency of inspection depends on use, and the owner’s manual is the final authority.
Related guides
- Ecosmart Water Heater Troubleshooting: Steps to Restore Heat in 2026
- Lennox Furnace Troubleshooting Manual: Fix Common Heating Issues in 2026
- Carrier Furnace Manual Troubleshooting: Fix Common Heating Issues in 2026
Frequently asked questions
Can I fix a blank display myself?
No, you can’t fix a blank display if a hard reset of the circuit breaker fails to work. A blank screen usually points to a failed control board or a blown internal fuse, both of which require opening the housing. Since these parts involve high-voltage connections, this work is strictly for a professional technician. Attempting to access these components yourself creates a risk of electric shock and will void your warranty.
How long does a typical oven repair take?
A standard sensor or latch replacement typically takes one to two hours once the technician has the part. Diagnostic processes for control boards may extend this timeline. Always ask the technician for a specific estimate after their initial inspection.
Is it safe to use the oven if it clicks?
No, it isn’t safe to use an oven that makes unusual clicking sounds, as this often indicates a failing relay or electrical short. These noises suggest the control board is struggling to maintain a connection. Continuing to use the appliance can lead to further damage or fire.
What happens if I ignore an error code?
Ignoring an error code will likely leave the oven locked in a non-functional state. These codes are safety triggers designed to prevent operation under dangerous conditions. If the underlying issue is a faulty sensor, the oven will refuse commands until the part is replaced.
How do I know if my oven is in demo mode?
You can identify demo mode if the display lights up and buttons beep, but the oven never generates heat. Many models display “OFF” or “DEMO” on the screen when active. You can usually disable this by following the sequence in your user manual.
Conclusion
If you have tried the steps above and the oven still doesn’t function, contact the manufacturer’s customer support or a local appliance repair service. Provide your model number and any error codes you have noted to speed up the process.