
Most lg dryer problems stem from a blocked vent or a faulty thermal fuse, which together account for the majority of service calls. A dryer that runs but fails to heat or shuts off mid-cycle is usually signaling an airflow issue or a safety trip. You can often confirm the cause by checking the error codes on the display or inspecting the vent line for clogs. If your unit is under warranty, consult the LG official support documentation to avoid voiding your coverage.
Why your dryer has problems
| Cause | How common | How to confirm it | Fix it yourself? |
|---|---|---|---|
| Blocked vent | Very common | Check outside exhaust | Yes |
| Thermal fuse blown | Common | Use a multimeter | Yes with care |
| Heating element failure | Common | Inspect for breaks | Yes with care |
| Drive belt snapped | Occasional | Drum spins loosely | Yes with care |
| Control board error | Rare | Check error code | No |
| Door switch faulty | Rare | Dryer won’t start | Yes |
A blocked vent is the silent killer of dryers. If your clothes remain damp after a full cycle, check the exterior wall cap while the machine runs. If you feel no strong airflow, the duct is obstructed. Ignoring this forces the thermal fuse to trip, which shuts down the unit to prevent a house fire.
When testing a thermal fuse, set your multimeter to the lowest resistance setting. A working fuse shows near-zero ohms; a blown one shows no reading at all. Never bypass this part with a jumper wire, as it’s your primary safety barrier.
If the drum spins but generates no heat, look at the heating element coils. A broken coil looks like a snapped wire in a toaster. If you see a clean break, replace the entire assembly. Don’t attempt to solder the wire, as the heat will melt the repair instantly.
Finally, if the dryer is silent when you press start, listen for a faint click at the door. If you hear nothing, the door switch is likely misaligned. Press the switch manually with a screwdriver; if the dryer starts, the latch is simply worn out.
Airflow restrictions and vent blockages
Blocked vents are the most frequent cause of poor drying performance because they trap moisture inside the machine. When air can’t escape, the dryer sensors detect high heat and shut off the heating element to prevent a fire. This leads to clothes that feel damp even after a long, hot cycle. If you notice the cycle takes longer than 60 minutes for a standard load, your vent likely needs cleaning.
Many owners mistake this for a broken heating element, leading to expensive and unnecessary service calls. Before calling a technician, disconnect the flexible hose from the back of the dryer and run a short, 10-minute cycle. If the machine heats up normally during this test, the restriction is in your home’s wall ducting rather than the appliance.
Clear the vent line using a brush kit that reaches at least 10 feet. If your ductwork contains more than two 90-degree turns, a standard brush may fail to clear the buildup at the corners. In these cases, hire a professional service to ensure all lint is removed.
A simple rule applies: if the exterior exhaust hood doesn’t flap vigorously while the dryer runs, your airflow is insufficient. Ignoring this warning sign increases energy costs by up to 30 percent and creates a significant fire hazard.
Thermal fuse and safety trips
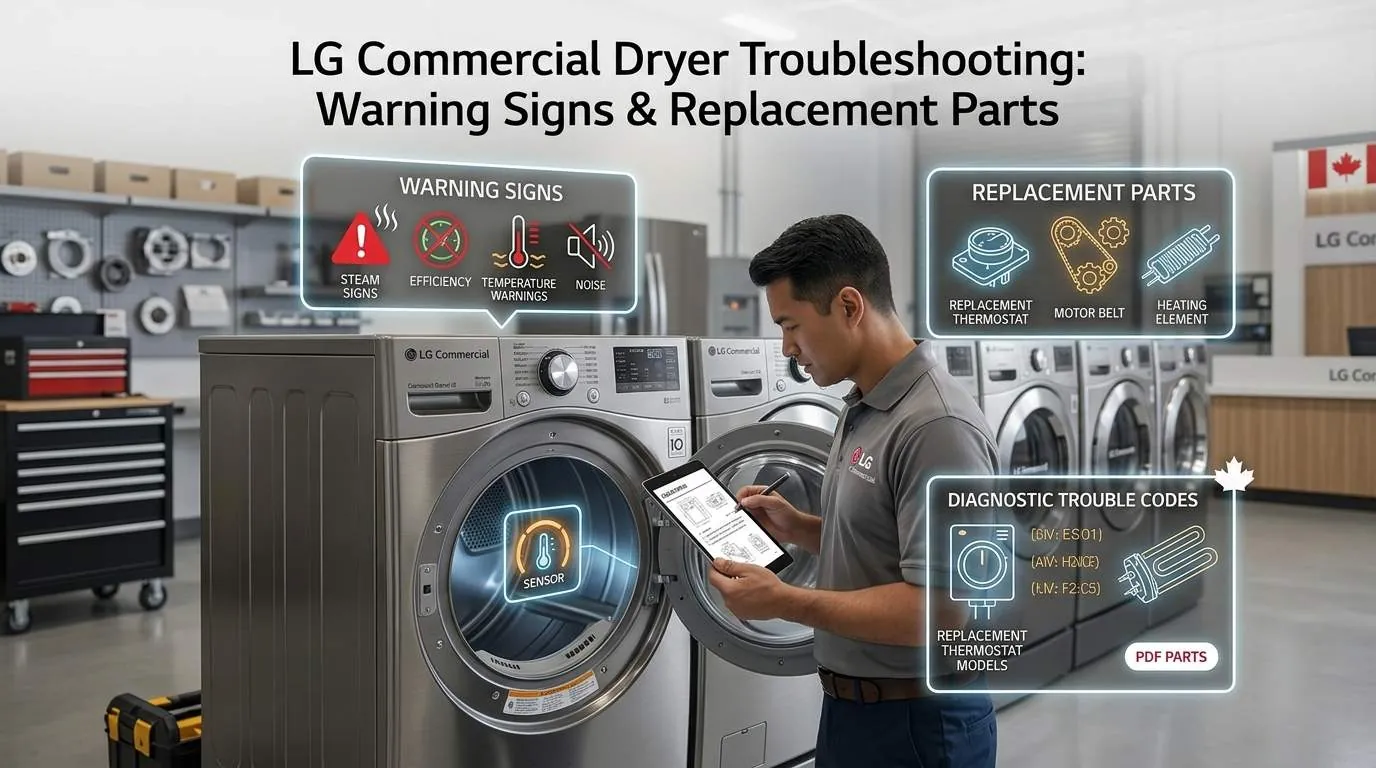
A thermal fuse is a small safety device designed to break the circuit if the dryer reaches an unsafe temperature. If your dryer suddenly stops heating or won’t turn on at all, the fuse has likely tripped due to restricted airflow. This component is a one-time-use part; once it blows, it must be replaced. You can’t reset it, and attempting to bypass it creates a major fire hazard.
To confirm this, unplug the machine and remove the back panel to access the fuse. Using a multimeter, touch the probes to the fuse terminals to check for continuity. If the meter shows no reading, the fuse is dead.
Most people make the mistake of replacing the fuse without checking the exhaust vent. If you don’t clear the lint buildup in the ductwork first, the new fuse will blow within three to five cycles. Check the vent by disconnecting the hose and feeling for airflow while the dryer runs on an air-fluff setting. If the air feels weak, the blockage remains.
If the dryer shuts down mid-cycle but turns back on after cooling, you’re likely dealing with a cycling thermostat rather than a blown fuse. The fuse is a permanent kill switch, while the thermostat is a temporary safety trip.
Heating element degradation
The heating element produces the warmth needed to dry your clothes, but it can wear out over time. If the dryer runs for the full duration but the clothes remain cold, the heating element has likely snapped or burned out. This is common in older units or those used for heavy, daily loads.
To inspect it, you must unplug the dryer and gain access to the heating element housing, which is usually located near the back or side. Look for visible breaks in the coil wire. If the wire is separated, the part must be replaced. This is a moderate repair that requires basic tools like a screwdriver and a nut driver. Always ensure the power is off, as the motor start capacitor can retain a charge even when unplugged.
Use a multimeter to confirm a break if the coil looks intact; this test should be performed by a qualified technician. If the display reads “OL” or infinity, the internal circuit is broken and the element is dead.
People often mistake a faulty thermal fuse for a bad element. If your dryer has no power at all, check the fuse first. Replacing the element without testing the fuse wastes time and money.
Rare mechanical and electronic issues
If the motor hums but the drum remains stationary, inspect the drive belt immediately. A snapped belt typically leaves a distinct rubber residue inside the cabinet. If the belt is intact but the drum is stuck, check for seized drum rollers that prevent rotation.
When the dryer ignores the start command, press the door switch manually while the door is open. If the unit fails to click or respond, the switch is likely dead. Most replacements take under twenty minutes with a basic screwdriver.
Erratic display codes often stem from a loose wiring harness rather than a failed board. Before ordering expensive electronics, unplug the unit and reseat every visible connection. A loose vibration-prone wire costs nothing to fix but mimics a total board failure.
On gas models, distinguish between a bad igniter and a failing solenoid. If the igniter glows bright orange but the flame never catches, the solenoid is the culprit. If there’s no glow at all, the igniter itself has burned out.
Never attempt to bypass a gas valve or solder a control board. These components handle electrical circuits and volatile fuel lines. One misstep here risks fire or carbon monoxide leaks.
Typical repair demands
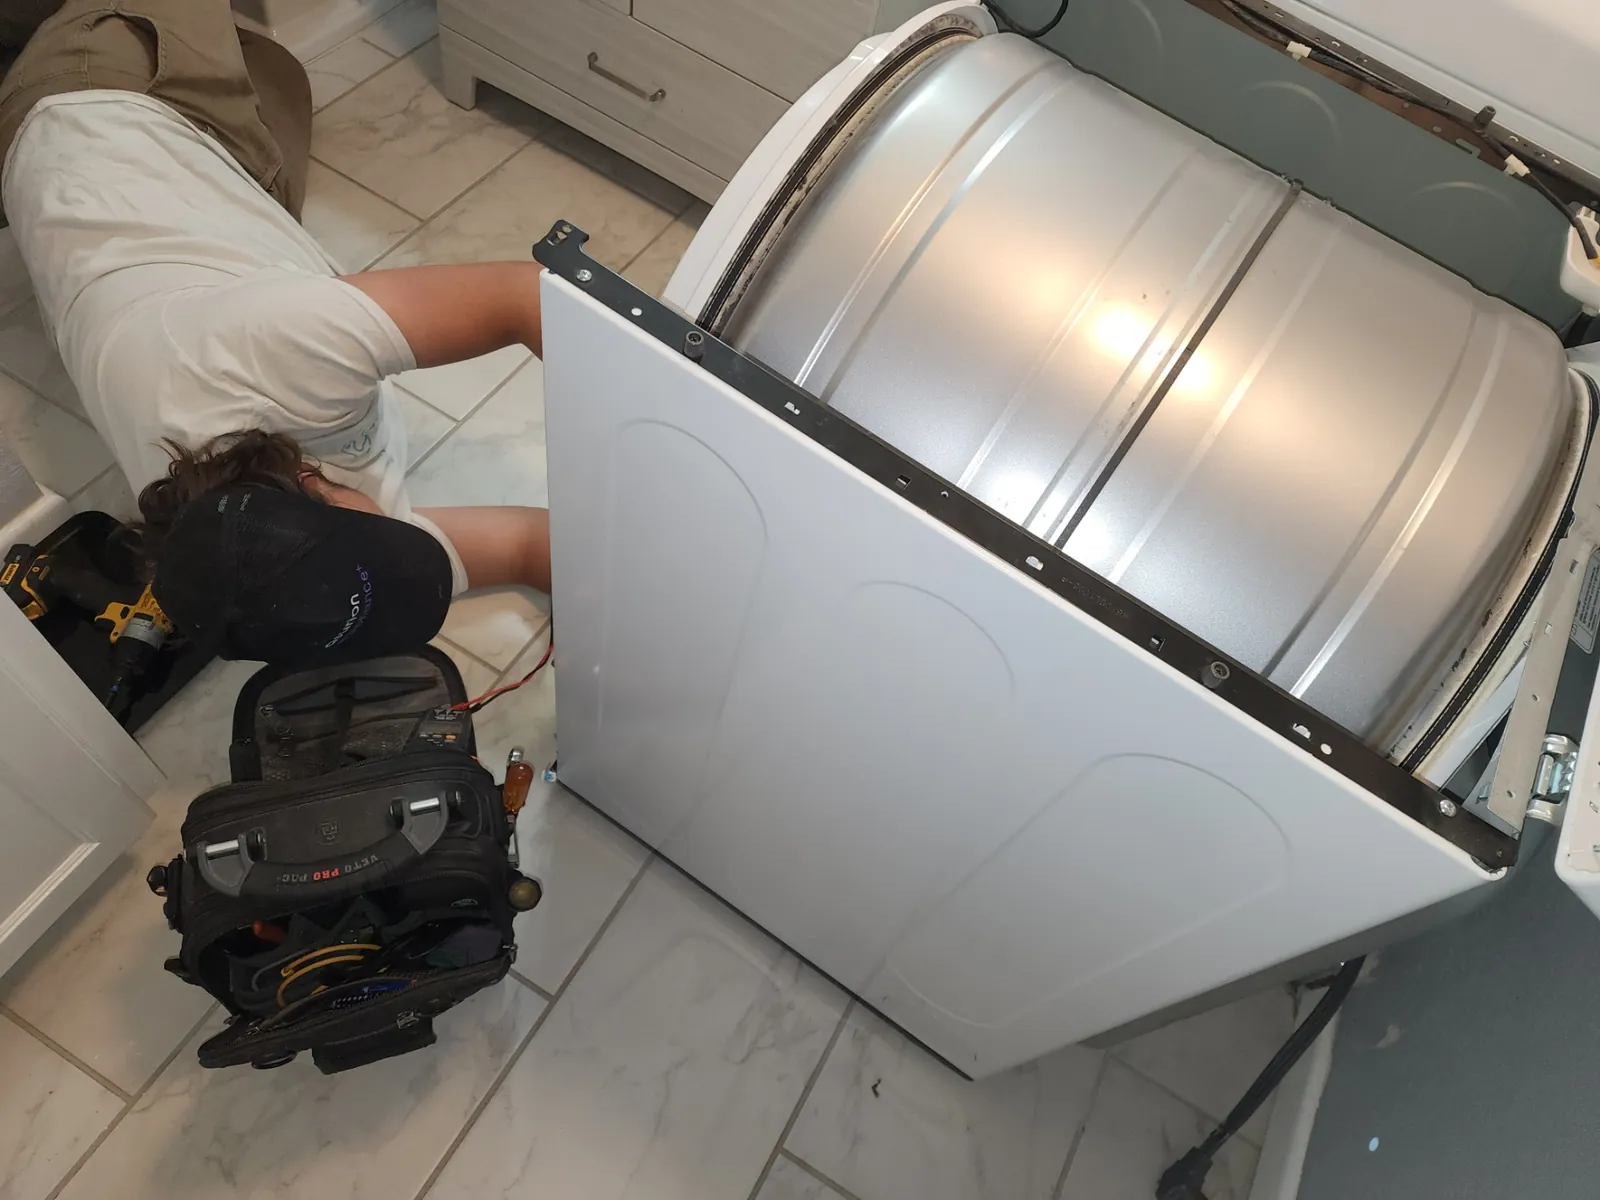
Fixing these machines usually requires a few basic hand tools, such as a Phillips head screwdriver, a putty knife for opening panels, and a multimeter for electrical testing. If you’re comfortable with basic DIY work, replacing a belt or a thermal fuse is similar in difficulty to changing a filter in your furnace. It isn’t overly complex, but it does require patience and enough floor space to lay the unit down safely.
The cost of these repairs depends entirely on whether you need a new part and if you choose to install it yourself. A simple vent cleaning is free if you own the brush, while replacing a heating element or a control board requires purchasing the specific part for your model.
To get an accurate estimate, find the model number on the inside of your dryer door and search for that specific part on the manufacturer’s website. If you’re unsure about the steps, always check your owner’s manual before opening the cabinet.
Related guides
- 10 Best Thermal Underwear Tops for Women: Our Top Picks in 2026
- 10 Best Thermal Receipt Paper Rolls for Reliable Printing in 2026
- 10 Best Thermal Underwear Bottoms for Women: Our Top Picks in 2026
Frequently Asked Questions
Can I fix a squeaking noise myself?
A squeaking noise is usually caused by worn drum rollers or a dry idler pulley, which you can replace if you have the right parts. The fix involves taking the cabinet apart to access the drum assembly. If you aren’t comfortable taking the appliance apart, contact a professional to avoid damaging the drum or the drive system.
How long should an lg dryer last?
A well-maintained dryer typically lasts for a long period under normal household use. This lifespan assumes you clean the lint trap after every load and clear the vent ducting regularly. If you notice the machine struggling, address the airflow or heating issues early to prevent extra strain on the motor and internal components.
Is it safe to use the dryer if it isn’t heating?
It’s safe to run the machine, but it won’t dry your clothes efficiently and may waste energy. If the dryer isn’t heating, the issue is likely a thermal fuse or a heating element that needs replacement. You should stop using the dryer for full cycles until the part is replaced to prevent the motor from running for hours without drying.
Why does my dryer show an error code?
An error code indicates that the control board has detected a sensor reading that’s outside of the normal range. Common codes often relate to temperature sensors or airflow blockages, which are the machine’s way of telling you that it can’t function safely. Consult your user manual for the specific code, as each brand uses different sequences to identify the exact fault.
Does it matter if I use non-original parts?
It’s highly recommended to use original manufacturer parts, as these are designed to fit your specific model and meet safety standards. Non-original parts may not have the same heat resistance or electrical ratings, which could lead to premature failure or safety risks. Always verify the part number in your service manual to ensure compatibility before you make a purchase.
How often should I clean the dryer vent?
You should clean your dryer vent based on your specific usage patterns to maintain airflow and safety; consult your owner’s manual for the recommended frequency. If you have a large family or do many loads of laundry, you may need to clean it more frequently to prevent lint buildup. A clear vent reduces the work on your heating element and helps your clothes dry much faster.
Conclusion
If your machine still isn’t performing well, don’t hesitate to reach out to a certified technician. They’ll have the right tools to handle complex electrical repairs safely. It’s better to get a professional’s help than to risk further damage, so you’ll be back to drying your clothes worry-free in no time.