
Dealing with a laundry room emergency can be incredibly frustrating, especially when you discover your Frigidaire dryer not spinning right before you need clean clothes. When a dryer runs but fails to rotate, the issue is typically mechanical rather than electrical, meaning the motor is receiving power but the drum isn’t being driven. Repair costs for these components generally fall between $80 and $350 depending on whether you perform the labor yourself or hire a professional technician. By understanding the underlying mechanics of your appliance, you can often identify the failed part and restore functionality without replacing the entire unit.
Key Takeaways
- The drive belt is the most common point of failure and is inexpensive to replace.
- A blown thermal fuse often prevents the motor from running entirely, signaling a ventilation issue.
- Worn drum rollers or glides create excessive friction that can stall the motor.
- Safety must always come first; unplug the dryer and shut off the gas supply before starting.
Safety: Inside a mains-powered machine, the parts behind the outer cover can hold a dangerous electrical charge even after it has been unplugged — that’s why they sit behind a cover. Opening the housing, or testing or replacing anything behind it, is a job for a qualified technician, never a home repair.
Why Is My Dryer Not Spinning?
The drum inside your dryer relies on a specific sequence of mechanical actions to rotate. When you press the start button, the motor engages, turning a pulley system that drives a belt wrapped around the drum. If any part of this chain is broken, the motor might hum, or the dryer may remain completely silent.
Identifying the exact cause requires systematic inspection of the internal components. Most Frigidaire models utilize a standard design where the belt, the motor, and the drum rollers work in tandem. If the drum feels heavy or resists manual rotation, the problem is likely friction-related, such as failing support rollers. If the drum spins freely with no resistance, the drive belt has likely snapped.
Inspecting The Drive Belt
The drive belt is a long, thin rubber strap that wraps around the entire circumference of the dryer drum. Over time, heat and constant tension cause this rubber to become brittle, eventually leading to a snap. When the belt breaks, the motor pulley will spin freely, but it will have no connection to the drum, leaving your clothes sitting in a stationary metal cylinder.
To inspect the belt, you must remove the front or top panel of the dryer. If you find the belt lying in pieces at the bottom of the cabinet, you have identified the culprit. Always check the tensioner pulley while you’re in there, as a seized pulley is frequently the reason the belt failed in the first place.
| Component | Function | Failure Symptom |
|---|---|---|
| Drive Belt | Rotates the drum | Drum doesn’t move |
| Idler Pulley | Maintains belt tension | Squealing or belt slip |
| Drum Rollers | Support drum weight | Grinding or heavy resistance |
| Door Switch | Signals door closure | Dryer won’t start |
Is The Thermal Fuse Blown?
Warning: Always ensure the power cord is disconnected from the wall outlet before touching internal electrical components or wiring to avoid the risk of severe electric shock.
Checking The Drum Support Rollers
The drum in a Frigidaire dryer rests on small wheels, known as drum rollers, which allow it to rotate smoothly. These rollers contain internal bearings that eventually wear out after years of heavy use. When these bearings seize, the drum becomes extremely difficult to turn, placing immense strain on the drive motor.
If your dryer was making loud thumping or grinding noises before it stopped spinning, the rollers are the most likely cause. You can test these by removing the drum and spinning each roller by hand. A healthy roller should spin silently and freely; a failing one will feel gritty, wobble, or refuse to turn at all.
Testing The Door Switch
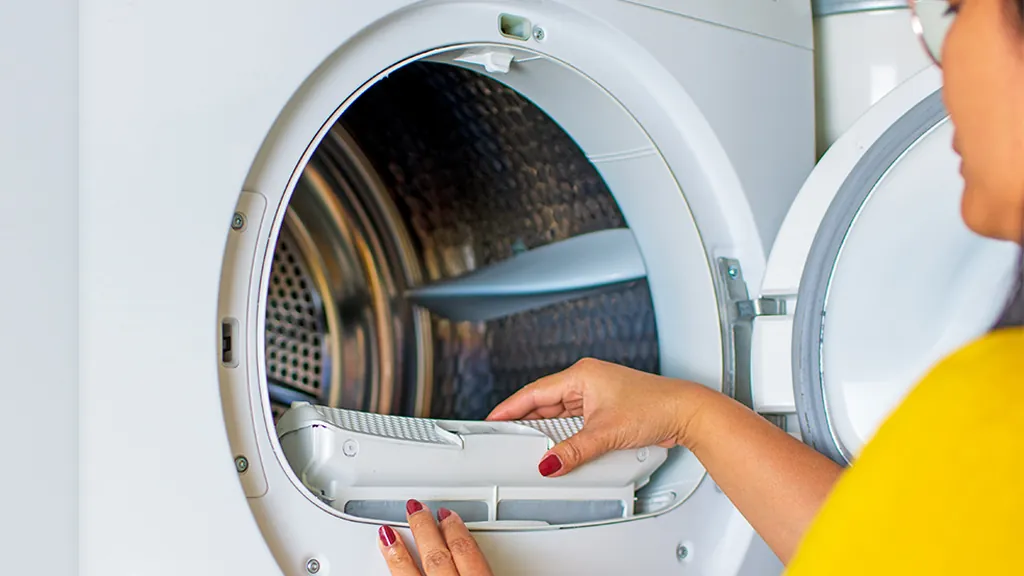
The door switch is a small safety mechanism that tells the control board the dryer door is securely shut. If the switch fails or the plastic actuator tab breaks, the dryer will assume the door is open and will refuse to engage the motor. This is a common point of failure because the switch is under constant mechanical stress every time you load or unload the machine.
To diagnose this, listen for a distinct “click” when you press the door switch button. If you hear nothing, or if the dryer interior light stays on even when the door is closed, the switch is likely faulty and requires replacement.
Identifying Motor Failure
While rare, the drive motor itself can fail. If the motor is receiving the correct voltage but refuses to turn, it may have an internal short or a worn-out centrifugal switch. Before assuming the motor is dead, ensure that the drum isn’t jammed by a foreign object, such as a metal button or a coin caught between the drum and the casing.
Try to turn the drum by hand; if it moves freely but the motor still hums without spinning, the motor start windings might be burnt out. Replacing a motor is a significant repair, so ensure you have ruled out the belt, rollers, and thermal fuse first.
Comparing Repair Parts Costs
When sourcing replacement parts, you’ll find a range of prices based on whether you choose original equipment manufacturer parts or aftermarket alternatives. OEM parts are generally recommended for critical components like the motor or thermal fuse to ensure safety and compatibility.
| Replacement Part | Typical Cost Range | Difficulty Level |
|---|---|---|
| Drive Belt | $15 – $45 | Moderate |
| Thermal Fuse | $10 – $30 | Easy |
| Drum Rollers | $25 – $70 | Difficult |
| Idler Pulley | $20 – $55 | Moderate |
Troubleshooting The Idler Pulley
The idler pulley is a spring-loaded wheel that keeps the drive belt tight against the motor pulley. If this pulley becomes stiff or the mounting arm bends, the belt will lose tension and slip during the cycle. You might notice the dryer struggling to start or stopping mid-cycle if the belt isn’t gripping the drum correctly.
During your inspection, push the idler arm back and forth to ensure it moves smoothly. If it feels stuck or makes a screeching noise, replace the pulley assembly. A faulty pulley often contributes to premature belt wear, so it’s wise to replace both simultaneously.
Pro Tip: When replacing the drive belt, take a clear photo of the belt routing around the motor and idler pulley before removal, as the path can be confusing to replicate during reassembly.
Clearing The Exhaust Vent
Even if you fix the mechanical components, the dryer won’t function safely if the exhaust path is blocked. A clogged vent causes the internal temperature to spike, which will blow the new thermal fuse within a few cycles.
Inspect the vent pipe leading from the back of the dryer to the exterior of your home. Remove any lint blockages from the flexible hose and the exterior wall cap. Ensuring proper airflow is the most effective way to prevent future mechanical failures and keep your energy bills within a normal range.
Managing Excessive Squeaking Sounds
If your dryer is spinning but making an unbearable screeching or squealing sound, it’s a warning sign of pending failure. This noise is usually caused by the drum glides or the idler pulley bearings.
Drum glides are small plastic or felt strips that prevent the metal drum from grinding against the cabinet frame. When these wear down, the friction increases significantly, eventually stalling the motor. Addressing these sounds early can prevent the motor from burning out, saving you from a much more expensive repair.
Related guides
- Bendix AD-IS Air Dryer Troubleshooting: Fix Moisture and Leaks in 2026
- Frigidaire Fffh20f2qwc Troubleshooting: Fix Your Freezer Issues in 2026
- Frigidaire Ffle3911qw0 Troubleshooting: Fix Common Laundry Issues in 2026
Frequently Asked Questions
Can I run the dryer if it makes a grinding noise?
No, you should stop using the dryer immediately. Grinding noises indicate that a component like a drum roller, glide, or idler pulley is failing. Continuing to run the machine with a seized part will cause excessive heat and friction, which can burn out the drive motor or even cause the internal components to melt, leading to a much more costly repair.
How do I reset a Frigidaire dryer?
Most Frigidaire dryers don’t have a physical “reset” button for the motor. If the dryer stops, it’s usually due to a tripped thermal fuse or a broken belt. You must unplug the dryer, remove the panels, and inspect the internal components to find the physical fault. Once the broken part is replaced, the dryer should function normally without needing a software reset.
Is it worth repairing an older dryer?
If the repair cost is less than 50% of the price of a new unit, it’s generally worth repairing. Most dryer components like belts, fuses, and rollers are inexpensive and easy to replace for a DIYer. If the drum is damaged or the motor has failed, you must weigh the cost of parts and labor against the age and efficiency of your current machine.
Why does my dryer stop mid-cycle?
A dryer that stops mid-cycle often has a failing thermal fuse or a loose drive belt. If the vent is clogged, the thermal fuse will trip due to overheating, cutting power to the motor. Alternatively, if the idler pulley is weak, the belt may slip under the weight of wet clothes, causing the motor to stop because it no longer senses the resistance required to turn.
Can I replace the drive belt by myself?
Yes, replacing the drive belt is a common DIY task. It requires basic hand tools like a screwdriver and a nut driver. While the process involves disassembling the cabinet, it’s straightforward if you follow a model-specific guide. Ensure you purchase the belt designed for your specific Frigidaire model number to guarantee the correct length and tension for your drum size.
Conclusion
After identifying the source of the mechanical failure in your machine, the most logical next step is to locate your dryer’s model number, usually found on a sticker inside the door frame or on the back panel. Search for that specific number online to find a diagram that shows exactly how your components are arranged. Once you have the correct part numbers, order the replacements and perform the installation with the power disconnected to ensure a safe and successful repair.