
Dometic Rv Thermostat Troubleshooting often involves fixing a blank or unresponsive screen by verifying the 12-volt DC power supply and resetting the system. Most issues stem from a loss of communication between the wall unit and rooftop control box. If the screen remains blank, check your DC distribution panel fuse.
Dometic RV Thermostat Troubleshooting
The primary reason for system failure involves the way the wall controller talks to the rooftop unit. These devices rely on a consistent 12-volt DC supply to maintain the “handshake” between the thermostat and the control board. If the voltage drops below the threshold, the system loses its settings or enters a protection mode. This often happens if your coach battery is low or if you have recently switched between shore power and battery power.
Another frequent cause is physical debris or oxidation on the communication cable connections. Because these cables are often routed through the ceiling and walls, they can vibrate loose over time or suffer from moisture buildup near the rooftop unit. If the control board in the ceiling can’t see the signal from your wall unit, it will simply stay off to prevent damage to the compressor or fan motor.
Finally, user error during a mode switch can cause the logic to freeze. If you press buttons too quickly or change modes while the compressor is already trying to cycle, the processor may lock up. This isn’t a hardware failure, but rather a software glitch that requires a power cycle to clear. You should always verify that your 12-volt system is stable before you begin any testing; according to the Dometic product support center, consistent voltage is required for the control board to communicate correctly with the thermostat. If you confirm the power is stable and the unit remains unresponsive, the fault likely lies within the internal relay of the control box, which is a component that requires a certified technician to replace.
Safety: Inside a mains-powered machine, the parts behind the outer cover can hold a dangerous electrical charge even after it has been unplugged — that’s why they sit behind a cover. Opening the housing, or testing or replacing anything behind it, is a job for a qualified technician, never a home repair.
Perform a system reset
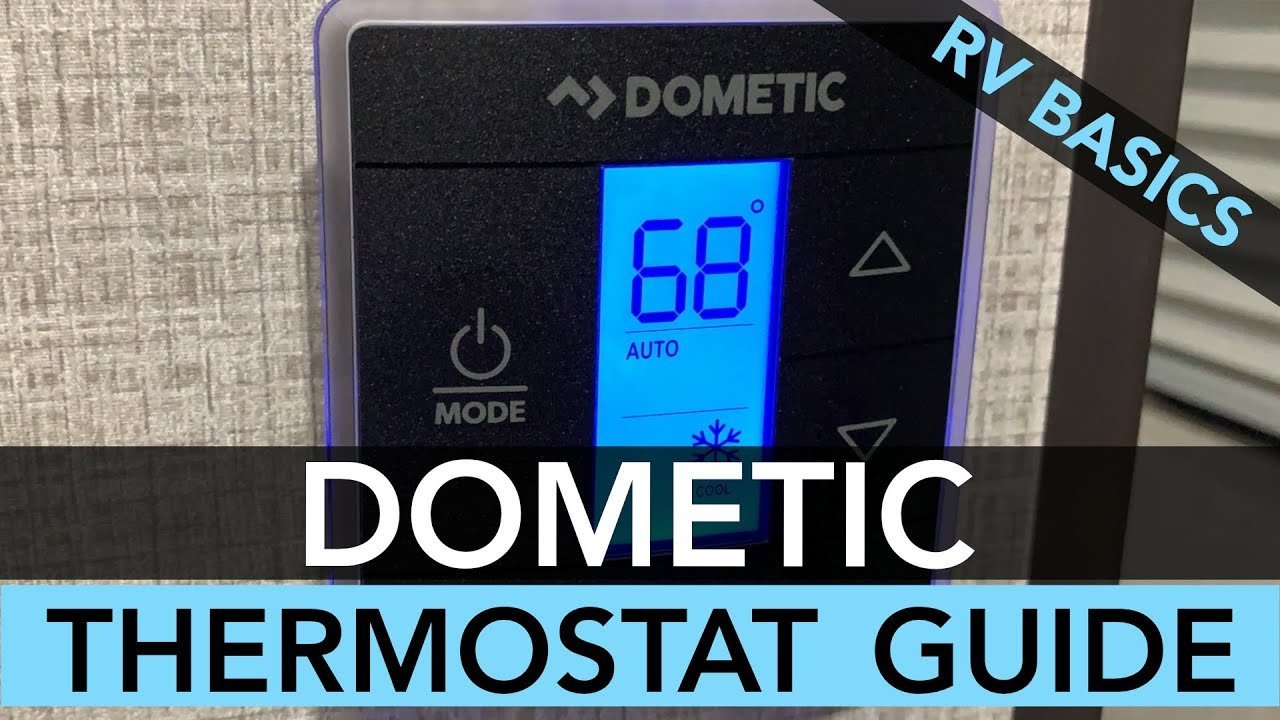
A system reset is the most effective way to clear a frozen logic board. This process tells the thermostat to re-scan the system and identify what equipment is attached, such as the furnace, heat pump, or air conditioner. This fix is for owners who have a blank screen that has power, or a screen that shows “E1” or “E0” error codes.
To perform the reset, turn the thermostat off. Press and hold both the “Mode” and “Zone” buttons at the same time. While holding those buttons, turn the unit back to the “On” position. You should see the display flash or show the letters “FF,” which stands for factory format. Once this appears, release the buttons and turn the unit off again to save the settings. Turn it back on, and the unit will begin its search for the connected equipment.
This method works for most standard digital wall units. If your unit doesn’t have a “Zone” button, check the manufacturer’s manual for the specific “Mode” and “Fan” button combination. If you don’t see the “FF” code after ten seconds, your unit may be faulty or the wire connection is completely severed. Don’t attempt to force the buttons or open the casing if the screen remains dark after this reset. If the screen is still dead, the issue is likely a blown fuse at the main panel or a broken wire inside the wall. If you aren’t comfortable checking the main fuse panel, contact a licensed RV technician to prevent damage to the electrical system.
Check the wiring connections
If the reset doesn’t work, you must inspect the communication cable. This cable is a flat, modular cord that plugs into the back of the thermostat. Over time, the locking tab on the connector can break, or the copper pins can corrode due to humidity. This fix is for those who have confirmed power to the unit but still get no response from the rooftop hardware.
Carefully pull the thermostat away from the wall to expose the wiring. Look for the modular cable connector. Gently unplug it and inspect the pins for any green or white corrosion. If you see dirt, you can use a small amount of electrical contact cleaner to wipe the pins. If the connector looks loose, you can try to push it back into the port until you hear a distinct click.
If the cable is damaged, you’ll need to replace the modular lead. This is a standard phone-style cable, but it must be wired specifically for the Dometic system; using a standard home telephone cord can cause a short circuit in the control board. If you don’t have a replacement cable or the correct tools to test the continuity of the wires, don’t attempt to bypass the connection. This is a common point of failure, and if you can’t get the unit to respond after reseating the plug, the control board at the rooftop unit may have failed. That component involves sensitive electronic circuits, and only a professional should handle the replacement of a control board to avoid damage.
Verify the thermostat power
Sometimes the problem isn’t the thermostat, but the power source. This fix is for users who have a completely dark screen that shows no signs of life even after a reset. The thermostat is powered by the 12-volt DC house battery system, not the 120-volt AC shore power. If your house batteries are drained or the “Use/Store” switch is in the “Store” position, the thermostat won’t turn on.
Check your main DC distribution panel for a blown fuse labeled “AC” or “Thermostat.” If the fuse looks dark or the metal wire inside is broken, the circuit is open. Replace the fuse with one of the exact same amperage rating. Never use a fuse with a higher rating, as this can lead to melted wires and a potential fire. If the fuse is good, check the battery disconnect switch near your entry door. If the coach is in “Store” mode, the thermostat won’t receive the 12-volt current needed to operate.
This fix is intended for owners who can identify their fuse panel. If you’re unsure where your fuse panel is or how to read the labels, check your owner’s manual. If you have replaced the fuse and it blows again immediately, don’t try to replace it a second time. This indicates a short circuit in the wiring behind the walls, which is a major fire risk. In this case, you must stop all DIY attempts and have a qualified electrician or RV technician trace the short.
What not to do
- Never use a standard telephone cord to replace the communication cable. These cables often have different pin arrangements, and using the wrong one can permanently fry the electronic control board.
- Don’t spray liquid cleaner directly into the thermostat housing. The liquid can pool on the circuit board and cause an internal short, which will make a minor connection issue into a total unit failure.
- Don’t ignore a burning smell from the unit. If you smell plastic or electrical burning, turn off the main breaker for the air conditioner immediately and don’t turn it back on until a technician inspects the wiring.
How to stop it happening again
Consistent maintenance of your 12-volt system prevents the most common logic errors.
| If you’re doing this | Do this instead | Why |
|---|---|---|
| Leaving the coach in “Store” | Keep the battery charged | Prevents low-voltage system resets |
| Ignoring loose wall mounting | Secure the unit with screws | Prevents the cable from vibrating loose |
Frequently asked questions
Can I replace my thermostat with a home unit?
No, you can’t use a residential thermostat for your RV. Home units use 24-volt AC power, while RV systems require 12-volt DC power and proprietary communication protocols. Using the wrong thermostat will likely damage your control board and void your equipment warranty.
Why does my thermostat show an E1 error?
An E1 error code means the thermostat has lost communication with the rooftop control box. This is typically caused by a loose modular cable or a temporary voltage drop. If the reset sequence doesn’t clear the error, have a professional inspect the control board.
How long should the system take to reset?
A system reset takes less than one minute to complete. Once you perform the button combination, the unit will scan your connected appliances. If the screen remains blank or loops for over two minutes, the unit is likely not receiving the required 12-volt power.
Is it safe to use the system if the screen is dim?
No, you shouldn’t use the system if the screen is dim or flickering. A dim display is a clear sign of unstable voltage, which can cause the compressor to short-cycle. Short-cycling causes the motor to overheat and can lead to a premature failure of the entire air conditioning unit. Troubleshoot the power supply and the battery levels before attempting to run the cooling or heating systems again.
What happens if I use the wrong fuse?
Never use a fuse with a higher amperage rating than specified, as this creates a significant fire risk. Fuses protect wiring from melting during current surges; a higher-rated fuse allows wires to melt before the fuse blows. Always replace fuses with the exact same value.
Final Thoughts
If these simple checks don’t bring your comfort back, it’s time to inspect the wiring connections behind the wall plate for any loose or corroded wires. Don’t hesitate to reach out to a certified technician if you’re still having trouble; they’ll get your climate control running smoothly again in no time.
Related guides
- Google Nest Thermostat Troubleshooting: Fix Blank Screens Fast in 2026
- 10 Best Wi Fi Thermostat for Home Options to Control Climate in 2026