
When the screen is blank or the heat doesn’t turn on, Model T701 Thermostat Troubleshooting typically involves checking the power source or replacing the batteries to restore system function. The most common cause for these issues is a simple loss of power, either from exhausted batteries or a tripped circuit breaker. If the screen remains dark after these steps, the unit may have a loose wire connection or a failed internal component.
Model T701 Thermostat Troubleshooting
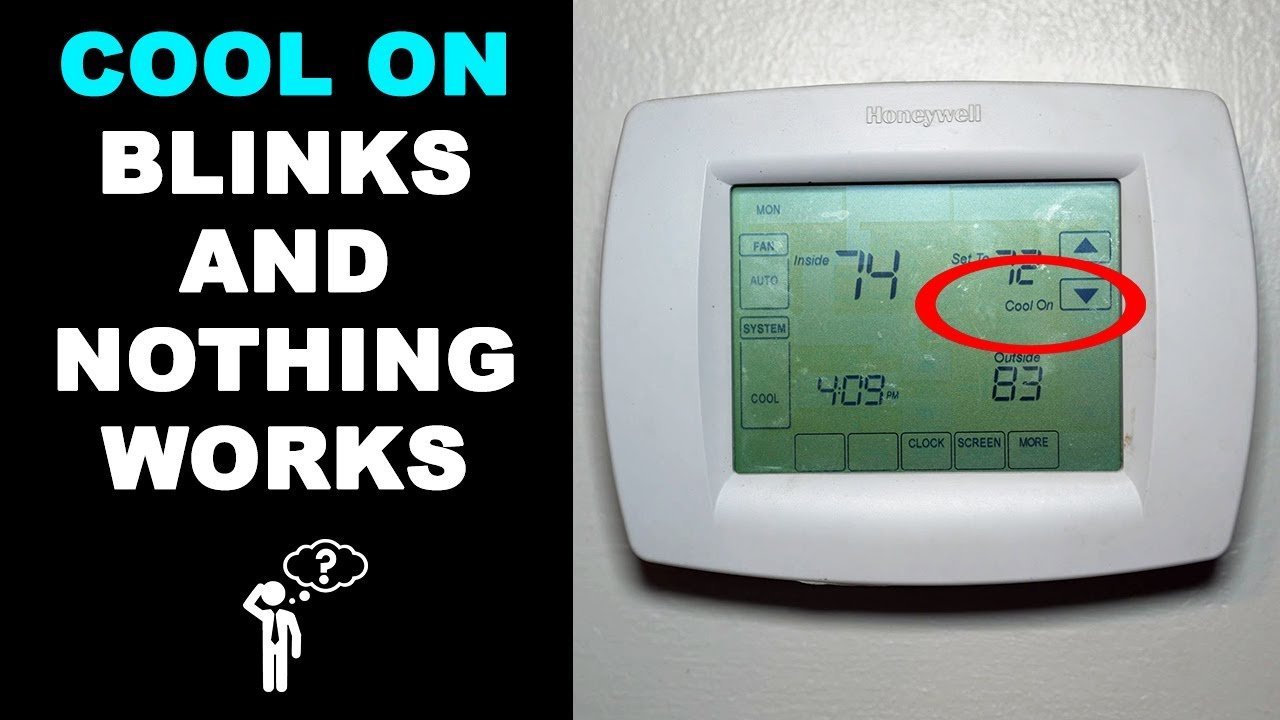
Most thermostat problems stem from basic environmental or electrical factors. When your system stops responding, it’s rarely a complex software glitch. Instead, it’s usually a physical break in the circuit. The most frequent culprit is low battery voltage. Even if the display shows faint icons, the voltage might be too low to trigger the relay that tells your furnace or air conditioner to start.
Another common reason is a tripped breaker at your home’s main electrical panel. If the HVAC unit loses power, the thermostat often loses its ability to communicate with the system. This can happen during a power surge or if the HVAC unit itself has an internal safety switch that tripped due to overheating.
Finally, loose wiring at the wall plate is a frequent, often overlooked issue. Over time, vibrations in the wall or slight movements during cleaning can cause the small copper wires to slip out of their terminals. If even one wire loses contact, the thermostat can’t send the “call for heat” signal. This is a common issue noted by the U.S. Department of Energy on thermostat efficiency, which emphasizes that proper installation and connection are vital for system reliability. If you suspect an electrical fault beyond a loose wire, don’t attempt to repair it yourself. HVAC equipment contains high-voltage components that can be dangerous; always contact a licensed HVAC technician if the internal wiring appears damaged or if you smell burning plastic.
Check the power supply first
This fix is for users whose thermostat screen is blank or unresponsive. Start by locating the battery compartment, usually found by sliding the front cover up or pulling it gently away from the wall. Replace the existing batteries with fresh, high-quality alkaline batteries. If the screen flickers or stays dark, check the orientation of the batteries; they must match the plus and minus markings inside the housing.
If the thermostat is hardwired to your home’s electrical system, you must check your home’s breaker panel. Look for a switch labeled “HVAC,” “Furnace,” or “AC.” If the switch is in the middle position, flip it all the way to “Off” and then back to “On.” This resets the connection. If the breaker trips again immediately, stop; this indicates a short circuit that requires a professional.
You’ll know this fix worked if the display lights up and shows the current room temperature within thirty seconds of restoring power. If the display remains off, ensure the thermostat is fully snapped into its base plate. If it feels loose, press it firmly against the wall until you hear a click. This ensures the pins on the back of the unit make solid contact with the wires coming from your HVAC system.
Adjust the system settings
This fix is for users whose screen is on but the heating or cooling doesn’t start. First, verify that the system mode is set to “Heat” or “Cool” rather than “Off.” It’s easy to accidentally toggle this setting while dusting or cleaning the unit. Ensure the “Set” temperature is higher than the current room temperature if you want heat, or lower if you want cooling.
Many thermostats have a built-in delay to protect the compressor. When you change the setting, wait at least five minutes before deciding it failed. If the system still doesn’t kick in, check the “Fan” setting. If it’s set to “On,” the fan should run constantly. If it’s set to “Auto,” the fan will only run when the system is actively heating or cooling.
If you have tried these adjustments and the system remains silent, check the display for a “Low Battery” icon or a flashing error code. Some models display a specific code when they lose communication with the HVAC unit. If you see an error code, consult your owner’s manual to determine if it’s a simple communication error or a serious fault. If the unit requires a factory reset, follow the manufacturer’s instructions carefully, as this will erase your saved schedule settings.
Inspect the wall plate wiring
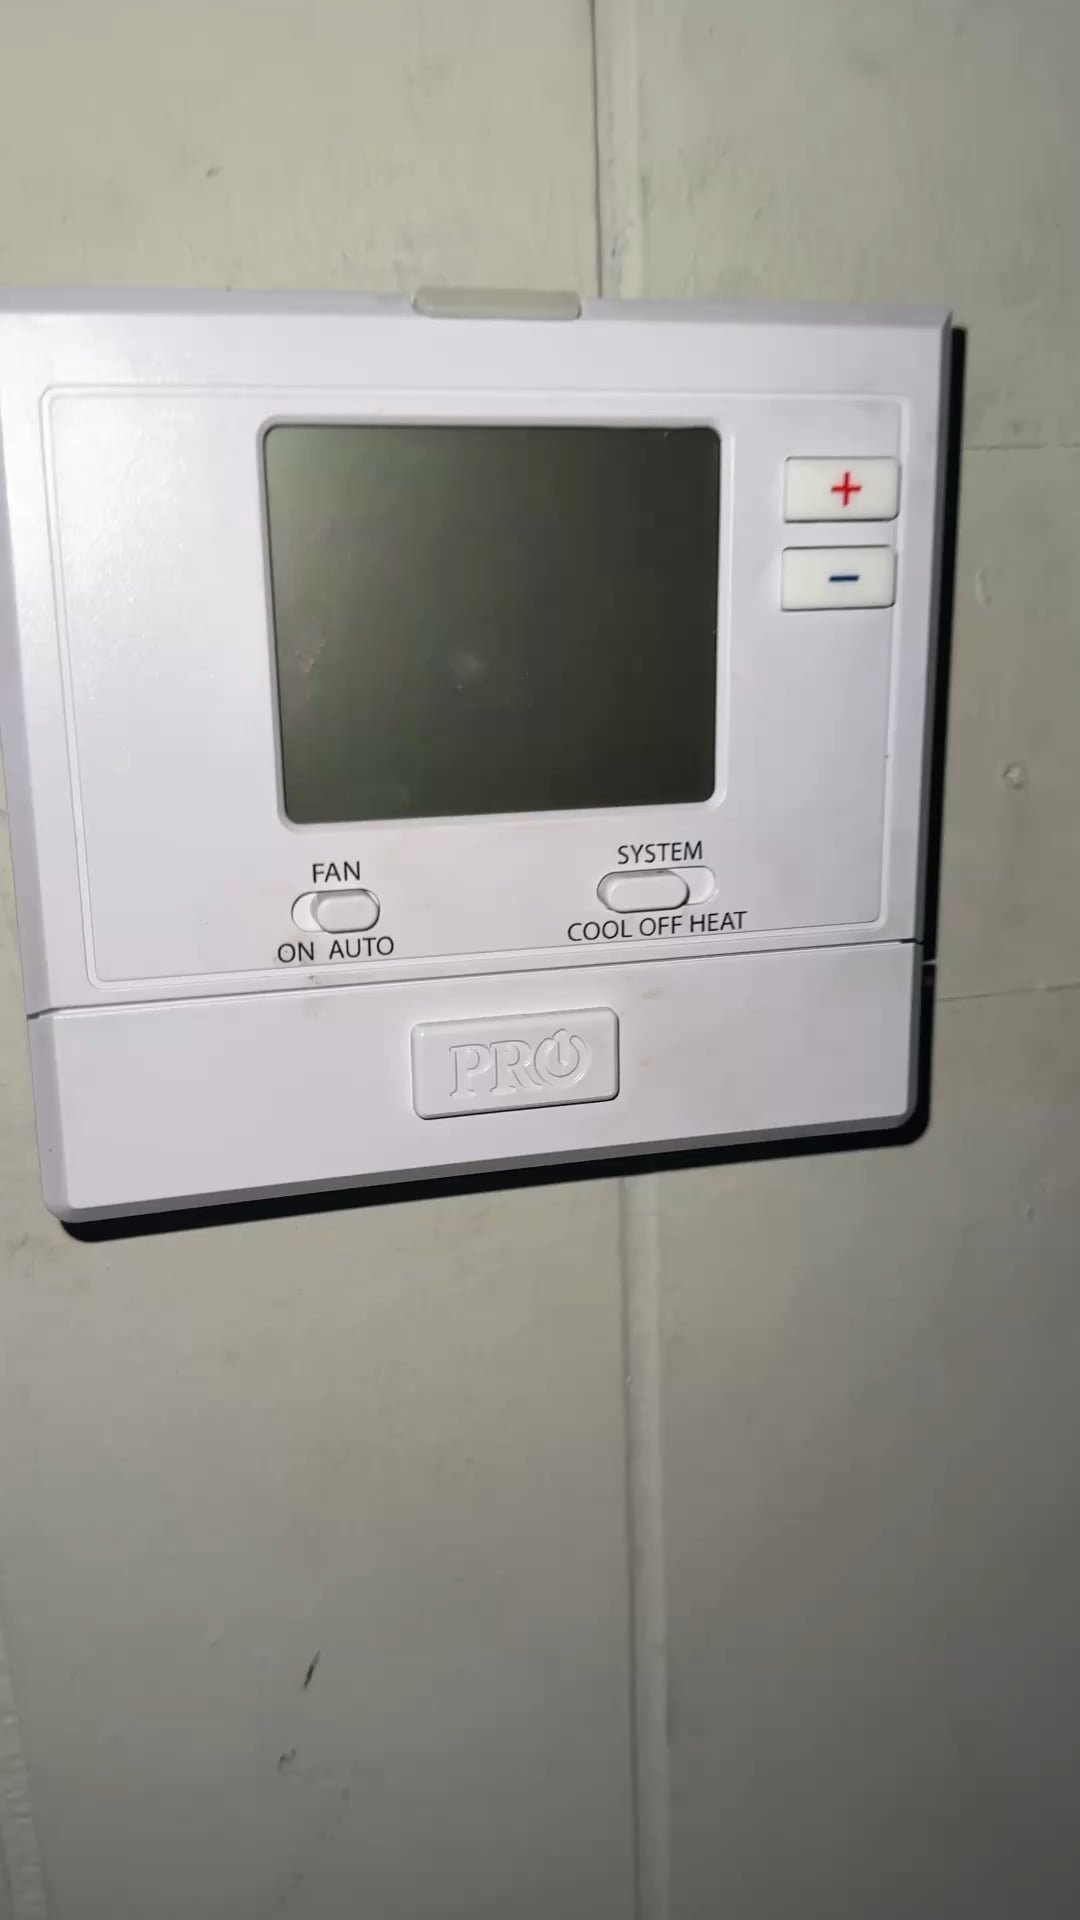
This fix is for users who have confirmed power and settings are correct but still have no system response. Carefully remove the thermostat from the wall plate by pulling it straight out. Inspect the small wires connected to the terminals on the back. If any wire looks loose, frayed, or disconnected, gently push it back into its terminal until it’s secure.
Ensure the wires are clean and free of corrosion. If you see white or green powder on the copper, it may be a sign of moisture damage, which can prevent the unit from sending signals. This fix is only for users comfortable with basic hand tools; if the wires are brittle or if the wall plate itself is cracked, don’t force them. If you can’t see the terminals clearly or the wires appear to be pulled out of the wall cavity, stop and call a professional. Working with these wires can cause a short circuit that may damage your furnace control board, which is a costly repair.
If you successfully re-seat the wires and the system starts, you have saved yourself a service call. If the system remains unresponsive, the issue is likely within the HVAC unit itself rather than the thermostat.
What not to do
- Don’t use rechargeable batteries in this device, as they often have a lower voltage output that can cause the screen to stay blank or show false readings.
- Don’t spray cleaning products directly onto the thermostat, as liquid can seep behind the casing and cause a short circuit in the internal electronics.
- Don’t use a metal screwdriver to pry the unit off the wall, as this can easily bridge two terminals and blow the low-voltage fuse on your furnace control board.
- Don’t ignore a persistent “Low Battery” warning, as the thermostat may stop sending signals to your furnace, leaving your home without heat during cold weather.
How to stop it happening again
Regular maintenance keeps your system running smoothly throughout the year.
| If you’re doing this | Do this instead | Why |
|---|---|---|
| Ignoring dust on the unit | Wipe with a dry microfiber cloth | Prevents debris from blocking sensors |
| Leaving the unit loose | Ensure it snaps firmly to the wall | Maintains solid electrical contact |
| Using old batteries | Use fresh alkaline batteries | Ensures consistent voltage for the CPU |
Frequently asked questions
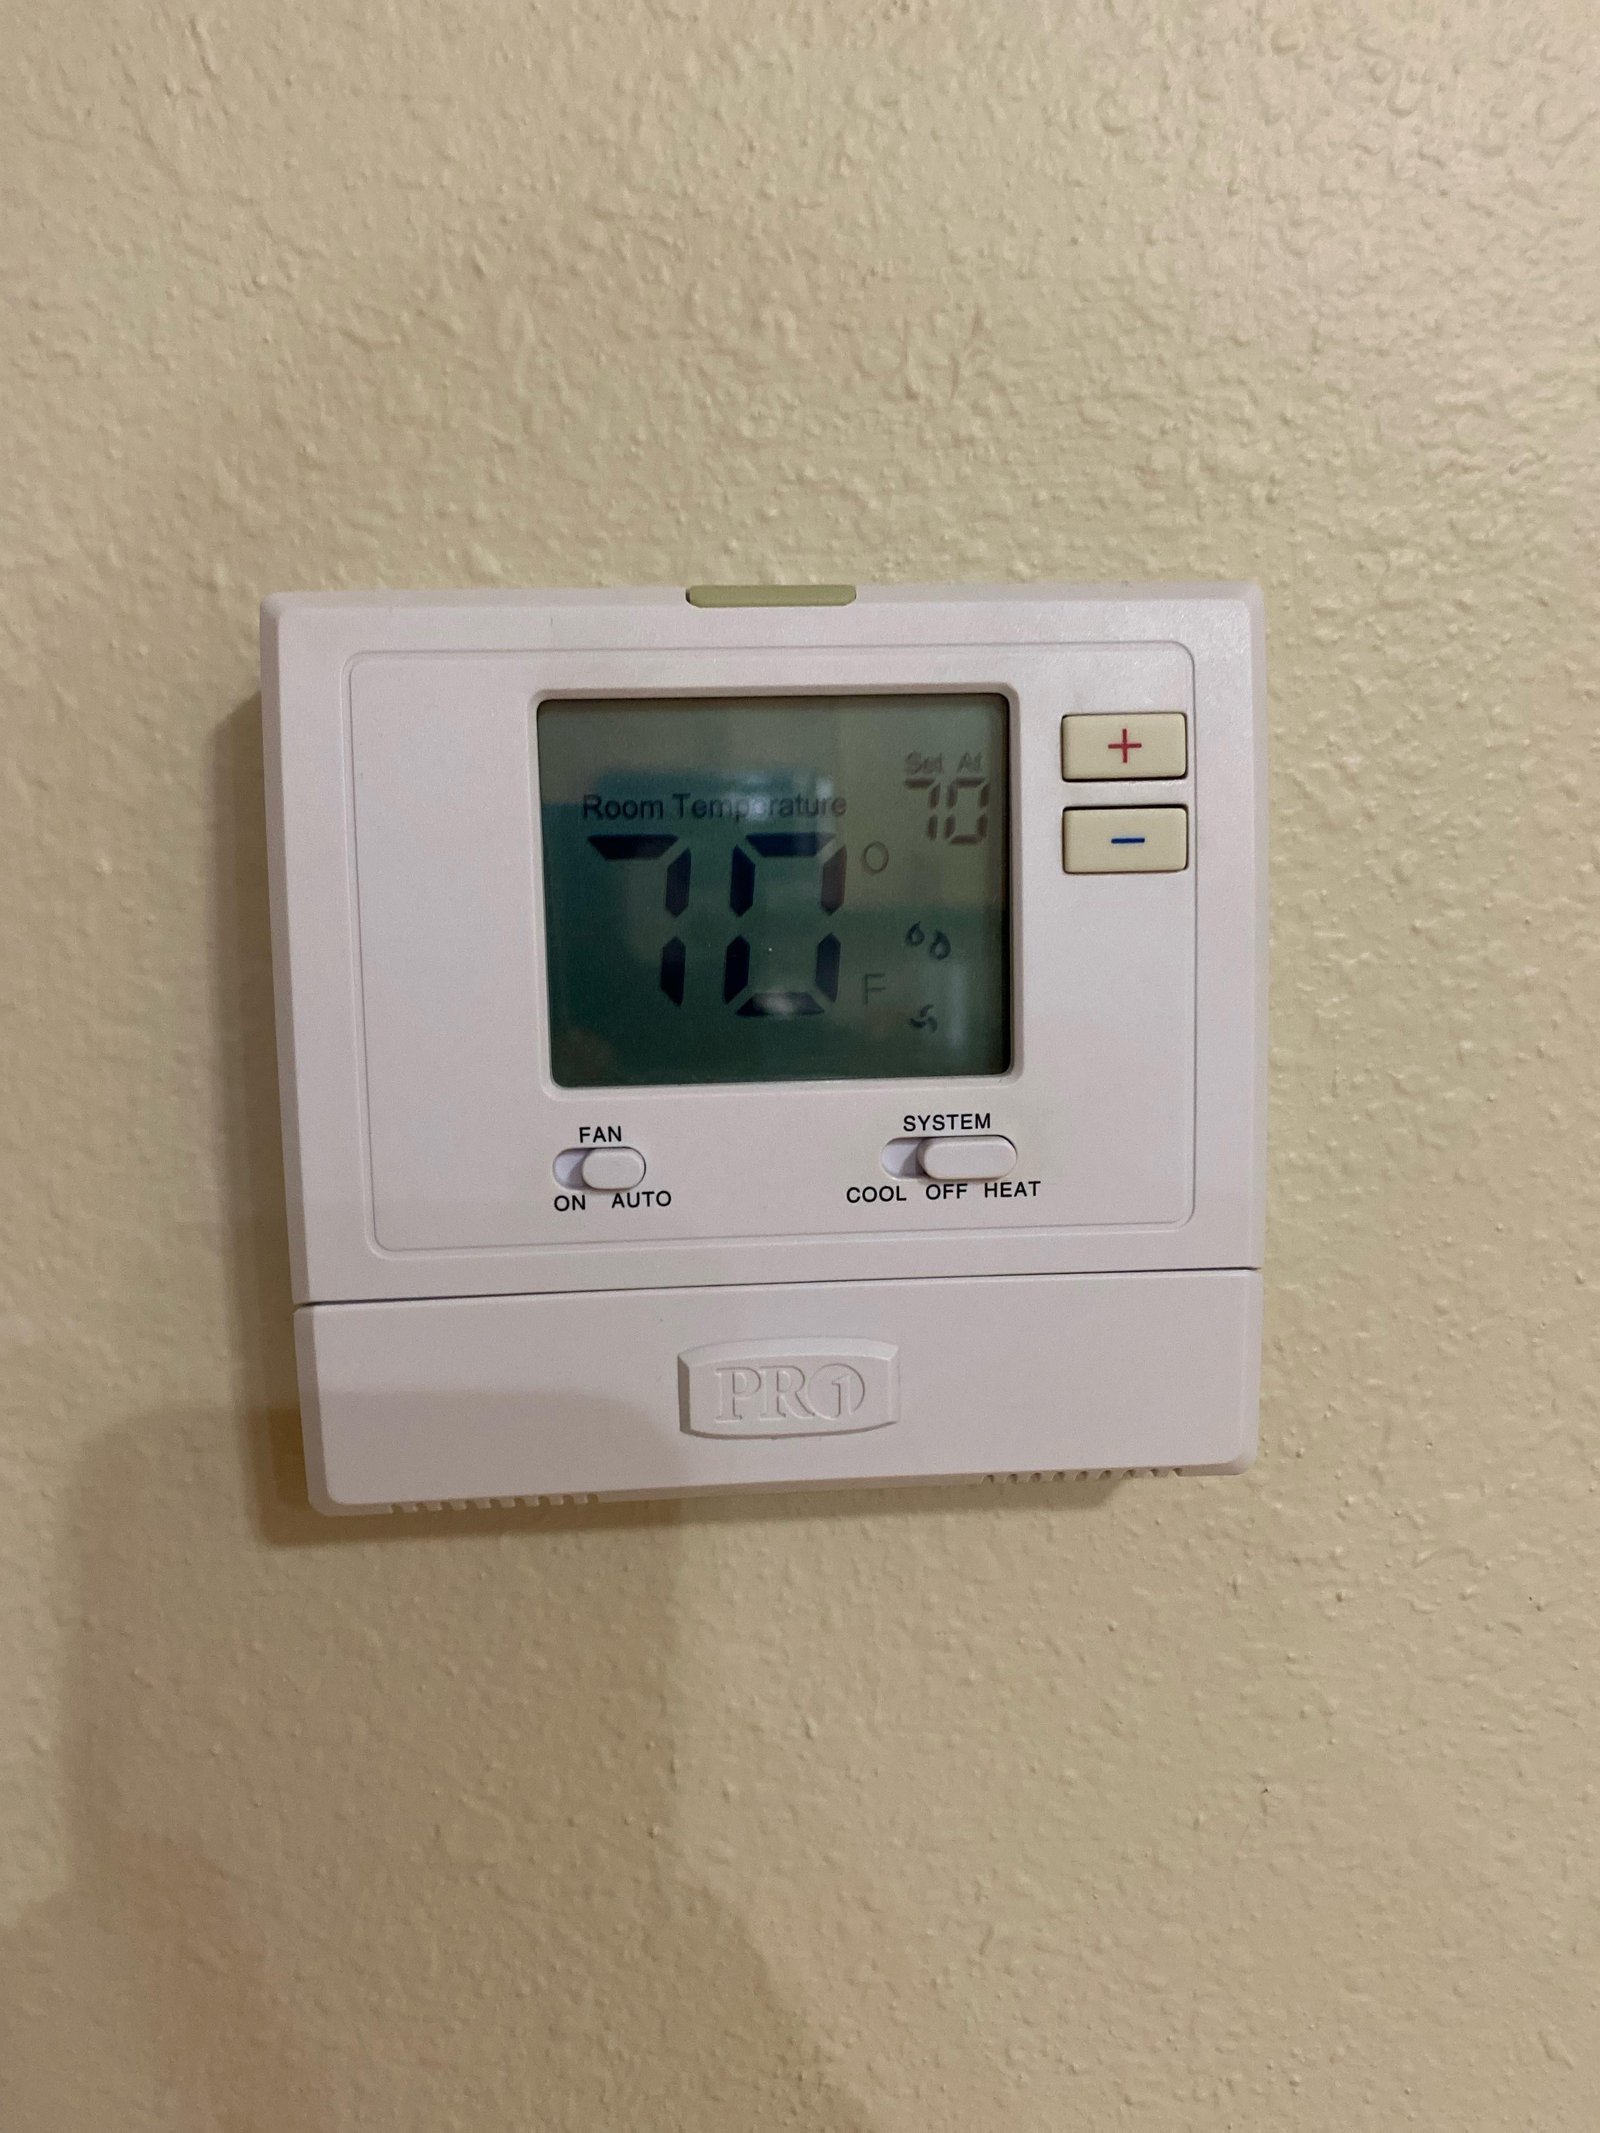
Can I reset my thermostat to fix a blank screen?
You can perform a soft reset by removing the batteries for sixty seconds before reinserting them. This clears the temporary memory and forces a reboot of the internal software. If the screen remains blank after this process, the unit may have a hardware failure.
Why does my thermostat screen flash?
A flashing screen typically indicates that the battery voltage is too low to maintain a stable display. Replace the batteries immediately with fresh ones to see if the flashing stops. If the issue persists, the unit may be signaling a communication loss or internal error.
How long should a thermostat last?
Most digital thermostats are designed to last between ten and fifteen years under normal operating conditions. You can confirm your unit’s age by checking the manufacturing date on the label or the serial number online. Extreme environmental factors can shorten this lifespan significantly.
Is it safe to replace the thermostat myself?
It’s generally safe for a homeowner to replace a thermostat if they avoid touching the furnace’s internal high-voltage wiring. Always turn off the power at the breaker panel before disconnecting any wires to prevent a short circuit. If wiring appears damaged, hire a licensed professional.
What happens if I connect the wires wrong?
Connecting wires to the wrong terminals can cause system failure or trigger the wrong mode. Always take a photo of the original wiring configuration before removing the old thermostat to ensure accuracy. Consult your furnace manual or the manufacturer’s diagram if you’re unsure about the connections.
Final Thoughts
If your system still won’t start, it’s time to call a professional technician for a closer look. They’ll safely check the internal wiring and ensure your heating unit isn’t hiding a deeper problem. Don’t hesitate to reach out for help; you’ll be back to a cozy home in no time.
Related guides
- Craftsman Power Washer Troubleshooting: Fix Pressure Issues
- Craftsman Power Washer Troubleshooting: Fix Common Problems in 2026
- 10 Best Computer Uninterruptible Power Supply Units Reviewed in 2026