
Finding a pool of liquid on your kitchen floor is a stressful experience, especially when you realize your freezer leaking water from bottom surfaces or pooling under the appliance. While this issue is common, it often stems from simple maintenance oversights rather than catastrophic mechanical failure. Depending on whether you choose to perform the repairs yourself or hire a professional, the cost to fix a leaking appliance typically ranges from $75 to $350 for parts and labor. Addressing this early prevents water damage to your flooring, potential mold growth, and unnecessary strain on your freezer’s compressor.
Key Takeaways
- Most leaks are caused by a clogged defrost drain, which causes meltwater to overflow rather than evaporate.
- Check your door seals for gaps, as warm air entering the unit creates excessive condensation.
- Ensure the freezer is perfectly level to allow water to flow toward the drain path correctly.
- Inspect the water inlet valve and supply lines if your freezer has an ice maker or water dispenser.
- Regular maintenance, such as cleaning the condenser coils, prevents the system from overheating and leaking.
Why Is My Freezer Leaking?
When you notice water on the floor, the first step is to identify the source. Most modern frost-free freezers rely on a cycle that melts frost off the cooling coils. This water travels through a small tube into a drain pan located near the bottom of the unit, where it should evaporate. When the freezer is leaking water from bottom areas, it usually means this system is compromised.
| Potential Cause | What is happening? | Where to look |
|---|---|---|
| Clogged Drain | Debris blocks the path | Rear interior wall |
| Frozen Drain Tube | Ice buildup blocks flow | Behind the back panel |
| Cracked Drain Pan | Water leaks onto the floor | Underneath the unit |
| Damaged Door Gasket | Warm air creates moisture | Around the door frame |
| Faulty Water Valve | Supply line connection drips | Rear bottom corner |
Troubleshooting a Clogged Drain
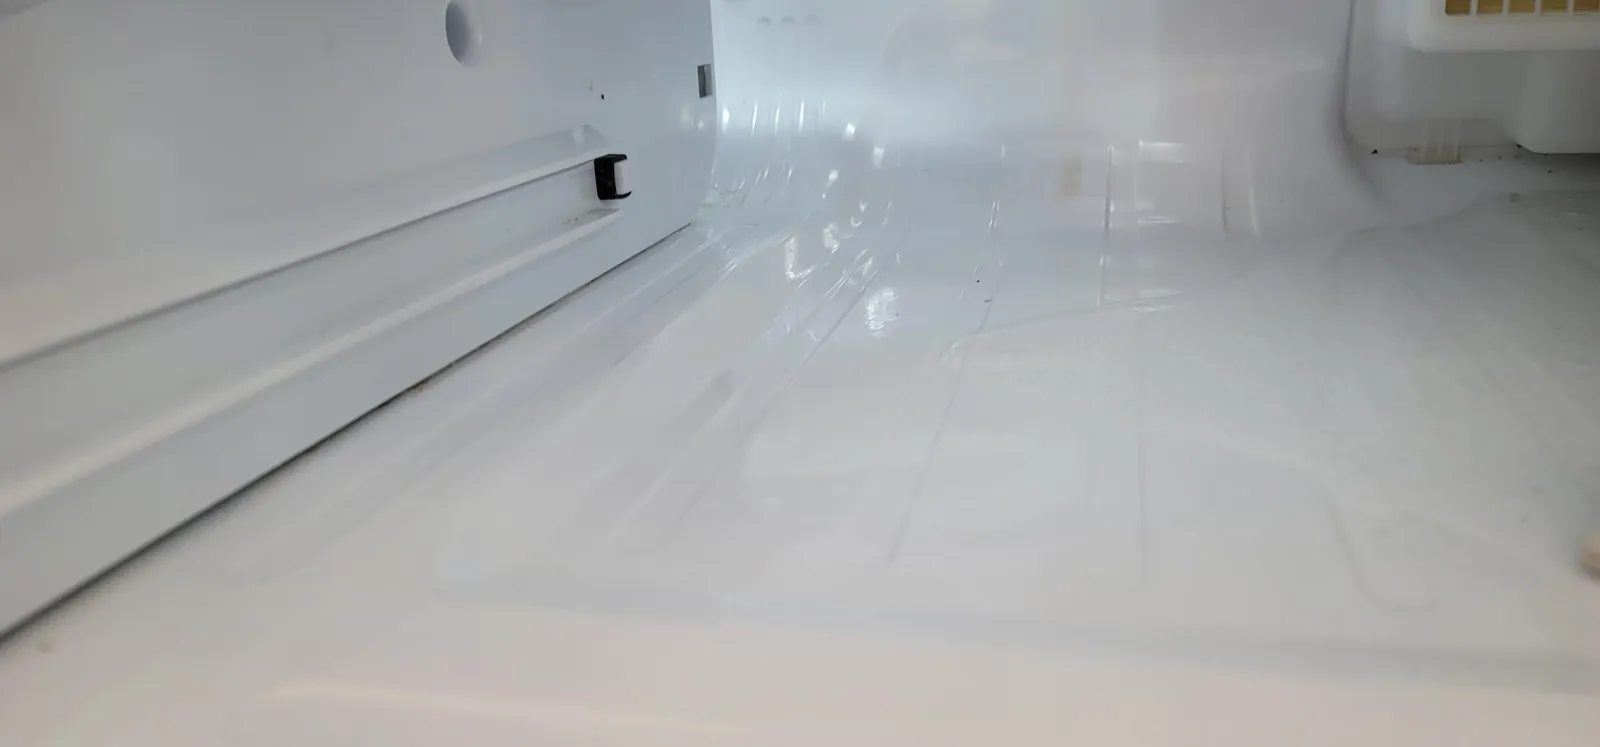
The most frequent culprit is a frozen or debris-clogged defrost drain. During the automatic defrost cycle, water drips into a trough and travels through a tube to the drain pan. If this tube becomes blocked by food particles, ice, or mineral buildup, the water has nowhere to go but out the front or bottom of the freezer.
To resolve this, you must locate the drain hole, typically found at the back of the freezer floor behind the interior panel. Use a turkey baster filled with warm water to flush the line.
If the line is frozen solid, you may need to use a hairdryer on a low setting or a piece of flexible plastic tubing to gently clear the obstruction. Don’t use metal objects like screwdrivers, as these can easily puncture the delicate cooling coils or the plastic drain line.
Inspecting the Door Gaskets
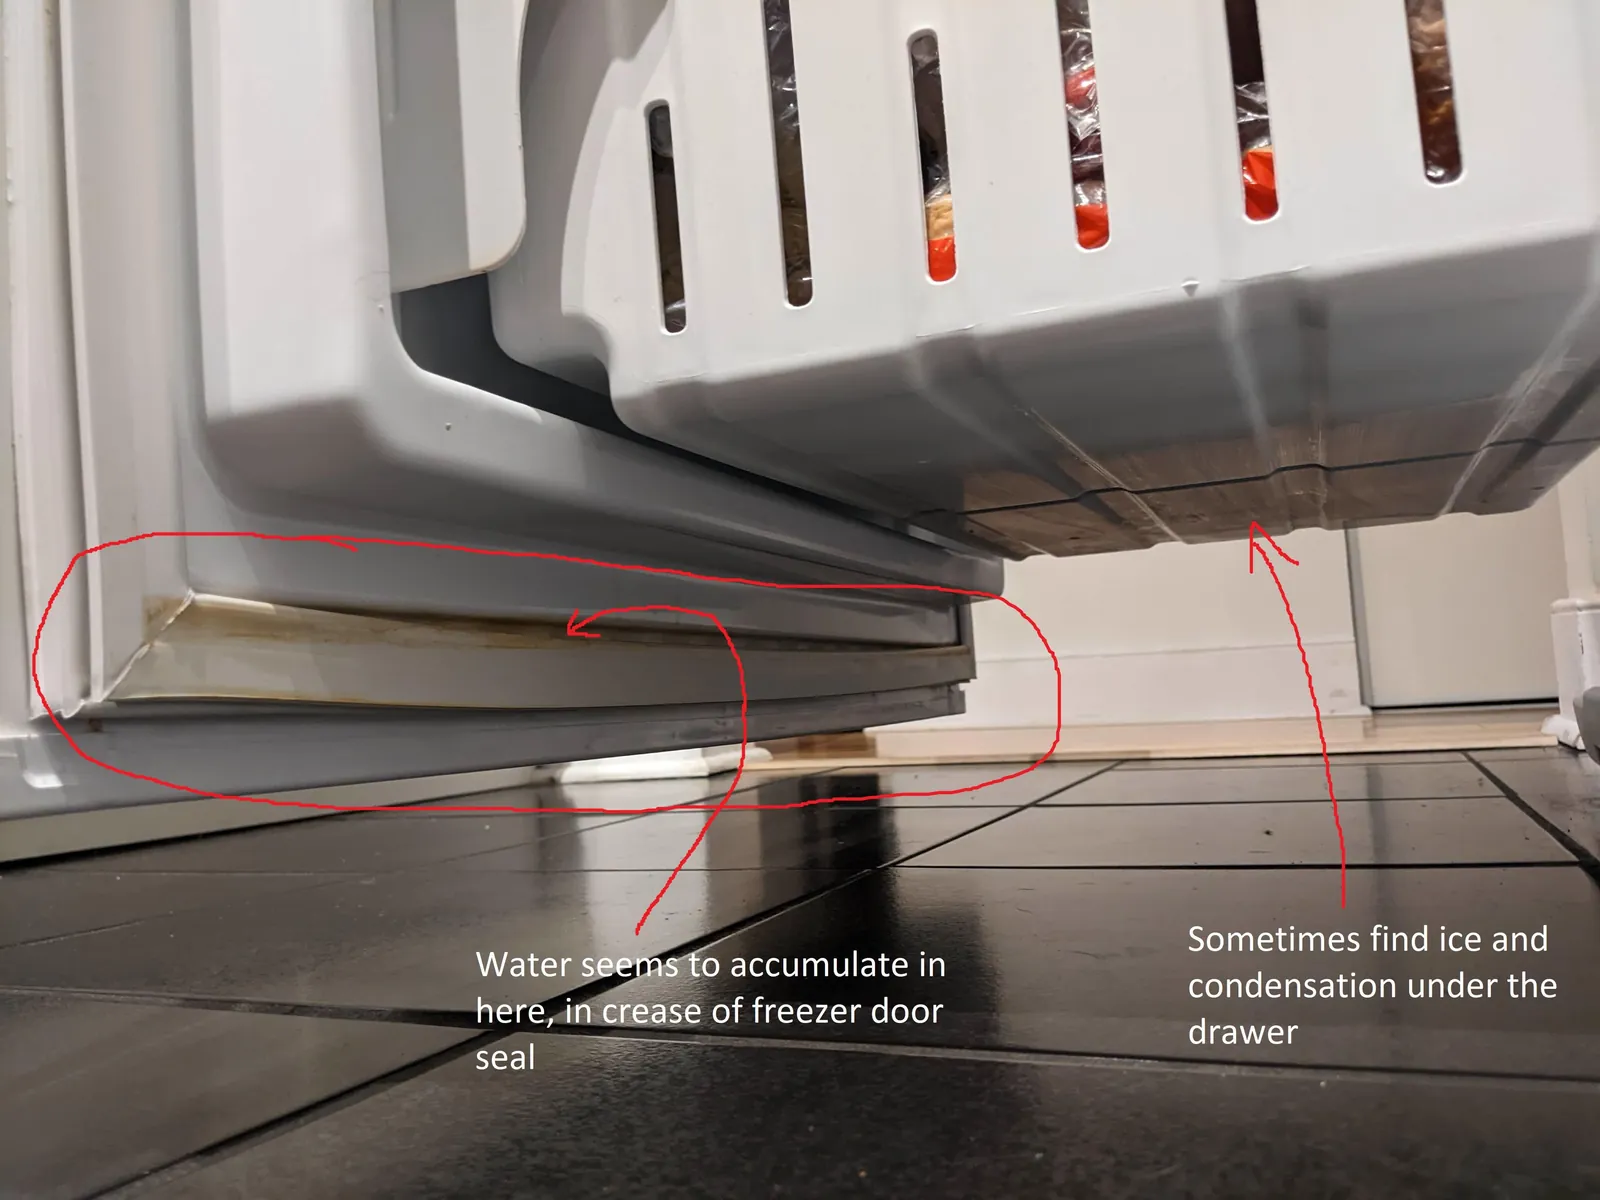
If your freezer isn’t sealing correctly, warm, humid air from your kitchen enters the unit. This air hits the cold interior, causing excessive frost and condensation that eventually overflows the drain system. Inspect your rubber gaskets carefully for cracks, debris, or areas where the seal is no longer tight.
Pro Tip: Perform the “dollar bill test.” Close the freezer door on a dollar bill. If you can pull the bill out with very little resistance, your door seal is compromised and likely needs to be replaced.
Clean the gaskets with warm, soapy water to remove sticky residue that might be preventing a tight fit. If the seal is warped, you can sometimes restore its shape by gently heating it with a hairdryer, but if it’s torn or brittle, it must be replaced to prevent constant moisture buildup.
Checking the drain pan for freezer water leaking from the bottom
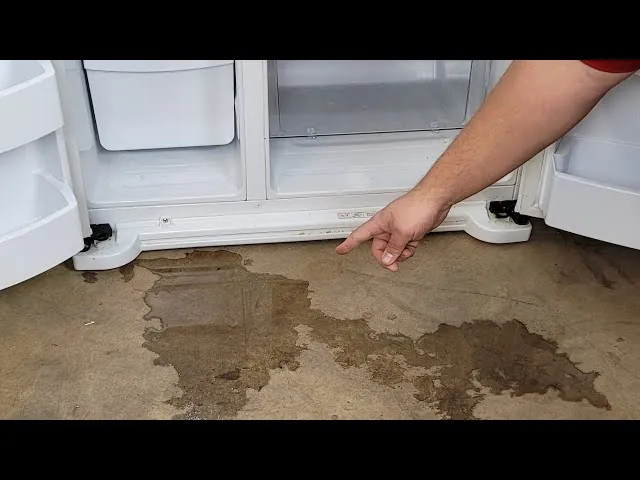
The drain pan is usually located at the very bottom of the freezer, near the compressor. Its job is to catch the water that drips from the defrost drain and hold it until it evaporates. Over time, these pans can crack due to vibrations or accidental impact, causing a slow leak that appears to come from beneath the unit.
Use a flashlight to inspect the pan for visible cracks or holes. If the pan is damaged, it will need to be replaced. Even if the pan is intact, it’s a good idea to clean it periodically.
Dust and grime can accumulate in the pan, creating an environment for mold and unpleasant odors. If the pan is overflowing, it may be due to an abnormally high amount of meltwater, which points back to a cooling issue or a door seal problem.
Analyzing the Water Supply Line
If your unit features a built-in ice maker or water dispenser, the leak might not be from the defrost cycle at all. Check the water supply line, which is usually a small plastic or copper tube running to the back of the freezer. Look for signs of moisture at the connection points.
A loose connection or a cracked water line is a common source of leaks. Ensure the compression nut is tightened properly, but be careful not to overtighten, as this can crack the plastic fitting. If you see water dripping from the inlet valve itself, the valve assembly may be faulty and require a replacement. Always turn off the water supply before attempting any repairs on these lines.
Is the Freezer Level?
Believe it or not, a freezer that isn’t level can cause water to pool in the wrong places. Most manufacturers design the interior to slope slightly toward the drain hole. If the freezer is tilted forward or to the side, water may miss the drain trough entirely and seep out the bottom of the door.
Use a carpenter’s level to check the top of the unit. Most freezers have adjustable feet at the front that you can screw in or out to ensure the unit is stable. Adjust these feet carefully until the unit sits firmly on the floor without wobbling.
Cleaning the Condenser Coils
While coils are primarily responsible for temperature regulation, dirty coils can lead to a chain reaction that results in a leak. When coils are covered in dust and pet hair, the compressor works much harder and runs longer than necessary. This extra heat can overwhelm the defrost system, leading to excess moisture that the drain pan can’t handle.
To clean the coils, unplug the unit and locate them, usually behind a kickplate at the bottom or behind the rear panel. Use a vacuum with a brush attachment to carefully remove all dust. Keeping these coils clean improves efficiency and reduces the risk of the freezer struggling to manage its internal moisture levels.
Identifying Faulty Parts
If you have cleared the drain, leveled the unit, and checked the seals, but the water keeps appearing, you may have a failed component. The most common internal parts to fail are:
- Defrost Heater: If this fails, the evaporator coils will become completely encased in ice. As the ice builds up, it will eventually leak out of the door or bottom.
- Defrost Timer: This component tells the freezer when to start the defrost cycle. If it sticks, the cycle won’t run, or it will run too often, causing drainage issues.
- Control Board: In modern digital freezers, the main control board manages the defrost cycle. A faulty board may fail to trigger the heater, leading to ice buildup.
These electrical components are harder to diagnose and often require a multimeter to test for continuity. If you aren’t comfortable working with electrical systems, this is the point where you should call a certified technician to avoid the risk of electrical shock.
When to Call a Professional
Not every repair is a DIY project. If you have checked the drain, the seals, and the supply lines, and the freezer is still leaking, the issue may be deep within the sealed cooling system. Repairs involving the compressor or refrigerant should only be handled by a licensed professional.
Furthermore, if your appliance is still under the manufacturer’s warranty, attempting to repair it yourself might void that coverage. Always check your purchase documents before unscrewing panels. A professional can quickly identify if the issue is a simple sensor failure or a more complex mechanical problem, saving you from replacing parts that aren’t actually broken.
Related guides
Frequently Asked Questions
Why is there ice inside my freezer?
Ice buildup is usually caused by warm, moist air entering the unit. This happens when the door is left open too long, the door seal is worn, or the defrost system is malfunctioning. When this air hits the cold coils, it freezes instantly. If you see ice, check your door gaskets first to ensure they’re creating a airtight seal against the cabinet frame.
Can a dirty drain pan cause leaks?
Yes, a dirty drain pan can cause leaks if it’s clogged with debris or slime. If the pan is full of gunk, the water can’t evaporate efficiently and will eventually overflow. Regularly cleaning the pan with warm, soapy water removes this buildup and allows the water to evaporate as intended, keeping your floor dry and your kitchen smelling fresh.
How do I find the defrost drain?
The defrost drain is typically located behind the back panel inside the freezer compartment. You may need to remove the food and unscrew the interior back cover to see it. It looks like a small hole or trough at the bottom of the cooling coils. If you can’t find it, consult your owner’s manual, as some models have specific access points located at the back of the unit.
Is it dangerous if my freezer leaks?
A leaking freezer is a slip hazard and can damage your flooring, but the primary danger is electrical. If water reaches the electrical components or the power cord, it can cause a short circuit or shock. Always unplug the freezer before touching any puddles or attempting to inspect the back of the unit to ensure your personal safety while performing any troubleshooting steps.
Does a leak mean my freezer is broken?
Not necessarily. A leak is often a symptom of a simple maintenance issue, such as a blocked drain or a level adjustment, rather than a broken compressor or cooling system. By following the troubleshooting steps provided, you can often fix the problem without needing to replace any expensive parts. Only when internal components like the control board or heater fail does it suggest a more significant mechanical issue.
Conclusion
If you have tried the steps above and the floor remains wet, your next step is to pull the freezer away from the wall to inspect the drain pan and the compressor area for any signs of active dripping. If you find a specific part that looks damaged, search for your freezer’s model number online to order a factory-certified replacement part before attempting the final repair.