
If your appliance has a whirlpool refrigerator leaking water inside, the most common fix is to clear the defrost drain tube located behind the rear panel of the freezer. A blockage here causes melted frost to overflow into the fridge compartment instead of draining into the pan below. This happens when food particles or ice chunks build up in the channel. You can often clear this by flushing the tube with a turkey baster filled with warm water.
Why your whirlpool refrigerator is leaking water
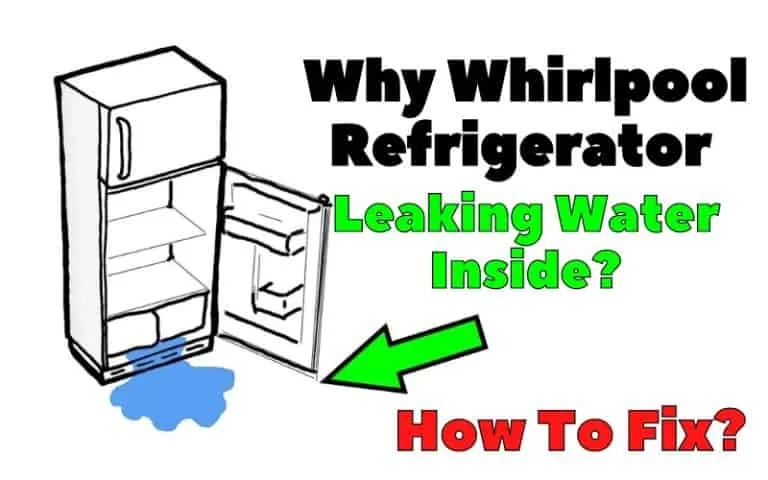
The primary reason water pools inside your fridge is a clogged defrost drain. During the automatic defrost cycle, your refrigerator melts frost from the evaporator coils. This water is meant to flow through a small drain hole into a pan underneath the cabinet. If this hole gets plugged by debris, ice, or food crumbs, the water has nowhere to go and spills into the food storage area.
A second cause involves a frozen water supply line. If the line feeding your ice maker or water dispenser has a small crack or a loose connection, it can drip slowly behind the interior panels. This often appears as water collecting in the bottom crisper drawers. You should check the connection points behind the fridge to see if any moisture is present on the tubing or the valves.
Finally, high humidity or a failing door seal can lead to excess condensation. If the rubber gasket around your door is cracked or doesn’t create a tight seal, warm air enters the unit. This air turns into liquid when it hits the cold interior surfaces. According to the U.S. Department of Energy, ensuring your door seals are clean and airtight helps keep moisture levels stable and prevents unnecessary frost accumulation.
Clear the defrost drain tube
This fix is for anyone who sees water pooling at the bottom of the fridge or ice forming under the bottom shelf. You’ll need a turkey baster, warm water, and a screwdriver to remove the back panel of the freezer. This isn’t for people who are uncomfortable using tools near electrical components; if you see damaged wiring, call a professional.
First, unplug the unit to stay safe. Remove all items from the freezer and unscrew the back panel. You’ll see the evaporator coils and, below them, a small hole or channel. If you see ice blocking this hole, use a hair dryer on a low setting to melt it. Once the ice is gone, fill your turkey baster with warm water and gently flush the drain tube to push out any hidden debris.
If the water flows freely into the drain pan at the bottom of the unit, the blockage is gone. Dry any remaining puddles inside the compartment with a clean cloth before replacing the panel.
If you encounter a foul smell or see black mold during this process, clean the area with a mixture of mild soap and water. If the drain remains blocked after three or four flushes, don’t force a wire into the tube, as you might puncture the line.
Inspect the water supply lines
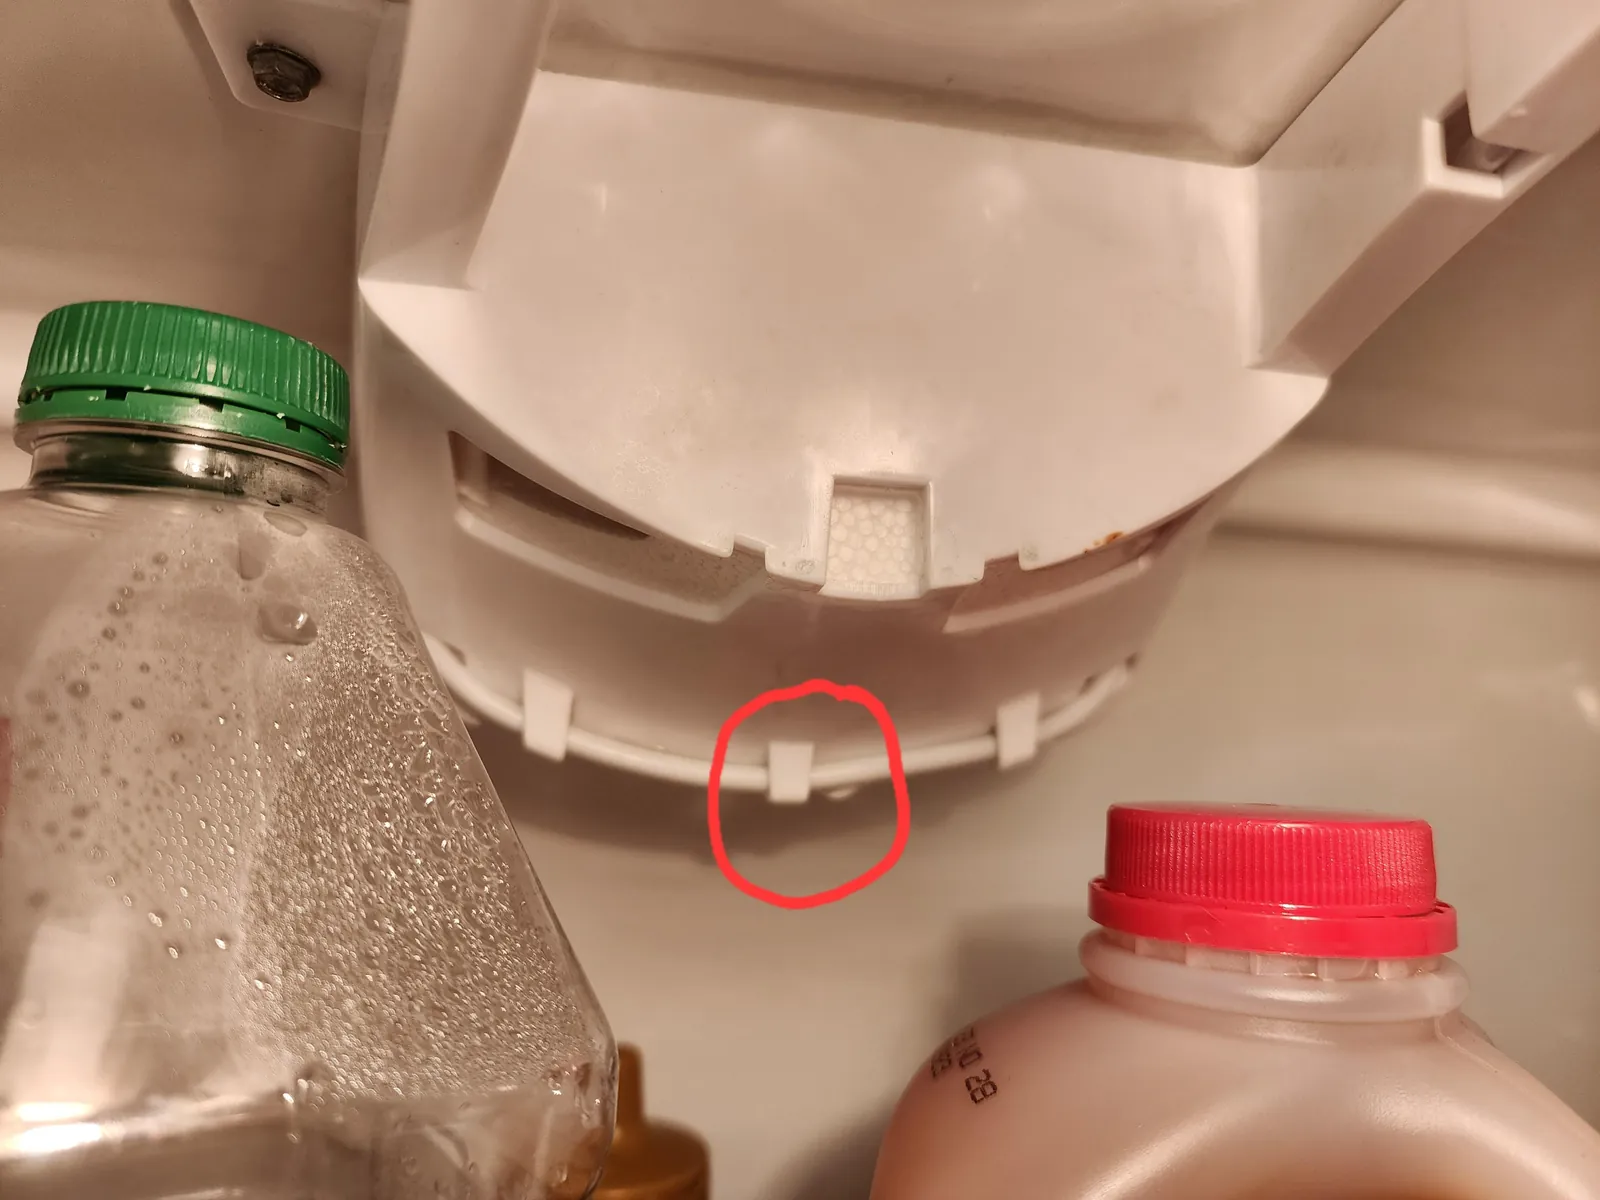
If the drain is clear but you still have a leak, check the lines feeding the ice maker. This is a good step if the water seems to be dripping from the top of the fridge or near the ice maker assembly. You’ll need to pull the refrigerator away from the wall to access the access panel on the back.
Look at the plastic tubing where it enters the fridge cabinet. If you see any signs of a white, crusty buildup or active drips, the connection might be loose. Tighten any compression nuts gently with a wrench, but don’t overtighten, as the plastic can crack. If the tubing itself is cracked, it must be replaced with the exact part specified in your owner’s manual.
Use caution when working near the compressor area and avoid touching electrical terminals. If the leak is coming from inside the sealed valve housing, you should stop and contact a licensed appliance repair technician. Attempting to repair a pressurized water valve yourself can lead to flooding if a seal fails.
Replace a damaged door gasket
When the fridge leaks only during hot, humid weather, the issue is often a bad door seal. A door that doesn’t close tightly allows warm air to enter, which turns into condensation that drips down the back wall. This fix is worth the effort if you notice the door feels loose or if you can easily pull a piece of paper out from between the gasket and the frame when the door is closed.
To check your seal, close the door on a piece of paper. If it slides out with no resistance, the seal isn’t doing its job. You can try cleaning the gasket with warm, soapy water to remove sticky residue that might be preventing a good seal. If the rubber is brittle or torn, you must order a replacement gasket designed for your specific model number.
Installing a new gasket is simple but requires patience. Peel the old one out of the channel, then press the new one into place, starting at the corners. This job isn’t for someone who can’t lift a heavy door or stand for an extended time. If you find that the door itself is sagging and causing the gap, you may need to adjust the leveling legs on the bottom of the fridge.
Common mistakes that increase leaks
Overstuffing the shelves blocks the rear air vents. This prevents proper circulation, forcing the compressor to run continuously while ice builds up on the coils. Eventually, that ice melts and spills into the food compartment. Keep at least two inches of clearance between your items and the back wall to maintain consistent airflow.
Leaving the door ajar lets in warm, humid air. The system can’t process this moisture load, so it condenses into water on the interior walls. If you hear the door alarm, close it immediately rather than waiting to finish your task.
Using sharp tools to chip ice often punctures the thin aluminum refrigerant lines hidden behind the plastic liner. This creates a permanent, expensive leak that renders the unit irreparable. If you must clear ice, use a warm towel or a hair dryer on a low, non-contact setting.
Ignoring a slow drip invites floor rot and mold. If you see standing water, check the defrost drain hole first. It’s likely clogged with food debris. Use a pipe cleaner to clear the blockage before the water overflows the internal tray.
Manage humidity and drain health
The best way to prevent future leaks is to keep the path for condensation clear and ensure the environment inside the fridge remains dry. If you’re doing this, do this instead to keep your unit running well.
| If you’re doing this | Do this instead | Why |
|---|---|---|
| Placing hot food in the fridge | Let food cool to room temperature | Hot food creates excess steam |
| Pushing food against the back wall | Leave 2 inches of space | Air needs to circulate freely |
| Wiping the seal with bleach | Use warm soapy water | Bleach can dry out the rubber |
| Ignoring a puddle on the floor | Inspect the drain pan | Water may be leaking from the pan |
Most leaks originate at the defrost drain located along the rear interior wall. If you notice ice buildup, clear the blockage with a thin, flexible plastic wire. Avoid using metal tools, which can puncture the evaporator coils and cause a total system failure.
If your fridge sits in a garage or humid basement, check the drain pan frequently, as high ambient humidity can cause it to overflow. Because maintenance frequency depends on usage, consult your owner’s manual for specific guidance. If the pan is dry despite water on the floor, the drain tube may have detached.
Related guides
- Whirlpool Refrigerator Troubleshooting: Simple Fixes for Cooling in 2026
- How Long Should a Refrigerator Last: Lifespan and Maintenance
- Rheem Hot Water Heater Troubleshooting: 5 Simple Fixes in 2026
Frequently asked questions
Can a whirlpool refrigerator leaking water inside cause mold?
Standing water inside your fridge provides the moisture needed for mold to grow on plastic walls or door seals. Clean any musty areas immediately using mild soap and water, ensuring the surface is completely dry afterward. If mold has spread into the insulation or behind panels, contact a professional cleaning service.
How long does it take to clear a frozen drain tube?
Clearing a frozen drain channel typically takes 15 to 30 minutes, depending on the amount of ice buildup. Use warm water or a hair dryer on a low setting to melt the blockage. Avoid using extreme heat, as this can melt the internal plastic components of your freezer.
Is it safe to use a wire to clear the drain?
Never use a wire or metal hanger to clear the drain tube, as you risk puncturing the plastic line or damaging the evaporator coils. Use warm water with a turkey baster or a hair dryer on a low setting instead. If these methods fail, the obstruction may be located deeper in the system.
Why is my floor wet under the refrigerator?
A wet floor usually indicates that the drain pan is cracked or the drain tube is misaligned. Inspect the area under the fridge with a flashlight to determine if water is missing the pan or leaking from a crack. If the pan is damaged, order a replacement using your model number.
How often should I check the door seals?
Check your door seals regularly to ensure they’re tight and free of cracks. Use the paper test: close the door on a piece of paper and pull it out; if there’s no resistance, the seal is failing. Keep seals clean to help them last longer, but replace them if they become brittle.
Conclusion
The most effective way to solve this issue is to address the blockage before it causes water to damage your food or the interior finish of your appliance. Keeping the drain tube clear and the door seals tight will keep your unit functioning properly for many years.