
Protecting your pipes from freezing and bursting during a long winter requires removing all water from the pump and hoses by pouring two cups of non-toxic RV antifreeze into the base. You should perform this task before the temperature in the room drops below 32°F, as water left in the system can expand and crack internal components. Preparing a dishwasher for the winter season is a simple but vital process for anyone leaving a vacation home or cabin unoccupied during the colder months.
Tools needed to winterize your dishwasher
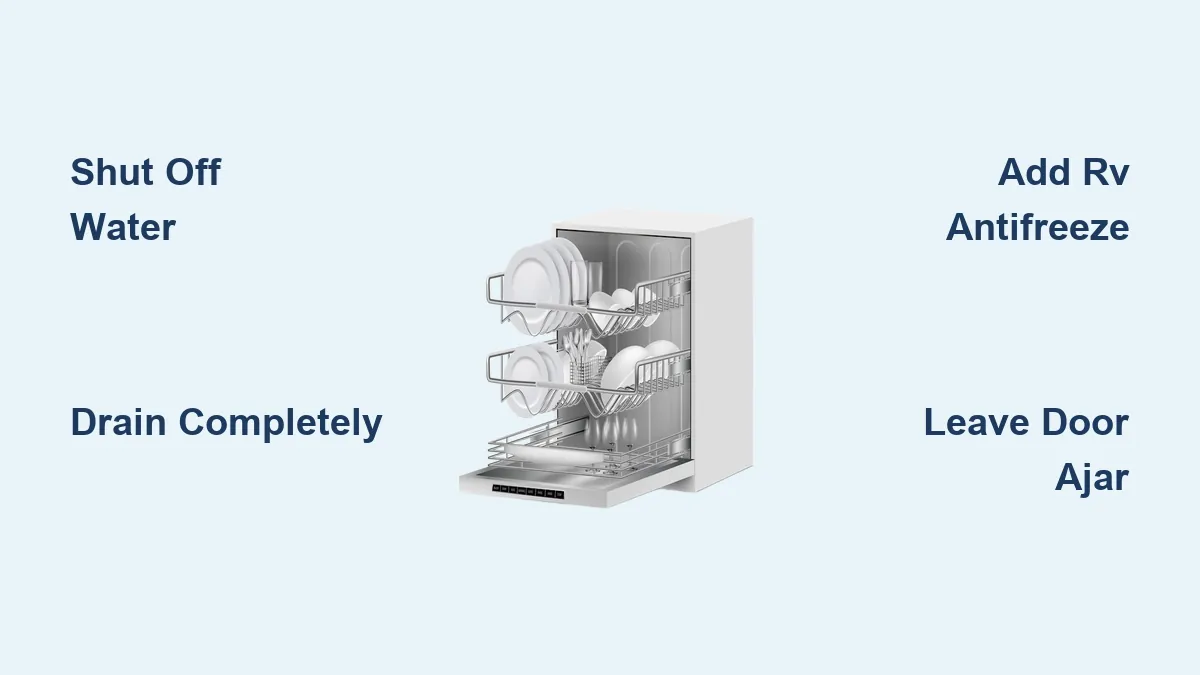
To finish this job, you need to gather a few supplies before you start. Having everything ready ensures you don’t miss a step or leave water behind that could cause damage later.
- Non-toxic RV antifreeze: Use only the pink, propylene glycol-based type meant for plumbing systems. Never use automotive engine coolant, as it’s poisonous and can damage rubber seals. If the label doesn’t explicitly state “potable water systems,” don’t buy it.
- A wet/dry shop vacuum: This is the best tool for pulling stubborn water out of the bottom of the tub or low spots in the lines. A vacuum with at least a 2-gallon capacity is sufficient for most standard RVs.
- Large sponge and bucket: Use these to soak up any remaining puddles that the vacuum can’t reach.
- Adjustable wrench: You’ll need this to disconnect the supply lines. If you encounter a stubborn fitting, use a second wrench to hold the pipe steady to prevent twisting the copper or plastic tubing behind the wall.
- Towel or rags: Keep these nearby to catch drips when you move the hoses.
- Owner’s manual: Check your specific model’s documentation to see if the manufacturer suggests a specific drain point.
Many owners mistakenly assume that blowing out the lines with compressed air is enough. While air removes most water, it often leaves small pockets in the P-trap or low-point valves that will freeze and crack plastic fittings. If your RV has an ice maker or a washing machine hookup, you must bypass these systems or run antifreeze through them individually.
If you lack a shop vacuum, a bucket and sponge will work, though it adds roughly thirty minutes to the process. Always prioritize the lowest point of your plumbing system; if you leave even a tablespoon of water there, the expansion during a hard freeze can split your pipes.
Steps to secure your appliance
Follow these steps carefully to ensure no water remains in the pump housing. If you aren’t comfortable working with plumbing connections, contact a local plumber to handle the disconnection.
- Turn off the power to the dishwasher at the main circuit breaker panel.
- Shut off the water supply valve that leads to the appliance.
- Disconnect the water supply line from the inlet valve using your wrench.
- Run a “drain” or “cancel” cycle for 60 seconds to push out any water left in the pump.
- Open the door and use the shop vacuum to suck water out of the sump area at the bottom.
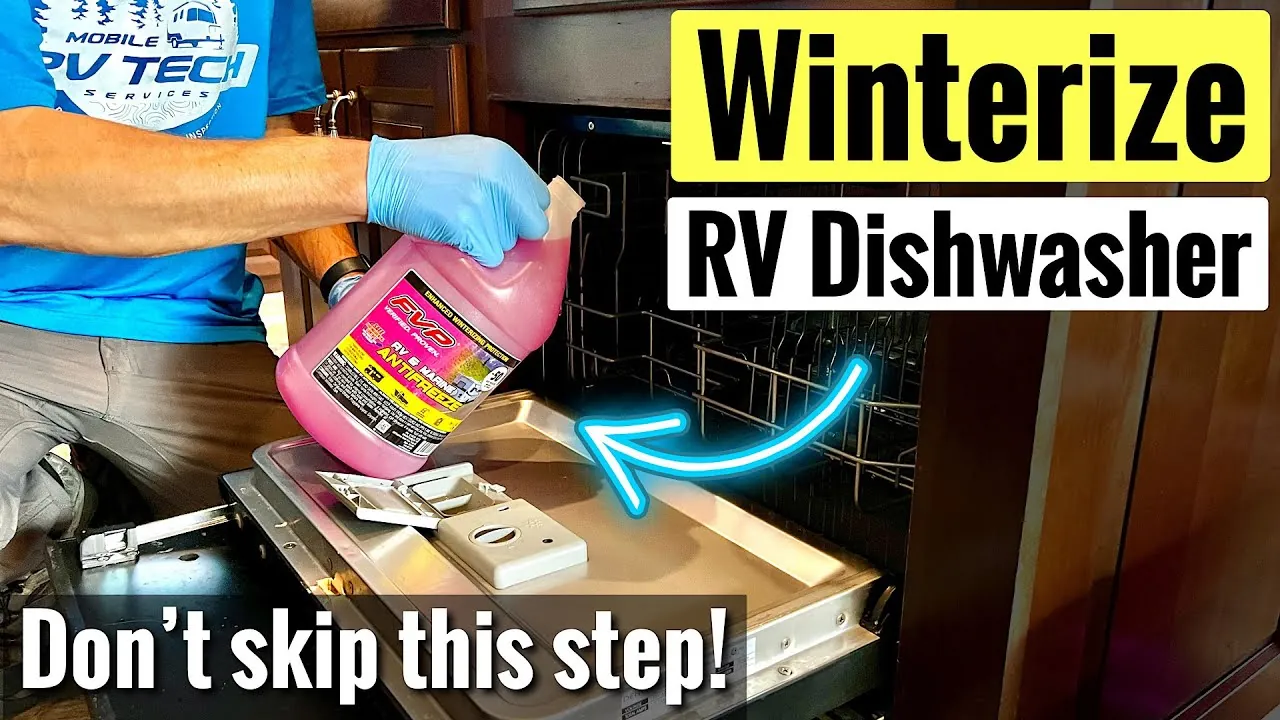
- Pour 2 cups of non-toxic RV antifreeze into the bottom of the tub.
- Close the door and manually rotate the pump or run a very short drain cycle if the manual allows, to distribute the fluid.
- Disconnect the drain hose from the sink tailpiece or garbage disposal and drain it into a bucket.
Tip: Keep a bucket under the inlet valve when you disconnect the supply line, as a small amount of water will always spill out. Careful: Never attempt to disassemble the pump or motor housing yourself, as this can void your warranty and cause leaks when you return.
Adjusting for your specific situation
The effort required changes depending on how you use your home and the severity of the local climate. The following table helps you estimate the time and focus needed for your setup.
| Situation | Time Needed | Key Difference | What to Watch |
|---|---|---|---|
| Standard kitchen | 30 minutes | Simple drain | Check for leaks |
| Old, low-drain model | 45 minutes | Harder to empty | Ensure pump is dry |
| Seasonal cabin | 60 minutes | Full line blowout | Inspect all hoses |
| Hard-to-reach unit | 40 minutes | Tight space access | Don’t force fittings |
If your area faces temperatures consistently below 20 degrees Fahrenheit, a simple gravity drain is insufficient. You must use compressed air to clear the lines. Without this step, residual moisture expands, which can crack internal valves.
Most people underestimate the time needed to clear the pump housing. If you hear a faint gurgling sound after finishing, you have failed to clear the trap. That trapped water will freeze and split the plastic casing within hours.
If you’re working in a tight space, use a basin wrench rather than a standard pipe wrench. Standard tools often slip, stripping the threads on older brass fittings. If the fitting resists, stop immediately and apply a penetrating oil. Forcing a stuck valve usually results in a broken pipe behind the wall. Always start with a basic drain and add a small amount of non-toxic antifreeze to ensure total protection.
Checking for a successful result
You know the job is done right when the pump area is completely dry and the remaining fluid in the system is concentrated with antifreeze. A poor result occurs if you leave fresh water in the pump, which creates a high risk of the plastic housing cracking when temperatures drop.
The most common quality problem is “slush” formation in the drain line. This happens because the antifreeze is diluted by too much leftover water. To prevent this, always vacuum the sump thoroughly before adding the fluid. You can confirm the system is ready by checking that no visible water remains in the bottom filter area. If you see standing water, it means the pump isn’t fully empty; repeat the vacuuming process until the area is dry to the touch.
Test the consistency by drawing a small sample from the lowest drain point. If the fluid appears cloudy or thin, you have failed to displace enough water. In this case, add another quart of concentrated antifreeze and cycle the pump for thirty seconds to ensure a full blend.
If the fluid remains clear and viscous, the system is protected against freezing down to the rated temperature on the bottle. Never rely on the pump’s internal sensors to signal completion, as they often fail to detect residual moisture trapped in the intake manifold.
Rules and storage requirements
Use a wet-dry shop vacuum on the drain hose to pull out the final cup of standing water that gravity misses. Once the non-toxic RV antifreeze is in place, leave the dishwasher door slightly ajar to allow air circulation and prevent mold growth during the months you’re away. Record the date in your maintenance log so you remember to flush the system with a full cycle before using it again.
If you have a high-end unit with complex electronic sensors, check the manufacturer’s website for specific long-term storage instructions. Many modern units require a specific “service mode” activation to drain internal heat exchangers. Skipping this step often causes the sensors to trip a permanent error code that requires a technician to reset. If you’re unsure about your home’s water pressure or pipe layout, consult a professional plumber.
Apply this rule: if the dishwasher is located on an exterior wall, add an extra layer of insulation around the supply line before you leave. If the unit is on an interior wall, standard winterization is sufficient.
Alternative winterization methods
Using compressed air
If you have access to an air compressor, you can blow out the lines instead of using antifreeze. This removes all liquid, which is the cleanest method. However, you must be careful not to use too much pressure, as this can blow out the seals inside the dishwasher’s inlet valve.
Full unit removal
In extreme climates where the home will be unheated for many months, some owners remove the dishwasher entirely. This allows you to tilt the unit to drain every drop of water. This is a major job that requires disconnecting electrical and plumbing lines, so only do this if you have the right tools.
Heat tape installation
If you can’t drain the unit, you can wrap the exposed water supply pipes in heat tape. This keeps the water inside above freezing. This is an expensive, temporary solution that relies on the power staying on, so it isn’t as reliable as draining the system.
Frequently asked questions
Can I leave water in the dishwasher for winter?
No, you can’t leave water in the unit because it will freeze and expand. This expansion causes the plastic pump housing, hoses, and inlet valves to crack. When you return and turn the water back on, these cracks will leak, causing significant damage to your floors and cabinetry.
How long does it take to winterize?
It takes about 30 to 45 minutes for a standard installation. This includes the time to drain the lines, vacuum the sump, and add the antifreeze. If your dishwasher is hard to reach or you need to disconnect plumbing fittings in a tight cabinet space, allow an extra 15 minutes.
Is it safe to use car antifreeze?
No, never use automotive antifreeze. It’s highly toxic and can leave a chemical residue that’s impossible to fully clean out. This will contaminate your dishes and pose a serious health risk to anyone using the dishwasher later.
How often should I add more antifreeze?
You only need to add it once at the start of the winter season. The antifreeze doesn’t evaporate quickly in a closed system, so it will remain in the pump and hoses until you flush it out in the spring.
What happens if I forget to drain the lines?
If you forget to drain the lines, the water inside the inlet valve and pump will likely freeze. This usually results in a cracked valve that sprays water the moment you turn the main water supply back on in the spring.
How do I know if the antifreeze is working?
You know it’s working because the antifreeze lowers the freezing point of the liquid remaining in the system. As long as you have used the correct amount and it has mixed with the tiny bit of water left in the pump, the liquid will remain fluid even in sub-zero temperatures.
Conclusion
When you return in the spring, don’t just start your first cycle. You’ll need to run a quick rinse program with an empty machine to flush out any remaining antifreeze. Once that’s done, your dishwasher will be ready to handle your dirty dishes again, keeping your kitchen running smoothly all year long.