
You can solve many common lg refrigerator ice maker problems by checking the water filter connection, the freezer temperature, and the ice level sensor. If your ice maker stops producing cubes, the most frequent cause is a clogged or improperly seated water filter that restricts flow to the unit. When the filter isn’t the culprit, the system often requires a simple manual reset or a temperature adjustment to get back to work.
Why your refrigerator ice maker stops working
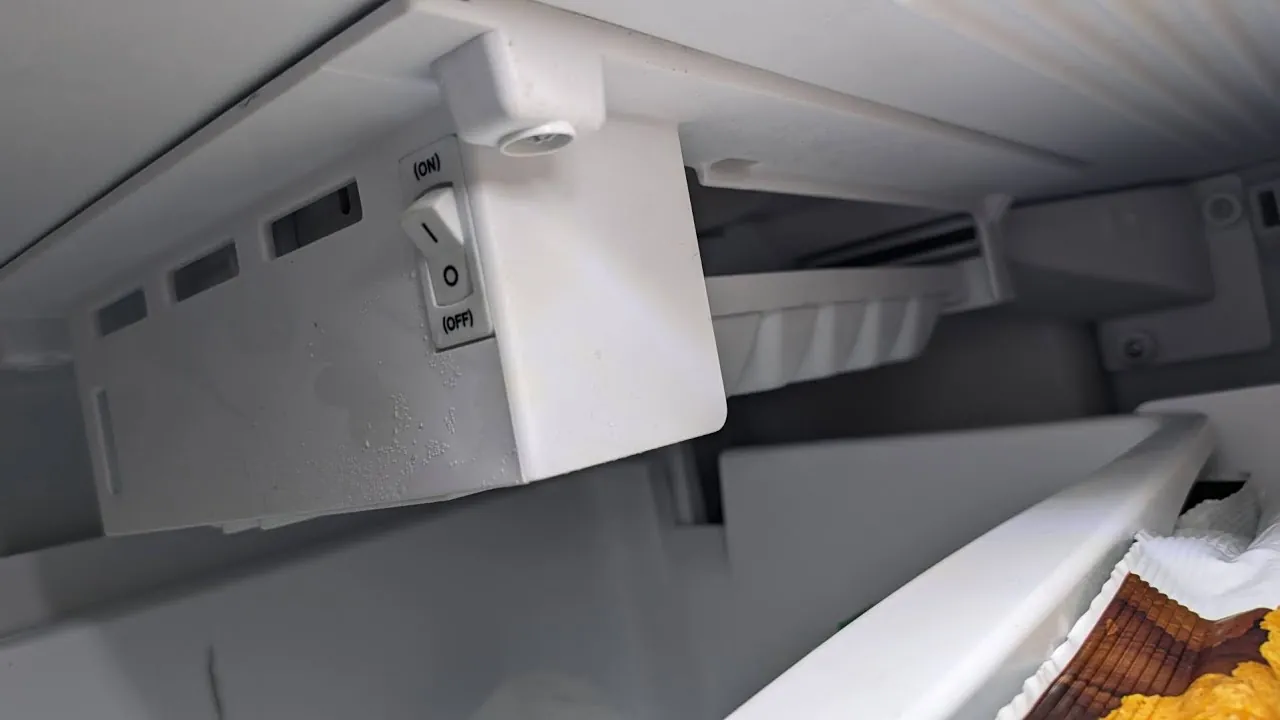
Most issues with these units stem from blocked water lines, incorrect freezer temperatures, or sensor errors. This is a common issue after a power outage or when the door is left ajar for a long period.
One frequent cause is the water filter. If you haven’t replaced the filter in the last six months, sediment buildup can block the flow of water to the ice mold. Even a brand-new filter can cause problems if it isn’t pushed and twisted into the housing until it clicks. If the filter is seated poorly, the internal valve remains closed, and no water reaches the ice maker.
Finally, the ice level sensor can get blocked by a stray cube or a pile of frost. When the sensor thinks the bin is full, it stops production immediately. This isn’t a mechanical failure but a simple physical blockage that prevents the arm or optical sensor from detecting the need for more ice.
Reset the ice maker and verify connections
If you suspect a minor software or sensor glitch, a manual reset is the first step. Locate the small, circular button on the side or bottom of the ice maker assembly. Press and hold this button for three seconds until you hear a chime or see the unit begin its cycle. This forces the system to check its own status and clear minor errors.
Before you reset, always check the water supply line behind the fridge. Ensure the line isn’t kinked or bent, as even a small crease can stop the water pressure needed for the mold to fill. If you have recently moved the refrigerator, the line may have caught on the floor or the wall bracket.
If you’re comfortable with basic tools, check the water pressure at the supply valve. The LG Electronics support page notes that the water pressure must be between 20 and 120 psi for the system to function.
If you don’t have a pressure gauge, you can test this by holding a measuring cup under the water dispenser for ten seconds; you should collect at least 6 ounces of water. If you get less, the issue is your home plumbing, not the appliance.
Clean the components and check the temperature
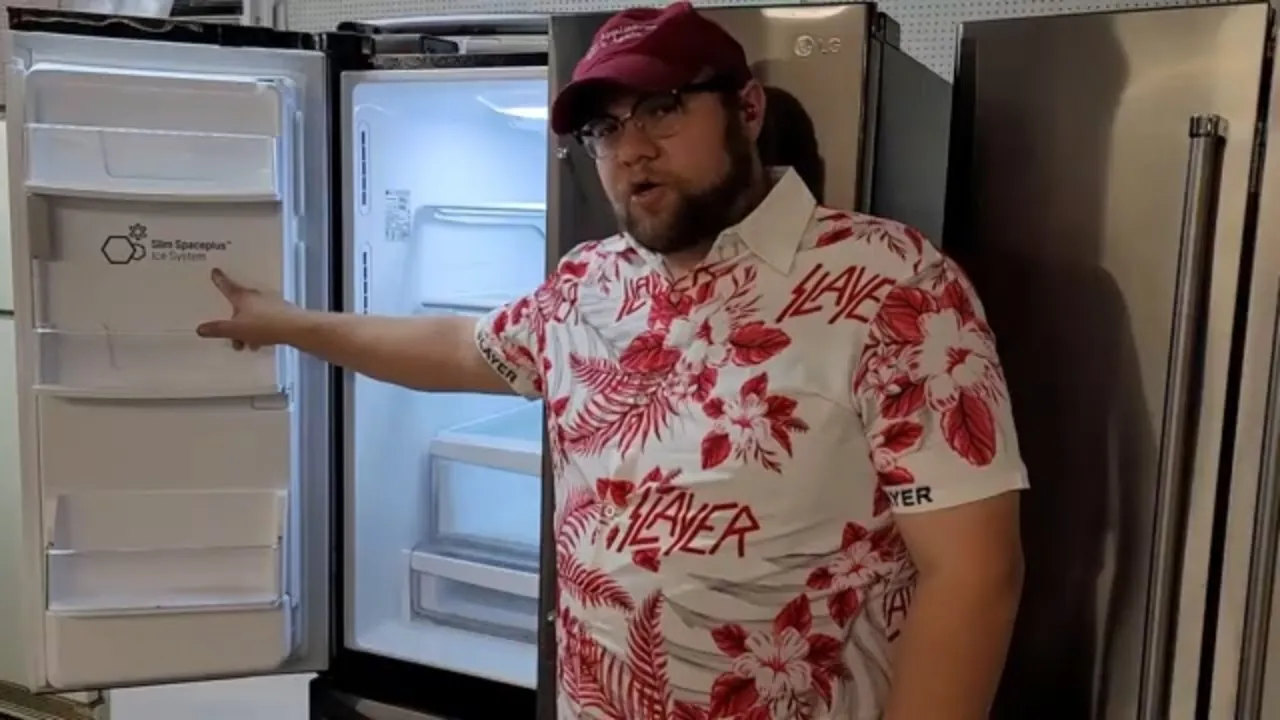
Sometimes the issue is physical debris or ice buildup that prevents the ejector arm from moving. Turn off the ice maker using the control panel and remove the ice bin completely. Inspect the area for frost, loose ice chips, or stuck cubes that might be blocking the mechanical parts of the unit.
Use a soft, damp cloth to wipe down the internal sensors and the area around the ice mold. Avoid using sharp tools like knives or screwdrivers to chip away ice, as these can easily puncture the cooling coils or damage the plastic housing. If you damage the liner or the coils, you’ll likely need a professional repair technician to fix the sealed system.
Check your temperature settings carefully. The ideal temperature for your freezer is 0°F to 5°F. If the display shows a higher number, adjust it downward and wait 24 hours for the system to stabilize. If you have a large amount of new food in the freezer, the temperature might rise temporarily, which stops the ice maker from working until the air cools down again.
Replace the water filter and housing
If you have tried resetting the unit and checking the temperature, the water filter is the next most likely point of failure. A dirty filter restricts flow, but a damaged filter head can cause leaks or air pockets in the line. Remove the filter and inspect the O-rings for any cracks or missing pieces that could prevent a perfect seal.
If the filter looks fine, try running the unit without a filter temporarily to see if ice production resumes. Many models have a bypass plug that allows water to flow when no filter is installed. If the ice maker starts working without the filter, you simply need to purchase a new, genuine brand-name filter to restore full functionality.
This fix isn’t for everyone. If you notice water leaking from the filter housing itself or if the plastic threads inside the fridge are stripped, don’t attempt to force a new filter into place. You’ll need to contact an authorized service center to replace the filter head assembly. Attempting to repair the internal water valves or electrical connections yourself can void your warranty and lead to water damage in your kitchen.
Avoid these common troubleshooting mistakes
- Forcing the ice bin into place: Never push the bin with excessive force if it doesn’t slide in smoothly, as this can break the sensor arm or the tracks.
- Using hot water to melt frost: Never pour hot water inside the freezer to clear ice; this creates excess moisture that will freeze into a larger, harder block of ice.
- Turning the water supply off and on: Don’t cycle the main water valve rapidly, as this can cause air hammers in your pipes and potentially damage the fridge’s internal water valve.
- Ignoring the “Filter” light: If the indicator light is red, the system may intentionally restrict water flow to prevent contaminants from entering the ice mold.
- Overloading the freezer shelves: Don’t block the air vents at the back of the freezer, as this stops cold air from reaching the ice maker and prevents it from freezing the water.
Keep the ice maker running smoothly
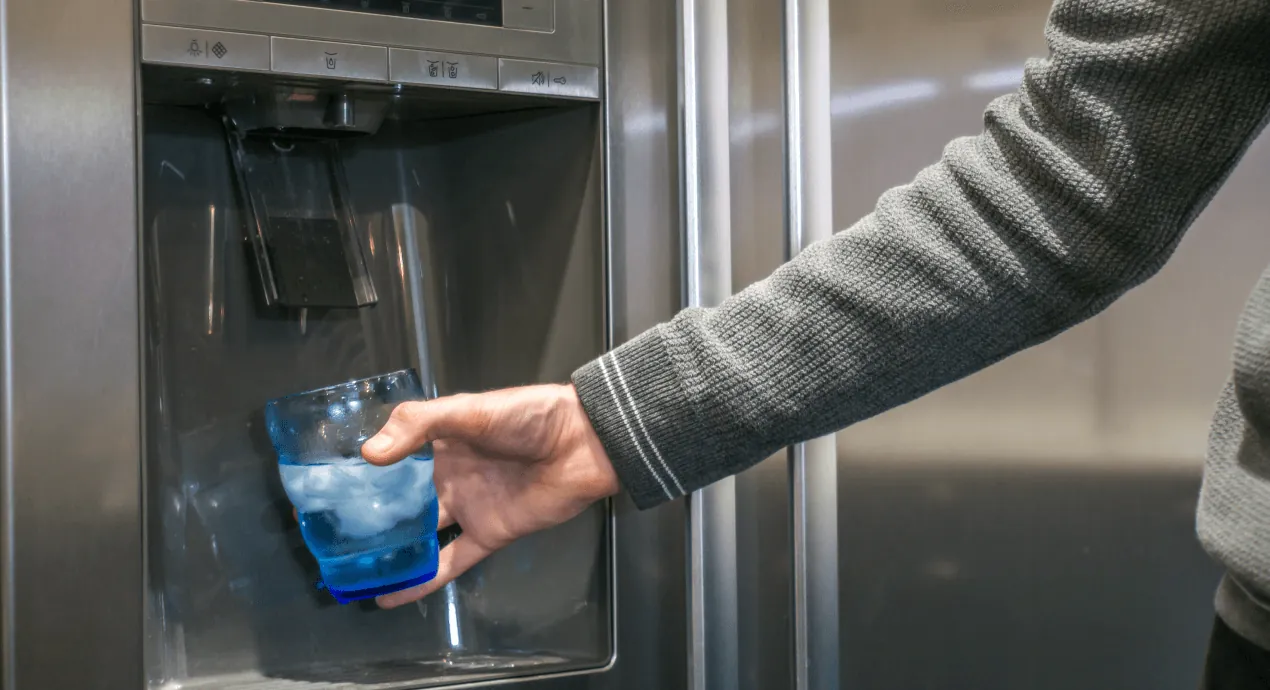
To prevent future problems, establish a routine for maintaining your refrigerator’s water system. Most issues are avoidable if you keep the freezer organized and the water flow consistent.
| If you’re doing this | Do this instead | Why |
|---|---|---|
| Changing filter yearly | Change every 6 months | Filters clog and reduce flow over time |
| Storing food near vents | Keep vents clear | Blocks cold air for ice production |
| Using ice older than 3 weeks | Empty the bin monthly | Old ice absorbs odors and shrinks |
| Leaving the door open | Close immediately | Warm air creates frost on sensors |
| Resetting every single day | Check the temperature | Frequent resets hide mechanical issues |
If your ice cubes emerge cloudy or misshapen, your water pressure is likely dropping below the required 20 psi. Install a simple inline gauge to confirm the pressure before calling a technician.
Many owners mistakenly assume that a slow ice maker is simply a sign of age. In reality, a buildup of mineral scale on the internal water valve is usually the culprit.
Always check your freezer temperature before troubleshooting the ice maker. If you see frost forming on the back wall, the door seal has failed. Replace the gasket immediately to prevent the ice maker from freezing over.
Related guides
Frequently asked questions
Can I fix a broken ice maker myself?
You can perform basic tasks like resetting the unit, replacing the water filter, and clearing frost blockages. These steps resolve most common issues that don’t involve internal damage. If the system still fails to produce ice, the problem likely involves the water valve or control board, which require professional service.
How long does it take to make ice?
It typically takes 24 to 48 hours for a fresh batch of ice to fill the bin after a reset. The ice maker cycles every few hours, but it needs time to reach the correct temperature. If you have just installed or moved the fridge, wait at least one full day before checking for cubes.
Is it safe to eat ice from a dirty bin?
You should discard any ice that has been sitting in a bin for a long time or if the bin shows signs of mold. The freezer isn’t a sterile environment, and bacteria can survive in cold temperatures. If you notice odors or discoloration, empty the bin, wash it with soap, and dry it completely.
What happens if the water line freezes?
If the water line freezes, the ice maker will stop receiving water even if the supply valve is open. This often happens if the freezer temperature is set too low or if there’s a gap in the door seal. You can try to thaw the line by unplugging the fridge, but persistent blocks require a technician.
How do I know if the sensor is broken?
You can test the sensor by manually moving the ice level arm or clearing any obstruction from the optical sensor area. If the ice maker doesn’t begin a cycle after you clear the area and press the reset button, the sensor may be faulty. A broken sensor prevents the unit from detecting bin levels.
Why is my ice maker making a loud noise?
A loud noise usually indicates that the ejector arm is hitting a misshapen ice cube or that the water valve is struggling. Turn off the ice maker and inspect the mold for any jagged cubes. If the noise continues after removing all ice, the internal motor or water inlet valve may be failing.
Conclusion
Regular maintenance is the most effective way to keep your appliance running for many years. By keeping the filter fresh and the airflow clear, you avoid the most common causes of system failure. If you ever feel uncertain about a repair, contact the manufacturer’s customer service to find a local, authorized professional who can handle the job safely.