
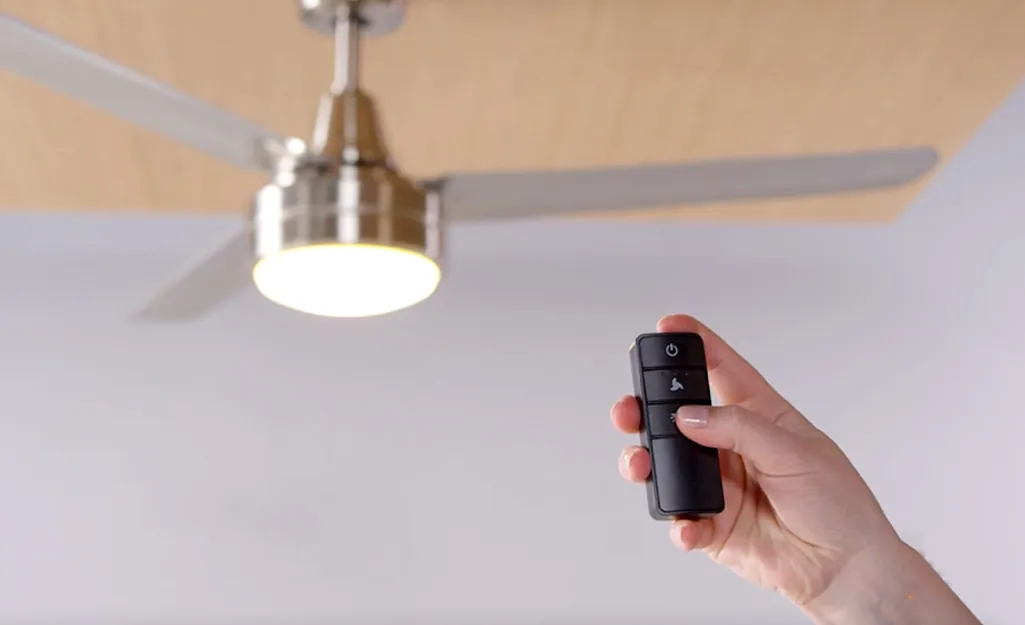
Resetting a ceiling fan remote is usually accomplished by cycling the power to the fan unit and re-pairing the transmitter using the dip switches or the dedicated learning button. When your fan stops responding to the remote, the communication link between the receiver—tucked inside the fan canopy—and the handheld transmitter has likely been interrupted. This guide will walk you through the standard procedures to restore full control over your airflow and lighting settings without needing to call a professional technician.
Key Takeaways
- Always verify your batteries are fresh before attempting a full system reset.
- The power-cycle method is the most effective way to clear temporary receiver glitches.
- Dip switch alignment must match between the remote and the receiver for older models.
- Most modern fans require a “learning mode” activation within 30 seconds of power restoration.
- Safety first: use a sturdy ladder and never touch internal wiring without turning off the breaker.
How to Reset Ceiling Fan Remote
The most common reason for a remote failure is a simple desynchronization caused by a power surge or a battery drain. To perform a standard reset, start by turning off the power at the wall switch or the circuit breaker. Wait for at least 30 seconds to allow the internal capacitor to discharge completely.
Once the power is restored, immediately press and hold the “Learn” or “Pair” button on the remote for five to ten seconds. If your fan is equipped with a light, it will often blink or pulse to confirm that the pairing process has been successful and the signal has been established.
Checking Your Power Source
Before you assume the remote is broken, verify that the fan is receiving electricity. Many people mistake a dead receiver for a broken remote. Check the circuit breaker panel to ensure the switch hasn’t tripped.
If the wall switch is a dimmer, it might be interfering with the signal; standard dimmers are generally incompatible with remote-controlled ceiling fans. Ensure your wall switch is in the “On” position, as the remote can’t function if the wall switch cuts off the power supply entirely.
| Component | Potential Issue | Recommended Action |
|---|---|---|
| Batteries | Low voltage | Replace with fresh alkaline cells |
| Wall Switch | Incorrect setting | Ensure the switch is fully “On” |
| Receiver | Signal interference | Relocate nearby wireless devices |
| Dip Switches | Mismatched codes | Align settings on remote and fan |
Managing Dip Switch Settings
If you own an older ceiling fan model, the remote uses physical dip switches—small, sliding plastic tabs—to define the radio frequency channel. These switches must match exactly between the handheld remote and the receiver unit located inside the fan canopy.
If the remote was dropped or the settings were bumped, the codes will no longer align. Open the battery compartment of your remote and note the pattern of the switches. You’ll then need to access the receiver inside the fan canopy to ensure the switches there are set to the exact same position.
Using the Learning Mode
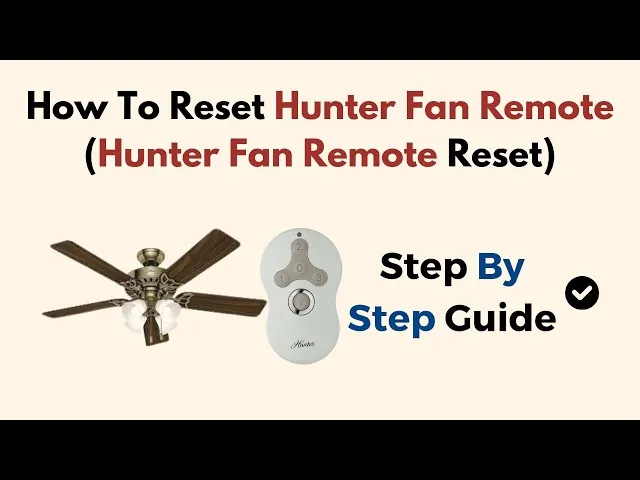
Modern ceiling fans, particularly those from brands like Hunter, Casablanca, or Hampton Bay, often utilize a digital pairing process rather than physical switches. This is known as the learning mode. To initiate this, turn the power off at the wall switch for at least 30 seconds.
Turn the power back on and, within the first 30 seconds, press and hold the “Fan Off” or “Learn” button on your remote. The fan will typically cycle through its speeds or flash its lights, indicating that it has successfully registered the unique ID code from your specific remote control.
Troubleshooting Remote Signal Interference
Sometimes the remote reset works, but the signal is weak or inconsistent. This often occurs because of electromagnetic interference from other household electronics. Devices like wireless routers, cordless phones, or even smart home hubs can disrupt the radio frequency signal.
Try moving these devices away from the fan area. Additionally, ensure that the antenna wire on the receiver is hanging freely inside the canopy and isn’t pressed against metal housing, which can act as a shield and dampen the signal strength significantly.
Battery Replacement and Maintenance
A common oversight is failing to recognize that “low battery” symptoms can mimic a broken remote. When batteries lose voltage, the signal transmission becomes intermittent before stopping entirely. Always use high-quality alkaline batteries rather than rechargeable ones, as the voltage output of rechargeable cells can sometimes be too low to power the transmitter’s radio frequency circuit correctly.
If the remote has an LED indicator light, it should glow brightly when you press a button; if the light is dim or flickering, the batteries are almost certainly the culprit.
Safety Guidelines for Fan Repairs
When working with ceiling fans, you’re dealing with electrical components that require caution. Always follow the guidelines provided by the Consumer Product Safety Commission regarding the proper installation and maintenance of electrical fixtures.
Never attempt to bypass safety sensors or wire the receiver in a way that differs from the manufacturer’s instructions. If you ever smell burning plastic or hear buzzing noises coming from the fan canopy, turn off the power at the main breaker immediately and contact a licensed electrician to inspect the wiring.
Comparing Reset Methods
Different fans require different approaches based on their manufacturing date and internal technology. The following table highlights the primary differences between the three main methods used to restore functionality.
| Method | Best For | Requirement |
|---|---|---|
| Power Cycle | Universal issues | 30-second power off/on |
| Dip Switch | Older/Vintage fans | Matching code patterns |
| Learning Mode | Modern smart fans | Button sequence timing |
Why Is My Fan Not Responding?
If you have tried the reset steps and the fan still doesn’t move, the issue might be a defective receiver unit. Over time, the electronic components inside the receiver can fail due to heat buildup, especially if the fan is used frequently on high settings.
If you have another fan of the same model in your home, you can test your remote on that fan to see if it triggers a response. If the remote works on the other unit, the problem is localized to the receiver in the first fan, and that component will likely need to be replaced.
Related guides
- Monte Carlo Fan Remote Troubleshooting: Fix Your Fan Today in 2026
- Monte Carlo Fan Remote Troubleshooting: Fix Pairing Issues
- Ford Anti Theft System Troubleshooting: Simple Reset Steps
Frequently Asked Questions
Why does the fan beep but not turn on?
A beeping sound often indicates that the receiver is receiving a signal but is failing to engage the motor. This can be caused by a mechanical obstruction or a faulty capacitor in the receiver. First, ensure the fan blades can rotate freely by hand. If the blades spin, the receiver is likely unable to supply power to the motor, indicating a component failure that requires a replacement receiver.
Can I use a universal remote?
Yes, many universal ceiling fan remotes are compatible with standard AC-motor fans. If your original remote is damaged, check the compatibility list on the packaging of the universal remote. You’ll need to ensure your fan isn’t a proprietary DC-motor model, as those often require the manufacturer’s specific remote control to function correctly. Always verify the receiver frequency matches before purchasing a replacement.
How do I reset a DC motor fan?
DC motor fans are more complex than standard AC fans. They often have a specific reset button located directly on the receiver inside the canopy or on the fan motor housing itself. You may need to remove the canopy cover to locate this button. Press and hold it until the fan chirps or the lights blink, then follow the pairing sequence outlined in your specific manual.
What if the light works but the fan does not?
This is a classic sign of a partial receiver failure. The light circuit and the motor circuit operate independently within the receiver. If the light responds to the remote, the remote is sending a signal, but the motor relay inside the receiver may be stuck or burnt out. In this scenario, the most reliable solution is to purchase a new receiver-remote kit and replace the existing unit.
Does the wall switch need to stay on?
Yes, the wall switch must remain in the “On” position for the remote system to function. Since the receiver is wired behind the wall switch, turning off the switch cuts all power to the receiver, effectively killing the communication link. If you find this inconvenient, consider installing a remote-mount wall control that communicates wirelessly, allowing you to control the fan without needing to leave the primary wall switch flipped on.
How long do these remotes usually last?
With proper care, a ceiling fan remote can last for many years. The most common point of failure is the battery compartment or the rubberized buttons, which can wear out from frequent use. If you store the remote in a wall-mounted cradle, you prevent accidental drops and spills, which are the primary causes of premature failure. Replacing the batteries once a year is a great way to prevent corrosion.
Conclusion
The process of resetting your ceiling fan remote is generally straightforward once you identify whether your system uses physical dip switches or a digital learning sequence. Start by replacing the batteries and performing a full power cycle at the circuit breaker. If the issue persists, carefully inspect the receiver for signs of damage or loose connections. If you remain stuck, consult your fan’s manual to identify the specific pairing sequence required for your model.