
You can resolve the issue of frost build up in freezer units by checking the door seal for gaps and ensuring the appliance isn’t overloaded. The most common cause is warm, moist air entering the cabinet whenever the door opens or stays ajar. If you notice thick ice layers, you must act quickly to prevent the motor from working too hard and failing.
Why frost builds up in your freezer
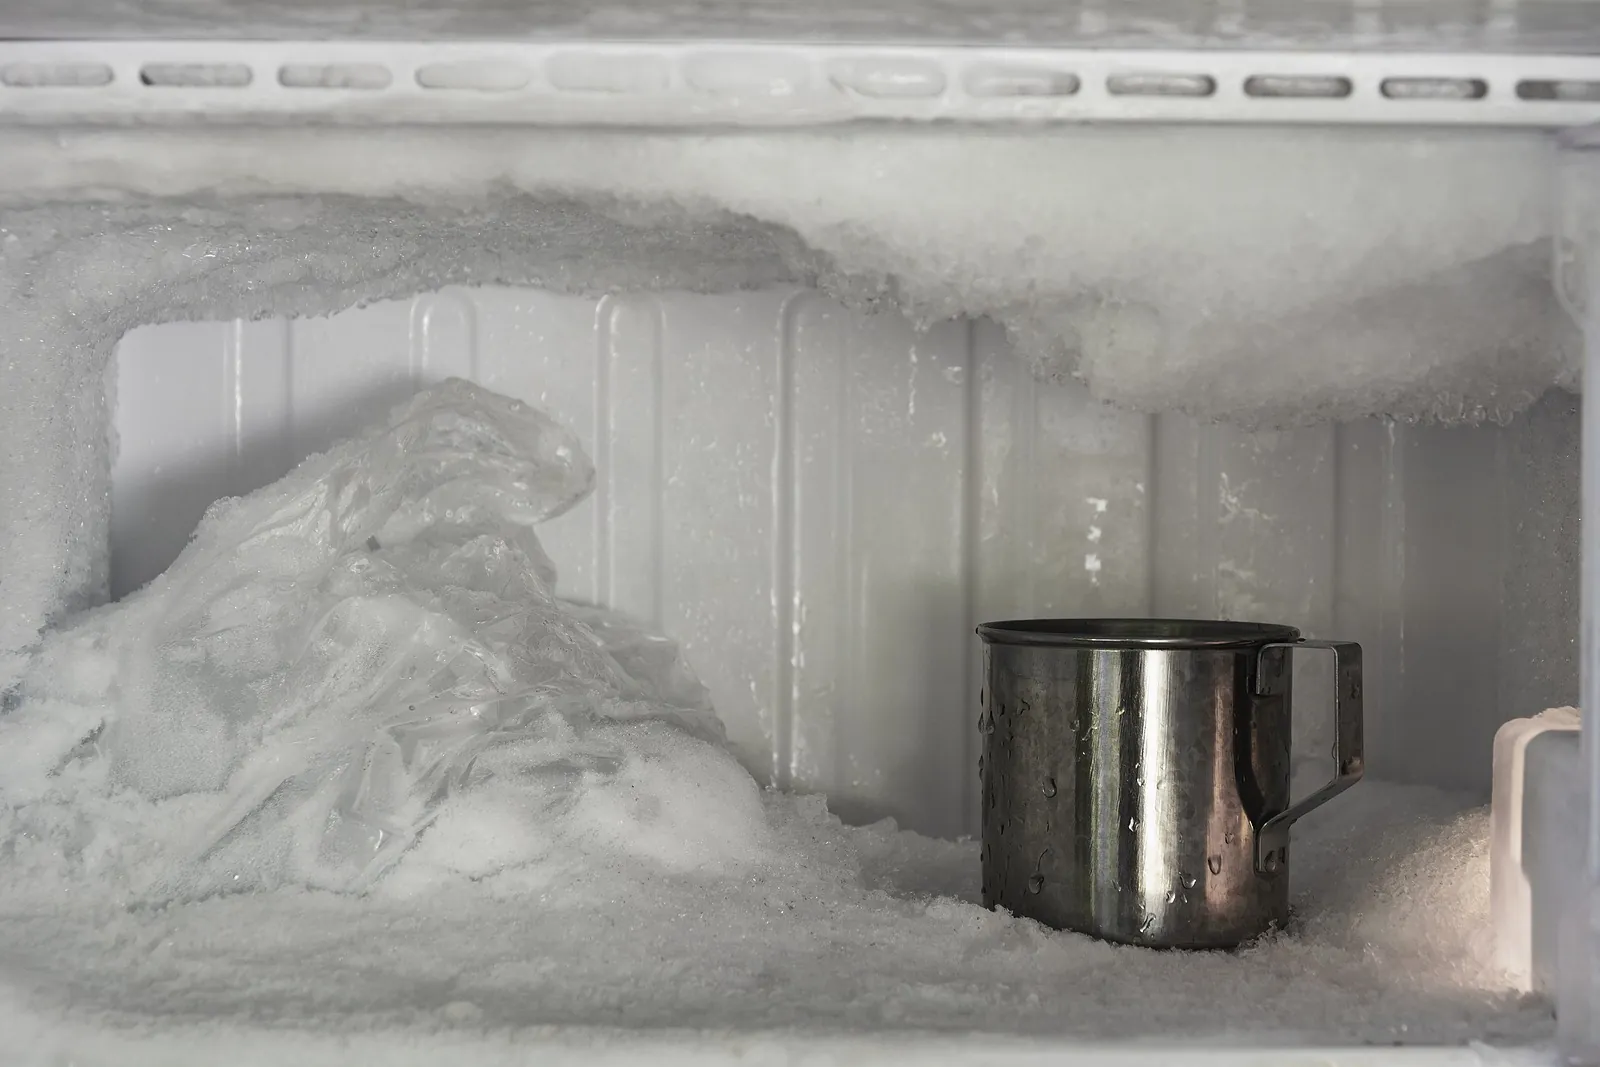
Ice forms when moisture from the air hits the cold surfaces inside your appliance. Every time you open the door, warm air rushes in and replaces the cold, dry air. This warm air carries water vapor, which instantly turns into frost on the cooling coils or walls. If your door doesn’t close tightly, this process happens constantly rather than only when you open the door.
Another primary reason for this problem is an overfilled freezer. When you pack too many items inside, you block the internal air vents. Proper air circulation is necessary to keep the temperature even and to carry moisture toward the drainage system. If the air can’t move, the moisture settles in one spot and creates a thick sheet of ice. This makes the cooling system work much longer than it should to keep your food frozen.
Finally, check the room temperature where the appliance sits. If your freezer is in a garage or a basement that gets very hot in the summer, the compressor must run more often. This extra cycle time can sometimes overwhelm the defrost system.
Check and clean the door gasket
The door seal, or gasket, is the rubber strip that keeps air out. If it’s dirty, cracked, or loose, it allows warm air to leak into the cold space. You can test the seal by closing the door on a single sheet of paper. If you can pull the paper out with almost no resistance, the seal is too loose and needs replacement.
To clean the gasket, use a soft cloth dipped in warm water and mild dish soap. Wipe away all crumbs and sticky spills, as these prevent the rubber from making a tight bond. Dry the area thoroughly with a clean towel before closing the door. If you find the rubber is brittle or torn, you must order a new part from the manufacturer.
This fix is for anyone who feels a draft or sees visible gaps around the door frame. If you’re replacing the seal, ensure you have the exact model number from the interior wall of your unit. Using a generic seal often leads to poor results and continued leaks. If you don’t have experience with appliance repair, check your owner’s manual for instructions on how to remove the old gasket safely.
Rearrange your frozen goods
Poor airflow is a common mistake that costs you money in higher electricity bills. When items are pushed against the back wall or cover the air vents, the unit can’t move moisture to the drain. You should keep at least two inches of space between your food items and the internal walls. This allows the cold air to circulate freely around every package.
Start by removing all items from the freezer and checking for expired goods. Group similar items into plastic bins to keep the space organized. Place larger items on the bottom and keep smaller bags near the front where they’re easy to grab. This reduces the time the door stays open while you search for dinner.
This method is for anyone who uses their unit to full capacity. If you have a small, mostly empty freezer, it’s actually more efficient to add a few jugs of water to fill the space. These act as cold blocks that hold the temperature steady when the door opens. If your freezer is still icing up after rearranging, you may have a faulty thermostat that requires a professional technician to inspect.
Clear the internal drain path
The drain hole is usually found at the back or bottom of the freezer interior. During the automatic defrost cycle, melted ice flows into this hole and travels to a pan underneath the unit. If this path is blocked by food debris or ice, the water can’t escape and will refreeze inside the cabinet. You can often clear this by carefully pouring a small amount of warm water into the drain hole.
Use a thin, flexible plastic tool or a pipe cleaner to gently push through any blockage. Never use a sharp metal object like a screwdriver to chip away ice, as you can easily puncture the cooling lines. If you pierce a line, you’ll release refrigerant gas, which is a job for a licensed professional. If the blockage is deep inside the wall, don’t force it.
This fix is for when you see water pooling at the bottom of the freezer. If the water has already turned into a solid block of ice, you must unplug the unit and let it defrost completely before you can clear the drain. This process requires a large cooler to keep your food safe. If you see signs of leaking refrigerant, such as a chemical smell or oily residue, stop immediately and call a repair service.
Avoid common mistakes with freezer maintenance
Using a hair dryer to melt ice risks warping the plastic interior liners or frying sensitive internal thermostats. These repairs often exceed the cost of a new appliance. If you must speed up the thaw, place a bowl of steaming water inside and close the door for fifteen minutes.
Limit door exposure to under sixty seconds while restocking.
Never use metal tools to chip away ice. A single slip with a screwdriver or knife can puncture the evaporator coils hidden behind the plastic wall. Once that refrigerant line is breached, the freezer is permanently broken. Use a plastic spatula instead.
Finally, let leftovers reach room temperature before freezing. Placing hot items inside spikes the ambient humidity, which instantly crystallizes into heavy frost buildup.
Keep your freezer running efficiently
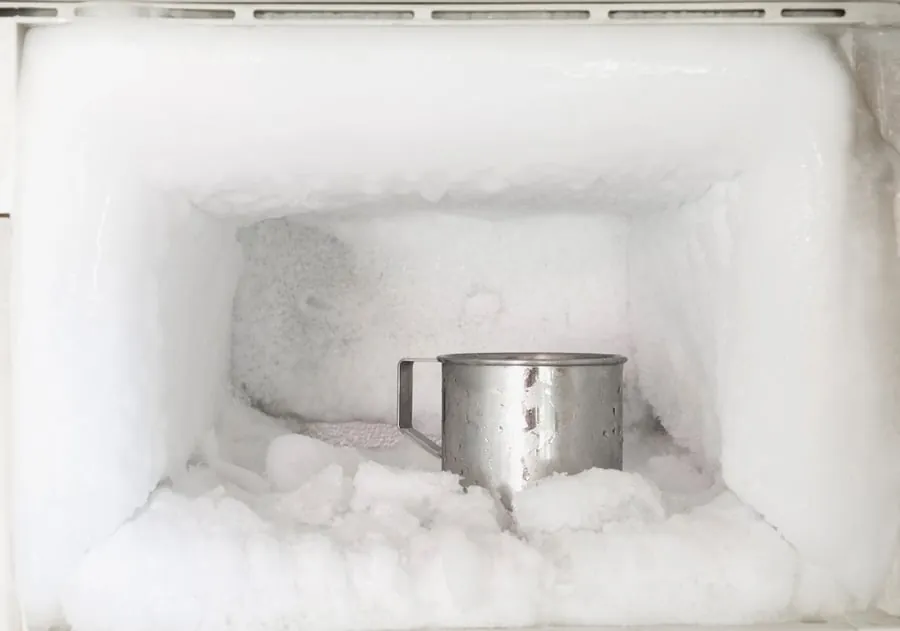
You should monitor your appliance regularly to stop frost from becoming a major problem. If you see small amounts of ice, wipe them away with a dry cloth to prevent them from growing larger. Maintaining a consistent temperature is the key to preventing the cycle of melting and refreezing that leads to heavy buildup.
Check your door seals by closing the lid on a single sheet of paper to test the fit. If you can pull the paper out without any resistance, the gasket is compromised and needs replacement. Frequency depends on your usage, so consult the owner’s manual for the manufacturer’s recommended maintenance schedule.
| If you’re doing this | Do this instead | Why |
|---|---|---|
| Leaving the door ajar | Check the door hinges | A sagging door prevents a tight seal. |
| Stacking food to the ceiling | Keep vents clear | Air must flow to remove moisture. |
| Chipping ice with a knife | Use a plastic scraper | Metal tools will puncture cooling coils. |
| Storing warm leftovers | Cool food in the fridge first | Hot items create instant humidity spikes. |
If the freezer is less than three-quarters full, fill the empty space with jugs of water. The frozen mass acts as a thermal battery, keeping the temperature stable during power fluctuations or frequent door openings.
Related guides
- 3 Best Snow Machines for Ice Fishing: Top Picks Reviewed in 2026
- 5 Best Ice Fishing Boots for Men: Our Top Picks for Warmth in 2026
- Sub Zero 632 Ice Maker Troubleshooting: Fixes and Solutions in 2026
Frequently asked questions
How long does it take for a freezer to defrost?
A freezer typically takes 12 to 24 hours to defrost completely when unplugged with the door open. This duration depends on ice thickness and ambient kitchen temperature. You can speed up the process by placing a bowl of hot water inside, but never leave the unit unattended while using heat.
Is it safe to eat food after a freezer defrost?
It’s safe to eat your food if you keep it at 40°F or lower during the defrosting process. Use a cooler with ice packs to store items while the unit is off. If any food has reached room temperature, you must discard it immediately to avoid spoilage.
Why is my freezer making a clicking sound?
The clicking sound often comes from the relay or the compressor trying to restart after a power interruption. If you hear this, first check if your power cord is loose or if a breaker has tripped in your home. If the power is stable, the issue might be a faulty start relay on the compressor. This is a technical component that requires a certified appliance repair person to test or replace safely.
How often should I clean the freezer coils?
You should clean your condenser coils regularly to ensure the unit runs efficiently. Frequency depends on your specific environment and usage, so consult the owner’s manual for the manufacturer’s recommended schedule. Use a vacuum with a brush attachment to remove dust and hair from the back or bottom of the machine.
Can a bad door seal cause the freezer to stop cooling?
Yes, a bad door seal can force the compressor to run constantly, which eventually leads to motor burnout or a total cooling failure. When the seal fails, the unit can’t maintain the freezing temperature required to keep food safe. If you notice the motor is running 24 hours a day without stopping, check the seal immediately. Replacing the gasket is a simple task that can save your appliance and your food supply.
What happens if I use a hair dryer to remove ice?
Using a hair dryer to remove ice often results in warped plastic walls or melted door gaskets due to excessive heat. Most interior freezer parts are made of thin plastic that can’t withstand high temperatures. Always use a manual defrost method by unplugging the unit and letting the ice melt naturally.
How much space should I leave in my freezer?
Keep at least 2 to 3 inches of space between your food and the interior walls to ensure proper airflow. A freezer packed too tightly can’t circulate the cold air needed to prevent frost. If you have extra space, add jugs of water to help the unit maintain a steady temperature.
Conclusion
If the problem persists after you’ve checked the seals, it’s time to call a professional technician. They’ll be able to inspect the defrost timer or heating element for hidden faults. Don’t wait until your food starts to thaw, as getting it fixed early will save you a lot of money.