
The most common reason for a whirlpool dryer not heating up is a tripped circuit breaker or a blocked exhaust vent. Before checking internal parts, ensure your power supply is active and the vent pipe is clear. If the machine runs but doesn’t produce heat, the issue is often a blown thermal fuse or a faulty heating element. You can find official guidance on maintaining your appliance through the Whirlpool product support portal.
Troubleshoot your Whirlpool dryer heating issues
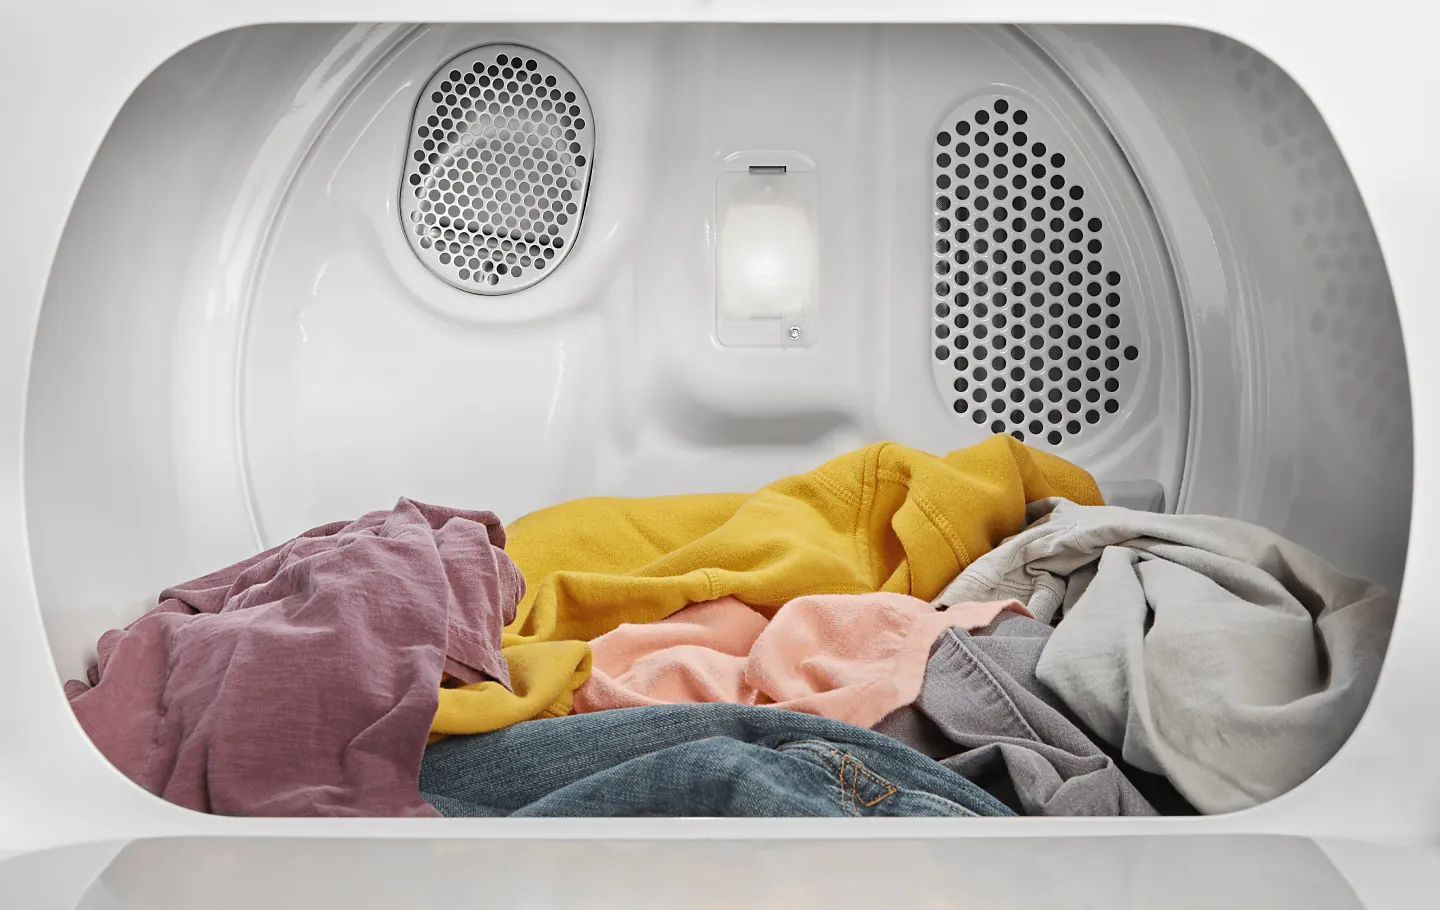
When your dryer spins but fails to dry clothes, the problem is usually a failure in the heating circuit. The most frequent cause is a blown thermal fuse, which acts as a safety device to prevent overheating.
This fuse breaks the electrical path if the dryer gets too hot, often due to restricted airflow. If the fuse is intact, the heating element itself may have burned out. This is a common wear item that eventually fails after years of regular use.
Another major cause is a clogged vent system. If air can’t escape the drum, the machine traps heat and triggers the safety sensors to shut off the heat source. You should check the exterior vent hood for lint buildup or obstructions. If the air doesn’t flow freely, the dryer will stay cool to protect itself from fire risks. Never ignore a lint buildup; it’s the leading cause of dryer-related house fires.
Finally, consider the power supply. A dryer requires a specific electrical circuit to operate the heating element. If the circuit isn’t providing full power, the motor may spin while the heat fails to engage. This issue requires a technician to verify the electrical supply.
Safety: Inside a mains-powered machine, the parts behind the outer cover can hold a dangerous electrical charge even after it has been unplugged — that’s why they sit behind a cover. Opening the housing, or testing or replacing anything behind it, is a job for a qualified technician, never a home repair.
Check the power supply
This fix is for users who have an electric dryer and suspect a lack of power. First, go to your home electrical panel and locate the breaker labeled for your dryer. It should be a double-pole breaker, meaning it takes up two slots. If the switch is in the middle position, it has tripped. Flip it all the way to “off” and then back to “on” to reset it.
If the breaker looks fine, check the power cord connection at the back of the dryer. Ensure the plug is pushed firmly into the wall outlet. If you have recently moved the machine, the cord might have loosened. If you see signs of heat damage, such as a melted plug or scorched outlet, don’t use the machine. You must call a licensed electrician to repair the wiring or outlet.
If the breaker is on and the plug is secure but the dryer still fails to heat, the problem is likely internal. At this point, you should contact a professional repair service, as a technician must confirm whether the part has failed.
Clear the exhaust vent
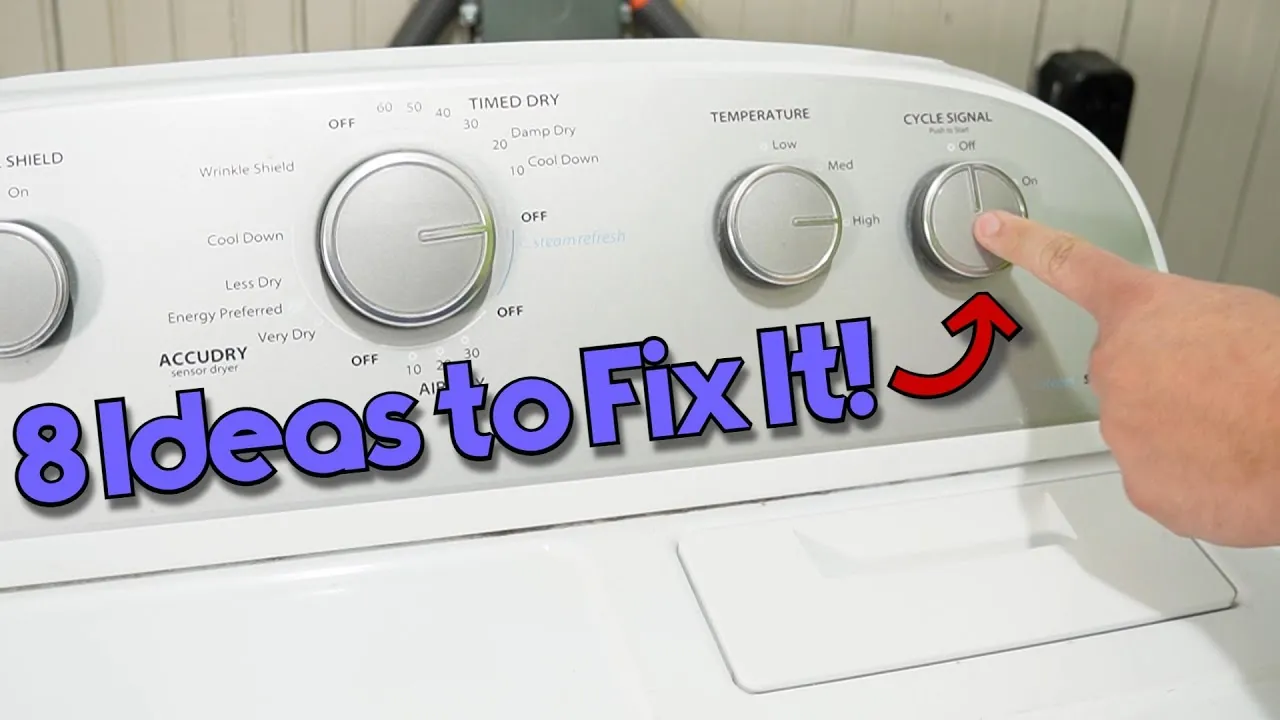
If the power is fine, the next step is to clear the airflow path. A blocked vent causes the thermal fuse to blow repeatedly. Start by disconnecting the flexible hose from the back of your dryer. Use a vacuum with a hose attachment to remove lint from the back of the machine and the inside of the hose. Check the entire length of the pipe leading to the outside wall.
If you can’t reach the entire length of the pipe, use a dryer vent cleaning kit. These kits include a long, flexible brush that helps push out packed lint. Ensure the exterior vent hood on your house opens freely when the dryer is running. If the flap is stuck shut or covered in debris, the air can’t escape. This blockage causes the dryer to run cool as a safety measure.
If you clean the vent and the heat returns, you have solved the issue. If the dryer still doesn’t heat, the previous lack of airflow may have damaged a component. A blocked vent is the most common reason for recurring heat failures. If you find the vent is clear but the machine remains cold, it’s time to look at the internal thermal components.
Inspect the thermal fuse
A thermal fuse is a one-time safety switch. Once it blows, it stays open and won’t allow the heating element to turn on. You can usually find the fuse near the blower housing. While you shouldn’t attempt to bypass or bridge the fuse, you can visually inspect it for signs of burning or damage. If the fuse looks charred, it has likely failed due to a past overheating event.
Before replacing the fuse, you must ensure the vent is clean. If you replace the fuse without clearing the blockage, the new fuse will blow immediately. This is a common mistake that costs homeowners extra money in parts. If you aren’t comfortable opening the machine cabinet, contact a factory-authorized service technician to perform the inspection.
Remember that internal components like the heating element and thermal fuse require specific parts for your model. Always have your dryer’s model number ready when speaking to a professional. If the repair requires opening the cabinet or testing live circuits, avoid doing this yourself. A technician has the tools to verify if the heating element is broken or if the control board is failing to send a signal.
Common mistakes to avoid
Never bypass a thermal fuse. If the fuse blows, it indicates the dryer has already reached a dangerous temperature; bypassing it removes the only barrier between your appliance and a house fire.
Many owners ignore a slow dry time, waiting for a total failure before acting. If your clothes take two cycles to dry, your vent is likely clogged. Ignoring this increases the internal temperature, forcing the heating element to work overtime until it burns out.
Always use manufacturer-approved parts. Generic components often lack the specific heat-resistance ratings required for high-voltage dryer circuits. A generic thermal cutoff may fail to trip during a surge, leading to catastrophic overheating.
Finally, avoid overloading the drum. If you can’t fit your hand inside the load easily, you have stuffed too much in. This chokes airflow, causing the high-limit thermostat to cycle rapidly, which eventually fuses the contacts shut.
Prevent future heat failures
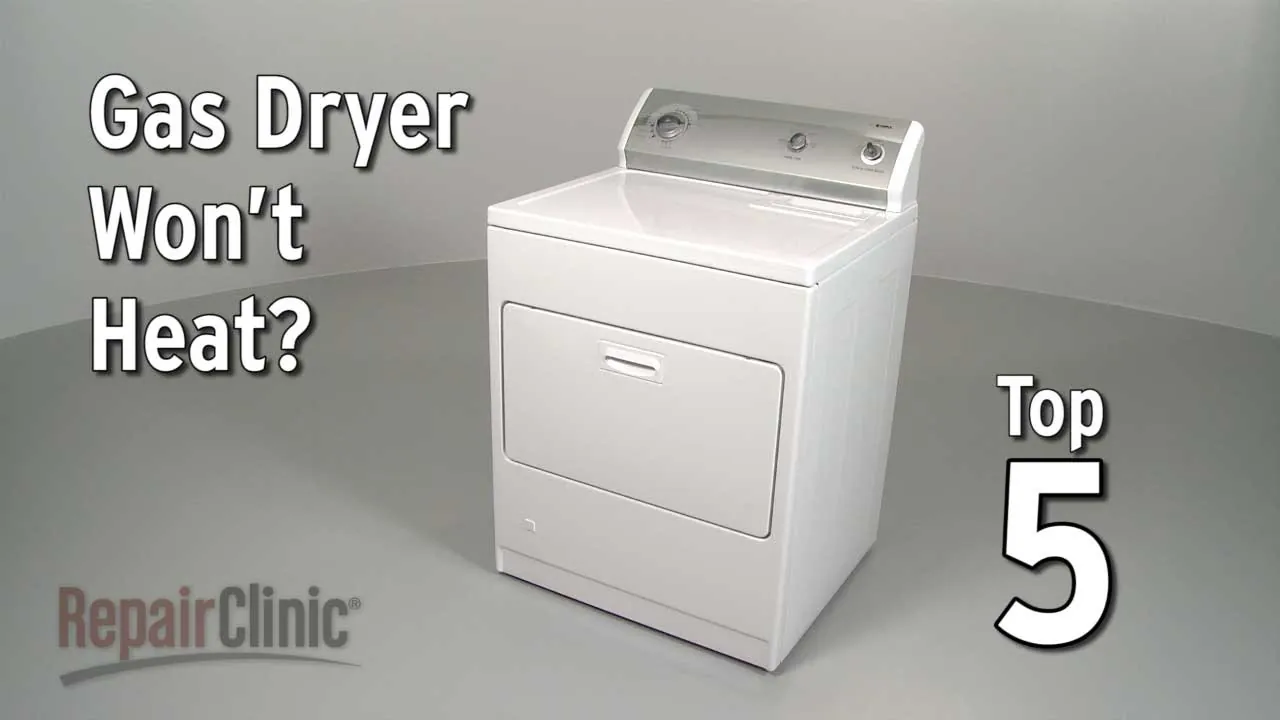
The best way to keep your dryer running is to establish a regular cleaning schedule. A small change in how you load and maintain your machine will significantly extend its lifespan.
| If you’re doing this | Do this instead | Why |
|---|---|---|
| Cleaning the lint trap monthly | Clean the lint trap every load | Prevents airflow restriction early |
| Using a long flexible hose | Use a rigid metal duct where possible | Metal ducts collect less lint |
| Ignoring the exterior vent | Check the outside hood for lint | Ensures hot air leaves the home |
| Drying heavy, wet loads | Use a moisture-sensing cycle | Prevents the dryer from running too long |
Clear the ductwork behind the machine at least once every six months. If your clothes feel damp after a standard cycle, stop using the machine immediately. This is the primary warning sign of a clogged exhaust vent, which forces the heating element to cycle repeatedly until it burns out.
To test your airflow, hold a light tissue near the exterior vent while the dryer runs. If the tissue doesn’t flap vigorously, your vent is obstructed. Failing to clear this blockage will cause the dryer to stop heating or pose a fire risk. If you notice a burning smell, disconnect the power and vacuum the internal lint trap housing. Excess debris trapped inside the cabinet is the most common cause of dryer fires.
Related guides
- Lennox Heating System Troubleshooting: Simple Fixes That Work in 2026
- Ecosmart Water Heater Troubleshooting: Steps to Restore Heat in 2026
- 8 Best Exhaust Heat Wrap Matting Sleeving for Thermal Control in 2026
Frequently asked questions
How long should a whirlpool dryer last?
A well-maintained whirlpool dryer can last for many years. This assumes you clean the lint trap after every load and have the exhaust vent professionally cleaned regularly. If the machine is used in a high-humidity environment or experiences frequent power surges, the lifespan may be shorter.
Is it safe to use the dryer if it doesn’t heat?
No, you shouldn’t use the dryer if the heating element isn’t working. Running the machine without heat causes unnecessary mechanical wear. If the issue stems from a blocked vent, continuing to operate the dryer also increases the risk of a lint fire.
How much does it cost to fix a dryer heating element?
The cost to fix a heating element depends on whether you purchase the part yourself or hire a professional. Parts typically cost between $50 and $150, while labor fees add to the total. Always ask for a written estimate before authorizing any repair work to avoid unexpected costs.
Can a dirty lint filter stop the dryer from heating?
Yes, a dirty lint filter restricts airflow, which can cause the thermal fuse to trip. When air can’t move through the drum, heat can’t be vented, triggering safety sensors. Wash your lint screen with warm water and a soft brush periodically to remove residue that blocks the mesh.
Why does my dryer take two cycles to dry clothes?
If your dryer requires two cycles, it’s likely due to a restricted exhaust vent or a failing heating element. When the vent is partially blocked, moisture can’t escape, keeping clothes damp. Ensure your outside vent hood is clear to allow a strong, steady stream of air.
Is it easy to replace a thermal fuse myself?
Replacing a thermal fuse is a moderate repair that requires you to open the dryer cabinet, which isn’t recommended for everyone. You must be comfortable working with internal components and using basic tools to reach the fuse housing. If you aren’t familiar with appliance repair, it’s safer to call a professional. Never attempt to work on the electrical components while the dryer is plugged into the wall.
Conclusion
If you’ve tried these fixes and the air still stays cool, it’s time to call a professional technician. Don’t hesitate to reach out for help if you’re unsure about handling electrical components yourself. Getting an expert’s opinion will keep your home safe and ensure your machine runs smoothly for years.