
You can often resolve issues with your system using Mitsubishi Mini Split Troubleshooting to identify blocked filters, dirty coils, or power interruptions. The most frequent cause for a unit that stops cooling or heating is a clogged air filter, which restricts the airflow needed for the sensor to detect the room temperature correctly.
Mitsubishi Mini Split Troubleshooting Guide
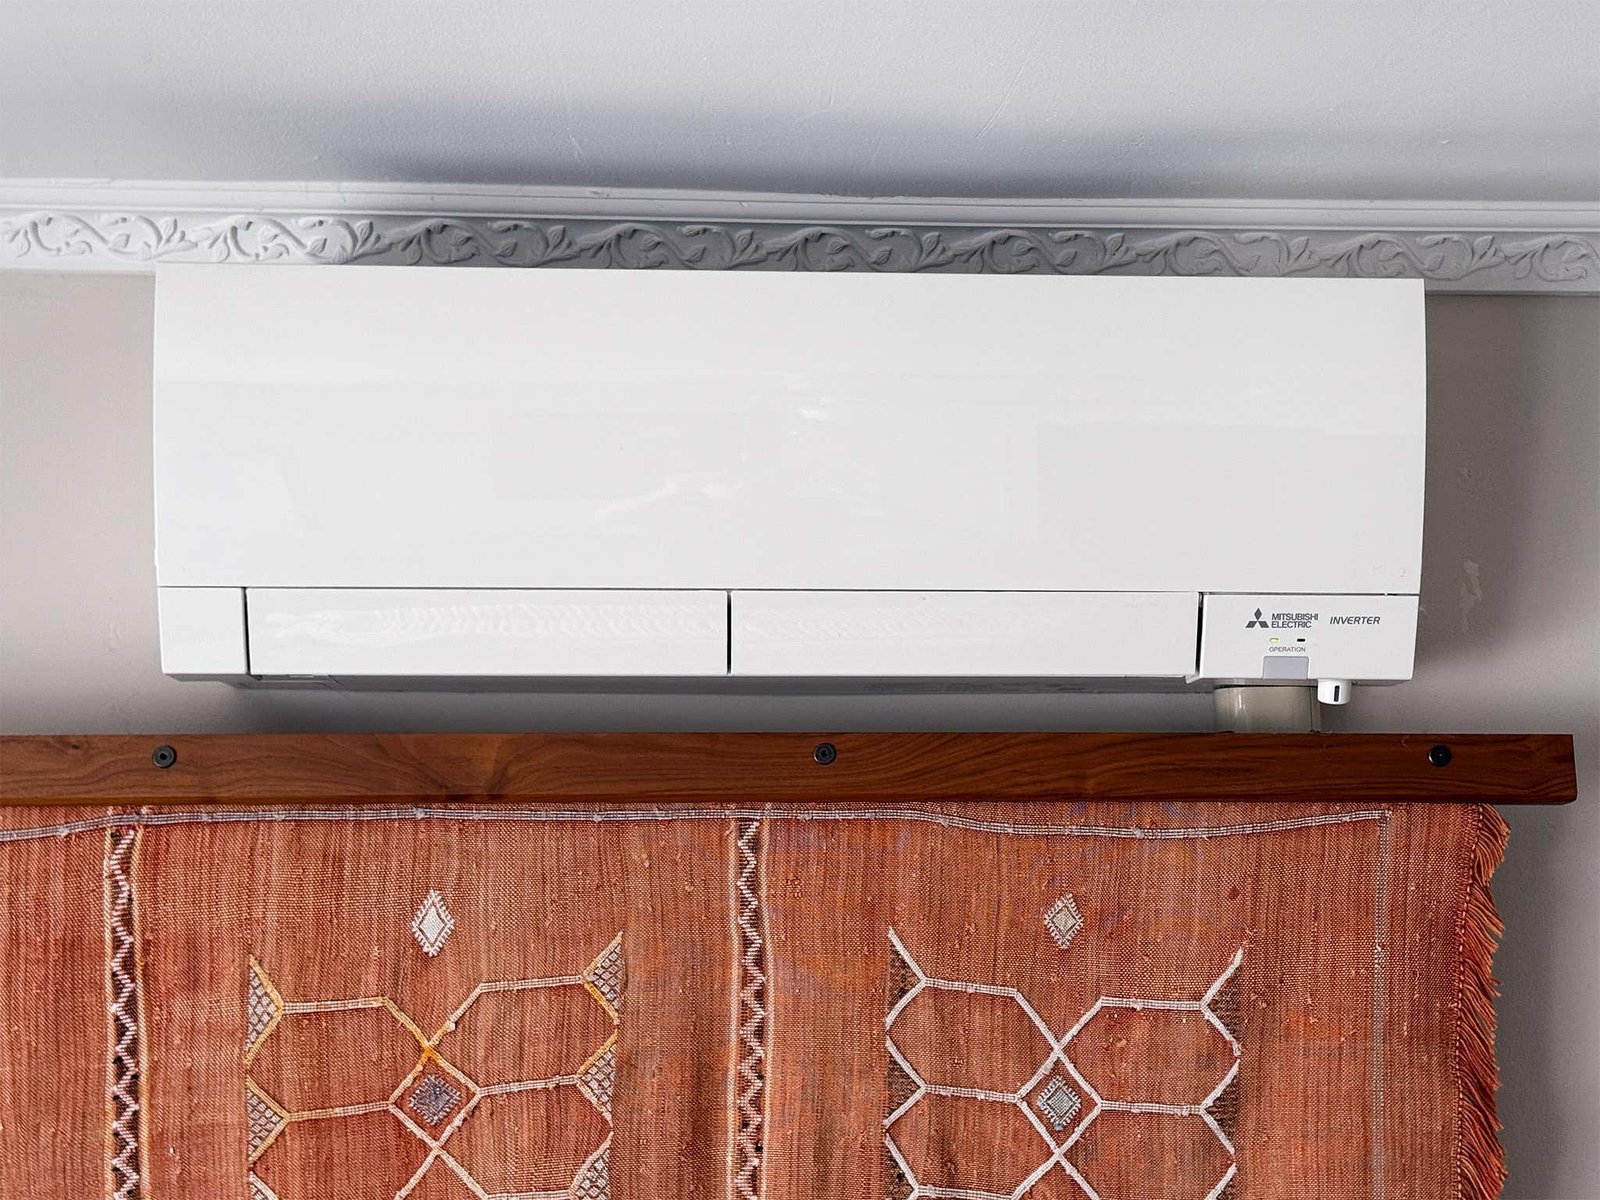
Most performance issues stem from the way these systems manage moisture and airflow. A mini split is a heat pump; it moves heat rather than creating it. If the intake vents are blocked by curtains, furniture, or thick dust, the internal sensors can’t get an accurate reading of the room’s climate. When the sensors receive conflicting data, the control board often defaults to a “standby” or “error” mode to protect the compressor from overworking.
Another reason involves the drainage system. Mini splits pull humidity out of the air as they cool. This moisture collects on the evaporator coil and drips into a condensate pan, where it flows outside through a dedicated drain line. If this line becomes clogged with algae or debris, the internal float switch will trip to stop the water from overflowing inside your home. This is a safety mechanism designed to prevent water damage to your walls and floors.
Finally, electrical issues often occur due to power surges or loose connections at the outdoor unit. These systems are sensitive to voltage fluctuations. If your home experiences a brownout or a lightning strike nearby, the control board may lock itself to prevent damage. While some units reset after a power cycle, others require a specific sequence to clear the fault code. This varies by model — check the label on the side of your indoor unit or the outdoor condenser for the specific reset procedure. If the unit remains unresponsive after a full power cycle, the issue is likely a failed printed circuit board (PCB) or a blown fuse, both of which are repairs for a licensed HVAC technician.
Check the filters and airflow
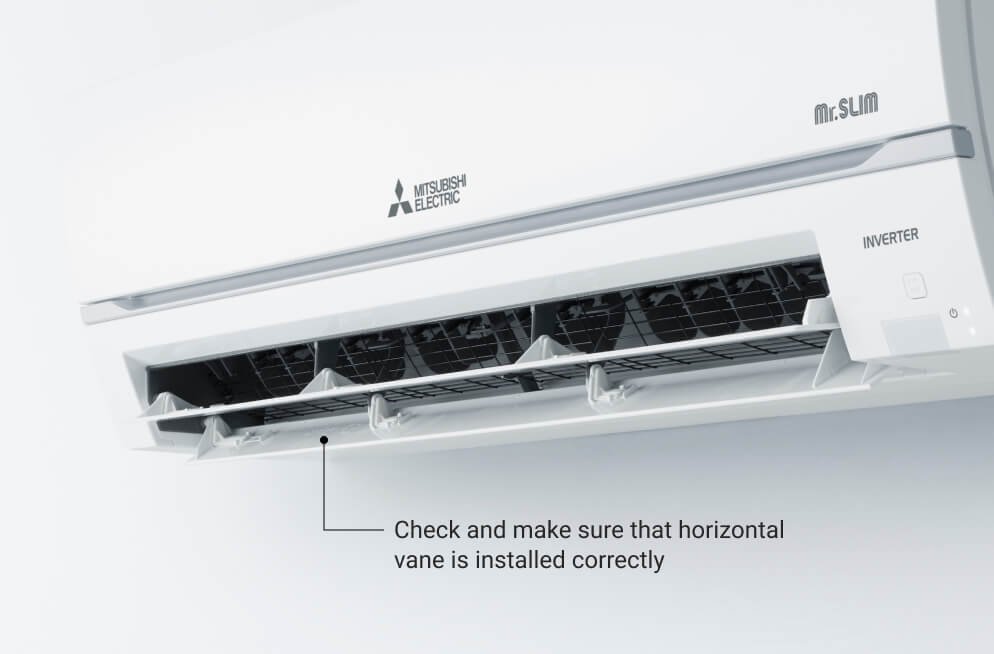
This fix is for users who notice the unit is running but not changing the temperature of the room. A clogged filter is the most common reason for poor performance, as it forces the system to work much harder to move the same amount of air. To fix this, lift the front panel of your indoor unit and remove the plastic mesh filters. Wash them in warm water with a mild soap, let them air dry completely, and slide them back into place. If your model uses specialized air-purifying filters, these are usually replaceable as part of your usual clean rather than washable.
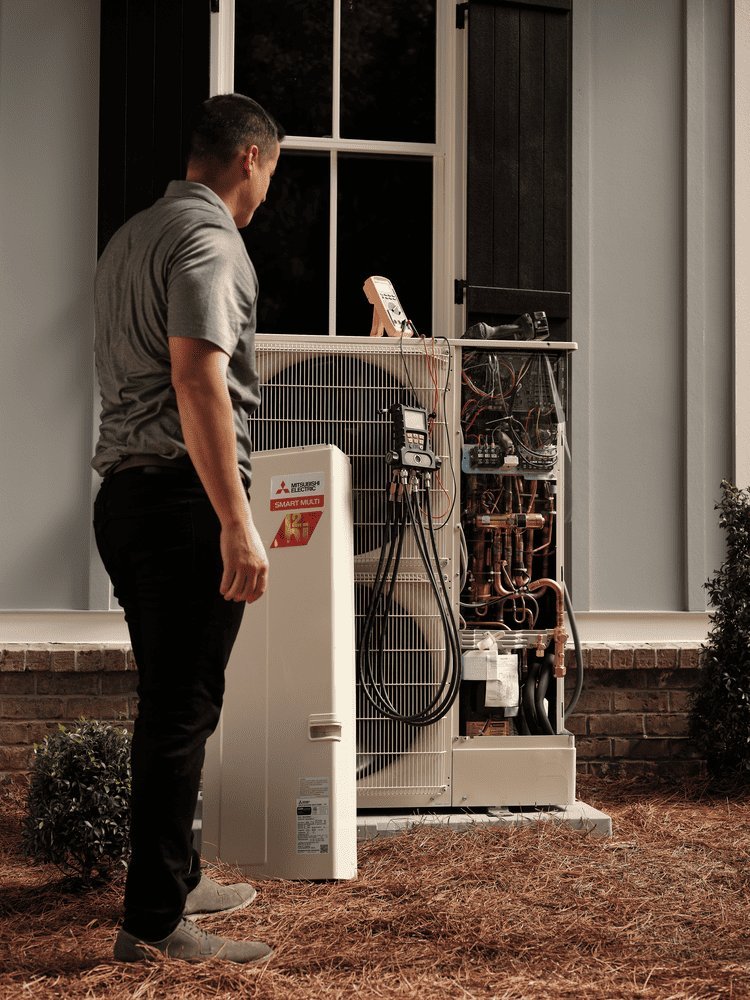
If you clean the filters and the unit still struggles, check the area around the outdoor condenser. Ensure there’s at least 12 inches of space between the unit and any plants, tall grass, or fences. The outdoor unit needs to pull in large amounts of air to function; if it’s buried in shrubs, it can’t release heat efficiently. You can confirm this fix worked if the unit begins to cycle properly and the air coming from the indoor unit feels consistently cold or hot. If you’re unsure about the specific filter type for your model, consult the official Mitsubishi Electric support documentation to identify your unit’s requirements. This fix isn’t for you if you see ice forming on the coils, as this suggests a refrigerant leak which requires an EPA-certified professional.
Perform a hard power reset
This fix is for units that are stuck in an error loop or completely unresponsive to the remote control. A hard reset clears the temporary memory of the control board and can often resolve minor software glitches caused by minor power spikes. To perform this, locate the circuit breaker for your mini split system in your home’s main electrical panel. Flip the breaker to the “OFF” position and wait for at least 10 minutes. This time is necessary for the capacitors inside the unit to fully discharge their stored energy.
After the wait, turn the breaker back to the “ON” position. You may hear a series of clicks as the unit initializes its internal dampers and checks its sensors. Use your remote control to set the system to “Cool” or “Heat” and set the temperature to a value at least 5 degrees away from the current room temperature. If the unit starts and maintains the set temperature, the reset was successful.
This is a safe way to troubleshoot, but it isn’t a permanent cure for recurring electrical faults. If the system trips the breaker again after a few hours or days, there’s a deeper electrical short that you can’t fix. In that case, stop resetting the breaker to avoid damaging the compressor and contact an HVAC professional. Never attempt to remove the plastic casing to reach the internal wiring; doing so creates a risk of electric shock and will void your factory warranty.
Verify the remote settings
This fix is for users who feel the unit is operating at the wrong settings or failing to switch modes. It’s a common mistake to accidentally set the remote to “Fan” or “Dry” mode instead of “Cool” or “Heat.” In “Dry” mode, the fan speed is often locked to a low setting to maximize moisture removal, which might feel like a lack of power. Check the icon on your remote’s display. If you see a water drop, you’re in “Dry” mode; if you see a fan blade, you’re only circulating air without temperature control.
Ensure the remote is pointed directly at the indoor unit’s receiver when you make changes. If the batteries are weak, the remote might send a partial signal that the unit ignores. Replace the batteries with new, high-quality alkaline cells. If the screen on the remote is blank or dim, the remote itself may be failing.
This fix is for anyone who has access to the remote. If you have lost the remote, you can usually trigger a “manual” start by pressing the small button hidden under the front panel of the indoor unit. This will run the system at a default temperature, usually 75 degrees Fahrenheit. If the unit runs fine in manual mode but not with your remote, you need to replace the remote control. This varies by model — check the label on the back of the remote to ensure you buy the correct replacement part for your specific indoor unit series.
What not to do
- Don’t spray water directly into the outdoor unit with a pressure washer, as this will bend the delicate aluminum fins and cause permanent damage to the heat exchange surface.
- Don’t use harsh chemical cleaners on the indoor coils, because these chemicals can corrode the copper tubing and cause expensive refrigerant leaks.
- Don’t try to “top off” the refrigerant yourself, as this requires specific tools and a license under federal law, and an overcharged system will destroy the compressor.
- Don’t ignore dripping water from the indoor unit, because the moisture will eventually ruin your drywall and lead to mold growth behind the wall.
How to stop it happening again
Regular maintenance is the best way to ensure your mini split operates reliably for its entire service life.
| If you’re doing this | Do this instead | Why |
|---|---|---|
| Ignoring dust buildup | Clean filters monthly | Prevents sensor errors |
| Blocking the unit | Clear 12 inches of space | Allows heat dissipation |
| Ignoring water drips | Call a pro immediately | Stops internal water damage |
| Resetting the breaker | Call a technician | Protects the compressor |
Frequently asked questions
Can I clean the outdoor unit with a hose?
You can gently rinse the outdoor unit with a low-pressure garden hose to remove leaves and grass clippings. Don’t use a high-pressure nozzle or power washer, as the force will flatten the fins and block airflow. Always turn off the power at the breaker before spraying water near electrical components.
Why is my unit blowing warm air when set to cool?
This usually happens because the unit is in the wrong mode or the outdoor condenser is blocked. Verify your remote is set to “Cool” and ensure the condenser has enough clearance from walls and plants. If the issue persists, the system may have a refrigerant leak requiring professional diagnosis.
How long should a mini split last?
A well-maintained system typically lasts between 12 and 15 years, provided the filters are cleaned regularly and the outdoor unit is kept free of debris. Systems in coastal areas with high salt content may experience faster corrosion, potentially shortening this lifespan.
Is it safe to leave the unit on all the time?
It’s safe to leave the unit running, as mini splits are designed to modulate their speed and run at an energy-efficient level once they reach your desired temperature. Frequent cycling puts unnecessary stress on the compressor. You only need to cut power if you expect a major storm.
What happens if the drain line is clogged?
If the drain line is clogged, water will back up into the indoor unit and leak onto your floor or wall. Most modern units have a safety float switch that shuts the system down to prevent damage. You should turn the unit off and contact a professional to clear the line.
Final Thoughts
If your system still isn’t working properly after these checks, don’t hesitate to reach out to a certified technician. They’ll have the right tools to handle complex electrical or refrigerant issues safely. It’s better to get professional help early so you can get back to enjoying a comfortable home as soon as possible.