
A flashing lid lock light or a stuck door indicates your Maytag Washer Troubleshooting Lid Lock process should begin by checking for a power interruption or sensor error. Most issues stem from a door that isn’t flush or a control board needing a reset. Unplugging the unit for one minute allows the control board to reset its volatile memory.
Maytag Washer Troubleshooting Lid Lock: Common Causes
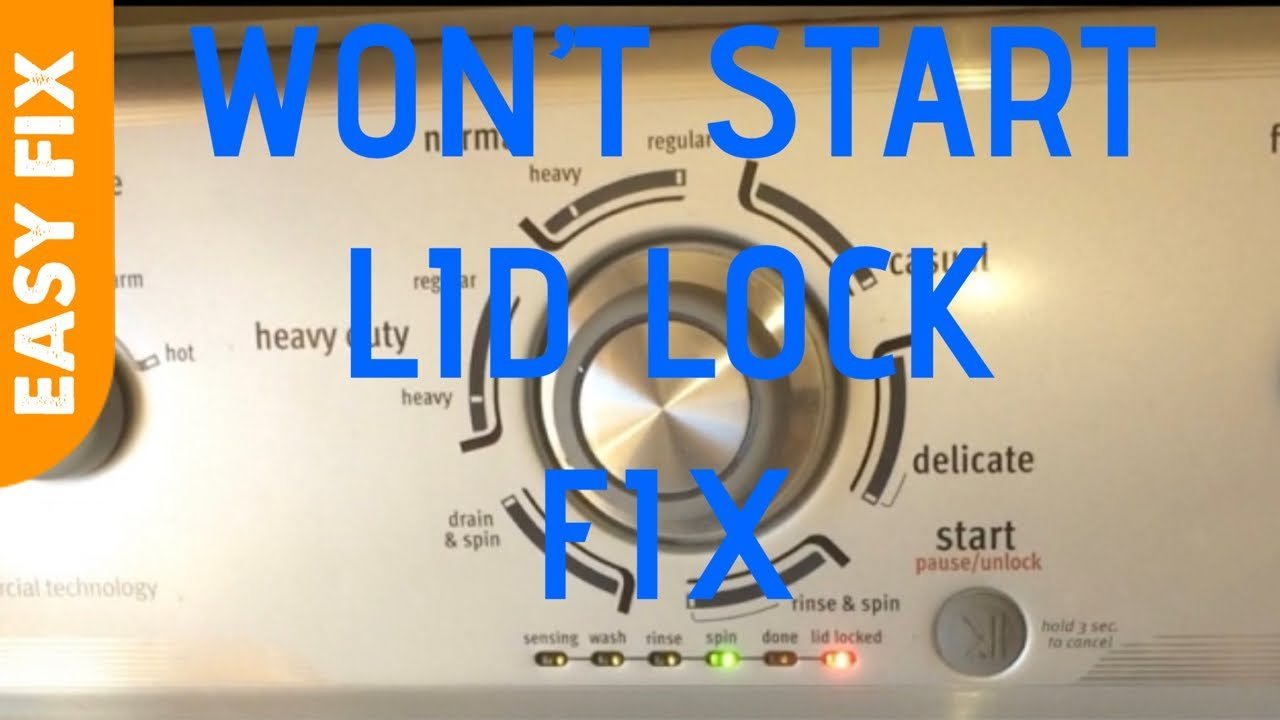
A Maytag washer locks its lid as a safety requirement to prevent access to moving parts during high-speed agitation or spin cycles. When this mechanism fails, it’s usually because the main control board has lost communication with the door strike or the locking solenoid. This often occurs after a power surge or a sudden interruption during a wash cycle, which can cause the control board to enter a protective “error state.” In this state, the washer intentionally keeps the door locked to prevent the user from opening the drum while it believes a cycle is still in progress.
Another cause is a mechanical obstruction or a worn-out door strike. The door strike is the plastic piece that pushes into the lock assembly. If this part is cracked, bent, or covered in soap residue, it can’t trigger the internal switch that tells the machine the lid is secure. If you force the lid, you might break the strike entirely, which makes the lock permanently unresponsive until the part is replaced. This varies by model — check the label on your machine for the specific model number, as some older units use a mechanical thermal fuse while newer ones rely entirely on hall-effect sensors.
Finally, the lid lock assembly itself can fail due to moisture buildup. The Maytag official support pages note that excess suds or water leaks near the top of the machine can corrode the delicate electrical contacts inside the lock housing. If the sensor inside the lock can’t send a “closed” signal to the main computer, the washer won’t start, or it will flash a code to alert you that the cycle can’t proceed. Don’t attempt to bypass the lock with a magnet or a paperclip, as this defeats a critical safety feature designed to stop the drum from spinning while the lid is open.
Clear the control board error
This fix is for users whose washer is stuck in an error loop where the light is flashing but the machine doesn’t respond to buttons. To reset the control board, you must disconnect the power from the wall outlet completely. Leave the machine unplugged for exactly sixty seconds to allow the internal memory to clear. While the machine is off, inspect the lid strike—the plastic hook on the underside of the lid—to ensure it isn’t loose or damaged.
After the time has passed, plug the power cord directly back into a grounded wall outlet. Avoid using extension cords, as they can cause voltage drops that prevent the control board from sensing the lock correctly. Once powered, perform a “re-calibration” if your model allows it; check your user manual for the specific sequence of button presses, which usually involves turning the dial in a specific pattern. If the lid lock light stops flashing and stays solid or turns off, the board has successfully cleared the error. If the light continues to flash, the issue is likely a physical failure of the lock assembly. Note that if you hear a clicking sound but the door remains locked, the solenoid is trying to fire but is blocked by a mechanical jam. This is a common mistake; trying to pry the lid open with force will destroy the strike and the lock housing, costing you a much more expensive repair than a simple sensor reset.
Inspect for mechanical obstructions
This fix is for when the lid physically refuses to close or when the latch mechanism feels gritty or stuck. You must first ensure the machine is off and the lid is fully open. Inspect the area where the lid strike enters the slot on the top of the washer. Look for buildup of detergent, fabric softener, or debris that might be preventing the strike from seating fully into the lock. Use a clean, dry cloth to wipe the area. If you see sticky residue, use a very small amount of isopropyl alcohol on a cotton swab to clean the opening.
Don’t pour liquid into the lock slot. After cleaning, press the lid down firmly but gently to see if the lock engages. If you feel a “springy” resistance, the lock is likely working fine, and the issue was just debris. If the lid still doesn’t lock, look at the strike hook itself. If it’s bent, it won’t align with the internal latch. A strike that’s off by even a few millimeters will prevent the lock from triggering. If you find the strike is damaged, you’ll need to replace this small plastic component. This is a simple DIY task that requires only a screwdriver, provided you have the exact replacement part for your model. If you’re uncomfortable removing the top cover to reach the strike, stop here and contact a professional. Replacing the lid strike is a low-risk task, but attempting to reach the internal wiring or the solenoid itself involves high-voltage components that are dangerous for non-technicians.
Evaluate professional repair needs
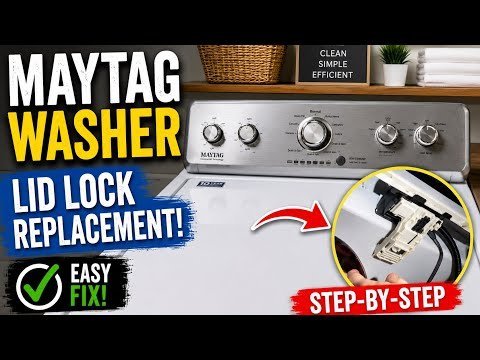
This fix is for when you have confirmed the lid is clean, the strike is straight, and the power has been reset, yet the lock remains unresponsive. At this stage, the problem is likely internal to the lock assembly, the wiring harness, or the main control board. If the machine is still under warranty, don’t attempt any internal disassembly, as this will void your coverage. Check your purchase date and manufacturer documentation to see if you’re still eligible for a free repair.
If your warranty has expired, you must weigh the cost of a service call against the value of the machine. A service technician will need to test the continuity of the lock switch and the voltage output from the control board. If the lock assembly is faulty, the part cost is moderate, but the labor for a professional to access it can be significant. If the main control board is the culprit, the repair cost often approaches the price of a new machine. This is where you must decide if the unit is worth the investment. If you aren’t familiar with reading electrical diagrams or using tools to test circuits, don’t attempt to dismantle the cabinet. A capacitor inside a washer can hold a significant electrical charge even after the machine has been unplugged for hours. Always defer to a certified technician for any internal electrical repairs to ensure your safety and the longevity of the appliance.
What not to do
- Never force the lid open while the light is flashing. Doing this will snap the plastic lock mechanism, turning a simple sensor error into a full part replacement.
- Don’t use a magnet to bypass the lid sensor. This is a dangerous practice that ignores the safety design of the machine and can lead to severe injury if the drum is accessed while spinning.
- Avoid spraying water or cleaning chemicals directly into the lock hole. Liquids will corrode the internal electrical pins and trigger a permanent short circuit, which will require a complete replacement of the lid lock assembly.
- Never attempt to bridge the wires with a paperclip. If you bypass the electrical safety circuit, you risk causing a fire or damaging the main control board beyond repair.
How to stop it happening again
To keep your lid lock functioning properly, keep the area dry and clean, and avoid overloading the drum.
| If you’re doing this | Do this instead | Why |
|---|---|---|
| Closing the lid with force | Lowering the lid gently | Prevents the strike from cracking |
| Using excessive detergent | Using the recommended dose | Stops soap residue from clogging the lock |
| Ignoring flashing lights | Resetting the power immediately | Prevents error codes from becoming permanent |
| Leaving wet clothes inside | Removing laundry promptly | Reduces humidity that corrodes electrical parts |
Frequently asked questions
Can I open my Maytag washer if the lid is locked?
Never force the lid open while the lock light is active, as it will break the internal latch. If the light remains on while the machine is off, unplug the unit for one minute to reset the board. If the door still refuses to open, the solenoid has likely suffered a mechanical failure.
Why does my Maytag washer say “lid” on the display?
The “lid” error code appears when the control board loses the signal from the door switch. This usually means the lid isn’t physically pushed down enough to trigger the sensor, or the door strike is misaligned. First, ensure there’s no clothing caught in the door. If the lid is clear and the code persists, the internal sensor inside the lock housing may be faulty.
How long does a lid lock last on a Maytag washer?
A lid lock typically lasts for the lifespan of the machine, though this varies by model and usage. Parts like the plastic strike hook are prone to wear and tear if the lid is slammed. High-frequency usage increases mechanical stress, potentially shortening the component’s functional life.
Is it safe to use the washer if the lid lock light is blinking?
No, you shouldn’t use the washer while the lid lock light is blinking, as this indicates the machine has failed its safety self-test. Running the machine in an error state can lead to incomplete cycles, poor drainage, or damage to the motor. Always clear the error code by resetting the power before you attempt to start a new load of laundry.
What happens if I keep slamming the lid shut?
Slamming the lid will eventually crack the plastic strike hook or loosen the lock assembly from the cabinet. Once the strike is damaged, it will no longer hit the sensor correctly, causing the washer to stop mid-cycle or refuse to start entirely. Replacing a broken strike is a common repair, but it’s entirely preventable by closing the lid with a steady, controlled motion.
Final Thoughts
If these quick fixes don’t get your machine running smoothly again, it’s best to contact a professional technician. Don’t let a faulty latch ruin your laundry day, as they’ll have the right tools to replace the sensor. You’ll be back to washing your clothes in no time once it’s repaired.
Related guides
- Maytag Washer Bravos Xl Troubleshooting: Fix Common Errors in 2026
- Furnace Is Not Working Troubleshooting: Simple Fixes to Try in 2026
- Yamaha 48 Volt Charger Troubleshooting: Simple Fixes That Work in 2026