
You can resolve most toilet water level issues by performing Fluidmaster fill valve troubleshooting to clear debris or adjust the float height. If your tank runs constantly, fails to fill, or whistles, you likely have sediment buildup or a misaligned float. These components are designed for easy maintenance, though replacing the unit requires basic tools.
Fluidmaster Fill Valve Troubleshooting
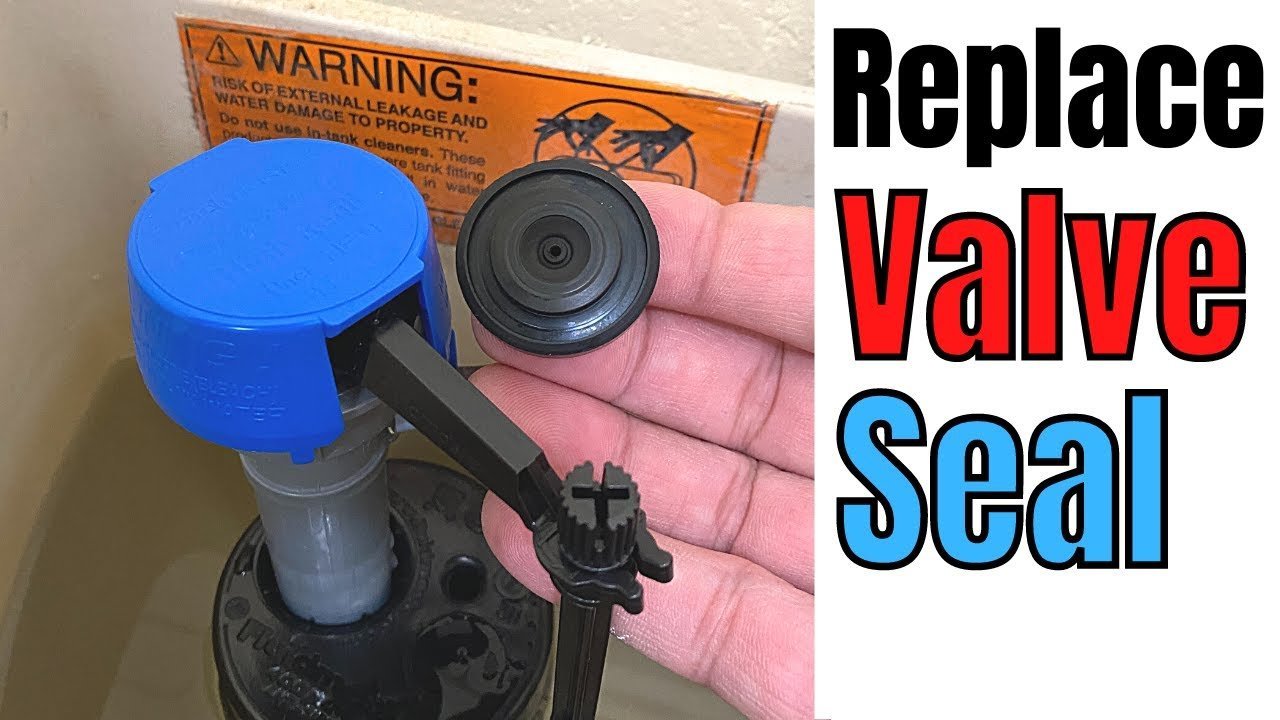
Toilet fill valves fail primarily due to two factors: hard water deposits and physical obstructions. Over time, minerals like calcium and magnesium build up inside the valve’s small internal pathways. This prevents the diaphragm seal from closing properly, which forces the valve to remain partially open. When the valve can’t seal, the tank never reaches the “shut-off” point, causing the water to run into the overflow tube continuously.
Another common cause is the accumulation of grit or pipe scale. If your home has older metal pipes or if there was recent work on the main water line, small particles can travel into the toilet tank. These particles get trapped in the valve’s rubber washer. Even a tiny piece of sand can prevent a perfect seal. This leads to a persistent hissing or whistling sound, which is the noise of pressurized water forcing its way through a restricted opening.
Finally, the float cup itself may become obstructed. The float needs to move up and down freely along the vertical shaft. If the refill tube or a loose supply line catches on the float, it can’t rise with the water level. The valve will keep running because it “thinks” the tank is still empty. This is a mechanical failure rather than a plumbing one, and it’s usually easy to spot by looking inside the tank. If you see the float cup stuck in a lower position, the valve won’t shut off until you clear the path.
Adjust the float level
This fix is for you if the water level in your tank is too low or too high, but the toilet otherwise flushes correctly. The float cup controls when the valve stops the water flow. If the water stops before reaching the overflow pipe, or if it spills into the overflow pipe, you must adjust the height.
Locate the adjustment screw or the clip on the side of the float cup. On most modern models, you turn the screw clockwise to raise the water level and counter-clockwise to lower it. Make small turns, perhaps a quarter-turn at a time. After each turn, flush the toilet and watch the tank refill to see the new water line.
This isn’t for you if the valve is leaking at the connection point or if the water is spraying out from the top of the cap. If you have a very old brass valve system, the float arm may be a metal rod; don’t bend this rod, as it can snap. If the plastic adjustment mechanism feels brittle or stuck, don’t force it, as you might break the plastic housing. If you can’t move the float manually, the entire valve unit has likely reached the end of its functional life and needs a full replacement.
Clear the diaphragm seal
This fix is for you if you hear a constant hissing noise or if the toilet runs intermittently. Debris often collects under the rubber diaphragm inside the top cap. You can clear this without tools by turning off the water supply at the wall, then reaching into the tank to grab the top cap of the valve.
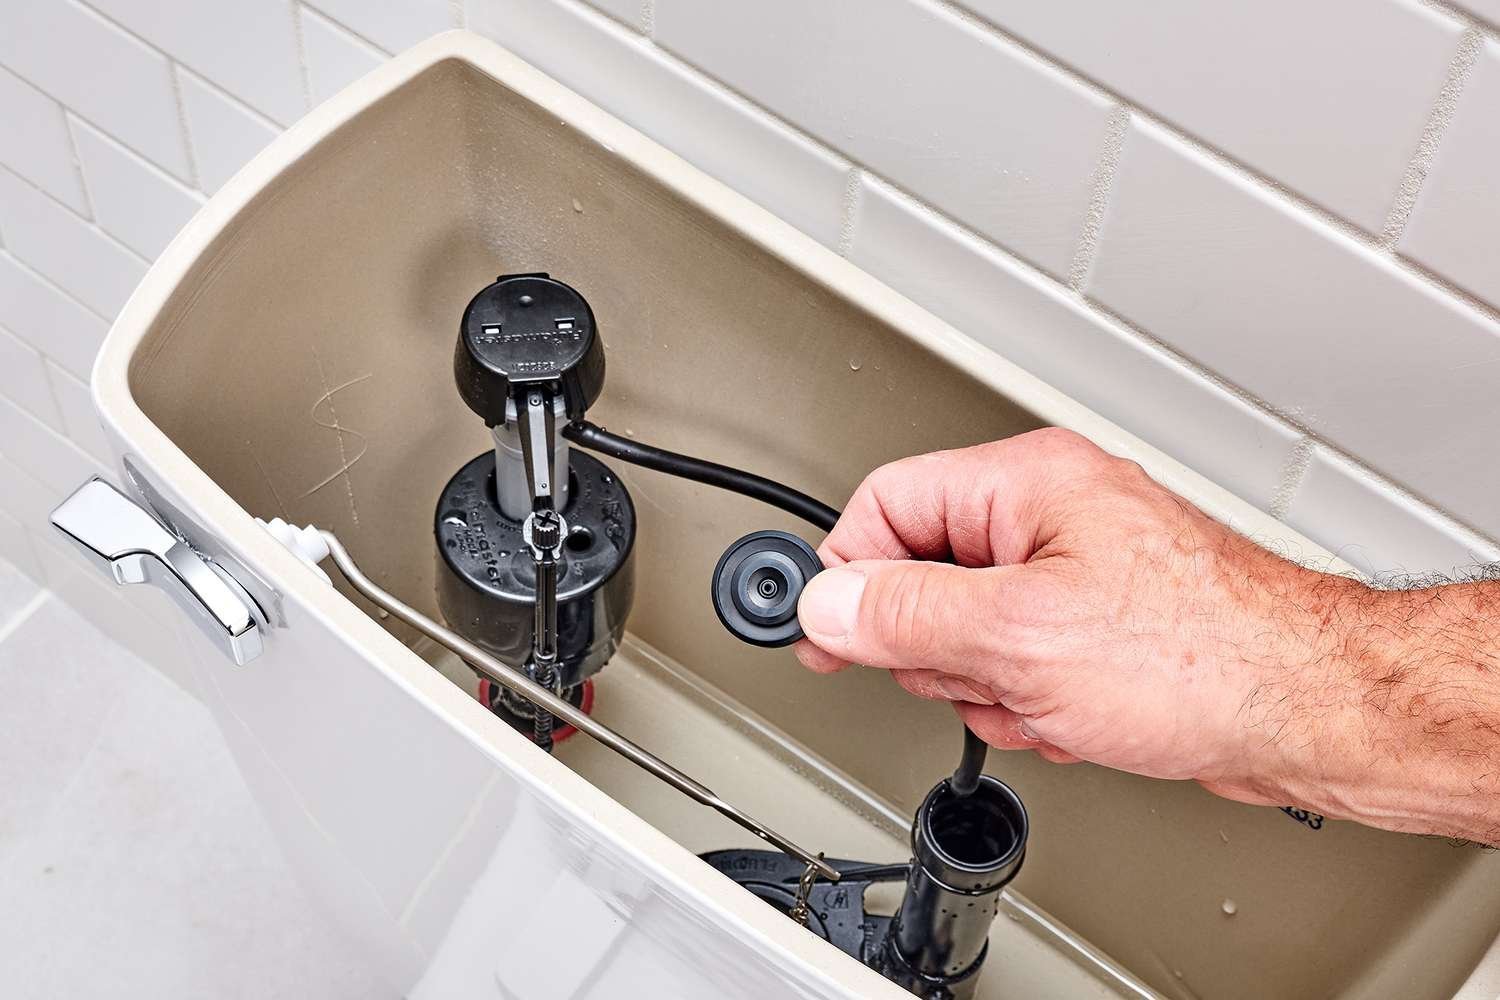
Grip the top cap firmly, push down, and twist it a quarter-turn counter-clockwise to release it. Once the cap is off, lift the rubber diaphragm. Inspect it for small bits of sand or sediment. Rinse the diaphragm under a clean sink faucet to remove these particles. Check the interior of the valve body for any remaining grit. Once clean, place the diaphragm back into the valve, align the tabs on the cap, and twist it clockwise until it clicks into place.
Turn the water supply back on slowly. If the hissing stops and the tank fills to the correct level, the fix worked. This assumes your valve is a standard, modern model with a twist-off cap. If you have a different style that doesn’t feature a removable top cap, don’t attempt to pry it open, as you’ll likely crack the plastic and cause a major leak.
Replace the valve unit
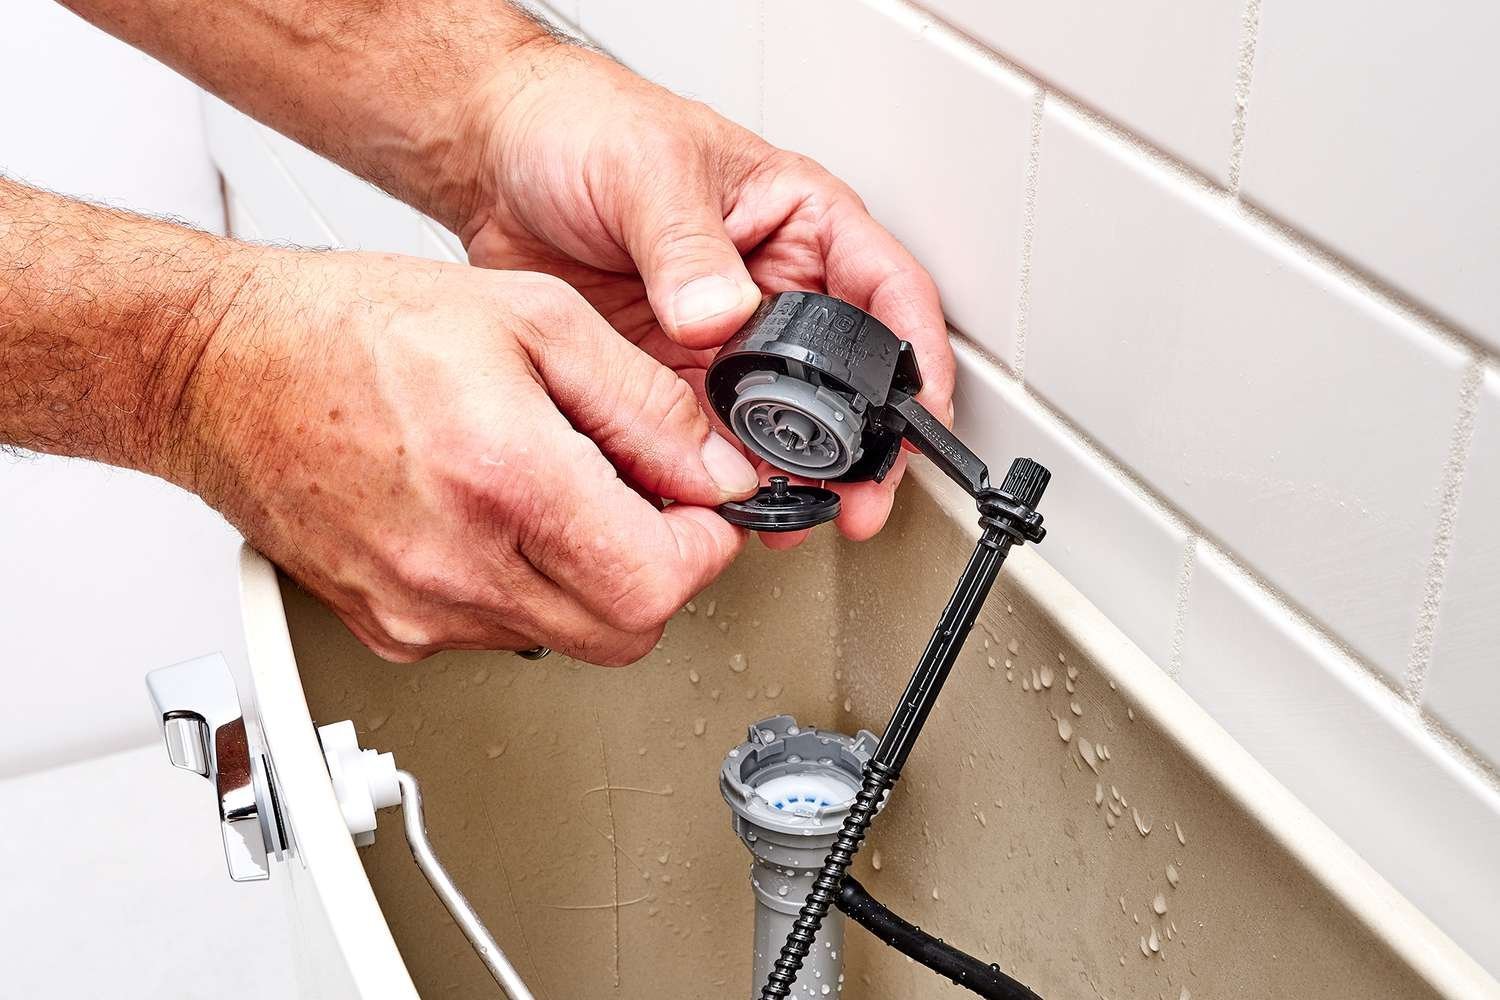
This fix is for you if the valve is cracked, leaking from the base, or if the internal plastic parts have become brittle and broken. When a valve is physically damaged, cleaning it won’t solve the problem. Replacing the unit is a permanent solution that restores reliability.
Before you begin, turn off the water supply at the wall and flush the toilet to empty the tank. Place a bucket under the supply line connection to catch the remaining water. You’ll need a pair of channel-lock pliers to loosen the nut under the tank. This is a task that requires basic mechanical skill. If you aren’t comfortable working with plumbing connections or if the nut is rusted and won’t move, call a professional plumber.
Replacing the valve isn’t worth the effort if the leak is actually coming from the tank-to-bowl bolts or the gasket between the tank and the bowl. If you’re unsure where the water is coming from, dry the tank completely with a towel and watch for the first drop of water to appear. If it appears at the bottom of the tank bolts, the fill valve isn’t your problem.
What not to do
- Don’t pour bleach or harsh chemical cleaners into the toilet tank to “clean” the valve, as these chemicals can dissolve the rubber seals and cause the valve to fail permanently.
- Use pliers to tighten the plastic nut on the bottom of the tank, but be careful not to overtighten, as this can crack the plastic or the porcelain tank.
- Don’t attempt to glue a cracked valve housing, because the pressure from the water line will blow the patch apart and flood your bathroom.
- Don’t leave the toilet running for days at a time, as this wastes significant amounts of water and can lead to a high utility bill.
How to stop it happening again
Regular maintenance keeps your system running smoothly. If you have hard water, you should check your tank regularly.
| If you’re doing this | Do this instead | Why |
|---|---|---|
| Ignoring a hissing sound | Clean the diaphragm immediately | Prevents water waste and valve wear |
| Forcing a stuck valve | Use a light vinegar rinse | Vinegar dissolves mineral deposits safely |
| Using chemical tablets | Use a manual brush | Tablets damage rubber seals over time |
| Over-tightening plastic nuts | Hand-tighten plus a quarter turn | Prevents cracking the tank or threads |
Frequently asked questions
Can I fix a running toilet myself?
You can fix most running toilets yourself because internal components are designed for easy, tool-free maintenance. Simple repairs like clearing debris or adjusting the float usually take less than ten minutes. However, call a plumber if you see leaks at the tank’s base, as supply line issues risk flooding.
Why is my toilet making a whistling sound?
A whistling sound occurs because water is forced through a tiny, blocked opening in the valve seal, usually caused by sediment. You can often stop this by turning off the water and cleaning the diaphragm. If the noise persists after cleaning, the rubber seal has likely hardened and requires a full valve replacement.
How long does a fill valve last?
A fill valve typically lasts between five and seven years, depending on your home’s water quality. High mineral content in hard water often causes rubber components to wear out faster. You’ll know it’s time to replace the unit when cleaning the diaphragm no longer stops the toilet from running.
Is it safe to leave a running toilet?
No, you shouldn’t leave a running toilet unattended because it leads to excessive water waste and potential overflow. If the overflow tube becomes blocked while the valve is stuck, water will spill onto your floor. Always turn off the water supply valve at the wall to prevent flooding.
What happens if I use too much force?
Using too much force on plastic fill valve components can cause cracks that lead to major leaks. These parts are designed to be tightened by hand, as tools often cause over-tightening. A cracked valve housing can’t be repaired and will require a full replacement to prevent further water damage.
Final Thoughts
If these simple adjustments don’t stop the noise or leaking, it’s time to install a fresh unit. Don’t worry if you’ve never done it before; you’ll find that a new valve saves you plenty of water and frustration. Just head to your local hardware store and grab a standard replacement kit today.
Related guides