
Clearing a blocked water line or checking the freezer temperature is the most effective Refrigerator Ice Maker Troubleshooting method for restoring frozen cube production. Most issues are caused by a frozen supply line or a temperature setting that’s too warm. If these steps fail, you may need a professional to replace a faulty water inlet valve or ice maker assembly.
Why this happens
Ice production is a delicate balance of temperature and water pressure. The most common reason for failure is simply an incorrect freezer temperature. If your freezer is set above 10°F, the appliance may not reach the internal temperature required to trigger the ice harvest cycle. Most manufacturers recommend a setting of 0°F to ensure proper freezing.
Another frequent cause is a frozen water line. Because the water supply line travels through the freezer compartment to reach the mold, it’s prone to freezing solid if the water pressure is too low or if the freezer door seal is leaking. When the line freezes, the ice maker can’t draw water, leading to a complete stoppage. You can often clear this by using a hair dryer on a low, warm setting to gently thaw the line, but be careful not to melt any plastic components.
Finally, the water inlet valve may fail. This valve is an electrical component that opens to allow water into the ice maker. If the solenoid inside the valve burns out, the ice maker will continue to cycle, but no water will enter the mold. A faulty valve can cause leaks or electrical shorts if installed incorrectly.
Safety: Inside a mains-powered machine, the parts behind the outer cover can hold a dangerous electrical charge even after it has been unplugged — that’s why they sit behind a cover. Opening the housing, or testing or replacing anything behind it, is a job for a qualified technician, never a home repair.
Adjust the freezer temperature
For many users, the first step is checking the thermostat. If the freezer isn’t cold enough, the ice maker sensors will prevent a harvest cycle from starting. This fix is for anyone whose ice maker has stopped producing cubes but still shows signs of power.
Check your manual to see the recommended setting. If the unit is currently set to a warmer range, lower the temperature to 0°F. After you change the setting, wait at least 24 hours for the internal temperature to stabilize. Ice makers aren’t instantaneous; they rely on the surrounding air to drop the water temperature. If the appliance is packed too full of food, the air can’t circulate, which will stop the ice maker from reaching the needed temperature.
If you have a digital display, look for a “filter” light. A clogged water filter can restrict the flow of water so significantly that the ice maker can’t fill the mold. If your filter is older than six months, replace it before trying other repairs. If the problem persists after the temperature adjustment and a filter change, the issue is likely mechanical. At this point, avoid any attempt to disassemble the internal casing. A technician will have the tools to test the water pressure and the continuity of the sensors without damaging the unit.
Clear the supply line
If your freezer temperature is correct but no ice is forming, the supply line may be blocked by a chunk of ice. This fix is for those who hear the ice maker cycling but see no water entering the tray.
First, locate the plastic water line leading into the back or side of the ice maker. If you see visible frost or ice buildup around the tube, this is your blockage. Use a hairdryer on a low, warm setting to melt the ice, moving the dryer back and forth constantly to avoid warping the plastic. Don’t hold the heat in one spot. Once the line is clear, you should see water flow into the tray during the next cycle.
If you find that the line freezes repeatedly, check the door seals on your freezer. If warm air is entering the freezer, it creates moisture that turns into frost inside the ice maker compartment. If the door seal is torn or brittle, it must be replaced. This is a functional repair, but if you aren’t comfortable using tools, a professional can install a new seal in minutes. If you clear the line and it remains clear, but the ice maker still fails to function, don’t attempt to bypass any internal switches or wiring. The internal motor or the water inlet valve may have reached the end of their functional life.
Verify the water pressure
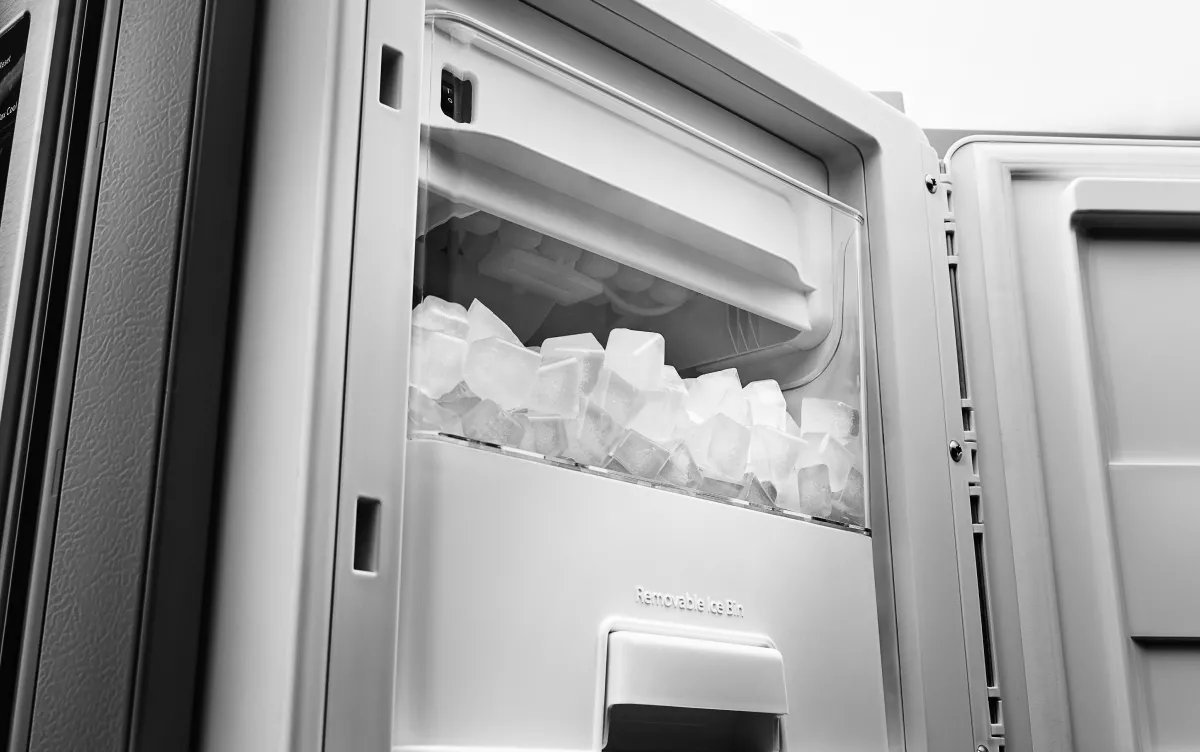
Sometimes the issue isn’t the ice maker itself, but the water supply coming from your wall. This fix is for those who have confirmed the freezer is cold and the line is clear, yet the maker remains dry.
The ice maker requires a specific water pressure to function. If your home’s water pressure is too low, the valve won’t open correctly. Check the shut-off valve behind the refrigerator to ensure it’s fully open. If you have recently had plumbing work done, there could be air trapped in the line.
If the valve is open and the pressure seems normal at the sink, the issue is likely the inlet valve located inside the appliance housing. This is a task for a professional. Replacing an inlet valve requires disconnecting the water supply and unplugging the refrigerator. If you suspect the valve is the problem, you should contact the manufacturer or a licensed appliance repair service. Attempting this yourself can lead to water leaks behind the unit, which can cause floor damage or electrical hazards.
What not to do
- Never use a metal object to chip away ice. You might puncture the refrigerant lines or the water tube, which will cause a permanent, expensive leak.
- Don’t force the ice maker into a harvest cycle. Manually twisting the plastic parts can break the internal gears, making a simple clog into a full assembly replacement.
- Avoid pouring hot water into the ice mold. This can crack the plastic tray or cause the water to freeze instantly in the wrong places, creating a larger blockage.
- **** This area contains electrical components that can pose a shock risk, and the internal wiring is complex enough that an amateur repair often voids the warranty.
How to stop it happening again
Regular maintenance keeps your ice maker running smoothly and prevents costly service calls.
| If you’re doing this | Do this instead | Why |
|---|---|---|
| Leaving the freezer door open | Keep the door closed tightly | Prevents frost buildup in the lines |
| Ignoring the filter light | Replace the filter every 6 months | Prevents mineral buildup and blockages |
| Packing the freezer too full | Leave space for air circulation | Ensures the ice maker stays cold enough |
Frequently asked questions
Refrigerator Ice Maker Troubleshooting: Can I Fix It Myself?
Yes, you can perform basic troubleshooting like checking the temperature, replacing the water filter, and clearing minor ice blockages. These steps resolve most common issues without specialized tools. If these steps fail, the problem likely involves electrical components or the water inlet valve, which require a professional technician.
How long should it take to make ice?
It takes 12 to 24 hours for an ice maker to produce a full bin after the freezer reaches the correct temperature. This process depends on your freezer settings and ambient home temperature. If you have just installed the refrigerator, wait a full day before assuming there’s a mechanical failure.
Is it safe to thaw the water line with a hairdryer?
Yes, you can safely use a hairdryer on a low, warm setting if you move it constantly to prevent melting plastic components. Never use high heat or hold the dryer in one spot, as this can warp the interior casing. Alternatively, leave the freezer door open to thaw the area naturally.
What happens if the water pressure is too low?
Low water pressure prevents the inlet valve from opening, which stops water from reaching the ice mold. This is often caused by a clogged filter or a partially closed shut-off valve. If the pressure at your kitchen sink is also weak, you may need to consult a plumber for your home supply.
Why is my ice maker making a loud noise?
A loud noise during the ice-making cycle often indicates the motor is struggling to turn the ejector arm due to a blockage. If the tray is frozen solid, the motor may strain and create a clicking sound. If the noise continues after clearing the ice, the motor assembly likely requires professional replacement.
Final Thoughts
If your ice maker still won’t cooperate, don’t stress about it. Sometimes, parts just wear out and need a fresh start. It’s worth checking your appliance’s manual or reaching out to a local technician to see if a simple replacement will get things running smoothly again. You’ll be enjoying cold drinks soon.
Related guides