
Dewalt Battery Charger Troubleshooting involves checking the power source, battery contacts, and indicator lights to resolve charging failures. Most issues stem from dirty contacts, tripped breakers, or extreme storage temperatures. If the charger remains unresponsive or displays a persistent fault light after cleaning, the internal components may have failed and require professional replacement.
Dewalt Battery Charger Troubleshooting
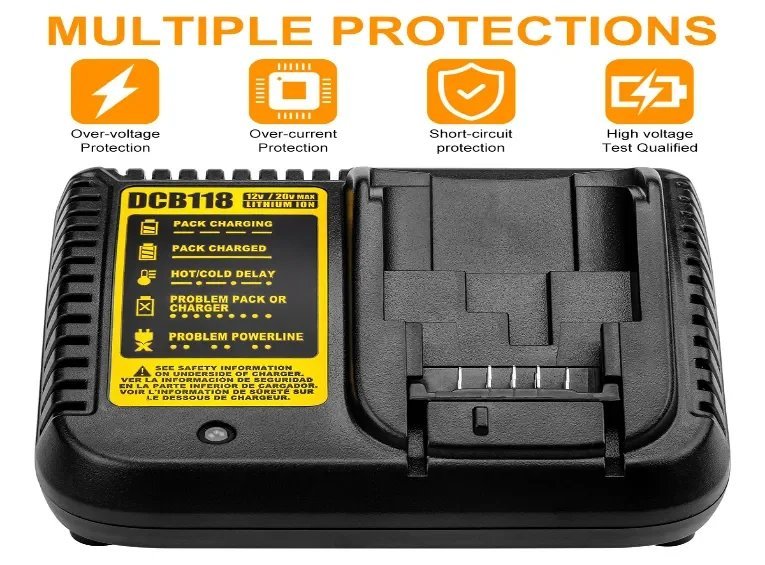
The primary reason a charger fails to operate is a lack of electrical continuity between the battery pack and the charger base. Over time, dust, wood shavings, and metal debris accumulate on the metal terminals, acting as an insulator that blocks the flow of electricity. If your charger shows no lights at all, the issue is almost always the power supply. This could be a loose connection at the wall outlet, a tripped GFCI outlet, or a blown breaker in your home’s electrical panel.
Another common cause is the battery’s internal temperature. Lithium-ion cells are sensitive to heat and cold. If you have been using your tool heavily in the sun or storing it in a freezing garage, the charger’s protection circuitry will intentionally refuse to charge the battery to prevent permanent cell damage. This is a safety feature, not a malfunction. The charger will wait until the battery reaches a safe internal temperature range before it begins the charging cycle.
Finally, deep discharge can lock out a battery. If a battery is left in a tool for months without being recharged, its voltage may drop below the minimum threshold required for the charger to “see” it. In this state, the charger might show no lights or indicate a fault because it can’t detect the battery’s presence. While some chargers can recover these, others treat the battery as dead. Always follow the official Dewalt battery storage guidelines to prevent these deep discharge states, as extreme neglect can cause the chemistry to degrade beyond the point of recovery.
Clean the contact terminals
This fix is for users whose charger shows no lights or an intermittent connection when a battery is inserted. You’ll need a clean, dry cloth or a soft-bristled brush. First, unplug the charger from the wall outlet to ensure safety. Inspect the metal contact blades inside the charger and the corresponding slots on the battery pack. Look for any debris, oxidation, or buildup that might prevent a solid metal-to-metal connection.
If you see dirt, gently wipe the terminals with your dry cloth. Don’t use liquids, sprays, or metal tools like screwdrivers to scrape the contacts, as this can bend the pins or cause a short circuit. Once the contacts are clean, plug the charger back into the wall and firmly slide the battery into the base. You should feel a positive “click” when the battery is fully seated. If the indicator lights now blink, the connection was the issue.
This isn’t for people experiencing a “hot/cold pack delay” light pattern. If the charger still doesn’t respond after cleaning, the fault lies either in the wall power or the internal electronics of the charger. If you don’t have a spare battery to test with, you can’t confirm if the issue is the charger or the battery itself. If you have a friend with a compatible Dewalt tool, try their battery in your charger. If their battery works, your battery is the problem. If their battery also fails in your charger, the charger is likely defective.
Reset the power connection
This fix addresses chargers that appear completely dead or show inconsistent light patterns. A simple power cycle can often clear the memory of the charger’s logic board. Unplug the charger from the wall outlet and leave it disconnected for at least sixty seconds. While it’s unplugged, ensure that your wall outlet is functional by testing it with a lamp or a phone charger.
If the outlet works, plug the charger back in. Watch the indicator lights immediately upon reconnection. Most models perform a self-test where the lights flash briefly to indicate they’re receiving power. If you see no lights after plugging it in, check your home’s breaker box. Sometimes a high-draw tool or a power surge will trip the circuit, leaving the outlet dead even if it looks normal.
If you have a GFCI outlet, press the “Reset” button on the face of the outlet. This is a common point of failure in garages and workshops where these chargers are used. If the charger still doesn’t show power after a reset, the internal fuse or transformer may have blown. A capacitor can hold a lethal charge even after the unit is unplugged, so never attempt to open the case to replace internal parts. This work is restricted to authorized service centers. If the unit is out of warranty, it’s usually more cost-effective to replace the charger than to pay for professional repairs.
Test with a different battery
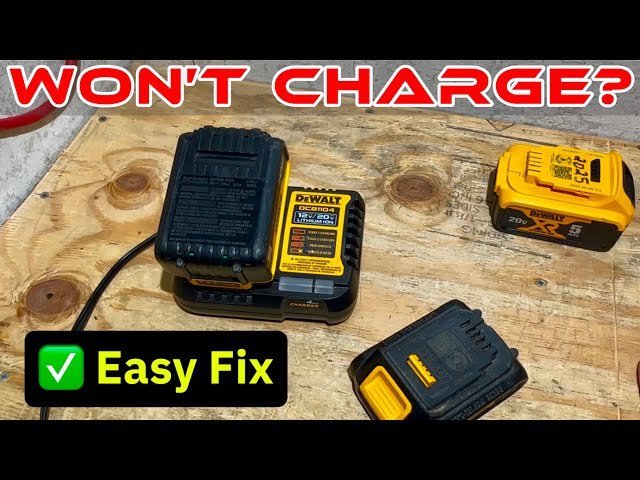
This fix is for cases where the charger lights turn on, but the battery refuses to charge. If you have access to a second battery, insert it into the charger to see if the charging cycle begins. If the second battery charges normally, your original battery has likely reached the end of its life or has a failed internal cell.
If neither battery charges, the charger is the culprit. However, pay attention to the light patterns. A “hot/cold” delay (often a slow, continuous blink) means the battery is outside the operating temperature range. Move both the charger and the battery to a room-temperature environment (between 40°F and 105°F) and wait thirty minutes before trying again.
If the light is a rapid, constant blink, this typically indicates a pack fault. If you can’t test your battery in a known-good charger, take both items to a local retailer for assistance. If the charger is an older unit, it’s common for the internal electronics to wear out.
What not to do
- Never submerge the charger or the battery in water to clean them, as this will destroy the internal electronics and create a significant shock hazard.
- Don’t attempt to bypass the internal thermal sensors by placing the battery in a freezer or near a space heater, as this can cause the lithium cells to vent or catch fire.
- Avoid using a “fast charger” meant for high-capacity batteries on very small, older battery packs if the manual doesn’t explicitly list them as compatible, as this can overheat the smaller cells.
- Never use a power inverter or a vehicle cigarette-lighter adapter that isn’t rated for the specific wattage of your charger, as inconsistent voltage will fry the charger’s circuit board.
- Don’t force the battery into the charger if you feel resistance, as this usually indicates a bent contact pin that will only get worse if you apply pressure.
How to stop it happening again
To keep your equipment running, store batteries in a cool, dry place and keep the charger contacts free of dust.
| If you’re doing this | Do this instead | Why |
|---|---|---|
| Remove them after charging | Prevents constant trickle voltage wear | |
| Keep them indoors | Prevents thermal lockout and chemistry drop | |
| Unplug when not in use | Protects the board from power surges | |
| Keep the area clear | Ensures airflow to prevent overheating |
Frequently asked questions
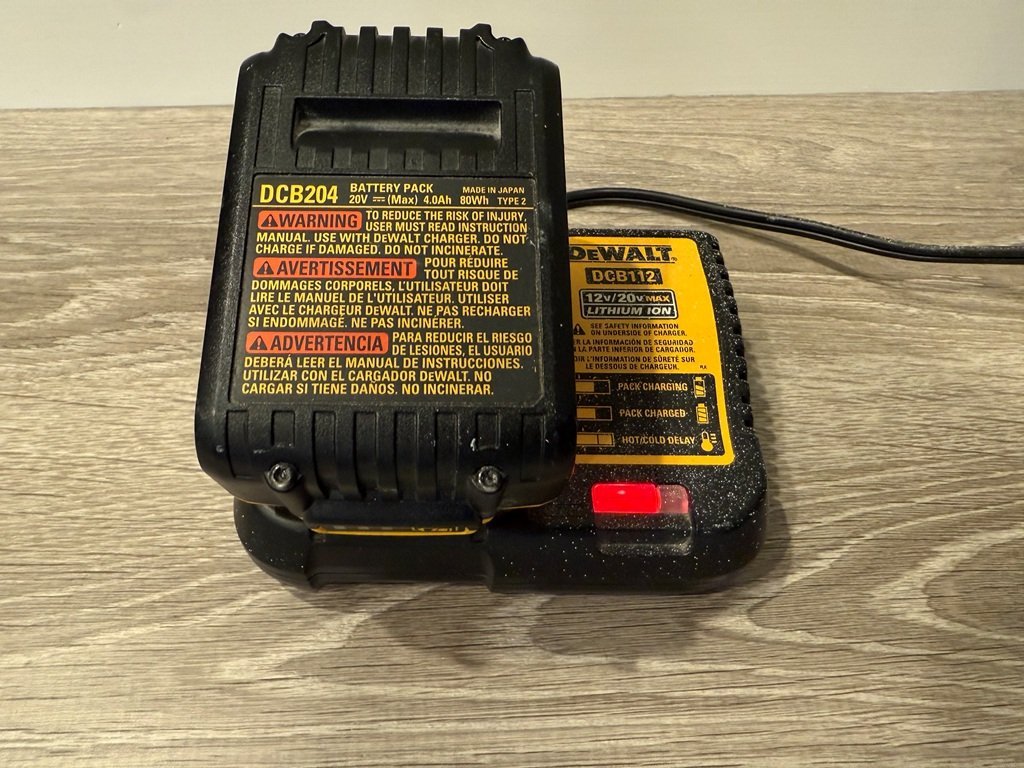
Can I fix a flashing red light on my Dewalt charger?
A flashing red light usually indicates a hot or cold pack delay, which is resolved by moving the battery to a room-temperature area. If the light remains a fast, continuous flash after cleaning the contacts, the battery likely has a failed internal cell. Note that different models may use unique blink codes.
Why does my charger make a buzzing sound?
A slight buzzing sound is normal due to high-frequency power supply switching. If the noise is loud, sounds like arcing, or produces a burning smell, unplug the unit immediately. Don’t attempt to open the charger, as internal components can hold a dangerous electrical charge.
How long should a Dewalt battery take to charge?
Charging time varies by model, so check the label on your specific charger for capacity details. A standard 2.0Ah battery typically takes thirty to sixty minutes to charge, while larger 5.0Ah or 6.0Ah packs take two hours or more. The charger will delay charging if the battery is hot.
Is it safe to leave my battery in the charger overnight?
You shouldn’t leave batteries in the charger for long periods after the cycle is complete. Modern Dewalt chargers are designed to enter a maintenance mode once the battery is fully charged, but it’s best practice to remove the battery for long-term storage. For the longest lifespan, remove the battery once the indicator light shows it’s fully charged.
What happens if I use an incompatible charger?
Using an incompatible charger can permanently damage your battery or the charger itself. Dewalt chargers communicate with batteries to manage voltage and current, and using the wrong match can cause overheating. Always check the charger label to ensure it matches the voltage range of your battery pack.
Final Thoughts
If your unit still won’t charge after these checks, it’s time to look into your warranty status. You shouldn’t try to open the casing yourself, as that’s dangerous. Contact a local service center or reach out to the manufacturer’s support team; they’ll help you figure out if a replacement is your best path forward.
Related guides
- Emacros Driveway Alarm Troubleshooting: Fix Common Failures
- E Z Go Golf Cart Troubleshooting Manual: Fix Common Failures
- Trailer Light Problems Troubleshooting: Fix Common Failures in 2026