
You can perform Trailer Light Problems Troubleshooting by checking the ground wire connection first, as it’s the most common cause of failure. If your lights are dim, flickering, or not working, the issue usually stems from a poor electrical path back to the vehicle frame. Rust, paint, or loose hardware often create high-resistance connections. This guide focuses on safe, non-technical steps to restore your lighting system.
Trailer Light Problems Troubleshooting
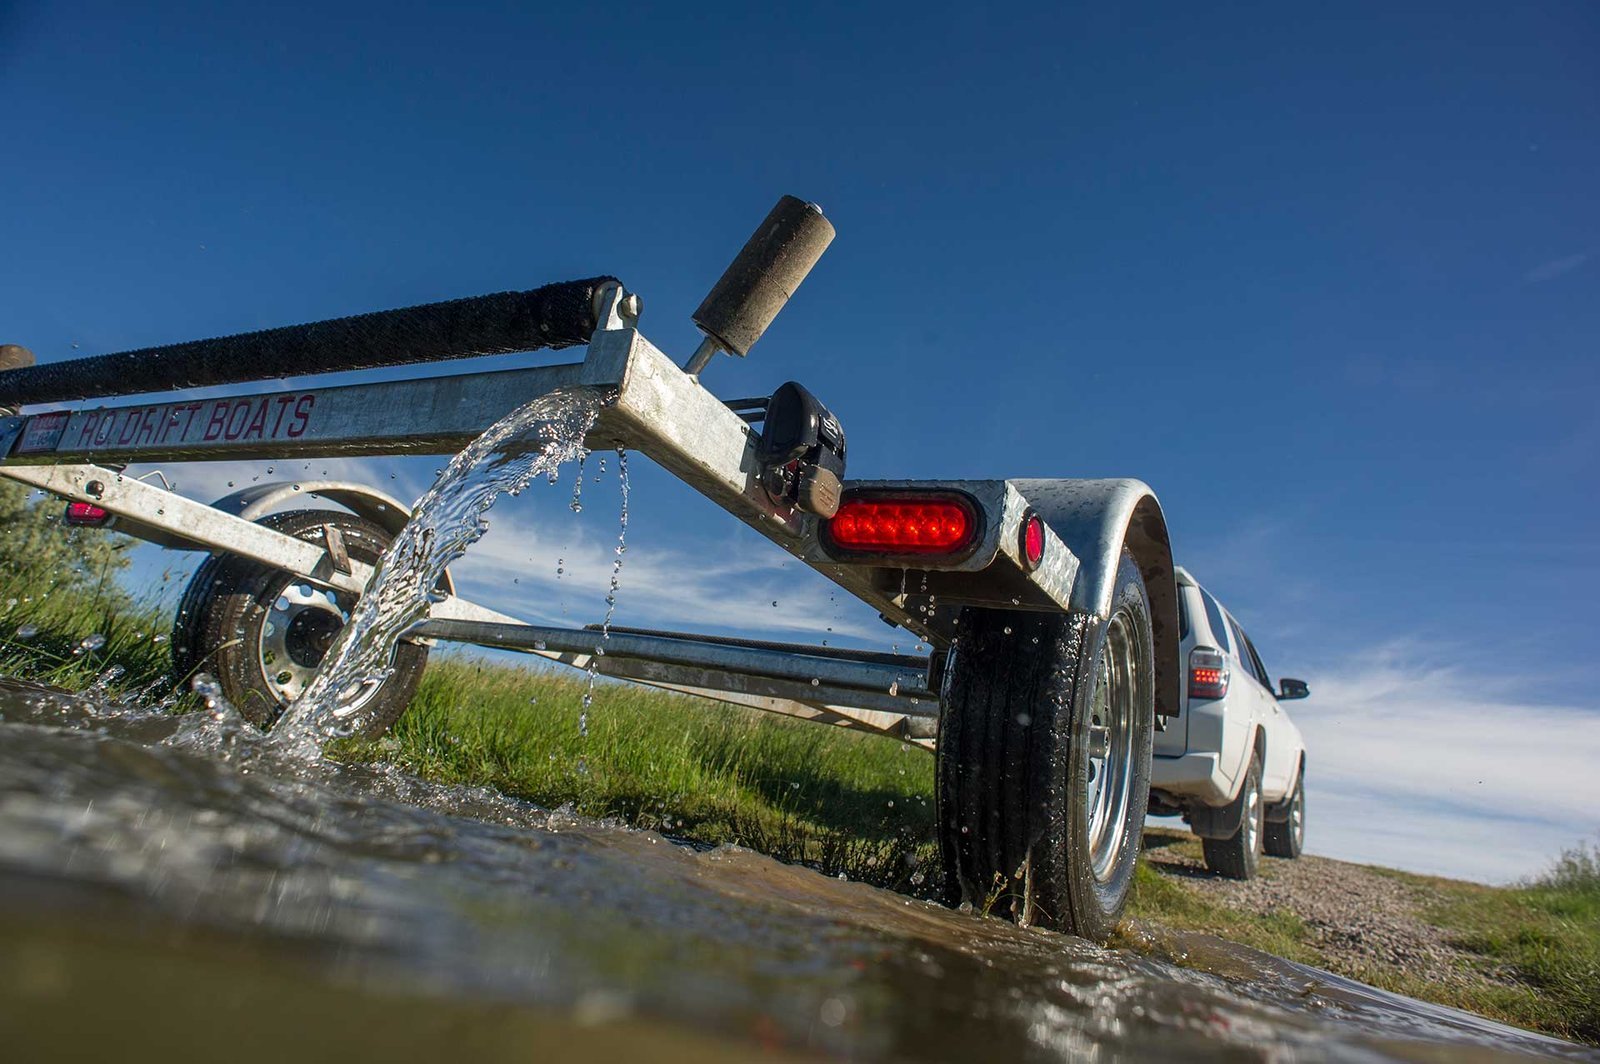
Electrical issues on trailers primarily occur because of oxidation, moisture, and physical vibration. Because trailers spend time outdoors, the metal components and wiring harnesses are constantly exposed to water and road salt. This environment promotes corrosion, which acts as an insulator, preventing electricity from completing the circuit.
A second common cause is physical damage to the wiring harness. Trailers flex during movement, and if wires aren’t secured with clips or zip ties, they can rub against sharp metal edges or drag on the road. This leads to frayed insulation, short circuits, and blown fuses in the tow vehicle. If your lights work intermittently, it’s likely that a wire is partially severed or a connector has loosened from vibration.
Finally, the plug itself is a frequent failure point. The pins on your seven-way or four-way connector can become bent or coated in grime. When the pins fail to make a solid connection with the socket on your truck, the lights will flicker or fail completely. You should always inspect these pins for signs of blackening or green buildup, which indicates heat damage or heavy corrosion. If you notice melted plastic around the plug, it’s a sign that the circuit has been overloaded or has a severe short.
Clean the connector pins
This fix is for anyone dealing with lights that flicker or work only when the trailer plug is held in a specific position. The goal is to ensure a tight, clean metal-to-metal contact between your trailer and your tow vehicle. To do this, look at the pins on the trailer side of the plug. If you see a blue-green crust or dark, burnt-looking metal, you need to remove that buildup. Use a small, stiff-bristled wire brush to gently scrub the pins. Don’t use excessive force, as you might bend the pins or break the plastic housing.
If the pins appear loose, they aren’t gripping the socket properly. You can carefully use a small flat-head screwdriver to slightly spread the split pins, but do this very gently. If you force them, they will snap. After cleaning, check the socket on your truck for debris or mud. If the socket is dirty, the pins will never seat properly. This fix is successful if the lights stay on while you wiggle the cable. If the lights still fail, the problem is deeper in the wiring or the vehicle’s fuse panel. Note that if you see exposed copper wire near the plug, you should stop, as a bare wire touching the frame will continue to pop your fuses. In such cases, the entire plug assembly requires replacement by a professional.
Secure the ground connection
This fix is for trailers that have “ghost” lighting, where one light turns on only when another is off, or where lights are very dim. The ground connection is the most critical part of the circuit. On most trailers, the white wire from the trailer harness attaches directly to the metal trailer frame with a ring terminal and a self-tapping screw. Over time, the area under that screw becomes rusted or covered in road film.
To fix this, locate where the white wire connects to the frame. Remove the screw, clean the metal frame with sandpaper until you see shiny, bare metal, and then clean the ring terminal itself. Reattach the screw tightly. If the screw is rusted, replace it with a new, stainless steel screw to prevent future corrosion. You can confirm this worked if your lights suddenly reach their full brightness. If you have a boat trailer that’s submerged in water, this connection is almost certainly your primary point of failure. According to the National Highway Traffic Safety Administration, maintaining your trailer lighting is a legal requirement for road safety, so don’t ignore a poor ground. If you find that the wire itself is brittle or snapped, you’ll need to cut the wire back to a clean section and crimp on a new ring terminal. If you don’t have a crimping tool, a local trailer repair shop can perform this quickly and safely.
Inspect the bulb and socket
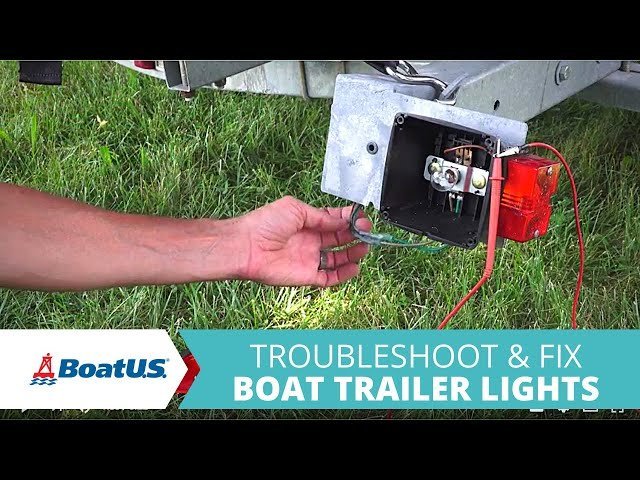
This fix is for when only one specific light is out while all others function correctly. It’s the most straightforward repair, but it requires care to avoid damaging the lens housing. Most trailer lenses are held on by small screws. Remove these carefully and set them aside in a container so they don’t get lost. Once the lens is off, push the bulb in and twist it to remove it. Inspect the filament inside the glass; if it’s broken or the glass is blackened, the bulb is dead.
Look inside the socket for signs of corrosion. If the metal contacts inside the socket are green or black, use a small piece of sandpaper to clean them. If the socket is rusted through, it won’t hold the bulb securely, and you’ll need to replace the entire light assembly. Check your owner’s manual or the existing bulb’s base for the correct replacement part number. If you replace the bulb and it still doesn’t light, the issue is likely a broken wire leading to that specific lamp. This is a common point of failure for trailers that have been backed into walls or rocks. If you aren’t comfortable working with electrical wiring or drilling into the frame to mount a new light, it’s safer to have a technician handle the installation to ensure the seal is waterproof.
What not to do
- Don’t use electrical tape to fix frayed wires. This doesn’t create a waterproof seal, and water will quickly enter the connection and corrode the copper underneath.
- Don’t bypass a blown fuse with a larger one. Using a higher-rated fuse creates a fire risk because the wiring will melt before the fuse blows, which is a major safety hazard.
- Don’t spray WD-40 or similar oils into the plug pins. These oils attract dust and dirt, which will build up and eventually prevent the electrical current from flowing reliably.
- Don’t hammer on the light housing to get it to work. This will likely crack the plastic lens or break the internal mounting clips, leading to water intrusion and total light failure.
How to stop it happening again
Consistent maintenance is the only way to prevent recurring lighting failures.
| If you’re doing this | Do this instead | Why |
|---|---|---|
| Leaving the plug exposed | Keep the plug covered | Protects pins from road salt |
| Using standard steel screws | Use stainless steel hardware | Prevents rust at ground points |
| Ignoring dim lights | Clean the ground connection | Stops heat buildup in wires |
| Dragging the wire harness | Use plastic cable ties | Prevents insulation from fraying |
Frequently asked questions
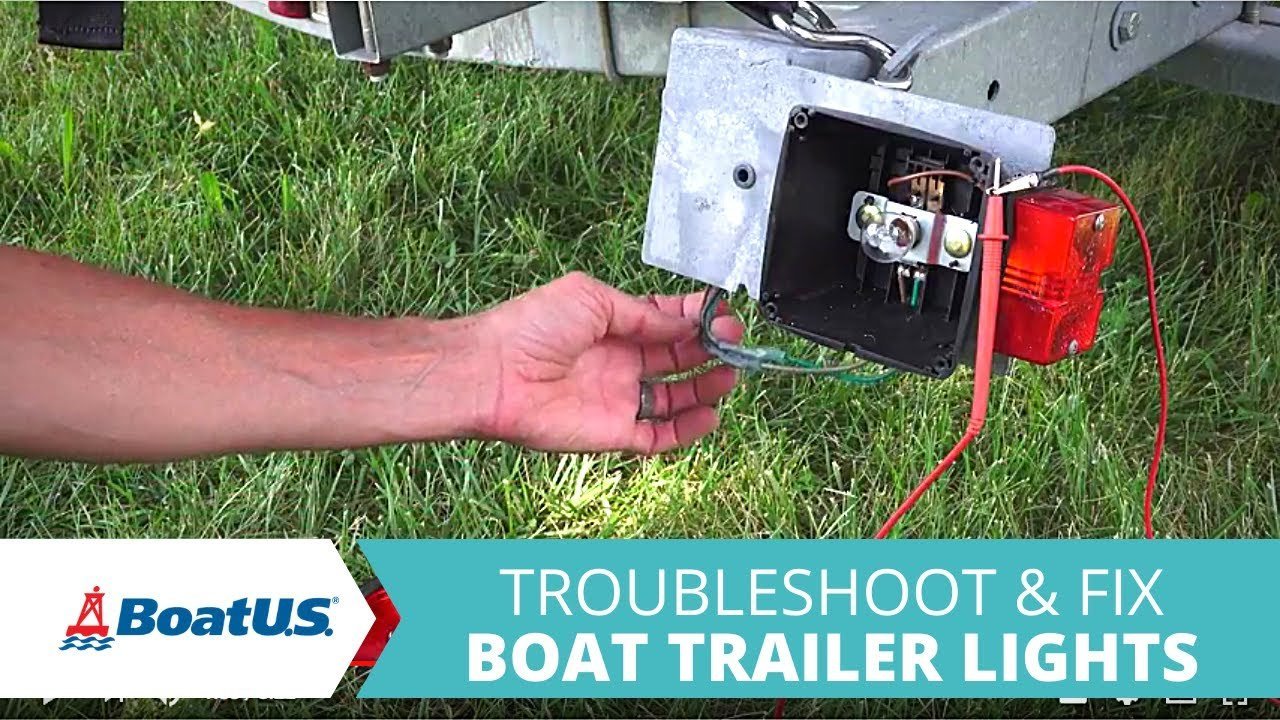
Can I use a multimeter to find the fault?
Yes, a technician can confirm whether the part has failed, but it requires knowledge of the wiring diagram for your specific trailer. If you don’t know which pin is the ground and which is for the turn signals, you risk creating a short circuit. For most owners, a simple test light is safer and easier to use.
Why do my trailer lights work when the truck is off?
This usually means your vehicle’s tow package is wired to a constant power source, or you have a back-feed issue caused by a bad ground. If your lights stay on, check your truck’s fuse box to ensure the trailer relay isn’t stuck in the closed position.
How long do trailer light bulbs last?
They typically last for several years with normal use, though this depends on vibration and environmental exposure. Vibration and moisture are the main reasons they fail early. If you replace bulbs frequently, consider upgrading to sealed LED units.
Is it safe to drive with one trailer light out?
No, it’s illegal in almost all jurisdictions and creates a significant safety risk for other drivers. If you have a light out, you must fix it before getting on the road. If you can’t fix it immediately, you shouldn’t tow the trailer.
What happens if I ignore a flickering light?
Ignoring a flicker usually leads to a total loss of that light circuit within a few trips. The flickering indicates a high-resistance connection that generates heat, which will eventually melt the wire insulation or the connector housing. It’s much cheaper to clean a contact than to replace an entire harness.
Final Thoughts
Once you’ve finished these checks, keep your connections clean by applying a little dielectric grease to the plugs. It’ll help prevent future corrosion and keep your lights shining bright on the road. If you’re still having trouble, don’t hesitate to reach out to a local mechanic for a quick look.
Related guides
- Emacros Driveway Alarm Troubleshooting: Fix Common Failures
- E Z Go Golf Cart Troubleshooting Manual: Fix Common Failures
- Craftsman Power Washer Troubleshooting: Fix Common Problems in 2026