
Kenmore Sewing Machine Troubleshooting often involves fixing simple errors like skipped stitches or jammed fabric by re-threading or cleaning the bobbin area. Before assuming internal parts are broken, check your needle, thread tension, and bobbin winding. If these basic settings fail, consult a professional for mechanical repairs.
Kenmore Sewing Machine Troubleshooting
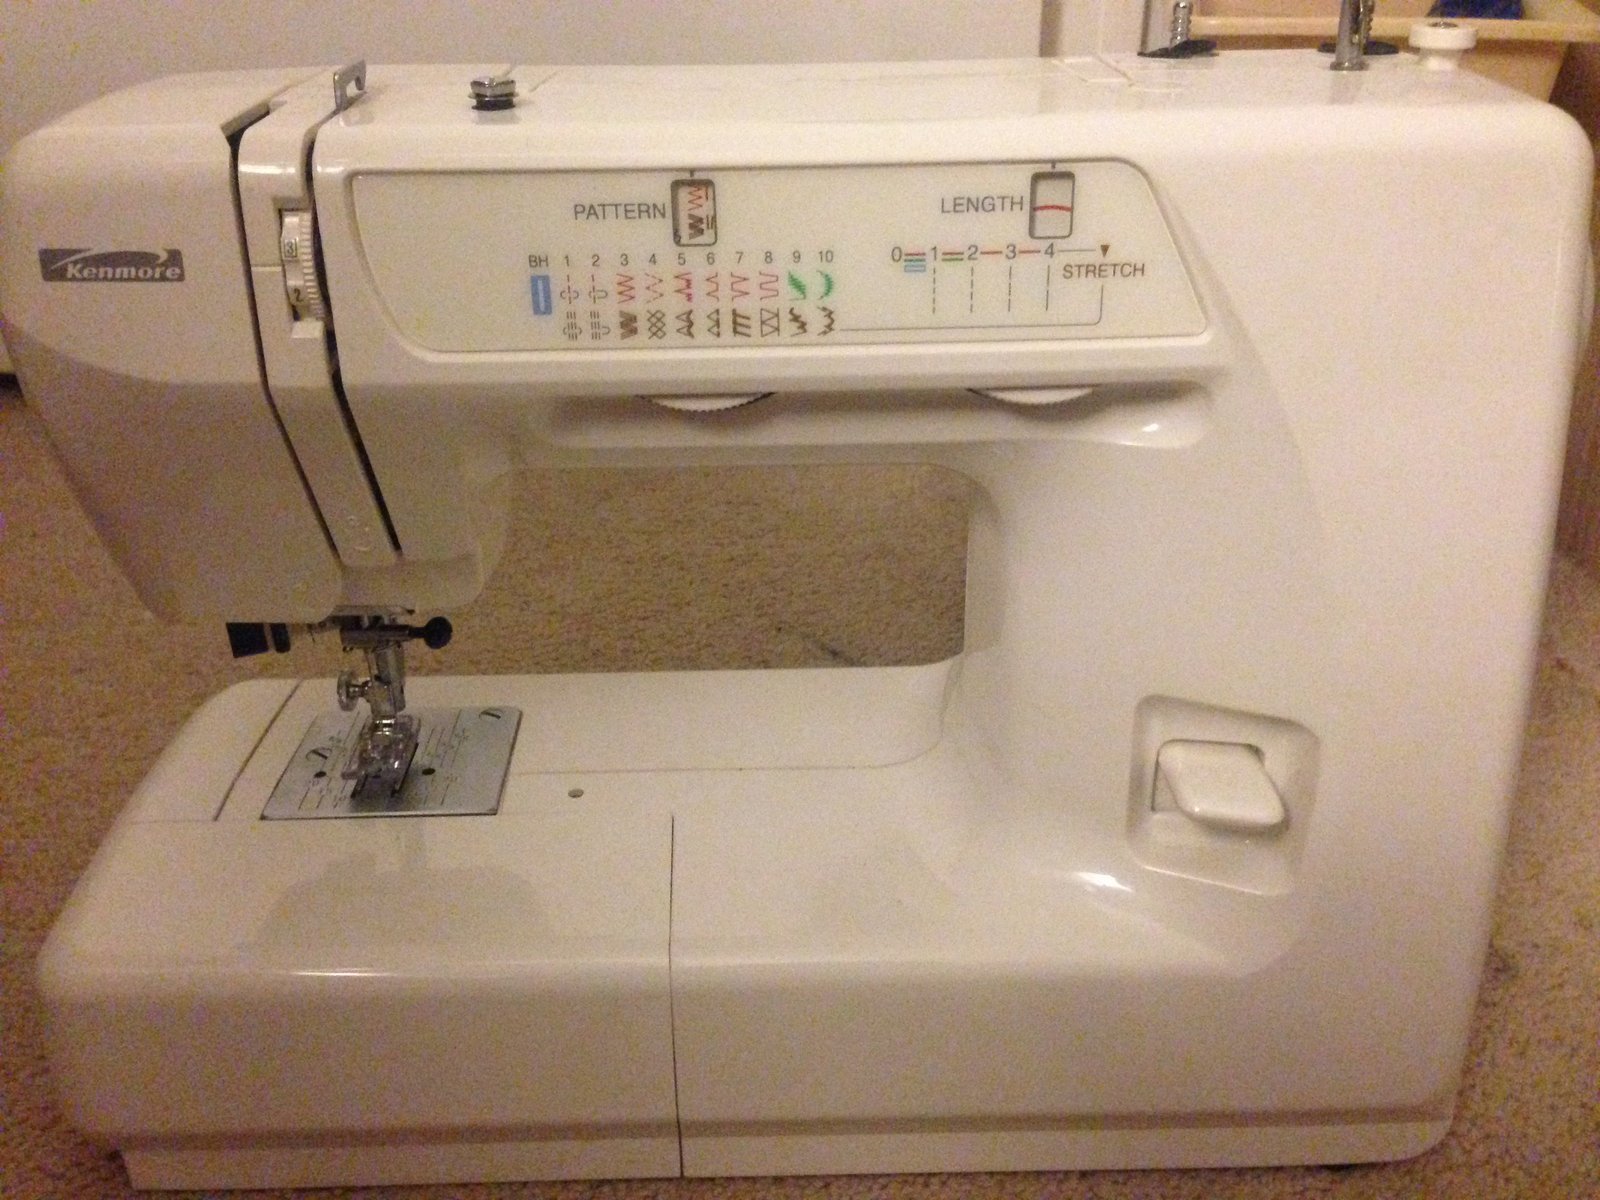
Most problems with these machines stem from a mismatch between the thread type and the needle size. If you use a heavy thread with a thin needle, the thread will snag or break as it passes through the fabric. Another common cause is lint buildup inside the bobbin case. Tiny fibers from cotton fabric collect in the race area, which prevents the hook from catching the thread correctly. This creates a loop or a bird’s nest of thread under your fabric.
Another factor is the bobbin itself. If the bobbin was wound loosely or if it isn’t sitting flat in the case, the machine can’t pull the thread with even tension. This causes the stitch to look uneven or bunched up on one side. Always ensure you’re using the correct class of bobbin for your specific model, as using a bobbin that’s slightly too tall or thin will cause the thread to catch.
Finally, the needle plate or presser foot might be loose. If the needle hits the plate, it will dull the tip or snap entirely. If you notice the needle is hitting the edge of the hole in the needle plate, don’t force the machine to run, as this can damage the hook assembly. The Kenmore sewing machine support page provides specific model-by-model guidance on parts and maintenance, which is useful when you’re unsure if your specific machine requires a specialized bobbin or needle type.
Reset the tension and thread path
This fix is for users who see loops of thread on the bottom of their fabric or thread that snaps frequently. First, turn the machine off and unplug it. Remove the upper thread completely and take out the bobbin. Ensure the presser foot is in the raised position before you start threading again. This is vital because it opens the tension discs. If the foot is down, the thread will sit outside the discs, leading to loose, uneven stitches.
Use a high-quality thread and ensure the spool cap is tight against the spool. If the spool wobbles, it will cause uneven tension. After threading the top, insert the bobbin and pull the thread through the tension spring in the bobbin case. If the thread doesn’t have a slight resistance when you pull it, the bobbin case tension screw may be too loose.
If the machine still produces loops, check the dial on the front of the machine. If the number is too low, increase it by one increment at a time. If you sew on heavy denim, you need a higher tension setting than you would for thin silk. If you have never adjusted this, start at the medium mark—usually labeled as four or five—and test on a scrap piece of fabric. This fix isn’t for machines that make a grinding noise, as grinding suggests a mechanical obstruction rather than a tension issue.
Clean the bobbin race area
This fix is for users whose machines are jammed, making loud noises, or failing to pick up the bottom thread. Unplug the machine and remove the needle plate. Most Kenmore models allow you to remove this plate by unscrewing two small screws or by sliding a latch. Once the plate is off, use a soft brush to remove the lint. Don’t use compressed air, as this can push dust deeper into the internal gears.
After brushing the lint, check for any stray threads wrapped around the hook assembly. If you find threads, use tweezers to pull them out gently. Don’t use metal tools to scrape the area, as you could scratch the surface of the hook. Scratches on the hook will snag the thread and cause it to break repeatedly while you sew.
Once the area is clean, add one tiny drop of sewing machine oil to the hook race if your manual says it requires lubrication. If your manual states the machine is “self-lubricating,” don’t add oil, as it can attract dust and damage the internal components. Reattach the needle plate and turn the handwheel by hand for a full rotation to ensure the needle clears the plate. If it turns smoothly, you have solved the jam. If you feel resistance, stop immediately and contact an authorized repair technician, as the timing of the hook may be misaligned.
Replace the needle and check timing
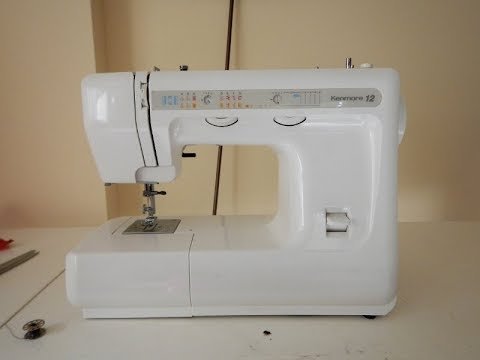
This fix is for users who experience skipped stitches or fabric that won’t move forward. The most common mistake is using a dull or incorrect needle. If the needle has a hook at the tip, it will shred fabric and skip stitches. Replace your needle every eight hours of sewing time. If you’re sewing through multiple layers of heavy canvas, change it even sooner.
When you insert the new needle, ensure it’s pushed all the way up into the clamp and the flat side is facing the correct direction—usually toward the back, but check your manual to be certain. If the needle isn’t seated correctly, the hook will miss the thread loop entirely.
If you have replaced the needle and the machine still skips, the timing may be off. Timing is the synchronization between the needle’s downward movement and the hook’s rotation. If the hook arrives too early or too late, it can’t catch the thread. If you suspect the timing is off, you must take the machine to a professional. Attempting to adjust the timing yourself without specialized gauges and training can result in permanent damage to the hook assembly. This isn’t a DIY task. Professional repair is the only safe way to reset the internal mechanical timing of the machine.
What not to do
- Don’t use WD-40 to clean or lubricate your machine. This product is a solvent, not a lubricant; it will dissolve the factory grease and eventually cause the internal parts to seize up.
- Don’t force the handwheel if you feel resistance. Pushing against a jam can bend the needle bar or break the plastic gears inside the machine, which are expensive and difficult to replace.
- Don’t sew over pins. Hitting a pin will dull your needle instantly and can cause the needle to deflect, which often leads to the needle striking the metal throat plate and causing a burr.
- Don’t leave the machine plugged in while cleaning. Even when the power switch is off, internal components can remain energized, and accidental contact with the foot pedal can cause the needle to move while your fingers are near it.
How to stop it happening again
Regular maintenance is the best way to prevent future failures and keep your machine running smoothly for years.
| If you’re doing this | Do this instead | Why |
|---|---|---|
| Leaving lint in the bobbin area | Clean out lint after every project | Lint buildup creates friction and jams |
| Using the same needle for weeks | Change the needle every 8 hours | Dull needles damage fabric and timing |
| Winding bobbins at high speed | Wind bobbins at a steady, slow pace | Fast winding creates uneven thread tension |
| Storing the machine in a cold garage | Store in a room with stable temperature | Moisture causes rust on internal parts |
Frequently asked questions
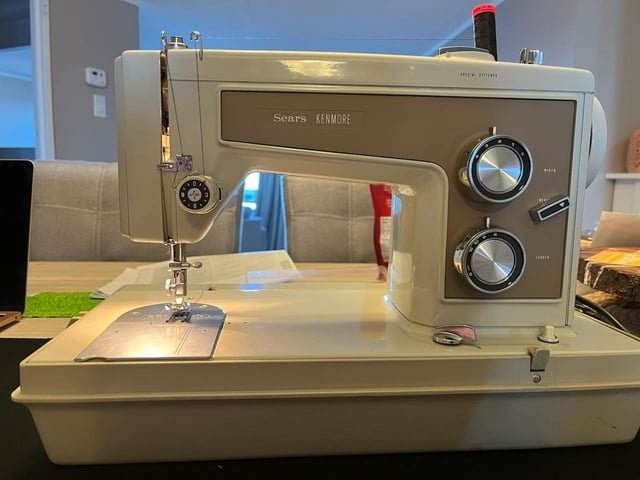
Can I fix a jammed Kenmore sewing machine myself?
You can fix most jams by cleaning the bobbin race and re-threading the machine. Removing the needle plate and using tweezers to clear debris often resolves physical blockages. If the handwheel won’t move, don’t force it, as internal hook assembly issues require a professional technician.
Why is my Kenmore sewing machine skipping stitches?
Skipping stitches is usually caused by a dull, bent, or incorrectly inserted needle. Always start by installing a fresh, high-quality needle appropriate for your specific fabric type. If the problem persists after changing the needle, the machine may require a professional timing adjustment.
How long does a Kenmore sewing machine last?
A well-maintained machine can last twenty to thirty years or more. Longevity depends on how regularly you clean lint from the bobbin area and whether you have it professionally serviced to check tension and timing. If you use the machine daily, it will require more frequent oiling and internal cleaning than a machine used only occasionally.
Is it safe to oil my own sewing machine?
Yes, it’s safe to oil your machine if the manufacturer’s manual specifically says to do so. Only use oil labeled for sewing machines, and apply only one tiny drop to the specific points listed in your user guide. Never use household oils, as these will become gummy and attract dust. If your manual states the machine is “permanently lubricated,” don’t add any oil at all.
What happens if I use the wrong size needle?
Using the wrong size needle causes poor stitch quality, skipped stitches, and possible damage to the needle plate. A needle that’s too thick will leave holes in delicate fabric, while a needle that’s too thin will break when sewing through thick layers. Always match the needle size to the weight of your fabric and thread to ensure the machine can pull the thread through the material without resistance.
Final Thoughts
Keep your machine running smoothly by dusting the feed dogs and oiling the moving parts every few months. If you’re still having trouble after a good cleaning, don’t hesitate to take it to a local shop. You’ll be back to finishing your favorite sewing projects in no time at all.
Related guides