Are you having trouble with your MPPT solar charge controller? When your solar system isn’t working right, it can be frustrating and confusing.
But don’t worry—you’re not alone, and fixing it might be easier than you think. This guide will help you understand common issues and simple steps to get your controller back on track. Keep reading to make sure your solar setup runs smoothly and powers your life the way it should.
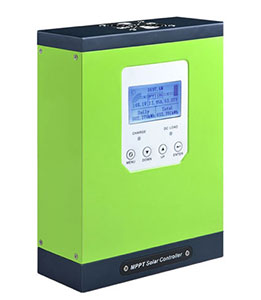
Credit: www.inverter.com
Common Mppt Controller Issues
MPPT solar charge controllers are vital for efficient solar power systems. They regulate and maximize energy from solar panels to batteries. Despite their reliability, some common issues can affect performance. Knowing these problems helps in quick troubleshooting and keeps your system working smoothly.
No Power Output
No power output means the controller does not send energy to the battery. Check if the solar panels are connected properly. Loose or damaged wires can stop power flow. Also, verify if the controller is turned on and functioning. Sometimes, a blown fuse or tripped breaker causes this issue. Inspect all connections and parts carefully.
Inaccurate Voltage Readings
Incorrect voltage readings can mislead system monitoring. This happens due to faulty sensors or loose wiring. Dirt or corrosion on terminals also affects readings. Reset the controller to see if the issue clears. Replace damaged sensors or clean contacts to fix this problem. Accurate voltage data is crucial for battery health.
Overheating Problems
Overheating reduces controller efficiency and lifespan. It often occurs in hot or poorly ventilated areas. Dust build-up on cooling fans or vents worsens the issue. Ensure the controller has enough airflow around it. Regular cleaning helps prevent heat damage. If overheating persists, consider relocating the unit.
Battery Not Charging Fully
When the battery does not charge fully, check panel output first. Weak sunlight or shading lowers energy input. Verify the battery type and settings on the controller match. Incorrect settings can limit charging capacity. Old or damaged batteries may also cause this issue. Use a voltmeter to test battery health and replace if needed.
Quick Fixes For Mppt Controllers
Quick fixes for MPPT solar charge controllers can solve many common issues fast. These fixes help keep your solar system running smoothly. Simple steps often restore proper function without the need for professional help.
Some problems come from small errors like loose wires or software glitches. Checking the basics first saves time and hassle. The following quick fixes cover easy ways to troubleshoot your MPPT controller effectively.
Resetting The Controller
Resetting the MPPT controller clears temporary errors. Turn off the controller and disconnect it from the solar panels and battery. Wait about one minute. Then reconnect everything and power it back on. This can fix many minor software glitches.
Checking Wiring Connections
Loose or damaged wires cause many controller problems. Inspect all connections to the solar panels and battery. Tighten any loose screws or terminals. Replace damaged wires to ensure good contact. Proper wiring keeps the controller working well.
Cleaning And Maintenance
Dirt and dust can block vents and sensors on the controller. Use a soft brush or cloth to clean the device. Avoid water or harsh chemicals. Regular cleaning helps prevent overheating and sensor errors.
Updating Firmware
Firmware updates fix bugs and improve controller performance. Check the manufacturer’s website for the latest version. Follow their instructions to safely update the controller’s software. Keeping firmware current reduces errors and adds new features.
Battery-related Troubleshooting
Battery-related issues often cause MPPT solar charge controller problems. Checking battery health and settings helps keep your system efficient. Troubleshooting these areas ensures longer battery life and better solar power use.
Battery Compatibility
Not all batteries work with every MPPT controller. Use batteries recommended by the controller manufacturer. Check voltage and chemistry type before connecting. Mismatched batteries can cause poor charging or damage.
Detecting Battery Faults
Look for signs like swelling, leaks, or unusual heat. Measure battery voltage regularly to spot drops or spikes. Use a multimeter to check for internal resistance. Faulty batteries reduce system performance and may harm the controller.
Optimizing Battery Charge Settings
Set the correct charge voltage based on battery type. Adjust absorption and float voltages for best results. Use temperature compensation if your controller supports it. Proper settings prevent overcharging and extend battery life.
Solar Panel And Wiring Checks
Checking your solar panel and wiring is an important step in MPPT solar charge controller troubleshooting. Problems with voltage, current, or wiring can stop your system from working well. A careful check helps find these issues fast. This saves time and avoids damage to your solar setup.
Inspecting Panel Voltage And Current
Measure the voltage output from your solar panel with a multimeter. Compare it to the panel’s rated voltage. A lower voltage may show a problem like shading or dirt on the panel.
Check the current too. It should match the panel’s specifications under sunlight. Low current can mean a faulty panel or poor connections.
Identifying Wiring Faults
Look for broken, loose, or corroded wires. These cause power loss and can stop the controller from charging properly. Tighten all connections and replace damaged wires.
Check for correct wire polarity. Reverse polarity can damage the controller or reduce performance. Use color codes and labels to avoid mistakes.
Ensuring Proper Grounding
Grounding protects your system and improves safety. Make sure the solar panel frame and controller are grounded properly. Use a grounding wire connected to a good earth ground.
Poor grounding can cause electrical noise and reduce system efficiency. It can also cause shocks or fires. Check grounding regularly for corrosion or loose connections.
Monitoring And Diagnostic Tools
Monitoring and diagnostic tools help keep your MPPT solar charge controller working well. These tools show real-time data and alert you to any issues. They make troubleshooting easier and faster. Understanding these tools can improve your solar system’s performance and lifespan.
Using Controller Displays
Most MPPT controllers have built-in displays. These screens show important information like battery voltage, charging current, and solar panel status. You can use the display to check if the system is charging correctly. Many displays also show error codes that point to specific problems. Simple menu navigation helps find the data you need.
Third-party Monitoring Apps
Many controllers support apps for smartphones or computers. These apps connect to the controller via Bluetooth or Wi-Fi. They offer detailed views of system performance over time. Some apps send alerts if the system stops working properly. Using an app can help track your solar setup even from far away.
Data Logging For Performance Analysis
Data logging records the solar system’s activity automatically. Logs store information like voltage, current, and temperature. Analyzing this data helps identify trends and spot hidden issues. You can compare past data to see if the system’s efficiency changes. Data logs are valuable for long-term maintenance and troubleshooting.

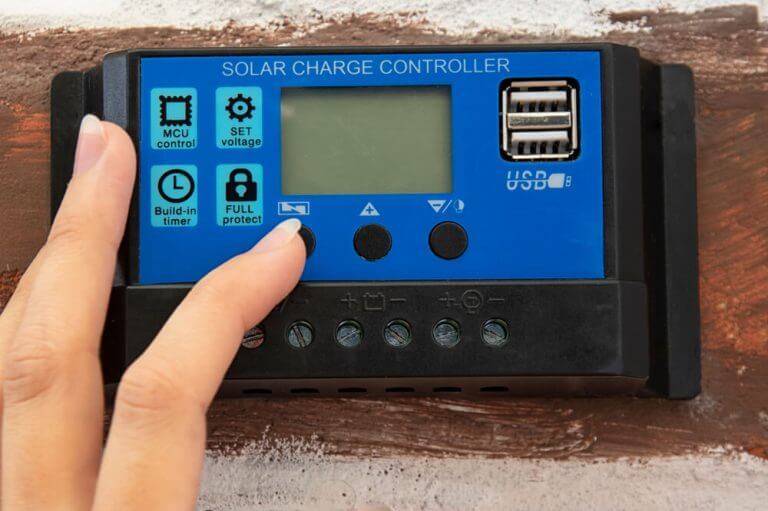
Credit: www.youtube.com
Preventive Tips For Longevity
Maintaining your MPPT solar charge controller helps it last longer and work better. Small actions can prevent big problems. Staying ahead with simple care saves money and effort. Follow these tips to keep your system running smoothly.
Regular Inspections
Check the controller often for dirt and damage. Look for loose wires or burnt smells. Clean dust and debris gently with a dry cloth. Tighten any loose connections to avoid sparks. Early checks catch issues before they grow.
Protecting Against Environmental Factors
Keep the controller away from heat and moisture. Avoid placing it in direct sunlight or near water. Use covers or boxes to shield it from rain and dust. Make sure the area has good airflow to prevent overheating. Proper protection extends the device’s life.
Avoiding Common User Errors
Follow the manufacturer’s instructions carefully during installation. Do not mix battery types or voltages in one system. Avoid overloading the controller beyond its rated capacity. Use the correct wire size and keep terminals clean. Simple care stops most user-caused failures.
Credit: ibreeze.com.au
Frequently Asked Questions
What Causes An Mppt Solar Charge Controller To Stop Charging?
Common causes include loose wiring, blown fuses, or a faulty battery connection. Check all connections and replace damaged parts.
How Do I Reset My Mppt Solar Charge Controller?
Most controllers reset by disconnecting the solar panel and battery for a few minutes. Then reconnect them carefully in the right order.
Why Is My Mppt Controller Showing A Low Voltage Error?
Low voltage errors usually mean the battery is too drained or the wiring is incorrect. Test the battery voltage and check all cable connections.
Can Temperature Affect Mppt Solar Charge Controller Performance?
Yes, high temperatures can reduce efficiency and cause the controller to shut down. Keep the controller in a cool, ventilated area for best results.
How Do I Know If My Mppt Controller Is Working Correctly?
Look for steady voltage and current readings on the display. Also, check if the battery is charging during daylight hours.
What Should I Do If My Mppt Controller Overheats?
Turn off the system and allow the controller to cool down. Improve airflow around the unit and check for dust or blockages.
Conclusion
Troubleshooting your MPPT solar charge controller becomes easier with clear steps. Check connections, settings, and battery status regularly. Watch for error codes or unusual behavior. Keep your system clean and free from dust. Simple fixes often solve common issues quickly.
Staying patient and careful helps maintain your solar setup. Remember, small problems can lead to bigger ones if ignored. Regular checks keep your system working well for years. Solar power works best when the controller runs smoothly. Keep these tips in mind to enjoy reliable energy every day.