
When your laundry day comes to a screeching halt because your machine refuses to heat, spin, or start, performing your own amana dryer troubleshooting can save you significant time and money. Before you call a professional, understanding the basic mechanical and electrical systems of these units allows you to identify common faults that often stem from simple issues like blocked vents or tripped breakers. Whether your model is gas or electric, the logic behind the repair remains consistent across most residential appliance designs.
Key Takeaways
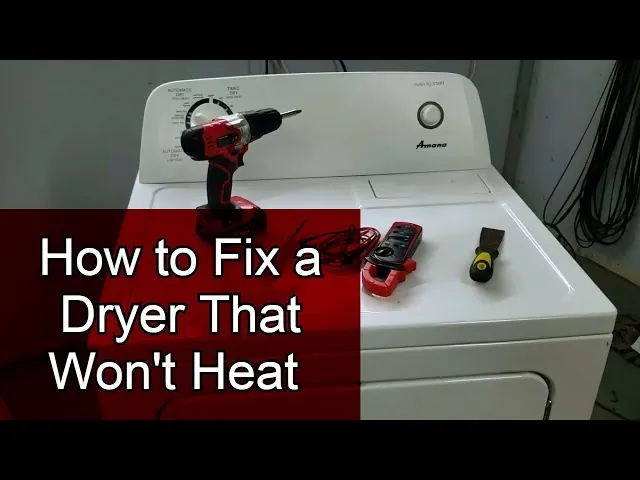
- Check your circuit breaker or fuse box first; laundry appliances require dedicated high-voltage power.
- A blocked exhaust vent is the most common cause of long drying times and thermal fuse failure.
- Always disconnect the power supply or turn off the gas valve before opening the appliance cabinet.
- Listen for unusual noises, which usually indicate worn drum rollers, idler pulleys, or a failing drive belt.
- Regular maintenance, such as cleaning the lint filter after every load, prevents overheating and fire hazards.
Safety: Inside a mains-powered machine, the parts behind the outer cover can hold a dangerous electrical charge even after it has been unplugged — that’s why they sit behind a cover. Opening the housing, or testing or replacing anything behind it, is a job for a qualified technician, never a home repair.
Is Your Dryer Not Starting?
If you press the start button and nothing happens, the issue is usually related to the power supply or a safety switch. The door switch is a frequent culprit; if the dryer doesn’t register that the door is firmly closed, it will prevent the motor from engaging. You can test this by pressing the switch manually to see if the drum light goes out or the motor kicks in.
| Component | Common Symptom | Possible Action |
|---|---|---|
| Door Switch | No response when starting | Inspect for damage or debris |
| Thermal Fuse | Unit is completely dead | Replace fuse and check vent |
| Start Switch | Button feels loose or unresponsive | Test with a multimeter |
| Drive Belt | Motor hums but drum stays still | Replace the drive belt |
Why Is the Dryer Not Heating?
When the machine runs but your clothes remain damp, the heating element (in electric models) or the igniter and gas valve coils (in gas models) are likely failing. For electric dryers, a double-pole breaker might have tripped, providing enough power for the motor to turn but not enough for the heating element to draw current.
Heating elements have a finite lifespan and can break due to age or excessive heat buildup. If you have an electric model, check the element for visible breaks in the coils. For gas dryers, watch the burner assembly; if the igniter glows but the gas flame doesn’t appear, the gas valve coils are likely failing to open the gas supply.
Addressing Common Noise Issues
A noisy dryer is often signaling that a mechanical part is wearing out. A squealing or screeching sound typically points toward the idler pulley or the drum rollers. These components allow the drum to rotate smoothly, and over time, the lubrication inside their bearings dries out.
- Idler Pulley: Maintains tension on the belt; if it wobbles, it creates a high-pitched squeal.
- Drum Rollers: Support the weight of the drum; if they become flat or seized, you’ll hear a rumbling or thumping sound.
- Drive Belt: A fraying belt may slap against the cabinet, causing a rhythmic thumping noise.
Warning: Always unplug the machine before attempting to disassemble the cabinet to inspect rollers or pulleys, as these areas contain sharp metal edges and high-tension springs that can cause injury if handled improperly.
Cleaning and Vent Maintenance
Many users overlook the exhaust vent, yet it’s the primary cause of poor performance. If air can’t flow freely out of the dryer, the moisture remains inside, and the internal temperature spikes, triggering safety sensors. You should inspect the vent hose behind the dryer and the external wall cap for blockages caused by lint buildup or bird nests.
The Consumer Product Safety Commission notes that failure to clean dryer vents is a major cause of residential fires. Ensure your transition duct is made of rigid or flexible metal rather than plastic, as plastic ducts are highly flammable and prone to trapping lint.
Troubleshooting Gas-Specific Problems
Gas dryers require a gas supply and a reliable ignition system. If you smell gas, immediately shut off the gas valve and leave the area. If there’s no smell but the dryer refuses to heat, the problem often lies with the igniter. The igniter is a fragile ceramic component that gets hot to light the gas; if it’s cracked or has lost its resistance, the dryer won’t produce heat.
Gas valve coils are another common failure point. These small solenoids open the gas ports once the igniter reaches the required temperature. If they fail, the flame won’t ignite, or it will flicker and extinguish quickly.
Identifying Broken Drive Belts
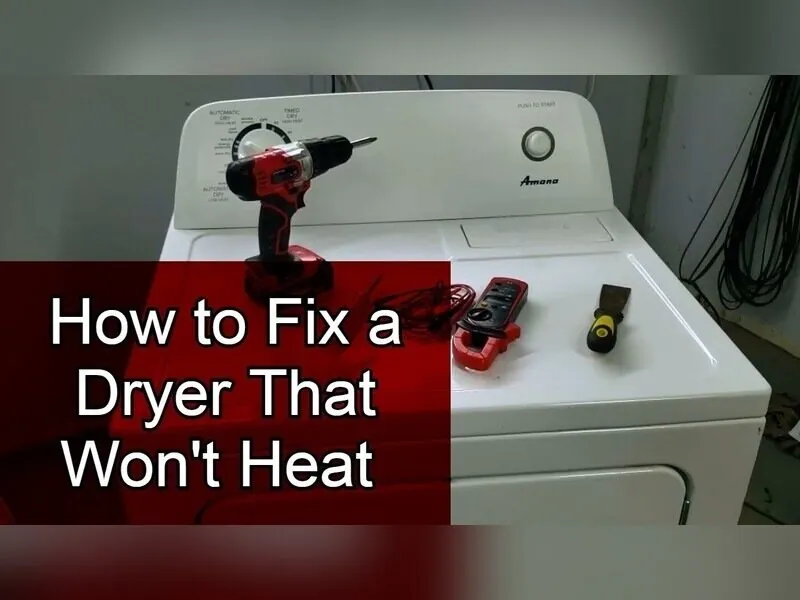
The drive belt wraps around the drum and the motor pulley to facilitate rotation. If the belt snaps, the motor will run, but the drum will remain stationary. You can usually tell if the belt is broken by trying to turn the drum by hand; if it spins with almost no resistance, the belt has likely come off or snapped.
Replacement parts for these belts are widely available. When installing a new belt, ensure it’s properly seated in the grooves of the drum and the motor pulley. It’s often helpful to take a photo of the original routing before removing the old belt to ensure the new one is threaded correctly through the idler pulley assembly.
Checking the Control Board
Modern dryers often utilize electronic control boards to manage the cycle timing and temperature. If the dryer displays an error code or the buttons on the console don’t respond, the control board may have experienced a power surge or internal component failure. While many mechanical parts are easy to replace, the control board is usually a modular unit that requires complete replacement if the circuitry fails.
Before assuming the board is dead, perform a hard reset by unplugging the dryer for at least five minutes. This allows the capacitors on the board to discharge and can sometimes clear a “hung” software state that prevents the machine from starting.
How to Test Internal Switches
- Resistance Test: Used for heating elements and motor windings.
Pro Tip: Label your wires with masking tape before disconnecting them from any switch or sensor. This simple step prevents confusion during reassembly, especially when dealing with multiple wires of similar colors connected to different terminals on the same block.
Troubleshooting Dryer Drum Problems
If the drum isn’t spinning, check for obstructions. Sometimes a heavy item, like a shoe or a bulky blanket, can cause the drum to bind. Additionally, check the drum glides or slides. These are small plastic or nylon pieces that sit between the drum and the cabinet. When they wear down, the drum creates friction against the metal housing, which can cause the motor to struggle or stop entirely.
If the drum only turns when empty but fails when loaded, this is a classic sign of a worn or slipping drive belt. The belt has enough friction to move the light drum but loses its grip under the weight of wet clothing.
Understanding Common Error Codes
Many newer dryers will display error codes on the LED screen to help you pinpoint the issue. While these codes vary by specific model, they generally follow a standard format. Always consult the user manual or the manufacturer’s website for the specific meaning of the code shown on your display.
| Error Code | Potential Meaning | Suggested Action |
|---|---|---|
| E1 | Thermistor failure | Test or replace the thermistor |
| E2 | Heating element short | Check for continuity in the heater |
| E3 | Door sensor error | Inspect switch and wiring |
| E4 | Voltage supply issue | Check power cord and breaker |
Assessing Repair Costs
When deciding whether to fix or replace, consider the cost of parts versus the age of the machine. Most common dryer parts are affordable, but if the main motor or the control board fails, the cost of the repair might approach the price of a new entry-level unit.
- Thermal Fuse: $5.00 – $20.00
- Drive Belt: $15.00 – $35.00
- Heating Element: $30.00 – $90.00
- Door Switch: $10.00 – $30.00
- Control Board: $100.00 – $300.00
Frequently Asked Questions
Why does my dryer stop mid-cycle?
This is often caused by the thermal fuse or a high-limit thermostat tripping because of restricted airflow. When the dryer gets too hot, these safety devices cut power to the heating element or the motor to prevent a fire. Check your vent hose for clogs and ensure the exterior exhaust hood is opening properly when the dryer is running.
How do I reset my dryer?
To perform a hard reset, disconnect the dryer from its power source by unplugging it or turning off the dedicated circuit breaker. Leave it powered down for at least five to ten minutes. This allows the electronic control board to discharge stored energy and reset its internal logic, which can often resolve temporary glitches or unresponsive control panels.
Can I run a dryer without a vent?
No, you should never run a dryer without a properly connected vent that leads to the outdoors. Dryers produce large amounts of moisture and heat; venting them inside leads to mold growth, structural damage to your home, and significant fire risks due to lint accumulation. Always ensure your vent system is clear and properly sealed to the outside of your building.
Is a squeaking dryer dangerous?
While a squeak is often just a sign of a worn roller or pulley, it shouldn’t be ignored. If these parts seize completely, they can create enough friction to generate extreme heat, potentially melting the plastic components of the dryer or even starting a fire. It’s best to address the noise early by replacing the worn rollers or the idler pulley assembly.
How often should I clean the vent?
You should clean your dryer vent at least once every twelve months to ensure safe operation and efficiency. If you do a large volume of laundry or have a long, complex vent run with multiple turns, consider cleaning it every six months. Regular cleaning prevents lint buildup, reduces drying times, and significantly lowers the risk of a dryer-related house fire.
Conclusion
If your machine still won’t cooperate after these checks, it’s probably time to reach out to a local technician for a deeper look. Don’t worry if you can’t fix everything yourself; keeping your dryer clean and well-maintained will help it run smoothly for years to come. You’ve got this!