
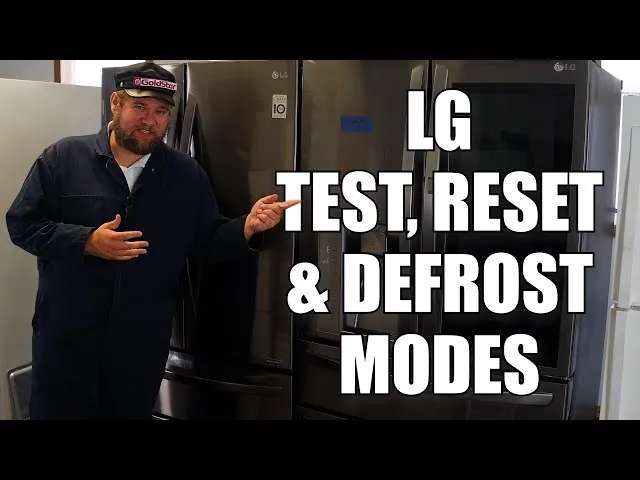
You can start an lg refrigerator diagnostic mode by pressing and holding the “Energy Saving” and “Fridge” buttons at the same time for 5 to 10 seconds. This process triggers a self-test cycle that displays error codes on the front panel to help you identify specific part failures. This method is best suited for homeowners who want to verify if a sensor or fan is broken before they call a professional technician for a repair.
Equipment needed for refrigerator diagnostic mode
You don’t need many tools to check your appliance, but having the right items makes the process safer and easier. Keep these things nearby before you begin the test:
A notebook and pen to write down any codes that appear on the screen. Jotting these down immediately prevents you from forgetting the sequence if the display flickers or resets.
A high-lumen flashlight to see behind the unit. You must inspect the power cord for signs of scorching or fraying. If the cord feels warm to the touch, stop the test immediately and unplug the unit.
A clean, dry towel to wipe away moisture near the control panel to ensure a clear view of the display.
The original owner’s manual. It contains the specific list of error codes for your model. If you have lost your manual, enter your model number on the manufacturer’s support site to download the digital version.
A smartphone to take a clear picture of the display. A static photo helps you cross-reference the exact error code against the manual later.
Never use a screwdriver or sharp tool to press buttons. This habit often cracks the plastic casing or punctures the sensitive membrane switches underneath. A punctured membrane allows moisture to seep into the circuit board, which usually necessitates a total control panel replacement costing hundreds of dollars.
If you aren’t comfortable moving the unit or opening the back panel, contact a licensed service technician. You should only attempt to move the fridge if you have a helper to support the weight.
If the unit is built into cabinetry, don’t force it out; you risk damaging the flooring or the water supply line. If you hear hissing or detect a chemical smell, leave the room and call a professional immediately. These signs indicate a refrigerant leak that requires specialized equipment to resolve safely.
Steps to run the self-test
- Locate the control panel on your refrigerator door or inside the main fridge compartment.
- Press and hold the “Energy Saving” and “Fridge” buttons simultaneously for 5 to 10 seconds until the display flashes or goes blank.
- Release the buttons once the display enters the test mode, which usually shows a series of numbers or specific error segments.
- Write down any numbers or blinking lights that appear on the display, as these represent the fault codes for your specific unit.
- Press the buttons again or unplug the unit for 60 seconds to exit the test mode and return the fridge to normal operation.
- Compare the recorded code against the table in your owner’s manual to determine which part, such as a sensor or fan, requires attention.
Careful: Don’t attempt to repair electrical components yourself, as a capacitor can hold a lethal charge even when the unit is unplugged. This work is for professionals only.
Tip: If your display doesn’t respond after 10 seconds, ensure the control panel isn’t locked; check the manual to see how to disable the “Child Lock” feature before trying again.
Situations that change the process
The way you read your results and the time it takes depends on your specific fridge model and the type of error. Some panels show a simple number, while others blink specific segments of the temperature display.
| Situation | Time required | What is different | What to watch |
|---|---|---|---|
| Basic error check | 1-2 minutes | Simple code readout | Blinking icons |
| Deep system test | 5-10 minutes | Runs motor cycles | Unusual noises |
| Resetting memory | 1 minute | Clears old codes | Screen flashing |
Always start with a basic check of the display codes before you try a full system reset. If you force a deep cycle without knowing the error, you might cause unnecessary stress on the compressor.
If your model uses a digital keypad, look for a letter prefix like “E” or “F” followed by two digits. If the display shows a solid number, the fault is likely a sensor failure.
Most users make the mistake of cutting power to the unit immediately when a code appears. This clears the diagnostic memory before you can identify the root cause. Instead, write down the code while the unit is still powered.
If the code persists after a manual reset, check the door seals for gaps. A gap of even one-eighth of an inch will cause the unit to lose cold air and trigger a temperature error. If the code remains after sealing, call for a technician.
How to tell if the test worked
A successful test shows a clear, steady code on the screen, such as “Er” followed by a number like 01, 02, or 05. These codes pinpoint specific sensor failures. If you see “Er 01,” the issue is the temperature probe; “Er 05” indicates a communication breakdown between the board and the display.
A poor result happens if the screen stays blank, shows random gibberish, or if the fridge makes a loud clicking sound without displaying any information. This failure usually means the main control board is damaged or the connection to the display panel is loose. If you hear that clicking but see no light, the relay is likely trying to engage a failed compressor.
To prevent issues, ensure your power supply is stable before running any diagnostic steps. If the display remains unresponsive, it’s likely a hardware failure that requires a professional to replace the main circuit board. Never try to force the panel to light up by tapping it hard. That mistake can shatter the internal glass or snap the delicate wire ribbons, turning a simple board repair into a full display replacement.
If the screen flickers but won’t hold a code, don’t attempt to test the electrical supply yourself. If the outlet is faulty, the board can’t sustain a read-out. In that case, call a technician before you blame the appliance.
Rules for safe operation
The Consumer Product Safety Commission provides guidelines for home appliance safety that emphasize keeping power cords and plugs in good condition. After you finish your diagnostic, make sure the unit is plugged back in firmly and the door seals are tight. If you find a code that indicates a cooling failure, keep the doors closed as much as possible to save your food while you wait for a technician.
If the error code persists after a reset, record the exact number and call the manufacturer’s support line. Don’t attempt to bypass safety switches or open the sealed housing of the compressor or control board. These parts contain high-voltage components that present a serious risk of electric shock to anyone without specialized training.
Alternative ways to diagnose
Using the smartphone app
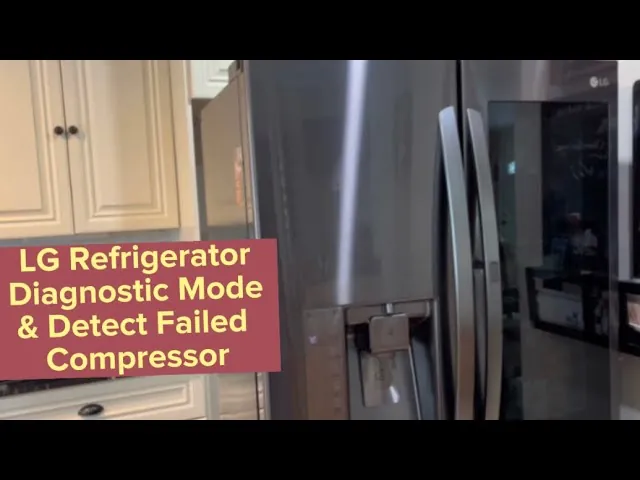
Many newer models connect to the LG ThinQ app, which can run a “Smart Diagnosis” wirelessly. You hold your phone near the speaker on the fridge, and it transmits the error data through sound. This saves you from reading codes manually and provides an instant explanation of the problem on your phone screen.
Checking the visual sensors
If the fridge isn’t cooling, check the vents inside for ice buildup. If you see thick frost covering the back wall, the issue is likely a defrost heater or sensor. This visual check often confirms the error code you found, as a frozen evaporator prevents cold air from circulating properly to the fridge section.
Observing the motor sounds
Listen to the back of the unit when the compressor starts. A healthy unit has a quiet hum, while a struggling one might make a rattling or grinding noise. If you hear loud grinding, the cooling fan is likely hitting an ice block or has worn bearings that need physical replacement by a pro.
Frequently asked questions
Can I fix the error code myself?
No, most error codes point to internal hardware failures that require specific replacement parts. You can use the code to tell a technician exactly what is wrong, which saves time, but you shouldn’t attempt to open the control board or replace sensors if you lack the proper tools and training.
How long does the diagnostic mode take?
It takes about 1 to 2 minutes to display an initial error code on most models. Some deep-cycle tests can take up to 10 minutes.
Is it safe to run this mode?
Yes, it’s safe to run the mode as long as you don’t touch the internal electrical wiring. The diagnostic mode is a built-in feature designed by the manufacturer to help owners and technicians find faults without needing to disassemble the entire refrigerator.
What happens if I see no code?
If the screen is blank or shows no error, it usually means the control panel isn’t receiving power or the board itself has failed. Check that your wall outlet has power by plugging in a small lamp, and if the outlet works, the fridge board likely needs a professional repair.
How often should I run a diagnostic?
You should only run a diagnostic mode when you notice a problem like poor cooling or strange noises. There’s no benefit to running it regularly, and doing so unnecessarily can occasionally cause the control board to hang or require a hard power reset.
Why is my fridge showing an error code?
An error code appears because the internal computer senses a reading outside of the normal range for a specific part. This is usually caused by a failing sensor, a broken fan motor, or a defrost system that’s no longer working as intended.
Conclusion
The diagnostic mode is a helpful tool for understanding your appliance’s health, but remember that the code is only the start of the repair process. If you see a persistent error, write it down, keep your fridge doors closed to maintain the temperature, and contact a professional who has the right parts and training to fix the issue safely.