
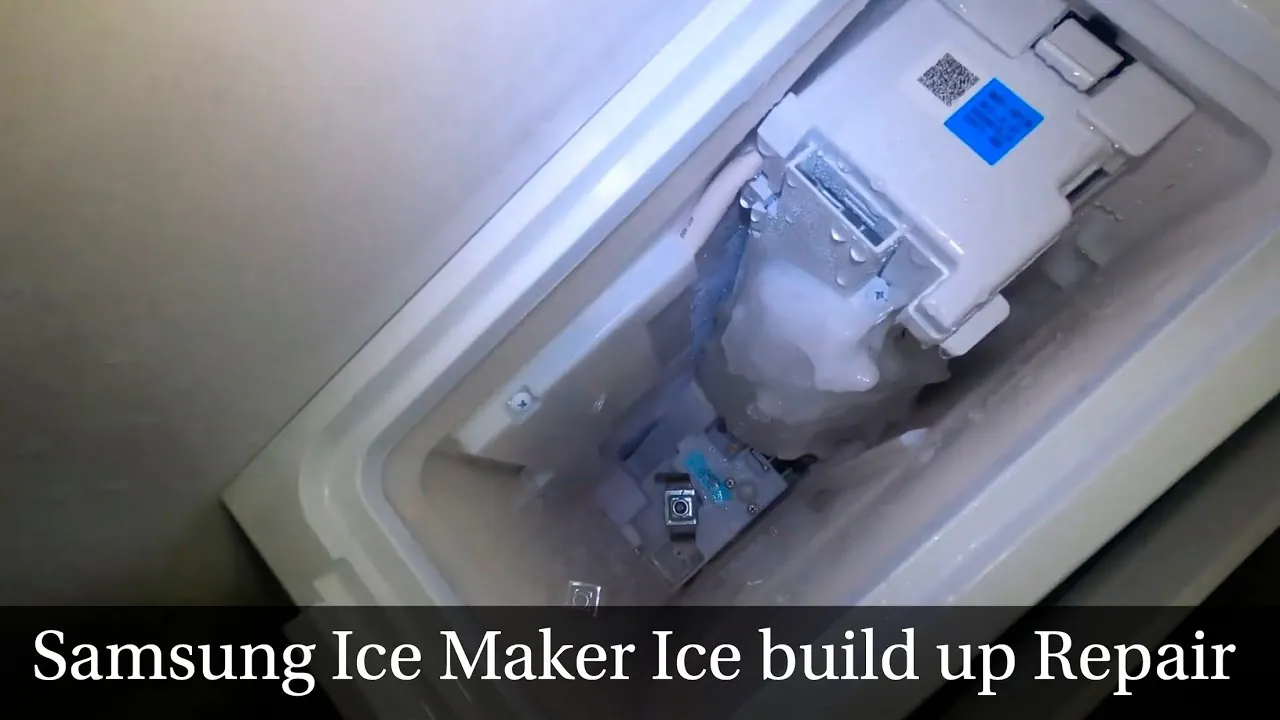
A clogged or damaged drain line is the most common reason for a samsung freezer freezing up, as this prevents melted frost from escaping the cabinet. When the drainage path is blocked by ice or debris, water pools at the bottom of the freezer and turns into a solid sheet of ice, which often leads to visible buildup near the drawers. You can usually confirm this by checking for standing water or ice blocks under the crisper drawer or the freezer floor.
Why your Samsung freezer keeps freezing up
| Cause | How common | How to confirm it | Fix it yourself? |
|---|---|---|---|
| Clogged drain line | Very common | Ice under the floor | Yes |
| Damaged door seal | Common | Air gaps or frost | Yes |
| Bad defrost heater | Frequent | Frost on back panel | Yes with care |
| Failing temperature sensor | Occasional | Extreme temperature swings | No |
| Faulty control board | Rare | Random error codes | No |
| Clogged air vents | Rare | Blocked airflow paths | Yes |
A clogged drain line is the most frequent culprit. If you see ice pooling at the bottom of the freezer, the defrost water can’t exit the cabinet. Use a turkey baster to flush the line with warm water and a drop of dish soap.
Check your door seals by closing the door on a dollar bill. If the bill slides out with zero resistance, replace the gasket immediately. A gap as small as a millimeter allows humid air to enter, which turns into solid ice within hours.
If the evaporator coils are buried in a thick, uniform sheet of frost, the defrost heater has likely failed. Test it with a multimeter; it should show low resistance. If the reading is infinite, the heating element is open and must be replaced.
Avoid the mistake of assuming the thermostat is the problem when the unit is simply overloaded. If your shelves are packed so tightly that air can’t circulate, the cooling system will run continuously, causing localized icing.
Clogged drain line issues
The drain line allows water from the automatic defrost cycle to exit the freezer and evaporate in a pan near the compressor. When this pipe gets blocked by food debris or a frozen plug of ice, the water remains inside the unit and freezes again during the next cooling cycle. You’ll notice this when you see a solid layer of ice forming directly beneath the bottom freezer drawer.
To clear this, you must first unplug the appliance to keep yourself safe. Remove the bottom drawers and the rear access panel inside the freezer compartment. If you see a thick block of ice over the drain hole, use a hair dryer on a low, warm setting to melt the ice until the drain path is clear.
Once melted, pour a small amount of warm water mixed with a drop of dish soap down the drain hole to ensure it flows freely into the drain pan at the back of the unit.
This process usually takes about 30 to 60 minutes depending on how much ice has built up. If the drain remains blocked after cleaning, you may need a small piece of flexible wire to gently clear the obstruction inside the tube. Never use sharp metal tools that could puncture the plastic liner or the cooling coils. If you see signs of a refrigerant leak or damaged cooling lines, stop immediately and contact a professional technician.
Damaged door gaskets
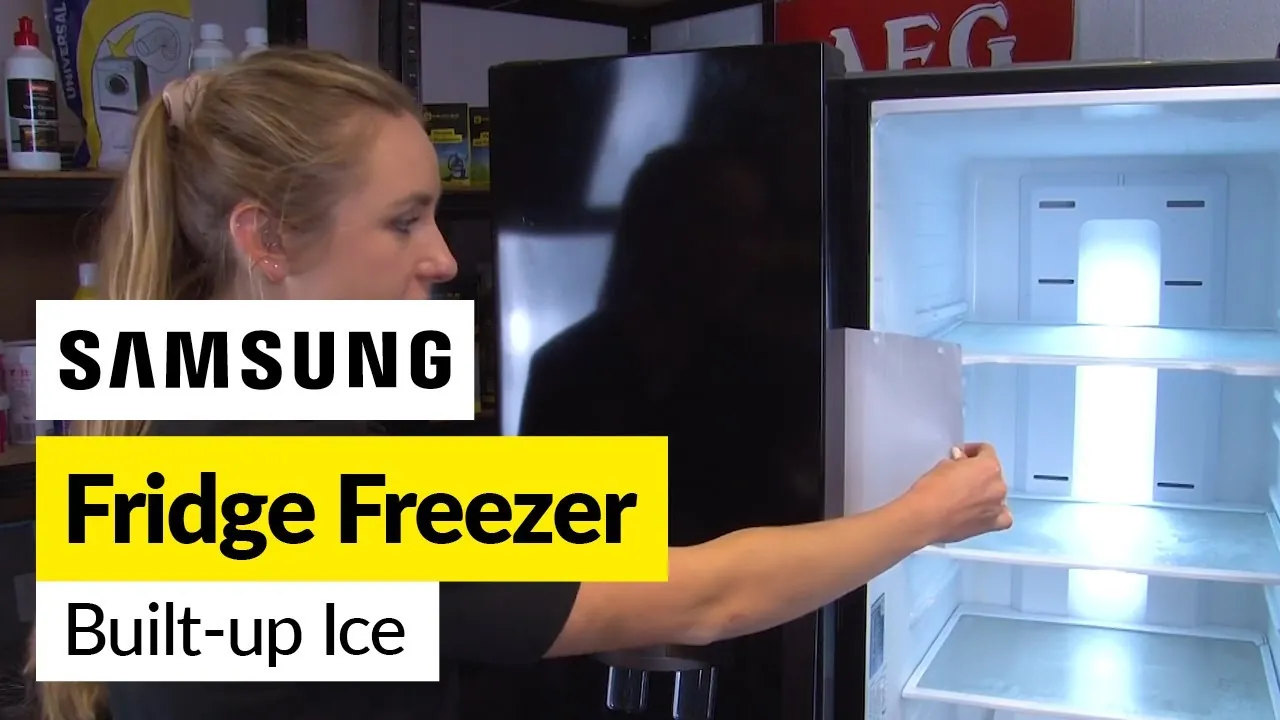
A door gasket that doesn’t seal tightly allows warm, humid air to enter the freezer whenever the door is closed. This moisture instantly turns into frost when it hits the freezing air inside, eventually turning into thick ice buildup. You can test this by closing the freezer door on a thin piece of paper; if you can pull the paper out with almost no resistance, the seal is likely failing.
Check the rubber gasket for any cracks, tears, or areas where it has flattened out and no longer touches the frame. If the gasket is dirty, clean it with a soft cloth and warm, soapy water, then apply a very thin layer of petroleum jelly to keep the rubber soft and pliable. If the rubber is torn or permanently misshapen, you must replace the entire gasket to stop the air leak.
This fix is straightforward, but it requires patience to ensure the new seal sits perfectly flat against the freezer frame. Order the specific part number for your model from the Samsung appliance parts website to ensure a correct fit. If the door itself is sagging or misaligned, the gasket will never seal properly regardless of its condition. Adjust the leveling legs at the front of the freezer until the door closes firmly and evenly on its own.
Defrost system failure
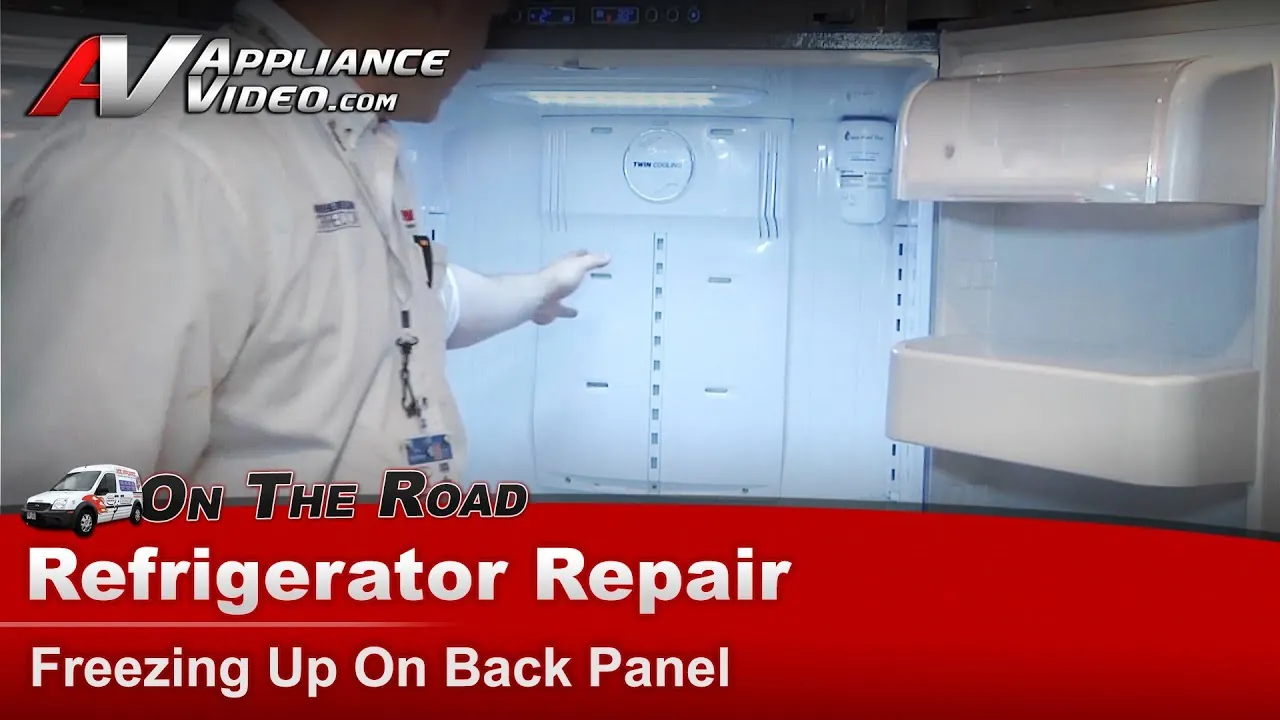
The defrost heater is a heating element that turns on periodically to melt frost off the evaporator coils. If this heater burns out or the thermal fuse blows, frost will build up on the back wall of the freezer until it becomes a solid block of ice. You can identify this by removing the interior back panel and looking for heavy, white frost covering the cooling coils.
To test the heater, you need a multimeter to check for continuity across the heating element terminals while the unit is unplugged. A healthy heater shows a low resistance value, while a failed one shows an open circuit. If the heater is faulty, you must replace it with an exact match for your specific unit. This requires basic tools and the ability to disconnect electrical connectors carefully.
If you aren’t comfortable working with electrical components, hire a professional to perform the repair. If the heater tests fine, the problem might be the defrost timer or control board, which are complex parts that usually require a technician to diagnose and replace.
Rare cooling system faults
Blocked air vents: Food items stored too close to the rear vents prevent cold air from circulating, which causes localized freezing or warm spots. Move all items at least 2 inches away from the back wall to maintain proper airflow. If you see frost forming on the back panel, your items are likely obstructing the intake.
Failed temperature sensor: A sensor reporting incorrect data causes the compressor to run constantly, leading to excessive energy bills and iced-up coils. Use a multimeter to test the thermistor’s resistance values against the manufacturer’s specifications. If the readings fluctuate wildly, the sensor must be replaced to prevent compressor burnout.
Control board failure: A malfunctioning main board sends erratic signals, causing intermittent cooling cycles. Before replacing the board, check for loose wiring harnesses that may have vibrated free. If the connections are secure but the compressor remains unresponsive, a professional must verify the board’s output voltage.
Refrigerant leaks: If the freezer fails to cool while ice builds up on the evaporator, a leak in the sealed system is likely. This requires a certified HVAC technician to perform a pressure test and recharge the system. Don’t attempt this repair yourself, as handling refrigerant without an EPA certification is illegal.
What a professional repair involves
Fixing a freezer issue usually requires basic hand tools like a screwdriver and a nut driver to access the internal components. If the problem involves replacing a part like a gasket, heater, or sensor, the cost depends entirely on the price of the specific component and the labor time required. You can find the exact part prices by searching your model number on the manufacturer’s official support page.
A simple drain clearing is a task you can finish in under an hour with household items. Replacing a door gasket takes longer, usually about an hour, and requires carefully aligning the new rubber seal to prevent future leaks.
More complex repairs like replacing a control board or fixing a sealed system leak demand specialized knowledge and tools. These jobs cost significantly more than a simple cleaning and often require hiring a licensed technician. Always check your warranty status before performing any internal repairs, as opening the cabinet or modifying parts can void your existing coverage.
Frequently Asked Questions
Can I just chip the ice away with a knife?
Never use a knife or any sharp metal tool to chip away ice inside a freezer. You risk puncturing the evaporator coils, which contain refrigerant and are very expensive to repair. Always use a hair dryer on a low setting or simply let the ice melt naturally by leaving the freezer door open with a bowl of warm water inside.
Is it safe to keep food in the freezer while it’s icing up?
It isn’t safe to keep food if the temperature has risen above 40°F for more than two hours. If the ice buildup is causing the freezer to lose its cooling capacity, the food may spoil or enter the danger zone for bacteria. Use an appliance thermometer to verify the temperature stays at or below 0°F for long-term storage.
How often should I clean the drain line?
You should clean the drain line whenever you notice standing water or ice forming on the floor of the freezer. There’s no set schedule for this, but checking the drain path once every six months during a deep cleaning can prevent future blockages. Keep the area around the drain hole clear of food crumbs or packaging debris to maintain flow.
What happens if I ignore the ice buildup?
Ignoring the ice will eventually cause the evaporator fan to strike the ice, resulting in a loud grinding or clicking noise. If the ice continues to grow, it will block the airflow to the refrigerator compartment, causing your fresh food to spoil. Persistent ice buildup also forces the compressor to work harder, which increases energy use and shortens the lifespan of the appliance.
Does a new door gasket fix the problem immediately?
A new gasket will stop the air leak, but it won’t remove the ice that has already formed inside the system. You must manually defrost the freezer and clear all existing ice before the new seal can function correctly. Once the unit is clean and the new gasket is installed, the frost should stop accumulating on the back wall.
Why is there water on my kitchen floor?
Water on the floor usually means the drain line is clogged and the meltwater is overflowing from the internal drain pan. Check the back of the refrigerator to see if the drain pan is cracked or if water is leaking from the cabinet base. If the pan is full or overflowing, clear the drain line inside the freezer first to stop the water from escaping.
Conclusion
If the problem persists after you’ve cleared the blockage, it’s best to contact a professional technician. They’ll be able to inspect the defrost heater or the control board to see if there’s a deeper electrical fault. Don’t wait too long, as fixing it early won’t just save your food—it’ll save you money.