
When your freezer is too cold, the most effective fix is to adjust the internal temperature dial or digital setting one notch toward the warmer side. This issue often happens because the thermostat is set too low for the current ambient temperature or the unit is struggling to cycle correctly. If you notice ice buildup on your packages, the internal air is likely below the recommended 0°F (-18°C) needed for food safety.
Why your freezer gets too cold
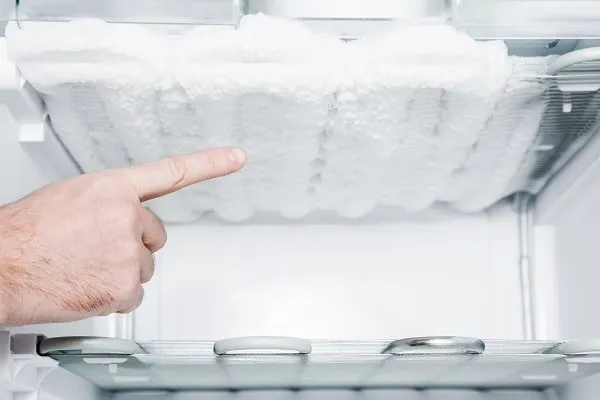
A unit running colder than intended usually stems from a thermostat that has been set incorrectly or a sensor that has lost its calibration. If your dial is set to the coldest possible position, the compressor may run longer than necessary, driving the temperature down past the safe storage range. This is common in older units where the mechanical thermostat doesn’t respond as quickly as modern digital boards.
Another frequent cause is the placement of items inside the appliance. If you block the air vents with large boxes or bags, the cold air can’t circulate properly. This forces the internal sensor to detect a warmer environment than reality, triggering the compressor to stay on indefinitely. The unit will keep cooling to try and reach a target it can’t measure correctly, resulting in an overly cold interior.
Finally, a damaged door gasket can lead to strange temperature fluctuations. When the seal is loose, warm, humid air enters the compartment and turns into ice near the cooling element. This ice can insulate the thermostat or block airflow, confusing the system’s logic. If your freezer door doesn’t snap shut with a firm pull, the cooling system may overwork to compensate for the leaking air, leading to excessive frost and lower temperatures in specific zones.
Adjust the temperature settings
If your appliance has a manual dial, rotate it toward the “warmer” or “recommended” setting to see if the temperature stabilizes after 24 hours. Most manufacturers suggest keeping the freezer at 0°F (-18°C) to maintain food quality. If you don’t have a built-in thermometer, place a standalone appliance thermometer in the center of the unit to track the real temperature.
If you have a digital display, enter the settings menu and increase the target by 2 or 3 degrees. Avoid setting it lower than the manufacturer’s guidance, as this increases energy use without adding any benefit to food preservation.
Many people mistakenly drop the temperature to the lowest possible setting when they notice frost buildup. This actually worsens the problem by forcing the compressor to run constantly, which prevents the unit from entering its necessary defrost cycle. If you see ice accumulating on the back wall, check the door seals for gaps before touching the dial.
If the unit continues to drop below the set point, the thermostat might be faulty and require professional inspection. Never attempt to bypass the control board or wire around the thermostat yourself; a capacitor inside the housing can hold a lethal electrical charge even when the unit is unplugged. If the controls don’t respond to your inputs, contact a qualified technician to test the sensor and board.
Clear the internal airflow paths
You must ensure that air can move freely around the interior to keep the temperature even. Move any items that are pressed directly against the back wall or the vents, as these are often the primary intake or exhaust points for cold air. If you have a large amount of food, try to leave at least an inch of space between the items and the walls of the freezer.
Most users make the mistake of stacking containers until they touch the rear panel, which creates a localized “dead zone.” This prevents the thermostat from getting an accurate reading. If the air is blocked, the sensor thinks the unit is too warm and keeps the compressor running, causing the items closest to the cooling source to freeze solid or develop heavy frost.
To determine if your airflow is truly restricted, perform the flashlight test. Shine a light from the side of the unit; if you can’t see a clear path for air to circulate between the shelves and the back wall, your cooling efficiency is compromised.
Once you create this gap, monitor the temperature for one full day. If the frost levels decrease and the internal temperature rises toward 0°F, you have successfully restored the correct airflow. If the unit remains too cold despite having clear vents, the issue is likely a mechanical failure of the thermostat rather than a simple blockage. In that case, you should prepare to replace the temperature sensor or the control board.
Inspect the door seal
A failing door seal is a major contributor to temperature inconsistencies and excessive ice formation. Inspect the rubber gasket around the entire perimeter of the door for cracks, gaps, or areas where it has flattened out. You can test the seal by closing the door on a thin piece of paper; if you can pull the paper out with almost no resistance, the seal isn’t tight enough.
Perform this test at six-inch intervals along the entire frame. If the paper slides out easily in one spot but holds firm in others, the door is likely sagging or the hinge is bent.
If the gasket is loose or damaged, it allows moist air to leak inside. This moisture turns into ice, which can then block the internal sensors or create a thick layer of frost that traps cold air. For most models, you can clean the gasket with warm water and mild soap to restore its tackiness.
If the rubber is cracked or torn, you’ll need to purchase a replacement part specific to your model number. Replacing a gasket is usually a straightforward task, but if the door itself is misaligned, you may need a professional to adjust the hinges to ensure a perfectly square fit. Avoid using petroleum-based lubricants on the rubber, as these will cause the material to degrade and crack prematurely.
Common mistakes to avoid
Don’t turn the dial to the coldest setting hoping to cool food faster. This forces the compressor to run indefinitely, which eventually causes the motor to burn out. If the freezer doesn’t cycle off every few hours, reset the dial to the middle position immediately.
Avoid placing hot or warm food directly into the freezer. The steam creates thick frost that coats the evaporator coils and insulates the sensors. This forces the unit to work harder to reach the target temperature. Wait until food reaches room temperature to protect the system’s efficiency.
Never use a knife or sharp tool to chip away ice buildup. You risk puncturing the hidden cooling lines, which releases refrigerant and renders the unit irreparable. If you see ice, allow it to melt naturally by unplugging the unit and leaving the door open, or use a plastic scraper.
Don’t leave the door open for long periods.
Preventing future temperature issues
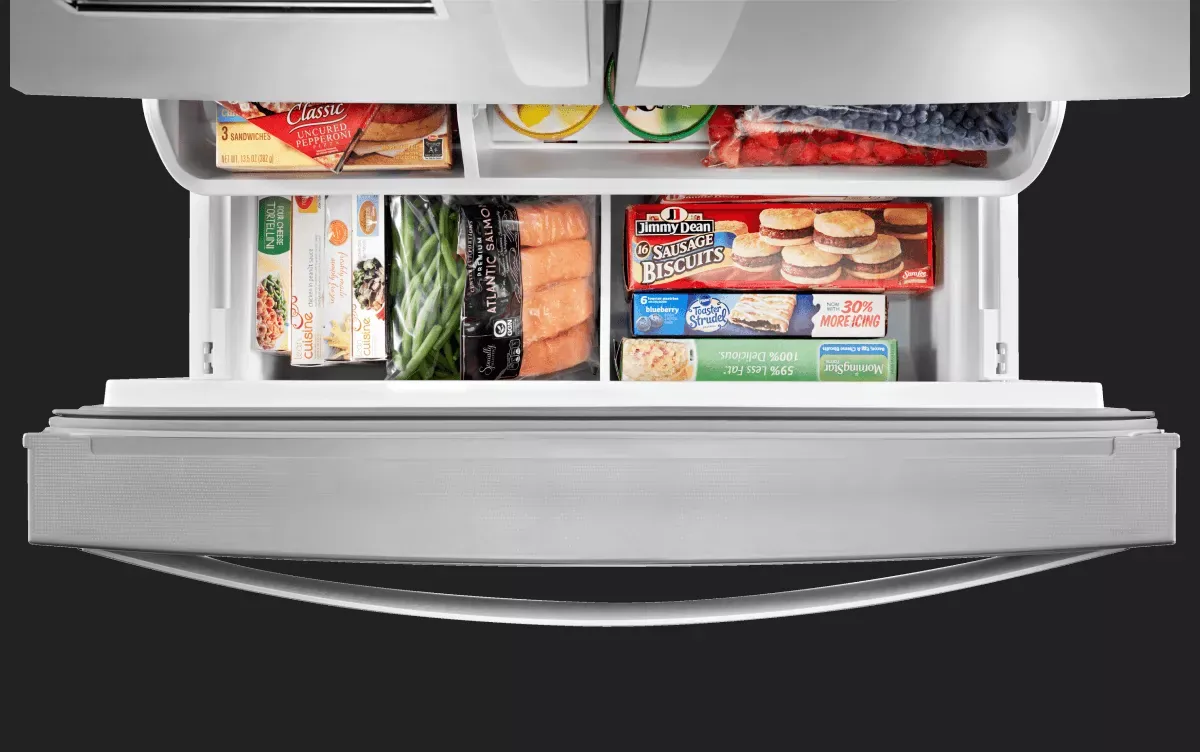
The most important step in maintaining a consistent temperature is ensuring your appliance stays within the Food Safety and Inspection Service guidelines for home storage. If you currently have the unit set to the maximum cold setting, move it back to the mid-range point.
Many owners mistakenly believe that maxing out the dial provides a safety buffer. In reality, this forces the compressor to run continuously, which often causes the evaporator coils to freeze over and actually prevents cold air from circulating effectively. You should aim for 37°F in the refrigerator and 0°F in the freezer.
If you notice frost accumulating on the back wall, check the door seals first. Run a dollar bill along the gasket; if it slides out without resistance, the seal is compromised and must be replaced. A faulty seal forces the unit to work twice as hard to compensate for heat infiltration. Always leave at least one inch of clearance between stored items and the rear vents to ensure accurate sensor readings.
Related guides
Frequently asked questions
How long does it take for a freezer to adjust its temperature?
It takes about 24 hours for the internal temperature to stabilize after you change the dial or digital setting. Because the unit is a large, insulated box, it needs time to cycle through the cooling process and reach a new equilibrium. Avoid opening the door frequently during this period, as every time you let in warm air, the timer effectively resets, making it impossible to tell if your adjustment worked.
Is it safe to eat food that’s frozen too hard?
Yes, food remains safe to eat even if frozen harder than usual, provided the unit stayed below 0°F (-18°C). The only risk is freezer burn, which occurs when air reaches the food surface and dries it out. While texture or flavor may change, the food remains safe as long as it stayed frozen.
Why is there thick ice on the back wall of my freezer?
Thick ice on the back wall is usually caused by warm, moist air entering the unit through a worn door gasket. When this moisture hits the cold evaporator coils, it freezes instantly into a solid block. This ice can eventually block the airflow to the rest of the freezer and interfere with the thermostat, causing the unit to run continuously and lower the temperature far beyond the intended level.
How can I tell if my freezer thermostat is broken?
You can tell the thermostat is likely broken if you have adjusted the dial to the warmest setting, cleared all airflow blockages, and the unit still stays well below 0°F. If the compressor never turns off, even when the interior is clearly colder than your set point, the thermostat is no longer sensing the temperature correctly. This is a mechanical failure that usually requires a professional to replace the faulty control component.
What temperature should my freezer be set at?
The ideal setting for your freezer is 0°F (-18°C) to ensure long-term food safety and quality. At this temperature, bacterial growth is completely stopped, and the quality of frozen goods remains stable for months. Most modern freezers have a digital display that lets you set this exact number, while older models with dials usually require a standalone thermometer to confirm that the internal air is hitting this target.
Can a dirty condenser coil make a freezer too cold?
No, dirty condenser coils typically cause a freezer to run warm rather than too cold. When dust covers the coils, the unit can’t release heat efficiently, forcing the compressor to work harder. If your freezer is too cold, the issue usually lies in the thermostat, control board, or door seal.
Conclusion
Regularly checking your seal and keeping the vents clear will help your appliance run at the right temperature for years to come. If you find that the temperature remains unstable even after these steps, consult your owner’s manual to find the authorized service contact for your specific brand.