
You can resolve most connectivity issues by performing Oossxx Wireless Camera Troubleshooting through a full power cycle of your NVR and camera units. Unplug the power adapter for a few seconds, then plug the units back in. If the feed remains blank, check the signal strength indicator; if it shows fewer than two bars, the camera is too far from the base station.
Oossxx Wireless Camera Troubleshooting
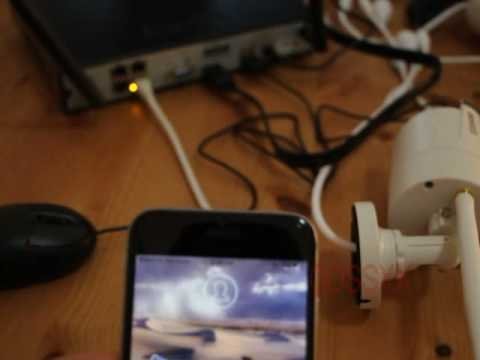
Wireless security systems rely on a stable radio frequency link to transmit video data. When this link is interrupted, you’ll see a frozen image, a “video loss” error, or a black screen. The primary cause is physical interference. Wi-Fi signals operate on specific bands, usually 2.4GHz for these cameras, which struggle to pass through concrete, brick, or large metal appliances. If you recently moved furniture or installed a new device like a microwave or a cordless phone, these can create signal noise that blocks the camera’s data stream.
Another common factor is an outdated firmware version on the NVR. Manufacturers release updates to fix bugs that prevent cameras from pairing correctly after a power flicker. If your NVR software is old, it might not recognize the camera’s handshake signal. You can verify if your device is running the latest software by visiting the Oossxx official support center to compare your version number against the latest available firmware.
Finally, power supply failure is a frequent culprit. These cameras require a steady voltage to keep the wireless radio active. If you’re using a third-party power adapter, it might provide the wrong current, causing the camera to reboot constantly. Use only the adapter included in the original box. If the camera feels very hot or makes a high-pitched buzzing sound, the internal power board has likely failed. This is a hardware limit; once the internal components degrade, the device can’t maintain a wireless link and must be replaced.
Check the physical connection
This fix is for users whose cameras were working fine but suddenly stopped connecting after a power outage or a storm. You need to ensure that the camera and the NVR are still paired on the same network channel. Start by bringing the camera physically closer to the NVR, ideally within ten feet, to rule out distance issues. If the camera connects when it’s close but drops out when moved, your signal is being blocked by your home’s architecture.
If the camera still doesn’t appear, enter the NVR main menu using your mouse and select the “Video Manage” or “Channel Setup” option. Delete the problematic channel from the list, then trigger the “Match Code” or “Wireless Add” function. Press the reset button on the camera for five seconds until you hear a beep or see the indicator light flash. The NVR should automatically detect the camera and assign it a new channel. If you see the image appear on the screen, the pairing was simply corrupted. If you don’t have a monitor connected to your NVR, you’ll need to use a standard HDMI cable to connect one; attempting to troubleshoot through a mobile app alone is ineffective because the app relies on the NVR to successfully broadcast the feed first. This isn’t for users who have lost their admin password, as you can’t access the menu to re-pair the devices without it.
Update the system settings
This fix is for users who experience intermittent freezing or cameras that drop out at night. Often, the NVR settings default to an automatic channel selection that conflicts with your home Wi-Fi router. Access the “Network Setup” menu on your NVR and look for the wireless channel settings. If the channel is set to “Auto,” manually switch it to channel 1, 6, or 11. These channels are usually less crowded than others.
After changing the channel, save the settings and reboot the NVR. Watch the “Signal” status column for five minutes. If the signal bar increases, your system is now operating on a clearer frequency. This is a trade-off; moving to a clearer channel might slightly reduce the maximum range of the camera, but it will improve the stability of the video feed. If the camera continues to disconnect, check the “Resolution” setting in the video menu. Lowering the stream quality from 1080p to 720p reduces the amount of data the camera needs to send, which helps if your signal strength is consistently low. If you aren’t comfortable navigating these menus, ask someone with basic experience in home networking to help, as changing the wrong settings can sometimes disconnect all cameras from the base station.
Inspect power and placement
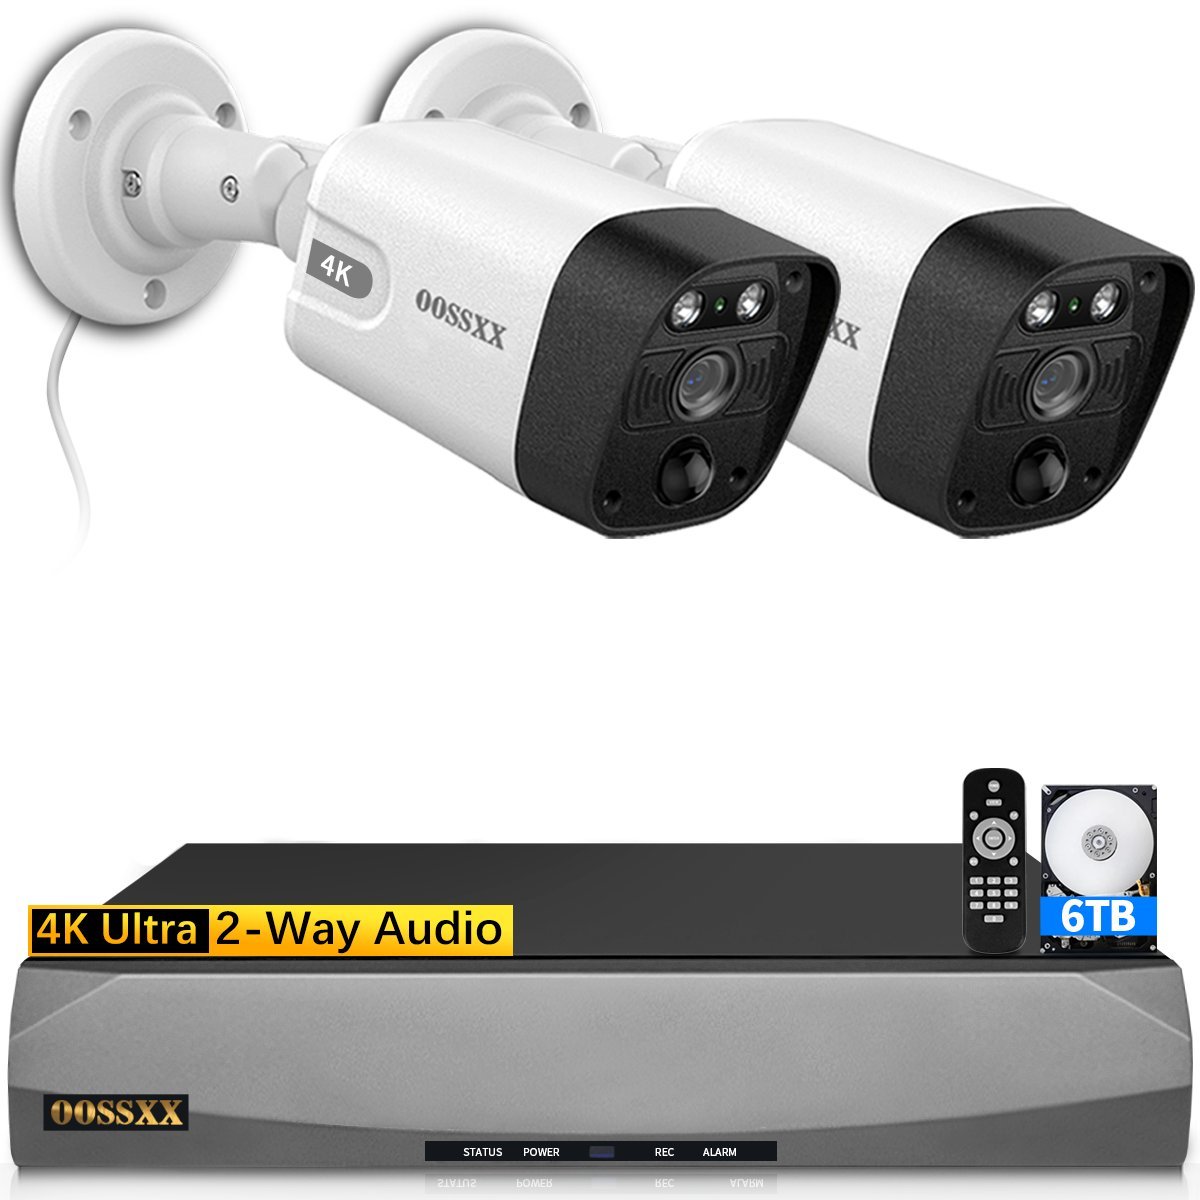
This fix is for cameras that don’t show any indicator lights at all, even after a reboot. First, swap the power adapter with one from a camera that’s currently working. If the “dead” camera turns on, you know the original adapter is faulty. If it still doesn’t turn on, the camera’s internal power port or mainboard is likely damaged.
If the camera has power but the image is distorted or wavy, check for sources of electromagnetic interference nearby. Large motors, fluorescent lights, or high-voltage power lines running behind the wall can distort the wireless signal. Move the camera at least three feet away from any large electronic device. Long, thin cables suffer from “voltage drop,” meaning the camera doesn’t get enough power to run its wireless transmitter. If you must use a long cable, it needs to be a low-gauge wire designed for security cameras to maintain the correct voltage. If you’re still seeing no signal after these checks, the camera’s wireless antenna has likely reached the end of its life, and it’s time to contact the manufacturer’s warranty department for a replacement.
What not to do
- Don’t reset the NVR to factory defaults unless you have a backup of your current settings. This will wipe your motion detection zones and recording schedules, forcing you to reconfigure the entire system from scratch.
- Don’t attempt to open the camera housing to “fix” the antenna. You’ll void your warranty immediately, and the internal seal is designed to be weather-resistant; opening it will let moisture in and destroy the electronics.
- Don’t place the NVR inside a closed metal cabinet. Metal acts as a Faraday cage and will block all signals from your cameras, making it impossible for the NVR to receive the video feed.
- Don’t use power adapters from other electronics like routers or lamps. Even if the plug fits, the voltage or polarity may differ, which can cause a permanent short circuit and destroy the camera’s motherboard.
How to stop it happening again
To keep your system running, ensure you provide stable power and clear paths for the signal.
| If you’re doing this | Do this instead | Why |
|---|---|---|
| Using long, thin extension cords | Use thick, shielded power cables | Prevents voltage drop at the camera |
| Placing camera behind glass | Mount the camera in the open air | Glass causes signal reflection and glare |
| Leaving NVR on “Auto” channel | Manually set to channel 1, 6, or 11 | Reduces interference from home routers |
| Ignoring firmware alerts | Update to the latest version | Patches bugs that cause connection drops |
Frequently asked questions
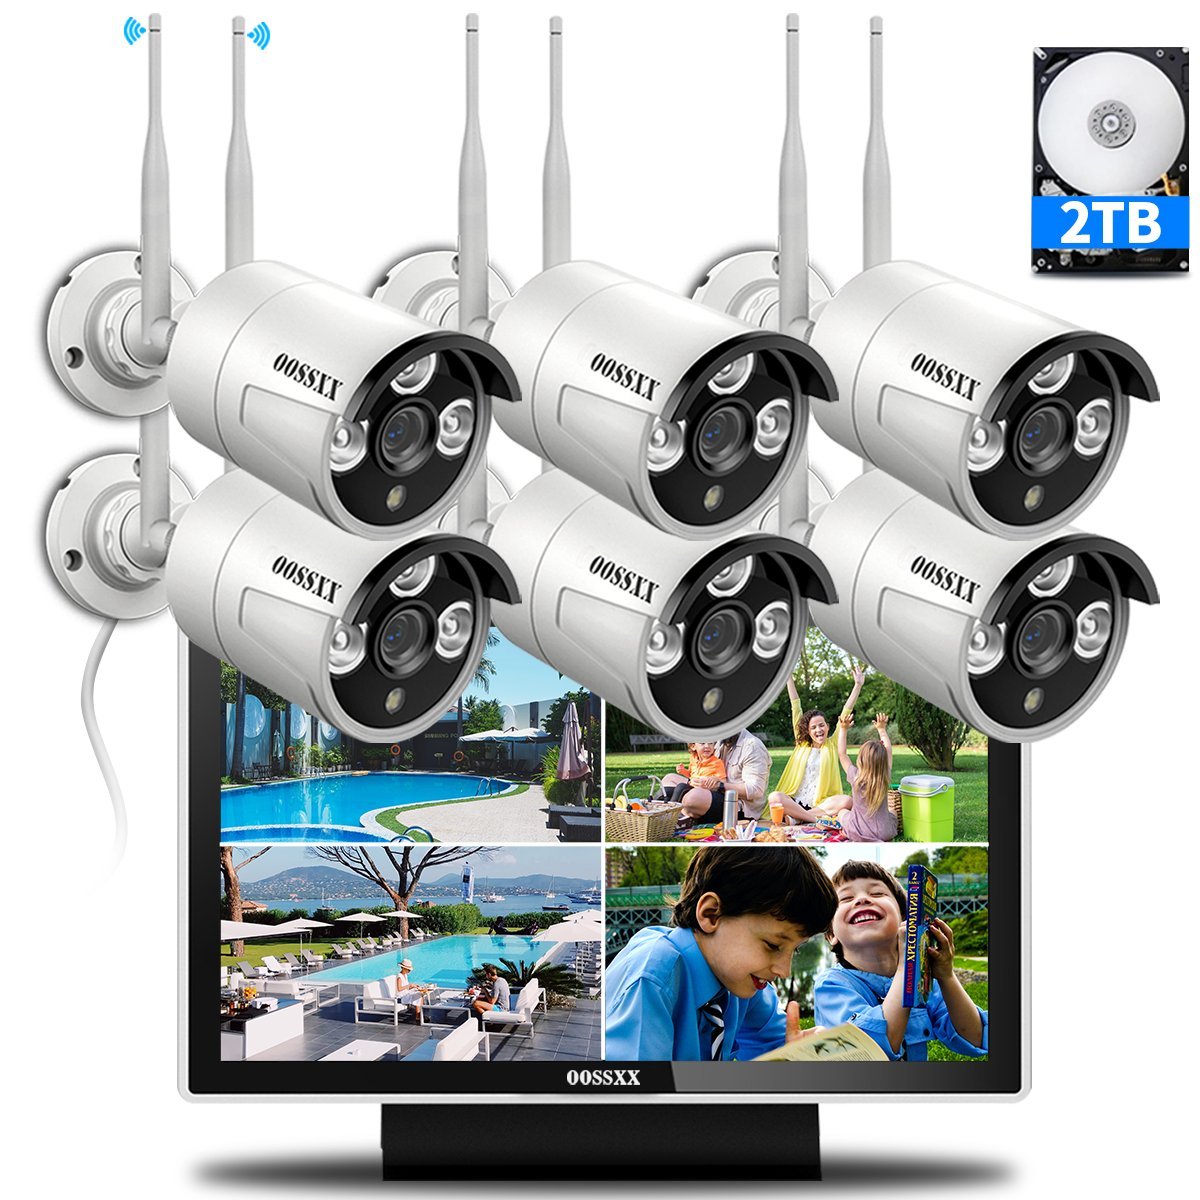
Can I use a Wi-Fi booster to fix the signal?
If you place the booster too close to the NVR, it won’t catch the signal, and if it’s too close to the camera, it will have nothing to relay. Ensure the extender supports the 2.4GHz band, as most wireless cameras don’t work on 5GHz frequencies.
Why is my camera image lagging?
The lag is almost always caused by a slow wireless connection between the camera and the NVR. High-definition video requires a constant, high-speed stream; if the signal is weak, the camera can’t send the data fast enough, resulting in a delayed or “choppy” image. Try moving the NVR to a more central location in your home to shorten the distance to all cameras.
How long should the cameras last?
Most wireless security cameras are rated for a limited period of consistent outdoor use. Factors like direct sunlight, heavy rain, and extreme temperature swings will speed up the aging of the plastic housing and internal sensors. If your camera is exposed to direct sun all day, consider installing a small sunshade or mounting it under the eaves of your roof to extend its lifespan.
Is it safe to leave the NVR on 24/7?
Yes, the NVR is designed to run continuously without needing a shutdown. It’s a dedicated computer meant to monitor your cameras around the clock. Turning it off daily will cause more wear on the internal hard drive than leaving it on, as the drive experiences the most stress during the startup and shutdown power surges.
What happens if I lose the admin password?
If you lose the password, you’ll need to contact the manufacturer’s support team directly to request a password reset file. You’ll likely need to provide the serial number found on the bottom of the NVR. Never trust third-party “password cracker” software found online, as these are often malicious programs designed to steal your data.
Final Thoughts
If these quick fixes don’t restore your video, don’t worry. Sometimes a simple firmware update or a quick chat with the support team is all it takes to get things running smoothly again. They’re happy to help you out, so reach out whenever you’re ready to get your system back online.