
Effective Rheem Hot Water Heater Troubleshooting begins by identifying if your unit is gas or electric, as most issues stem from a tripped circuit breaker or an extinguished pilot light. Verifying your energy source often resolves the problem. If the supply is active but the water remains cold, contact a professional to address internal component failures.
Rheem Hot Water Heater Troubleshooting
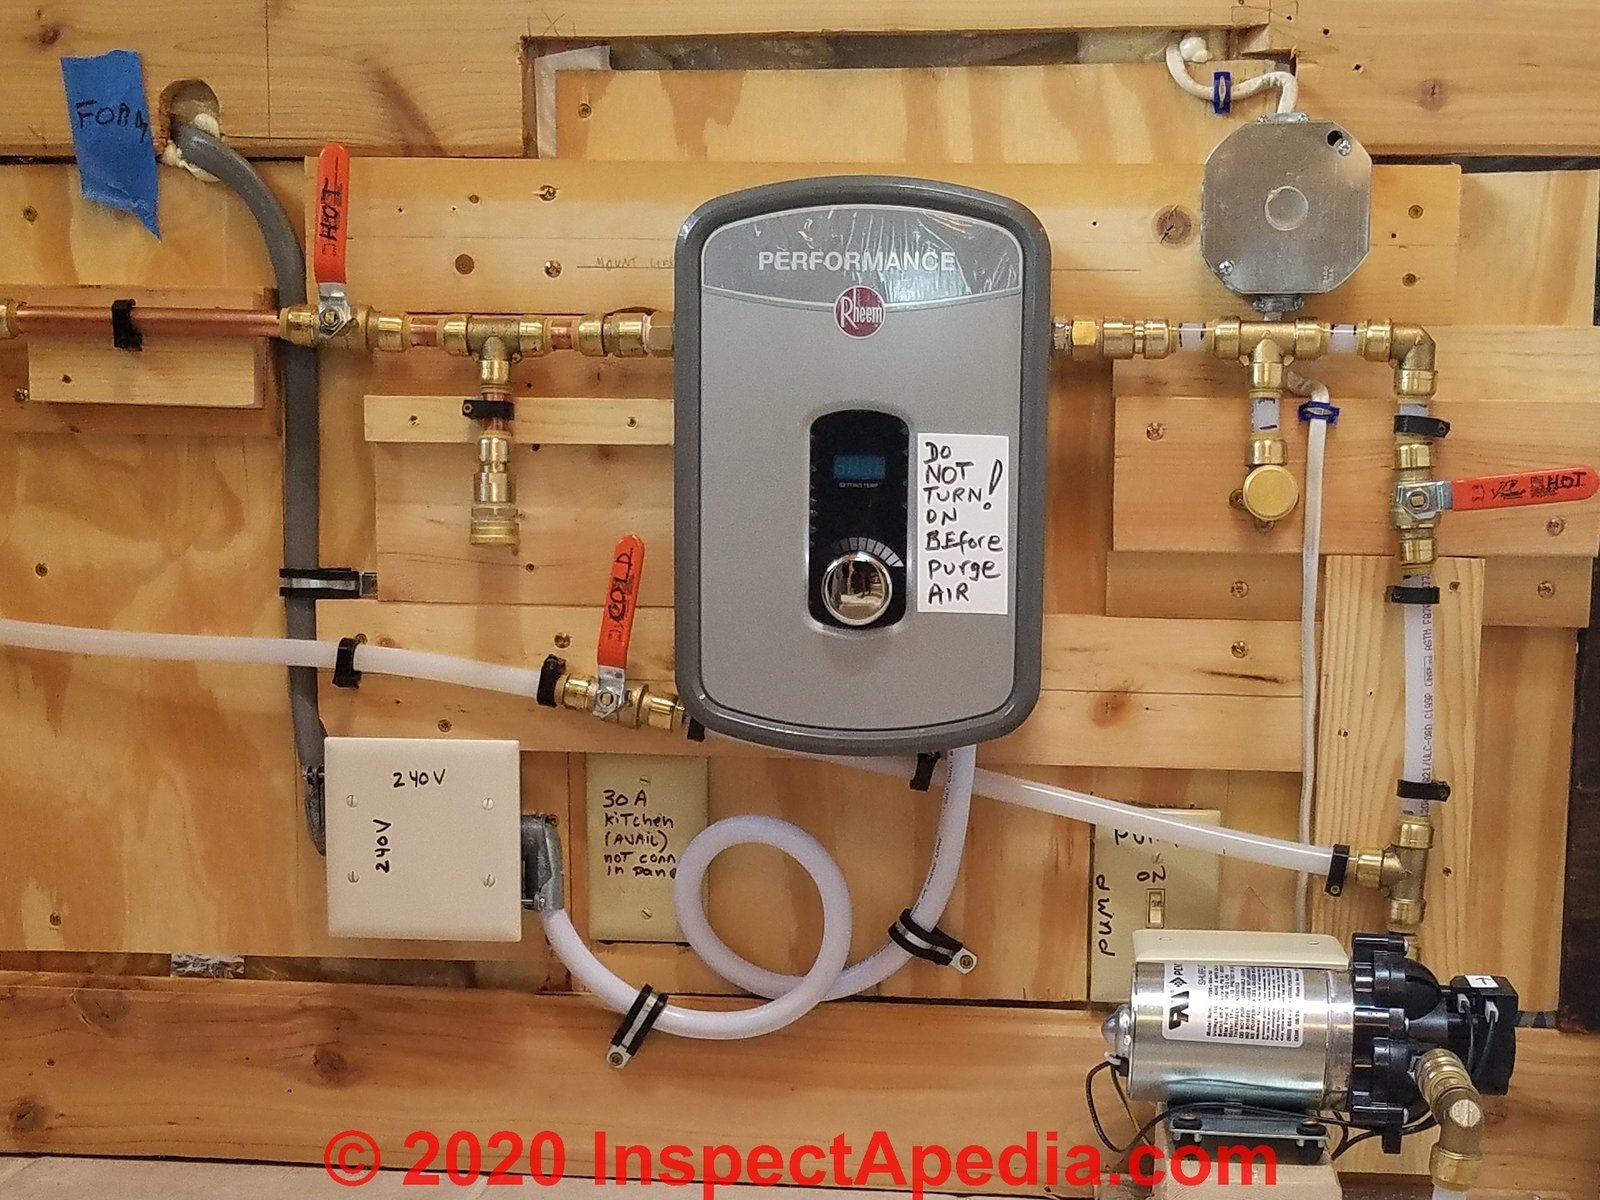
Water heaters often stop working due to simple environmental changes or age-related wear. For gas units, the pilot light is the most frequent point of failure. If the thermocouple—a small sensor that detects the flame—becomes dirty or bent, it won’t signal the gas valve to stay open. This prevents the burner from igniting, leaving you with cold water. You can check the pilot light window to see if the flame is burning; if it’s out, follow the lighting instructions on the tank’s label.
Electric models rely on internal thermostats and heating elements. If your water is lukewarm or cold, one of the two heating elements inside the tank may have burned out. These elements work in a sequence; if the upper one fails, you get no hot water at all. If the lower one fails, you might get a short burst of hot water before it turns cold. Another common cause is the high-limit switch, which is a safety device that cuts power if the water reaches a dangerous temperature.
Finally, mineral buildup is a silent cause of performance drops. In areas with “hard” water, calcium and magnesium deposits settle at the bottom of the tank. This layer of sediment acts as an insulator, forcing the heating element or gas burner to work longer to heat the water. This not only wastes energy but can also damage the tank’s inner lining over time.
Check your power supply
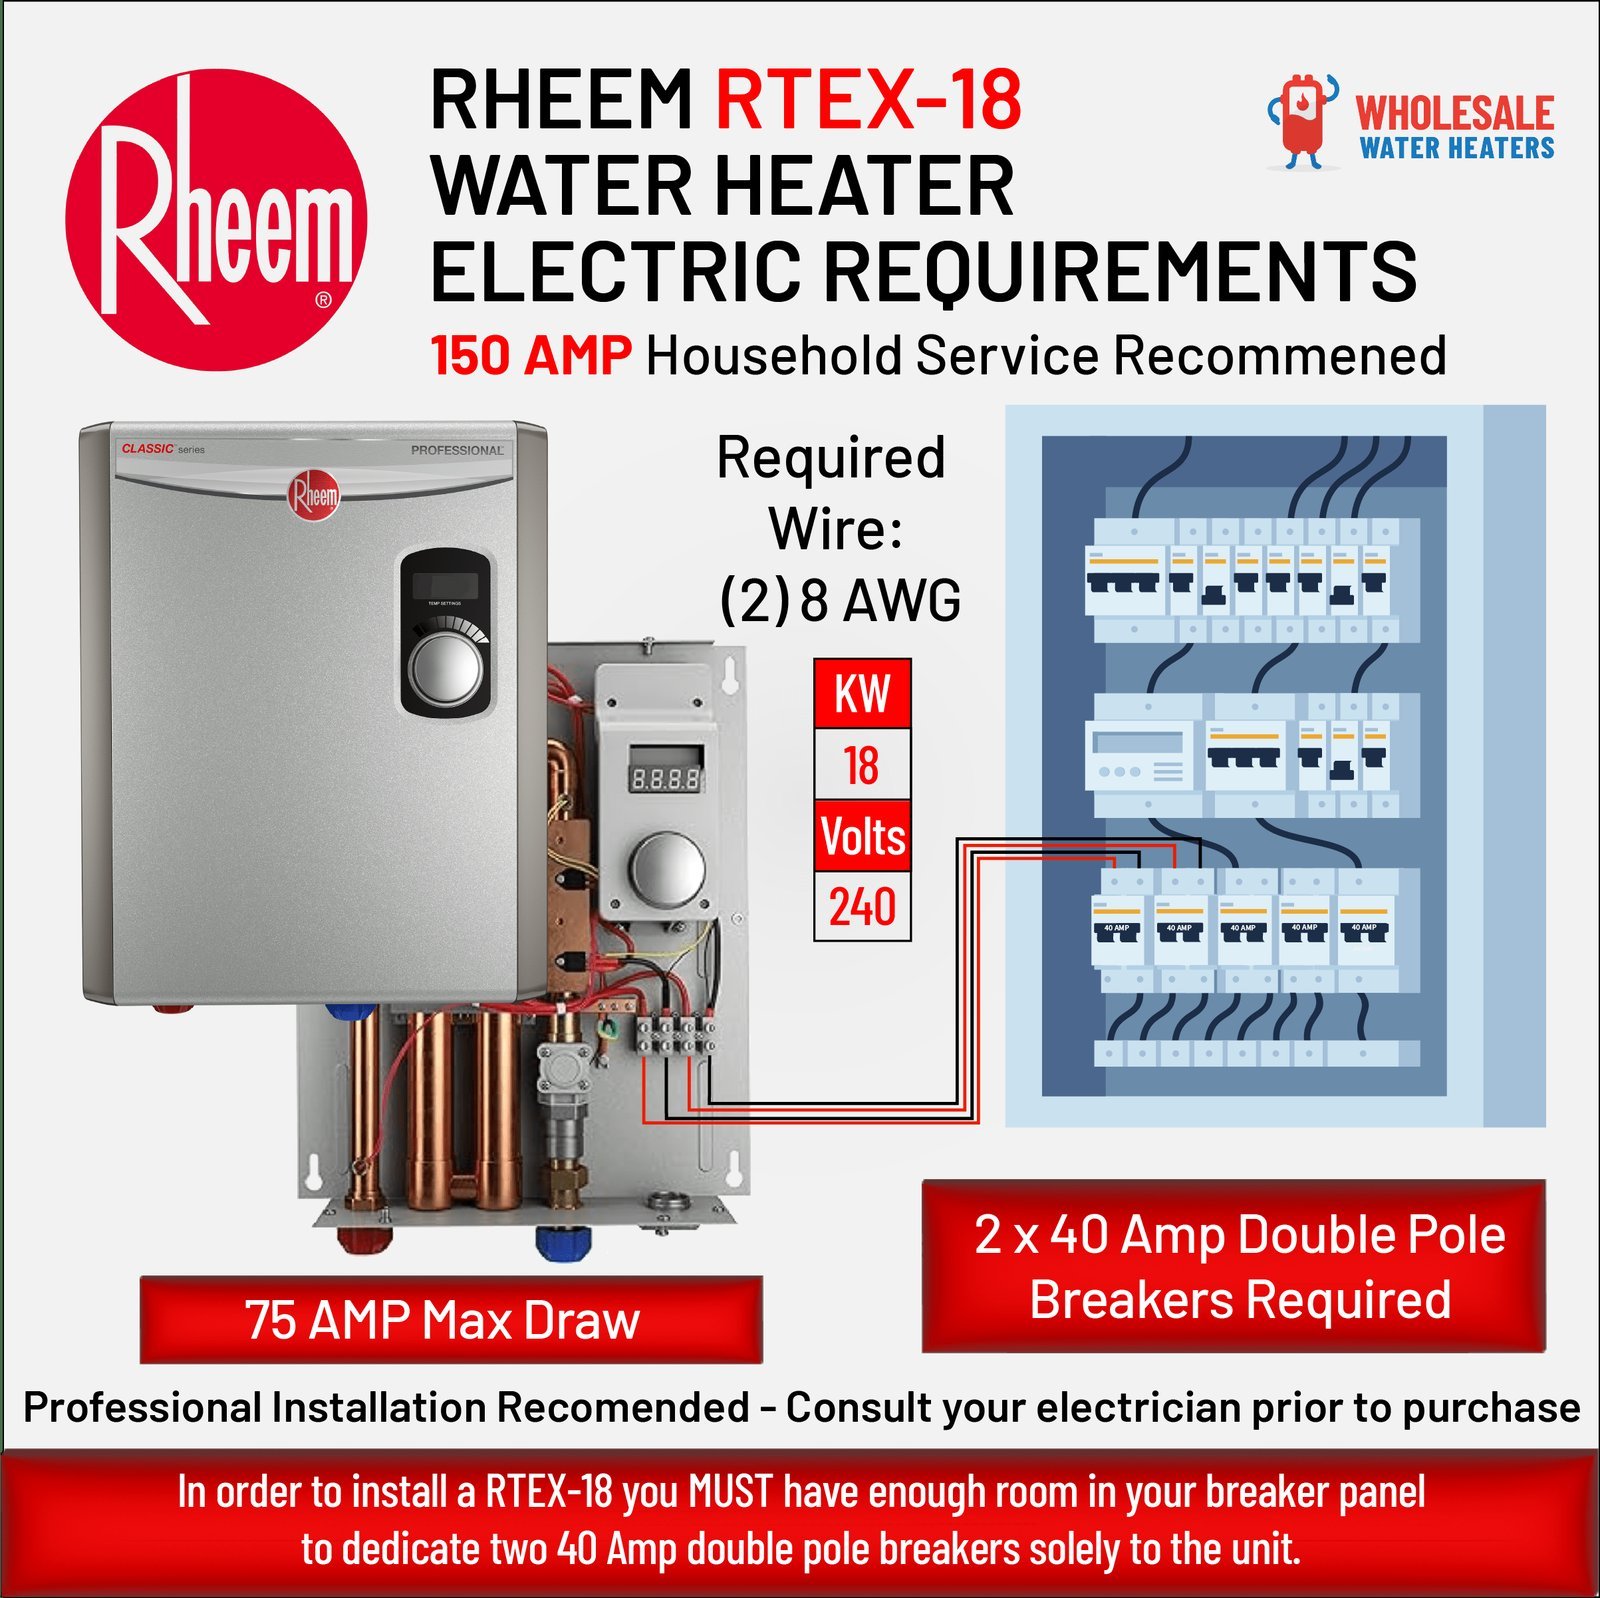
This fix is for electric models that show no signs of heating. If your unit isn’t working, your first step is to check the electrical panel in your home. Look for a double-pole circuit breaker labeled “Water Heater.” If the switch is in the middle position or flipped to “Off,” toggle it firmly to the “Off” position and then back to “On.” If the breaker trips again immediately, don’t attempt to reset it further, as this signals a short circuit or a grounded heating element that needs a technician.
If the breaker and disconnect switch are both on, the issue is internal. You shouldn’t open the access panels on the side of the tank, as they cover high-voltage connections. If the power is confirmed at the breaker and the wall switch, but the water remains cold, you must stop and call a professional.
Inspect the gas supply
This fix is for gas-powered heaters that have lost their heating capacity. The most common reason for a gas heater failing is a pilot light that has blown out due to a draft or an obstruction in the air intake. To check this, look through the small viewing window at the bottom of the heater. If you don’t see a small, steady blue flame, the pilot is out.
Locate the gas control valve on the front of the tank. Follow the manufacturer’s instructions printed on the side of the tank to relight the pilot. This usually involves turning the dial to “Pilot,” pressing and holding it down, and then pressing the igniter button until you see a flame through the window. Once lit, continue holding the dial for about sixty seconds before releasing it. If the pilot flame goes out immediately after you release the dial, the thermocouple is likely dirty or failing.
This fix is intended for those who can safely access the control panel without moving the tank. If you smell gas at any point, stop immediately. Leave the area, don’t use any light switches or electronics, and call your gas provider or a plumber from outside your home. Never use tools to force the gas valve or attempt to dismantle the burner assembly.
Manage sediment buildup
This fix is for units that produce hot water but run out very quickly or make “popping” or “rumbling” sounds during the heating cycle. These noises are caused by water trapped beneath a layer of sediment as it turns to steam. This fix is recommended regardless of water softening systems, as sediment can still accumulate over time.
To clear sediment, you must flush the tank. Locate the drain valve at the bottom of the tank. Attach a standard garden hose to this valve and run the other end to a floor drain or outside. Open the valve to let the water flow. If the water comes out cloudy or contains visible grit, continue flushing until it runs clear.
This procedure requires caution because the water inside is extremely hot. Wear gloves and ensure the hose is securely attached to prevent scalding water from spraying onto your skin. If the drain valve is stuck or plastic, don’t force it with a wrench, as you risk breaking the valve and causing a major leak. If the valve doesn’t open easily, stop and hire a professional. You should also be aware that flushing a very old tank can sometimes dislodge sediment that was sealing a small rust hole, leading to a leak. If you’re unsure about the age or condition of your tank, consult a plumber before attempting a flush.
What not to do
- Don’t turn the temperature dial to the maximum setting to “fix” lukewarm water, as this increases the risk of scalding and puts extra strain on older components.
- Don’t attempt to bypass or bridge the high-limit switch, as this removes a critical safety feature designed to prevent the tank from overheating and potentially rupturing.
- Don’t attempt to access the internal wiring, as a technician must confirm whether the part has failed.
- Don’t use chemical drain cleaners or harsh solvents inside the tank, as these can damage the glass lining and lead to premature tank failure.
- Don’t ignore a leaking T&P (Temperature and Pressure) relief valve, as this valve is the only thing preventing the tank from building dangerous pressure levels.
How to stop it happening again
Regular maintenance is the most effective way to keep your heater running for its full expected lifespan.
| If you’re doing this | Do this instead | Why |
|---|---|---|
| Ignoring the T&P valve | Test the valve annually | Ensures the pressure release works |
| Using hard water | Install a water softener | Prevents sediment from building up |
| Leaving the unit alone | Flush the tank periodically | Removes mineral buildup efficiently |
| Keeping heat at max | Set to 120°F | Prevents scalding and saves energy |
| Ignoring small leaks | Call a plumber early | Prevents expensive water damage |
Frequently asked questions
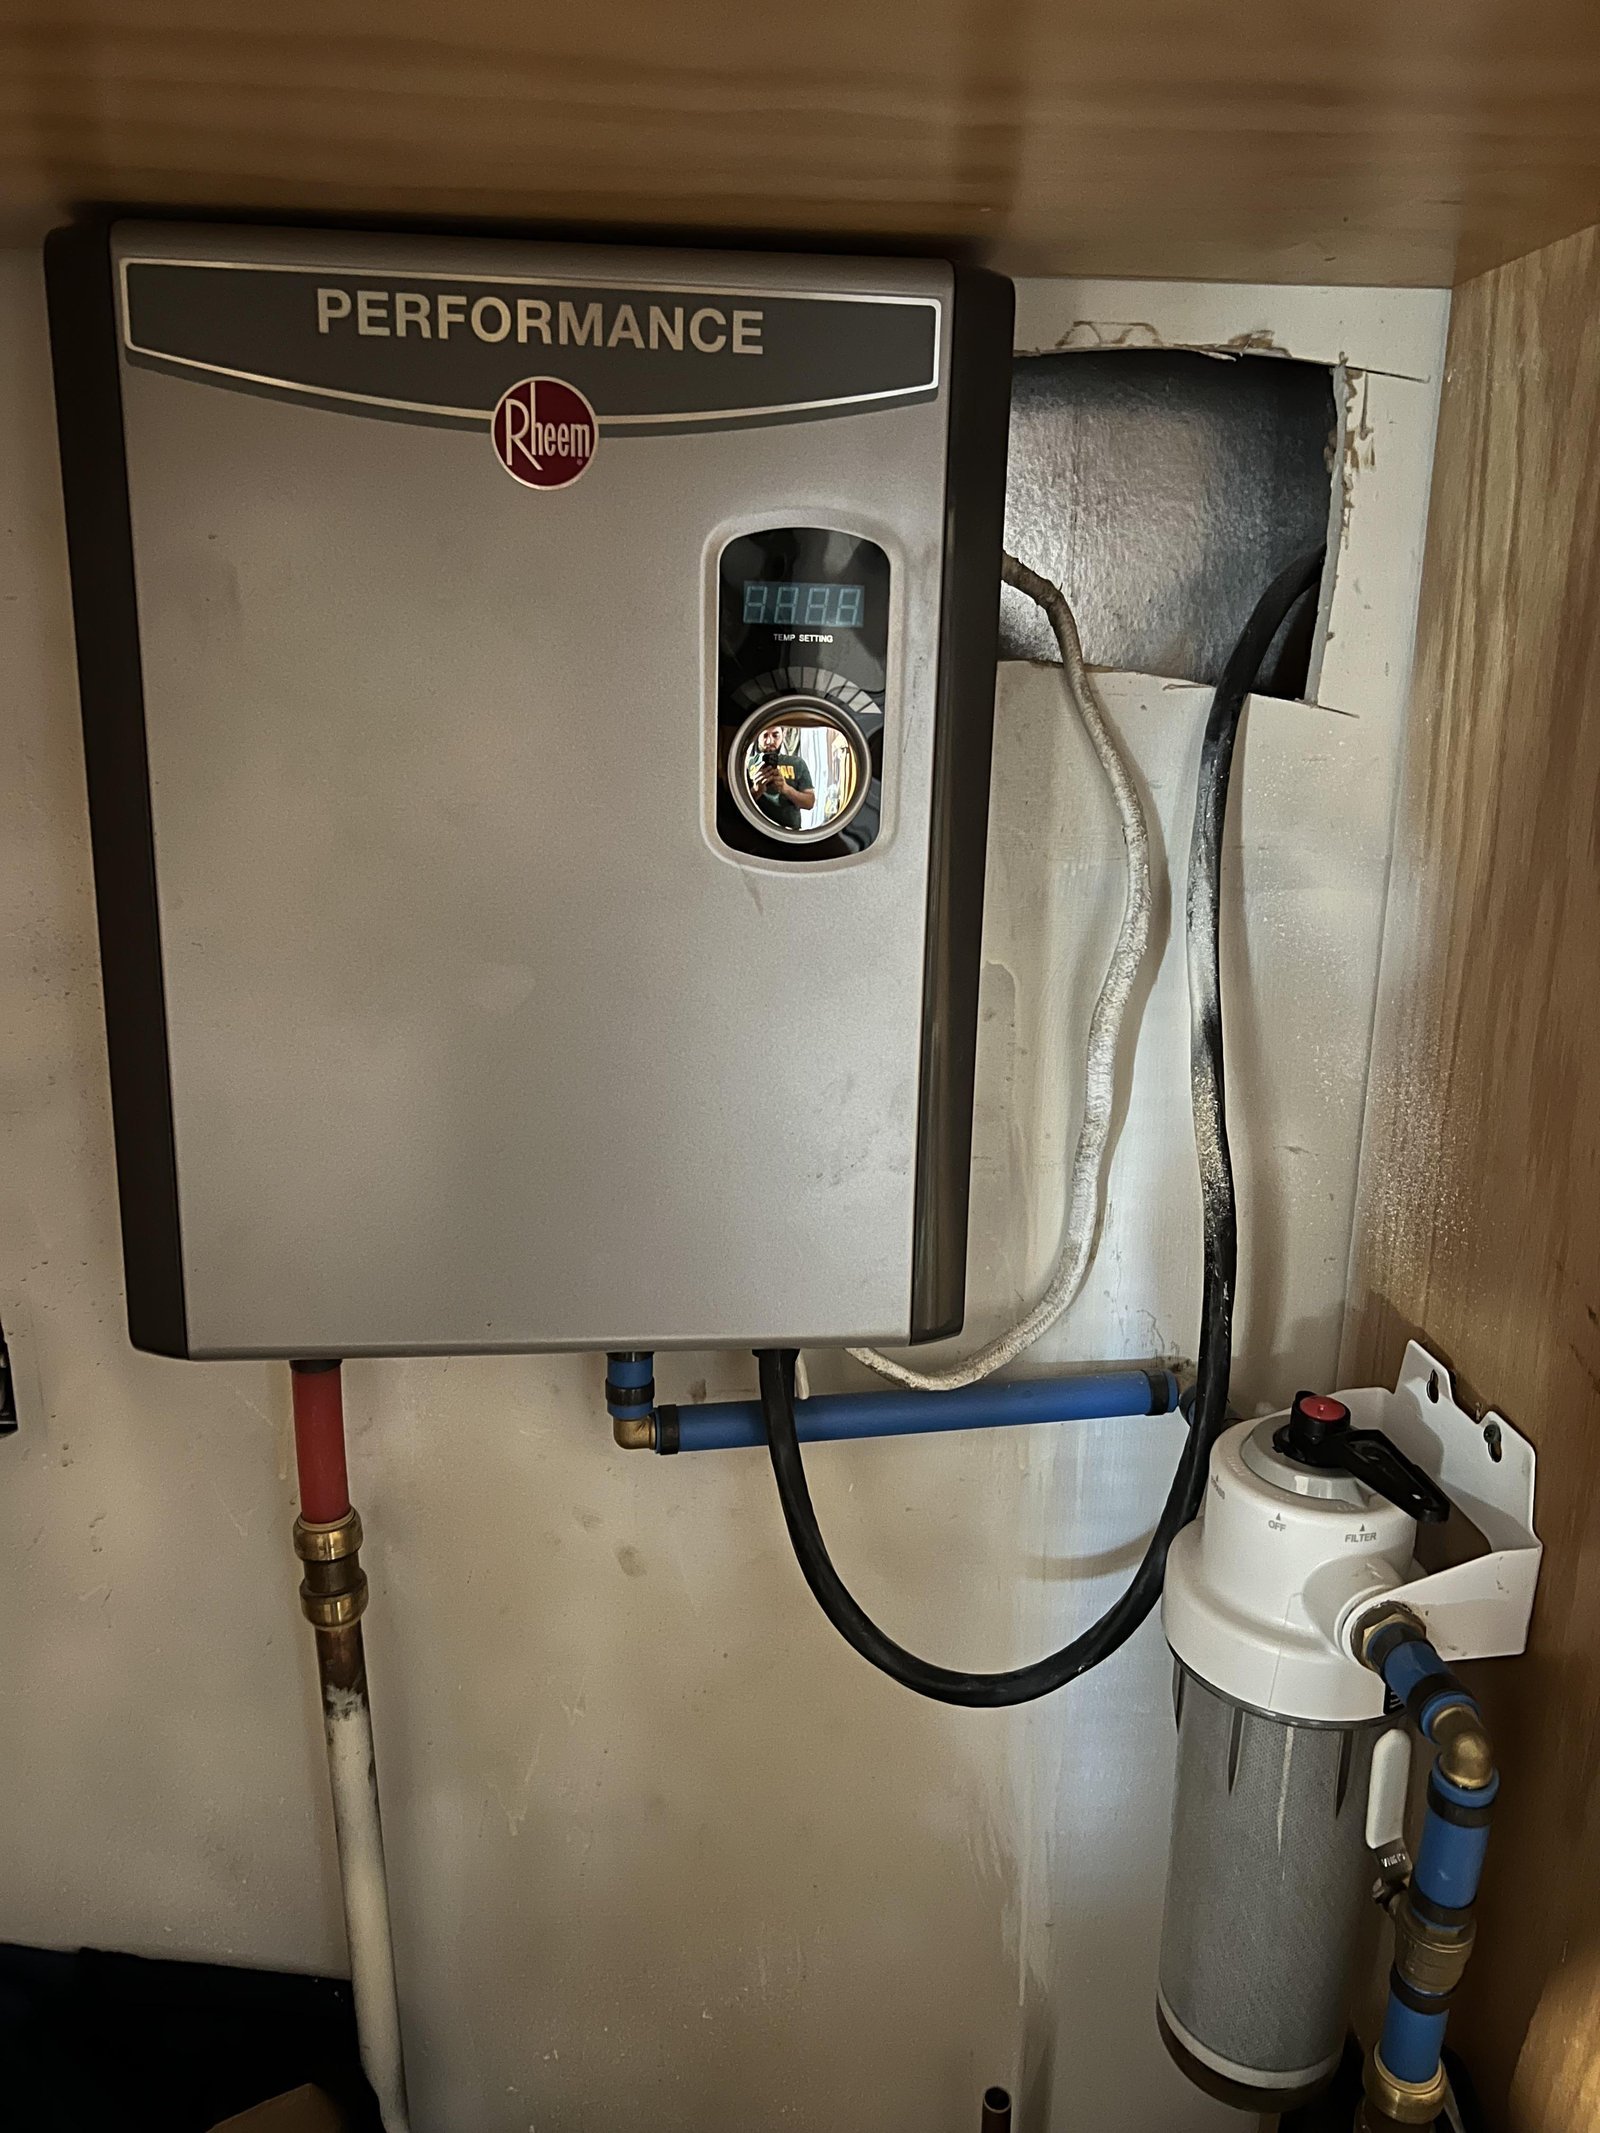
Can I fix a Rheem water heater myself?
You can perform basic maintenance like flushing the tank or relighting a pilot light yourself. These tasks are user-friendly and don’t require specialized tools. However, any task involving electrical wiring or gas valve replacement requires a licensed professional to avoid injury or warranty issues.
Why does my water heater make a popping noise?
Popping noises are caused by steam bubbles trapped under sediment at the bottom of your tank. As water heats, these bubbles expand and burst, creating the sound. If flushing the tank doesn’t resolve the noise, a professional must inspect the interior for permanent damage.
How long should a Rheem water heater last?
Most residential water heaters last between eight and twelve years with proper maintenance. This lifespan depends on your model, local water quality, and the frequency of sediment flushing. If your unit is near ten years old and having issues, replacing it’s often more cost-effective than repairs.
Is it safe to leave the pilot light off?
It’s safe to turn off the pilot light if you aren’t using the unit for an extended period. Setting the gas control valve to “Off” saves gas and prevents unnecessary heating. When you return, follow the manufacturer’s instructions on the tank to restart the pilot.
What happens if the T&P valve leaks?
A leaking T&P valve indicates the valve is releasing excess pressure or has failed. This device is critical for preventing tank explosions due to extreme heat or pressure. If you see water dripping from the discharge pipe, have a professional inspect the unit immediately.
Final Thoughts
If these checks don’t bring back your hot water, don’t hesitate to reach out to a certified technician. They’ll have the right tools to handle complex repairs safely. It’s always better to get expert help early so you won’t have to deal with a cold shower for any longer than necessary.
Related guides
- 5 Best Inflatable Hot Tubs for Winter: Our Top Picks in 2026
- Pentair Mastertemp 400 Troubleshooting: Fix Common Heater Errors
- 8 Best Auxiliary Heater AC Control Relays for Reliable Systems in 2026