
This Cuisinart Troubleshooting Coffee Maker guide offers steps to fix performance issues by checking power, water flow, and descaling needs. Most problems, like mineral buildup or power loss, require no professional tools. If the unit won’t turn on, check the outlet; if it won’t brew, look for clogs or sensor faults. This guide helps you identify the issue so you can decide whether to clean the machine or seek a warranty claim.
Cuisinart Troubleshooting Coffee Maker Guide
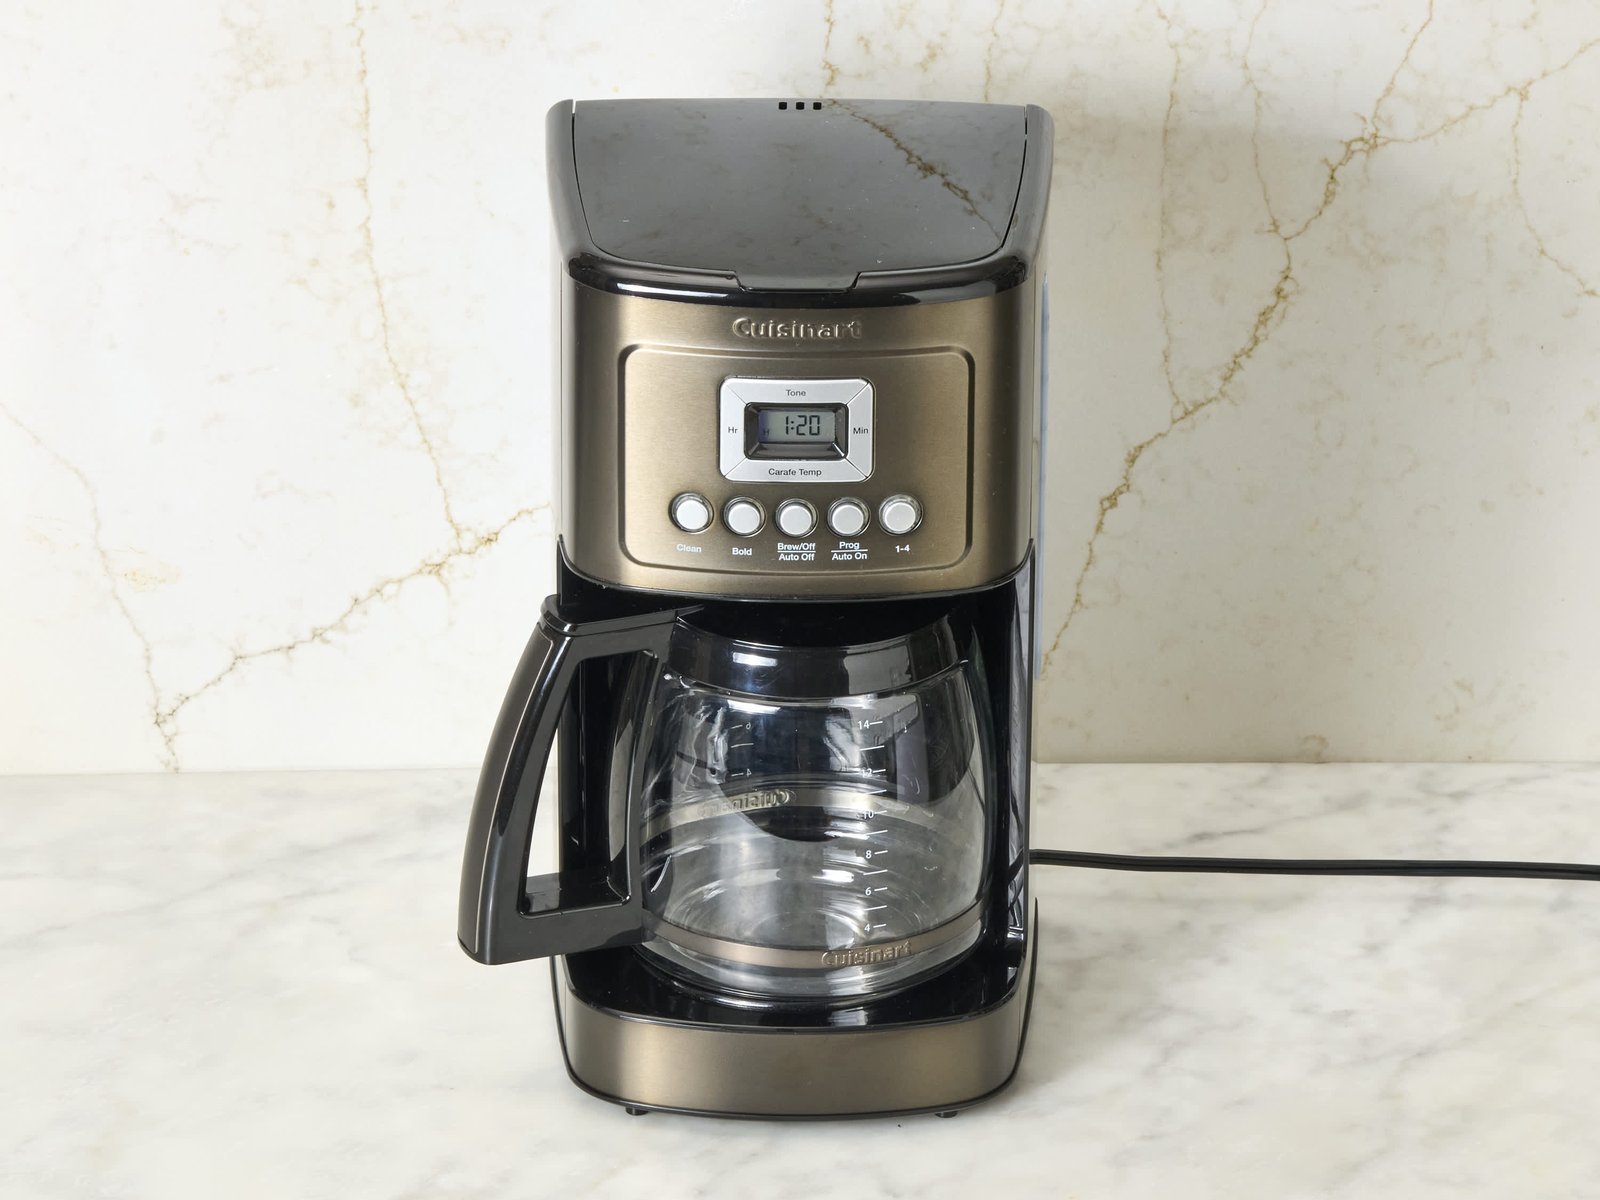
Coffee machines often fail because of internal mineral accumulation. Water contains calcium and magnesium, which turn into scale inside the heating element and tubing. This restricts water flow and prevents the water from reaching the correct temperature. If your machine is slow to brew or makes a loud gurgling sound, scale is the most likely culprit.
Another frequent cause is a faulty or misaligned reservoir valve. The reservoir has a spring-loaded valve at the bottom that opens when you seat it onto the base. If this valve gets stuck or the reservoir isn’t pushed down fully, water can’t enter the heating system. You’ll hear the pump running, but no water will move.
Electrical issues are the third common cause. These units have internal thermal fuses designed to cut power if the machine overheats. If your machine died suddenly after a long brew cycle, the fuse might have tripped. While some machines have a reset button, most require an internal repair that isn’t safe for home users.
Finally, user error regarding the filter basket happens often. If the gold-tone filter or a paper filter isn’t seated perfectly, coffee grounds can overflow into the basket and clog the exit hole. This causes the water to back up and overflow from the top of the machine, creating a mess. Always ensure the basket is clean and the lid is locked in place before you start a brew.
Clean the water lines
If your machine is brewing slowly or not at all, you must descale the internal components. Mineral buildup blocks the narrow tubes, which forces the pump to work harder and eventually fail. This fix is for machines that have power but show signs of low water flow.
To perform this, fill the reservoir with a mixture of one part white vinegar and two parts water. Run a brew cycle without a coffee filter or grounds. If the water flows, repeat the process with fresh water to remove the vinegar taste. If the water still doesn’t flow, the blockage is likely too severe for a home descaling process.
This varies by model — check the label on the bottom of your unit to see if your specific model has a “Clean” indicator light. If that light is flashing, the machine has an internal timer that tracks brew cycles and expects a descaling treatment. You can’t bypass this by simply unplugging the unit. You must complete the cycle using the manufacturer’s specific sequence, which is often found in the official Cuisinart user manuals.
If you use a water filter in your reservoir, remove it before descaling. The vinegar can damage the charcoal filter material. This fix isn’t for machines that have no power at all. If the machine is dead, descaling won’t help. If you have tried two full cycles and the flow remains blocked, don’t attempt to disassemble the unit. Opening the housing can expose you to live electrical components and will void your warranty immediately.
Reset the reservoir valve
A common mistake is assuming the machine is broken when the water reservoir is simply not making a seal. If you hear the pump humming but no water exits the reservoir, the valve at the bottom is likely the issue. This fix is for when the machine is powered on but the water level doesn’t drop.
First, remove the water reservoir from the back of the coffee maker. Look at the bottom of the tank for the small plastic valve. Press it with your finger to ensure it moves up and down freely. If it’s stuck, soak the reservoir base in warm, soapy water for 10 minutes to loosen any dried coffee oils or debris. Rinse it thoroughly.
When you place the reservoir back on the base, press down firmly until you hear a click or feel it seat into the gasket. If the reservoir sits crooked, the valve won’t open. If you have a machine with a permanent charcoal filter, ensure that the filter holder is pushed all the way down. An improperly seated filter holder can prevent the reservoir from sitting flush on the base.
If you have tried reseating the reservoir three times and the machine still fails to pull water, check the gasket on the base of the unit. If you see a tear or a crack in the rubber ring where the reservoir meets the machine, you have found the leak point. You can’t replace this gasket yourself. This is a factory-sealed part, and you should contact Cuisinart support to discuss a replacement unit. If the unit is under warranty, keep your receipt to prove the purchase date.
Use the correct filter setup
If your coffee is weak or the basket overflows, the problem is often the filter configuration. Many users try to double up on filters, which restricts the water flow too much. This fix is for those experiencing overflowing baskets or grounds in their carafe.
Always use either one paper filter or the gold-tone permanent filter, but never both at the same time. Using both creates too much resistance, causing the water to overflow the basket and leak down the sides of the machine. If you use a paper filter, ensure it’s the correct size for your specific basket. A filter that’s too small will collapse under the weight of the water and grounds.
Check the filter basket assembly for any cracks or damaged plastic tabs. The basket must sit perfectly level in the machine. If you notice the basket tilting to one side, it won’t align with the showerhead. This causes uneven saturation of the coffee grounds. If the basket is damaged, you can often buy a replacement basket from the official website without replacing the entire coffee maker.
This isn’t for people who prefer a very fine grind. If you use an espresso-fine grind in a standard drip coffee maker, it will clog the filter every time. Use a medium-coarse grind to allow the water to pass through the filter at the correct speed. If you’re unsure about the grind size, look for “drip coffee” on the bag. If you have checked your filter, your grind size, and your basket alignment, and it still overflows, you may have a faulty showerhead that’s releasing water too quickly. In this case, you should contact the manufacturer to see if a replacement part is available for your specific model.
What not to do
- Don’t use a paperclip to poke the internal holes. This can scratch the heating element or damage the delicate plastic tubing, leading to leaks you can’t fix.
- Don’t submerge the main coffee maker base in water. The base contains the electrical board and pump, and getting them wet will cause a short circuit that’s dangerous.
- Don’t try to open the bottom cover to fix the heating element. These units contain high-voltage wiring, and attempting a repair here carries a risk of electric shock and fire.
- Don’t use harsh chemicals like bleach or ammonia to clean the machine. These chemicals can leave toxic residues in the internal lines that are impossible to rinse out completely.
- Don’t ignore a “Clean” light or a slow brew cycle. Leaving mineral scale to build up for months will eventually cause the pump to burn out, turning a simple maintenance task into a permanent failure.
How to stop it happening again
Consistent maintenance prevents the majority of common coffee maker failures. By following a regular schedule, you avoid the need for emergency troubleshooting.
| If you’re doing this | Do this instead | Why |
|---|---|---|
| Leaving water in the tank | Empty the tank after every use | Prevents mold and mineral buildup |
| Using tap water | Use filtered or bottled water | Reduces the speed of scale formation |
| Ignoring the “Clean” light | Descale immediately when it flashes | Stops scale from hardening into blocks |
| Washing parts in the dishwasher | Hand wash the basket and carafe | Heat can warp plastic parts and seals |
| Forgetting to check the basket | Inspect the filter seat before brewing | Prevents messy overflows and clogs |
Frequently asked questions
Can I fix a coffee maker that won’t turn on?
You can’t safely repair a coffee maker if the power supply is the issue. Internal thermal fuses are safety features located inside the sealed housing, meaning you shouldn’t attempt to open the unit. Contact the manufacturer to see if your machine is covered under their warranty program.
Why is my coffee maker leaking from the bottom?
A leak from the bottom usually occurs because the water reservoir isn’t seated correctly or internal tubing has come loose. Check the reservoir gasket for debris and ensure the tank is pushed down firmly. Stop using the machine immediately if it leaks to prevent water from reaching electrical components.
How long should a coffee maker last?
A coffee maker typically lasts between 3 and 5 years with regular use and proper care. Lifespan depends heavily on water hardness and how often you descale the unit.
Is it safe to use vinegar to clean my machine?
Yes, it’s safe to use white vinegar for descaling if you rinse the machine thoroughly afterward. Vinegar is an acid that effectively breaks down calcium deposits in the heating tubes. Always use a mixture of one part vinegar to two parts water to avoid damaging the internal plastic seals.
What happens if I don’t descale my coffee maker?
If you don’t descale your coffee maker, mineral scale will eventually block the water flow completely. This buildup creates an insulating layer on the heating element, preventing water from reaching the proper temperature for extraction. Regular descaling is the most important maintenance step to keep your machine working correctly.
Final Thoughts
If your machine still isn’t working after these checks, don’t worry. You shouldn’t hesitate to reach out to the company’s support team for further help. They’ve got the expertise to guide you through a repair or a replacement, so you’ll be back to enjoying your favorite morning cup in no time.