
Liftmaster lock button troubleshooting starts by holding the wall console’s lock button down for two seconds until the blinking green indicator turns solid. An active lock mode blocks all handheld remotes while leaving the wall button functional. Someone usually pressed the lock switch by accident while carrying groceries or cleaning the wall console.
Why this happens
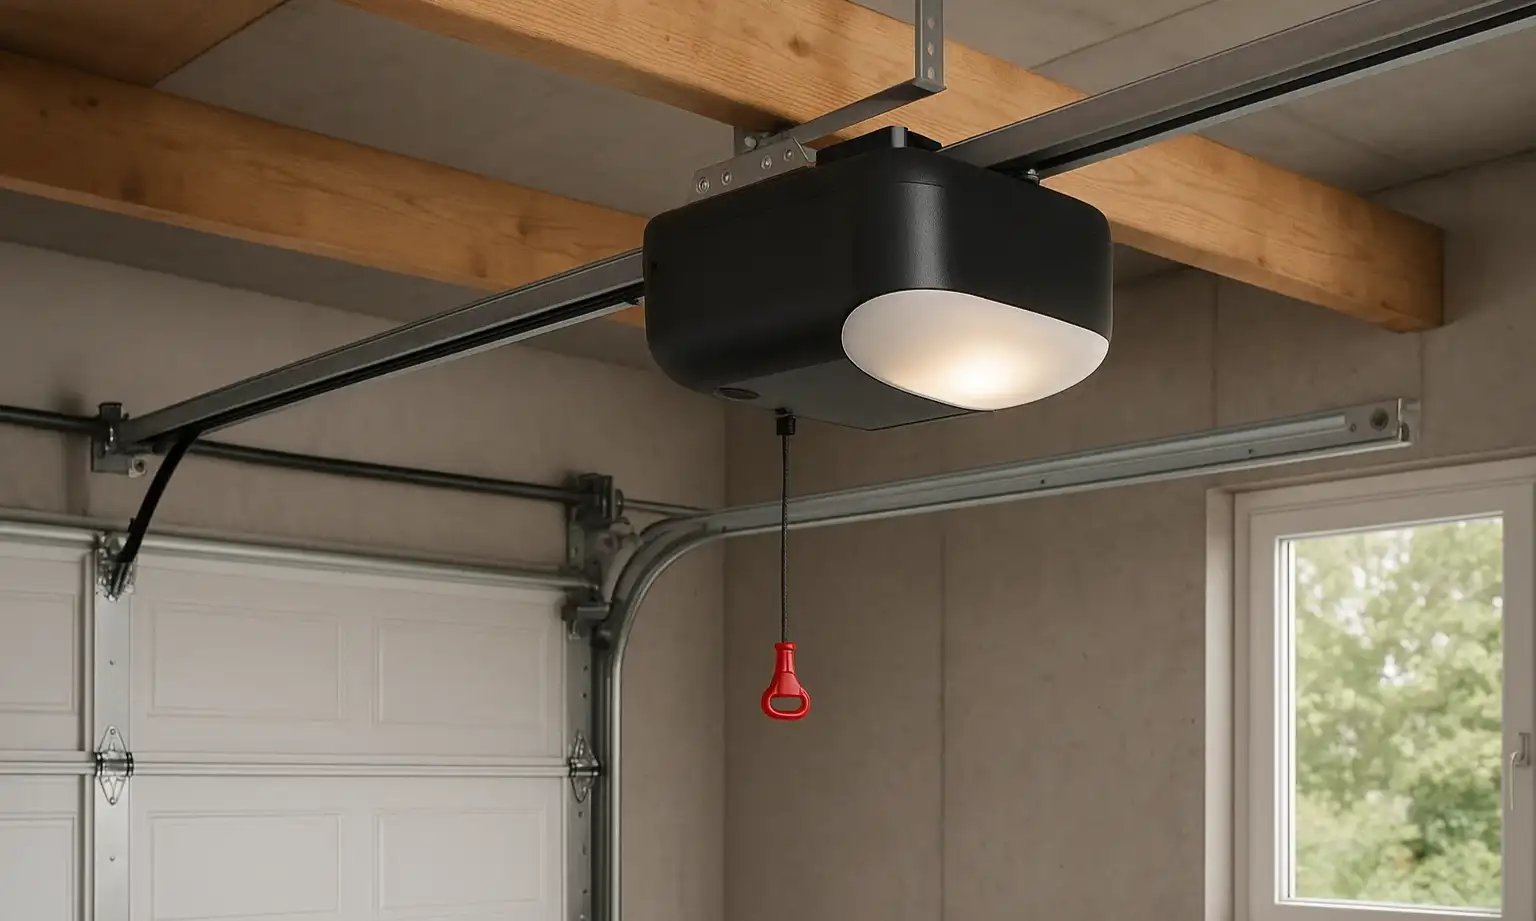 Photo: 24hourgaragedoorsct.com on Google
The lock feature exists to secure your garage when you travel, but it confuses people when triggered by mistake. First, someone bumps the button, which tells the logic board to reject all radio signals from handheld remotes and wireless keypads. Second, low-voltage wiring between the wall console and the motor unit can short out; a staple pinched too tight against the wall creates intermittent contact that trips the lock feature on its own. Third, the wall console’s internal switch can fail from moisture or dirt, locking the board into an open or closed loop.
| Symptom | Likely Cause | What To Check First |
|---|---|---|
| Wall light blinks, remotes do nothing | Lock feature is turned on | Wall control lock button |
| Wall console doesn’t light up at all | Cut wire or loose terminal screw | Red and white wire connections |
| Door moves from wall but ignores remotes | Radio signal locked or dead remote battery | Lock indicator light state |
Safety: Inside a mains-powered machine, the parts behind the outer cover can hold a dangerous electrical charge even after it has been unplugged — that’s why they sit behind a cover. Opening the housing, or testing or replacing anything behind it, is a job for a qualified technician, never a home repair.
Hold the console lock button
This fix is for anyone whose wall button opens the door, but handheld remotes suddenly stopped working. Look at your wall panel. If the small LED inside the push button flashes steadily, your system is in vacation mode. Press and hold the physical lock button for two full seconds. On older models, you’ll need to hold it for three seconds. The indicator light stops flashing and stays solid green or goes dark, depending on your panel version. Test your remote control immediately from inside the garage. This works for standard residential openers; if you have a commercial system or an industrial dry-contact control, check the manufacturer label since those units lack this feature.
Inspect the low-voltage wall wires
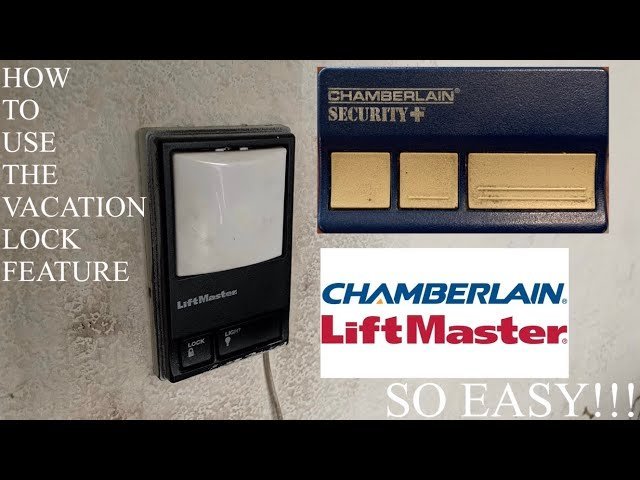 Photo: www.youtube.com on Google
This fix targets wiring issues when the lock light flashes erratically or refuses to shut off after holding the button. A common mistake people make is buying brand-new remotes when the real fault is a pierced wire behind the drywall, which costs unnecessary money. Unhook the wall console from its mounting screws to expose the back. Loosen the red and white terminal screws, strip a fresh half-inch of copper, and retighten them firmly. Make sure the bare ends don’t touch each other. Follow the wire path toward the ceiling motor and look for pinched sections near metal staples. If your wire has cuts, splice the bad section with fresh 22-gauge bell wire.
Disconnect the panel to isolate board failure
This check is for hard cases where the lock feature stays stuck after trying the wall button and fixing visible wires. Remove the bell wire entirely from the back of the wall console. Take your remote control and press it. If the door opens now, the wall panel switch is broken and needs replacement. If the remotes still fail while disconnected, your opener’s main logic board has suffered an internal radio receiver failure or a power surge. At this stage, trying to repair circuit boards without professional electrical training brings real fire risks. You can review safety guidelines and find certified service options through the LiftMaster support directory to avoid personal injury.
What not to do
- Don’t erase your opener’s memory by holding the yellow or purple learn button on the motor head. Doing this unpairs every car remote, keypad, and smart link in your home without turning off the lock feature.
- Don’t force the door open using a pry bar if remotes are locked out; simply operate the door using the functional wall button or the manual release cord. Forcing the door bends your top panel struts and strips the opener’s plastic drive gears.
- Don’t spray standard lubricating oil into the wall console buttons. Petroleum-based sprays eat away plastic parts and attract dust that permanently shorts the electronic switches.
- Don’t open the main metal housing of the ceiling motor unit. High-voltage connections inside create severe electrical shock hazards for anyone without certified training.
How to stop it happening again
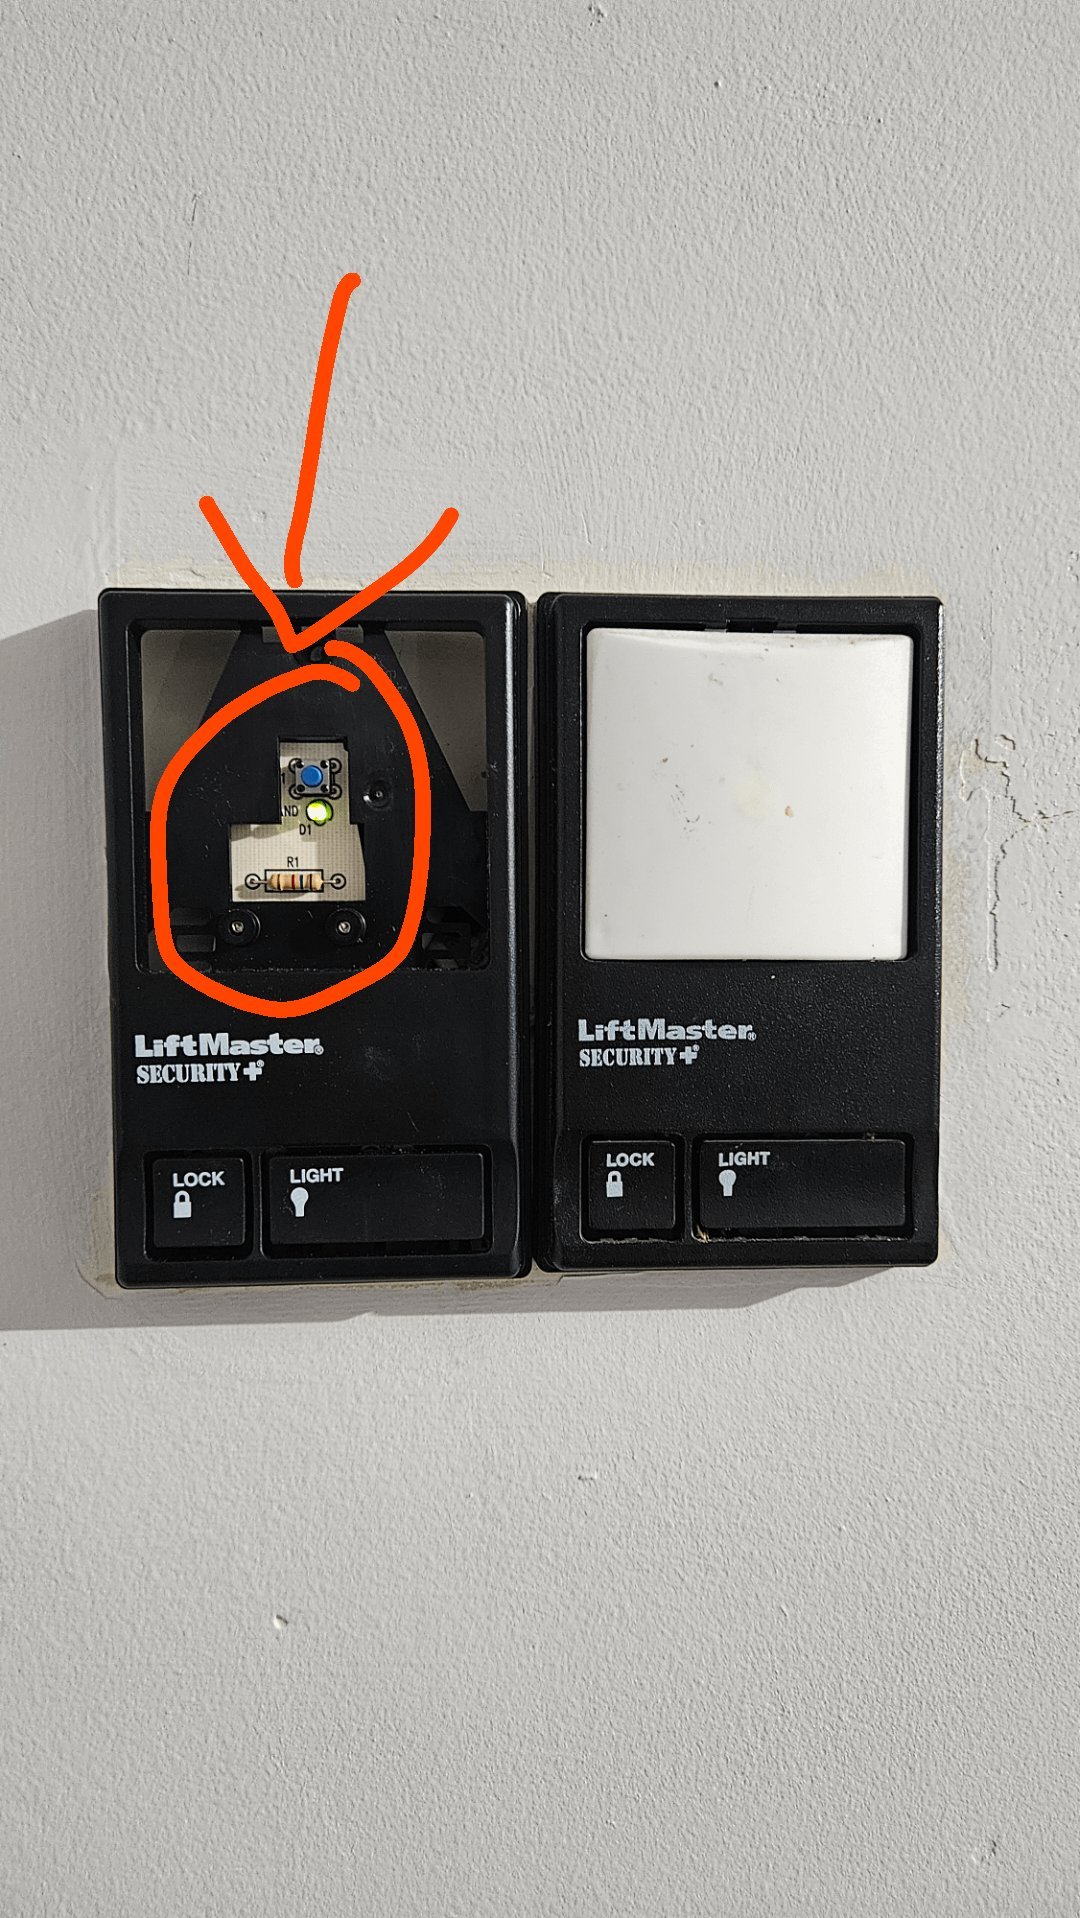 Photo: www.reddit.com on Google
Careful habits prevent accidental lockouts and save you from troubleshooting in the dark.
| If you’re doing this | Do this instead | Why |
|---|---|---|
| Leaving remotes in hot parked cars | Keep remotes out of direct sun | Extreme heat weakens battery voltage and causes signal drops |
| Using standard staples on wall wire | Use insulated round wire clips | Metal staples pierce wire insulation and cause phantom lock trips |
| Painting directly over the wall unit | Tape off or remove the console first | Wet paint seeps into the housing and gums up the lock contact |
| Stacking tall ladders next to wall panels | Mount the panel five feet up on clear drywall | Accidental bumps from storage items trigger vacation mode |
Frequently asked questions
Can a dead remote battery trigger the lock feature?
No. A dead remote battery stops that single remote from sending a radio signal. It has no physical or wireless connection to your opener’s wall panel. When your wall light blinks and every remote fails together, your console’s lock mode is the true cause.
Why is my LiftMaster wall control light blinking fast?
A fast-blinking LED on the wall console means the lock mode is engaged. The system deliberately ignores radio signals from your remotes for security. Hold the lock button down for two seconds to switch this feature off and restore remote function.
How long does a LiftMaster lock button take to reset?
Two seconds is the standard hold time on most modern panels. Older models require a steady three-second hold. If you let go too early, the command fails and the system remains locked. Wait for the light to stop blinking before testing remotes.
Is it safe to unplug the garage door opener?
Yes. Unplugging the ceiling unit disconnects 120-volt power completely and clears temporary software glitches safely. Leave the power cord disconnected for five minutes before plugging it back in. This doesn’t erase programmed remotes or alter your travel limits.
What happens if the lock button won’t turn off?
The wall console’s internal switch is either dirty, corroded, or broken. Disconnect the wall wires to see if your remotes work again. If they do, install a replacement wall console. If they still don’t work, the logic board needs professional repair.