
The rhythmic hum of a garage door opener is a familiar sound, a signal of convenience and security. However, when that sound is replaced by an unusual pattern of blinking lights, it can quickly turn into a source of frustration. For owners of Chamberlain garage door openers, a specific sequence of 10 flashes on the motor unit’s LED indicator is a diagnostic code that points to a particular problem: a safety sensor issue. This isn’t an uncommon occurrence, and understanding what those flashes mean is the first step toward resolving the problem and restoring your garage door’s functionality.
These safety sensors, also known as photoelectric eyes, are crucial components of modern garage door systems. They are designed to prevent the door from closing if an obstruction is detected in its path, thereby safeguarding people, pets, and property. When the opener registers 10 flashes, it’s essentially telling you that these vital safety mechanisms are not communicating correctly. This article will guide you through the process of troubleshooting this specific 10-flash error, from identifying the root cause to implementing practical solutions, ensuring your garage door operates safely and reliably once more.
Key Takeaways
- A 10-flash error code on a Chamberlain garage door opener specifically indicates a problem with the safety sensors.
- The most common causes include misalignment, obstructions, damaged wiring, or faulty sensors.
- Troubleshooting involves a systematic check of the sensor alignment, obstructions, and wiring connections.
- Simple adjustments and cleaning can often resolve the issue.
- If basic troubleshooting fails, sensor replacement might be necessary.
- Always prioritize safety when working with garage door openers, disconnecting power before making adjustments.
Understanding The 10-flash Error Code
The blinking LED light on your Chamberlain garage door opener isn’t just an indicator; it’s a language. Different flash counts correspond to different diagnostic messages, allowing you to pinpoint the issue without needing a technician for every minor glitch. The 10-flash sequence is particularly significant because it directly relates to the infrared safety sensors located near the bottom of your garage door tracks. These sensors are a critical safety feature, mandated by the U.S. Consumer Product Safety Commission (CPSC) to prevent accidental entrapment.
When the garage door opener is operating normally, these sensors emit an invisible infrared beam. If this beam is uninterrupted, the door can close. If anything breaks the beam, the opener immediately stops the closing cycle and reverses the door to its fully open position.
The 10-flash code signifies that the opener is not receiving a consistent signal from these sensors, meaning the infrared beam is either blocked, misaligned, or the sensors themselves are malfunctioning. This prevents the opener from initiating or completing a close cycle, even if you press the remote or wall button.
The Role Of Safety Sensors
The safety sensors are typically small, cylindrical units mounted on either side of the garage door track, usually about 6 inches off the ground. They work in pairs: one sensor transmits an infrared beam, and the other receives it. This communication is essential for the opener’s logic board to confirm that the path is clear. The 10-flash error is the opener’s way of saying, “I can’t confirm the path is clear because I’m not getting a reliable signal from my safety sensors.” This is a protective measure; the opener defaults to a safe state (unable to close) when it detects a potential safety hazard or a communication breakdown.
Why 10 Flashes? Common Scenarios
The 10-flash code is a specific diagnostic signal designed by Chamberlain to isolate issues related to the safety sensor system. It’s not a random blink. This code is triggered when the logic board in the motor unit detects one of the following:
- Misalignment: The most frequent cause. If the sensors are not precisely aimed at each other, the beam is broken or weak, and the opener interprets this as an obstruction.
- Obstruction: Anything physically blocking the infrared beam between the two sensors, such as a broom, a parked car, or debris.
- Wiring Issues: Loose connections, damaged wires, or short circuits in the wiring that connects the sensors to the motor unit.
- Dirty Lenses: Dust, cobwebs, or grime on the sensor lenses can diffuse or block the infrared beam.
- Faulty Sensors: In rarer cases, one or both of the sensors may have failed internally and need replacement.
- Power Surges or Fluctuations: While less common, a significant power event could temporarily disrupt sensor communication or even damage components.
Understanding that the 10 flashes directly point to the safety sensors allows for a more targeted troubleshooting approach, saving time and frustration.
Credit: www.youtube.com
Step-by-step Troubleshooting Guide For 10 Flashes
When confronted with the 10-flash error, the key is to approach the problem methodically. Start with the simplest and most common causes and progress to more complex ones. Always remember to disconnect power to the garage door opener at the circuit breaker before you begin any physical inspection or manipulation of the wiring or sensors. This is a critical safety precaution to prevent accidental activation or electrical shock.
1. Inspect For Obstructions
The simplest explanation is often the correct one. Visually inspect the entire path between the two safety sensors.
- Check the immediate area: Look for anything that might be physically blocking the beam. This could be anything from a child’s toy, a bicycle, gardening equipment, or even a stray piece of debris.
- Parked vehicles: Ensure that vehicles parked in the garage are not positioned in a way that interrupts the sensor path.
- Door itself: Sometimes, the garage door, when partially lowered, can obstruct the beam. Ensure the door is fully open or closed when testing.
If you find an obstruction, remove it and try operating the door again. If the 10-flash error disappears, you’ve found your culprit. If the problem persists, proceed to the next step.
2. Clean The Safety Sensor Lenses
Over time, dust, dirt, cobwebs, and even insect nests can accumulate on the lenses of the safety sensors. This grime can scatter or block the infrared beam, leading to a communication error.
- Materials needed: Soft, lint-free cloths (microfiber is ideal) and a mild household cleaner or glass cleaner.
- Procedure:
- Disconnect power to the opener.
- Gently wipe the lenses of both sensors with a clean, dry cloth to remove loose debris.
- If dirt persists, lightly dampen a cloth with water or a mild cleaning solution. Do not spray cleaner directly onto the sensor.
- Wipe the lenses again until they are clean and clear.
- Dry the lenses thoroughly with a separate dry cloth.
- Reconnect power and test the opener.
3. Check Sensor Alignment
This is the most common reason for the 10-flash error. The two sensors must be precisely aligned so that the infrared beam travels directly from the transmitter to the receiver. Even a slight misalignment can cause the opener to interpret the beam as broken.
- Identify the sensors: Locate the two small units, usually mounted on opposite sides of the garage door tracks. One is the transmitter (often has a small LED indicator that is usually lit when aligned and powered), and the other is the receiver.
- Look for indicator lights: Many Chamberlain sensors have an LED indicator light.
- A solid green light on the receiving sensor typically indicates it’s receiving the beam correctly.
- A flashing light or no light on the receiving sensor suggests an alignment problem or a complete loss of signal.
- The transmitting sensor usually has a solid amber light indicating it’s powered and transmitting.
- The alignment process:
- Ensure the sensors are clean and free of obstructions.
- Loosen the mounting bracket of one of the sensors slightly, allowing it to pivot.
- Manually adjust the sensor, looking for the indicator light on the receiving sensor to turn solid green (or for the transmitter’s light to become steady, depending on the model). This requires patience. You might need to gently move the sensor in small increments, pausing to see if the indicator light changes.
- Often, the best alignment is achieved when the door is slightly ajar, as this is when the sensors are most critical.
- Once the indicator light signals a proper connection, tighten the mounting bracket.
- Test the garage door opener. If it works, the alignment was the issue. If not, you may need to try aligning the other sensor or re-adjusting.
Pro Tip: Use a level or a piece of string to help ensure the sensors are mounted at the same height on both sides of the door track.
4. Inspect Wiring And Connections
Damaged or loose wiring can interrupt the signal between the sensors and the motor unit, triggering the 10-flash error.
- Visual inspection:
- Disconnect power to the opener.
- Trace the wires from each sensor back to the motor unit. Look for any signs of damage: Cuts, nicks, fraying, or pinches in the wire insulation. Pay close attention to areas where the wires flex, such as near the door hinges or along the track.
- Check the connections at the motor unit. There are usually two terminals where the sensor wires connect. Ensure the wires are securely fastened to the correct terminals. They are often color-coded; consult your owner’s manual for specifics.
- Inspect the connections at the sensors themselves. Some sensors have screw terminals, while others have push-in connectors. Ensure they are firm and free of corrosion.
- Addressing wiring issues:
- If you find loose connections, re-secure them.
- If wires are damaged, they may need to be spliced and repaired using appropriate wire connectors (e.g., wire nuts or crimp connectors). Ensure the repair is insulated and protected from the elements. For significant damage, replacing the wire run might be necessary.
- If you find corrosion on the terminals, clean it off with a wire brush or fine-grit sandpaper.
5. Test Sensors Individually
If the above steps haven’t resolved the issue, one of the sensors might be faulty. While it’s difficult to definitively test sensors without specialized equipment, you can perform a simple check.
- Check the transmitter LED: The sensor acting as the transmitter typically has an LED that is solid amber or red when it’s powered and working correctly. If this LED is off or flashing erratically, that sensor may be the problem.
- Check the receiver LED: The receiving sensor’s LED usually indicates the status of the beam. A solid green light signifies a good connection. If it’s off, flashing, or a different color, it indicates a problem.
- Swapping sensors (if possible): Some older models might allow you to swap the positions of the transmitter and receiver. If you swap them and the problem moves with the sensor, you’ve identified the faulty unit. However, most modern Chamberlain openers have dedicated transmitters and receivers, making this swap impossible.
Credit: gdmedics.com
Advanced Troubleshooting And Potential Solutions
When basic checks don’t yield results, it’s time to consider more advanced troubleshooting steps. These often involve deeper inspection or the possibility of component failure.
6. Reset The Garage Door Opener
Sometimes, a simple reset can clear temporary glitches in the opener’s logic board that might be misinterpreting sensor signals.
- Procedure:
- Disconnect power to the garage door opener by unplugging it from the outlet or flipping the circuit breaker.
- Press and hold the learn button (usually located near the antenna wire on the motor unit) for about 10-15 seconds. This doesn’t always reset the opener, but it’s a step some manufacturers recommend.
- Release the learn button.
- Reconnect power to the opener.
- Attempt to operate the garage door.
This reset process is often more about clearing memory or re-establishing communication protocols, and while not always effective for hardware issues, it’s a quick step to try.
7. Check The Logic Board And Wiring Harness
The logic board is the “brain” of the garage door opener. While less common, a faulty logic board can sometimes cause erroneous diagnostic codes, including the 10-flash error. Additionally, the wiring harness that connects the motor unit to various components, including the sensors, could be damaged.
- Inspection:
- Disconnect power to the opener.
- Open the motor unit housing (refer to your owner’s manual for instructions).
- Carefully inspect the logic board for any visible signs of damage, such as burnt components, scorch marks, or bulging capacitors.
- Examine the wiring harness where it plugs into the logic board and where it runs throughout the motor unit. Ensure all connections are secure and that there’s no fraying or damage to the wires within the housing.
- Addressing issues:
- If you see obvious damage to the logic board, it likely needs to be replaced. This is often an expensive repair, and you may need to consider replacing the entire opener unit.
- If the wiring harness appears damaged, it can sometimes be replaced separately.
Warning: Working inside the motor unit requires caution. Ensure the power is completely disconnected, and if you are not comfortable with electrical components, it’s best to call a professional.
8. Consider Environmental Factors
Extreme temperatures or moisture can sometimes affect the performance of electronic components, including garage door opener sensors.
- Temperature: While most garage door openers are designed to withstand a range of temperatures, exceptionally cold or hot conditions might temporarily impact sensor performance. If the issue started during a sudden temperature shift, monitor it to see if it resolves as temperatures normalize.
- Moisture: Excessive humidity or direct water exposure can damage sensors and wiring. Check if sensors are exposed to rain, sprinklers, or significant condensation. Ensure they are mounted in a way that protects them from direct moisture. If moisture is suspected, ensure everything is dry and properly sealed.
9. The Impact Of Radio Frequency Interference (rfi)
Although less common for sensor communication issues, strong sources of radio frequency interference (RFI) can sometimes disrupt the signals within a garage. Devices like powerful Wi-Fi routers, cordless phones, or even certain types of lighting can emit RFI.
- Identification: If the problem seems intermittent and occurs when certain devices are operating, RFI might be a contributing factor.
- Mitigation: Try moving potential sources of RFI away from the garage door opener or sensors. Ensure the opener’s antenna is not obstructed and is positioned to receive signals effectively.
10. When To Replace The Safety Sensors
If you’ve meticulously followed all the previous troubleshooting steps, checked for obstructions, cleaned the lenses, confirmed alignment, inspected wiring, and even reset the opener, and the 10-flash error persists, it’s highly probable that one or both of the safety sensors have failed and need replacement.
- Signs of failure:
- The LED on the transmitting sensor is consistently off or flashing erratically.
- The LED on the receiving sensor never stays solid green, even after careful alignment.
- Visible damage to the sensor housing or internal components.
- Replacement process:
- Purchase compatible sensors: Ensure you buy replacement sensors specifically designed for your Chamberlain garage door opener model. Your owner’s manual or Chamberlain’s website will provide the correct part number.
- Disconnect power.
- Remove the old sensors from their brackets.
- Install the new sensors, ensuring they are mounted at the same height and orientation as the old ones.
- Connect the wiring to the new sensors, ensuring correct polarity if applicable.
- Reconnect power.
- Align the new sensors carefully, paying attention to the indicator lights.
- Test the opener.
The cost of replacement sensors is typically modest, ranging from $20 to $50 for a pair, making it a cost-effective solution compared to professional repair if you’re comfortable with DIY.
Credit: uadgaragedoors.com
Comparison Of Common Garage Door Opener Error Codes
While this article focuses on the 10-flash error for Chamberlain openers, other brands and even different flash codes on Chamberlain units indicate distinct issues. Understanding these differences can help in initial diagnostics.
| Flash Count | Chamberlain Error Code Meaning | Other Common Brands (Example) | Potential Cause |
|---|---|---|---|
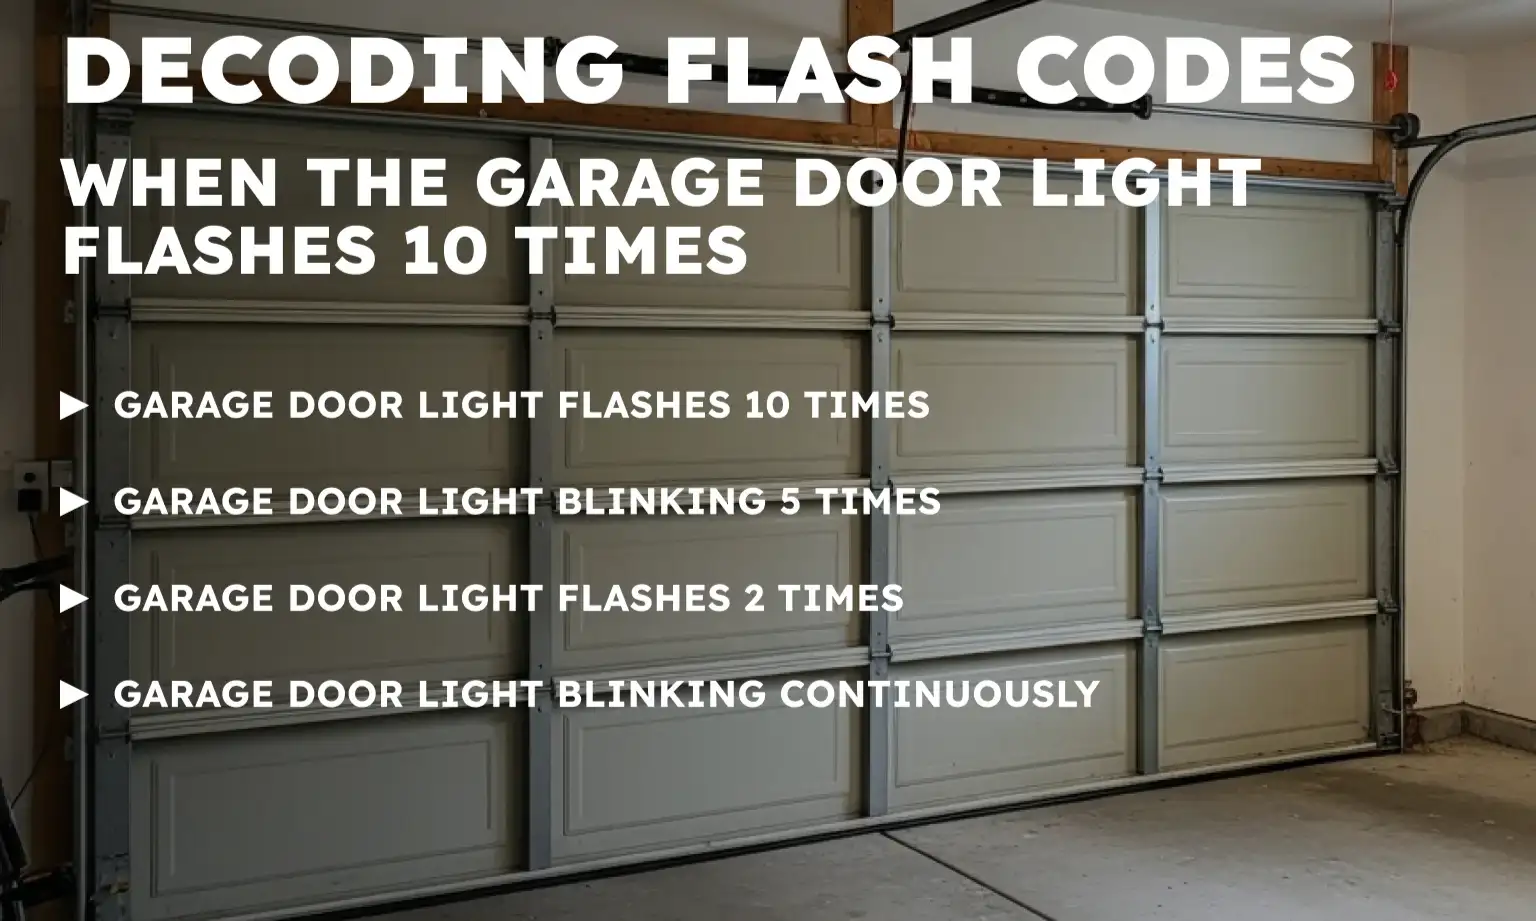
| **10** | **Safety Sensor Alignment/Obstruction/Failure** | Genie: 5 flashes (often internal issue) | Misaligned sensors, blocked beam, dirty lenses, faulty sensors, wiring issues. |
| 5 | Wall Control/Remote Issue | LiftMaster: 5 flashes (safety sensor issue) | Faulty wall control, remote interference, bad wiring to wall control. |
| 3 | Lock/Vacation Mode Engaged | Overhead Door: 3 flashes (safety sensor issue) | Lock button activated on wall control, preventing remote operation. |
| 12 | Logic Board Communication Error | N/A (specific to Chamberlain) | Internal logic board malfunction, intermittent power supply issues. |
| Continuous | Limit Adjustment Error | N/A (specific to Chamberlain) | Door not traveling its full range, limit settings incorrect or unset. |
*Note: Error codes can vary significantly between manufacturers and even between different models from the same manufacturer. Always consult your specific owner’s manual for accurate diagnostic information.*
This table highlights that while the 10-flash code is specific to Chamberlain’s interpretation of a safety sensor problem, other brands might use different codes for similar issues, or even different codes for safety sensor problems. For instance, LiftMaster (a sister company to Chamberlain) uses 5 flashes for safety sensors. This underscores the importance of referencing your Chamberlain owner’s manual for precise troubleshooting.
Maintaining Your Garage Door Opener System
Preventive maintenance is key to avoiding common issues like the 10-flash error and ensuring the longevity and safe operation of your garage door opener. Regular checks can catch minor problems before they escalate.
Regular Cleaning Schedule
- Monthly: Wipe down the motor unit casing and the safety sensor lenses with a soft, dry cloth. This prevents dust and grime buildup.
- Quarterly: Inspect the sensor alignment visually. Check for any debris that might have accumulated in the track or around the sensors.
Periodic Inspections
- Every 6 Months:
- Check wiring: Visually inspect all wires leading to the sensors and the motor unit for any signs of damage.
- Test safety reversal: Place a piece of wood (like a 2×4) flat on the ground in the path of the closing garage door. The door should reverse immediately upon hitting the wood. If it doesn’t, the safety reversal system needs adjustment or repair.
- Test photo-electric eyes: With the door open, stand directly between the sensors. The opener should not be able to close the door. If it does, there’s a problem with the sensors.
Lubrication
- Annually: Lubricate the moving parts of the garage door itself, including hinges, rollers, and tracks, with a silicone-based lubricant. Do not lubricate the opener’s drive mechanism (chain, belt, or screw) unless specified by the manufacturer.
By incorporating these simple maintenance steps into your routine, you can significantly reduce the likelihood of encountering diagnostic error codes and ensure your garage door operates smoothly and safely year-round.
Frequently Asked Questions
My Chamberlain Opener Is Flashing 10 Times, But I Don’t See Any Obstructions. What Else Could It Be?
If you’ve confirmed there are no physical obstructions blocking the safety sensors, the next most likely causes are misalignment or dirty sensor lenses. Carefully follow the steps outlined in this guide to clean the lenses thoroughly and then meticulously align the sensors. Ensure the indicator lights on both sensors show a proper connection (typically a solid green on the receiver and solid amber on the transmitter). If these steps don’t resolve the issue, inspect the wiring for damage or loose connections.
How Do I Know If My Safety Sensors Are Faulty And Need Replacement?
Signs that your safety sensors might be faulty include: the transmitting sensor’s indicator light is off or erratic (it should typically be solid amber), or the receiving sensor’s indicator light never stays solid green even after careful alignment and cleaning (it should be solid green when the beam is clear). If you’ve gone through all other troubleshooting steps and the 10-flash error persists, sensor replacement is the most logical next step. You can purchase compatible replacement sensors from Chamberlain or authorized dealers.
Can I Bypass The Safety Sensors To Make My Garage Door Close?
No, you absolutely should not bypass the safety sensors. These sensors are a critical safety feature designed to prevent serious injury or property damage. Bypassing them would disable this essential protection, making it possible for the garage door to close on a person, pet, or object, leading to potential harm or damage. The 10-flash code is a signal that the system is not safe to operate in its current state, and attempting to bypass it would be extremely dangerous. Always fix the underlying sensor issue.