
Is your Singer Heavy Duty sewing machine giving you trouble right when you need it most? You’re not alone.
When your machine jams, skips stitches, or won’t sew smoothly, it can feel frustrating and slow down your projects. But don’t worry—most problems have simple fixes you can handle yourself. In this guide, you’ll discover easy troubleshooting tips that save you time and keep your sewing on track.
Keep reading, and you’ll get your machine running like new again.
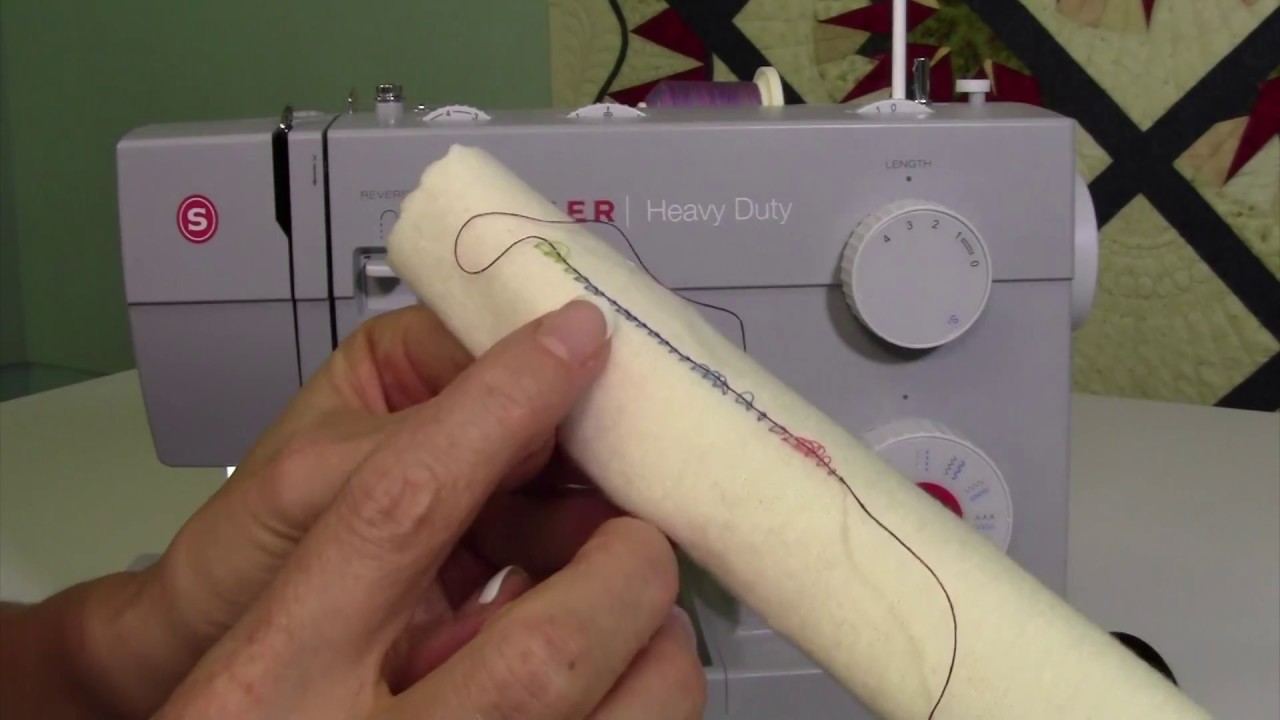
Credit: www.youtube.com
Common Issues
The Singer Heavy Duty sewing machine is built to handle tough fabrics and heavy use. Still, it can face some common problems. Knowing these issues helps you fix them fast. It keeps your sewing work smooth and saves time.
Below are frequent troubles users face with this machine. Each problem has simple causes and easy fixes. Understanding these points avoids frustration and machine damage.
Machine Won’t Start
The machine may not start due to power problems. Check if it is plugged in properly. Make sure the power switch is turned on. Look for a blown fuse or tripped circuit breaker. Also, inspect the foot pedal connection. Clean dust from the pedal and cord. A stuck button or jammed part can also stop the machine.
Thread Breaking
Thread breaking happens often with wrong tension. Adjust the tension dial to a lower setting. Use good quality thread matching your fabric. Check if the needle is bent or dull. Make sure the thread is correctly threaded through guides. Remove lint and dust from the thread path.
Skipped Stitches
Skipped stitches make the seam weak and uneven. Replace the needle if it is old or bent. Use the right needle type for your fabric. Rethread the machine carefully, following the manual. Tighten the needle clamp screw. Check the bobbin for correct insertion and winding.
Needle Breaking
Needles break due to hitting hard objects or wrong use. Avoid sewing over pins or thick layers at once. Use a needle suitable for heavy fabrics. Insert the needle fully and straight. Lower the sewing speed if needle breaks often. Change the needle regularly to prevent damage.
Fabric Not Feeding
The fabric may not move forward properly during sewing. Raise the presser foot and lower it again. Clean the feed dogs from lint and threads. Check if the feed dog height is correct. Avoid using a dull or bent needle. Use the right pressure on the presser foot for your fabric.
Basic Checks
Basic checks are the first step in fixing your Singer Heavy Duty sewing machine. These simple tests catch common problems fast. They save time and effort before trying complex repairs.
Start with easy things like power, threading, and needle. Each part must work right for the machine to sew well. Follow the guide below to check each key area carefully.
Power And Connections
Check if the sewing machine is plugged in securely. Make sure the power switch is turned on. Look at the power cord for any cuts or damage. Try a different outlet if the machine does not start. A loose or faulty connection stops the machine from running.
Threading Setup
Thread the machine exactly as the manual shows. Check the thread path from spool to needle. Make sure the thread is not tangled or caught. Incorrect threading causes skipped stitches and thread breaks. Use good quality thread for smoother sewing.
Needle Inspection
Look at the needle tip for bends or bluntness. A damaged needle hurts fabric and stitches. Change the needle if it is old or bent. Choose the right needle size for your fabric. Insert the needle fully and tighten the screw well.
Bobbin Placement
Open the bobbin case and check the bobbin. Make sure the bobbin is wound evenly with thread. Place the bobbin in the case the right way. The thread should pull smoothly from the bobbin. Incorrect bobbin placement causes thread jams and poor stitches.
Tension Settings
Check the thread tension dial on your machine. The tension controls how tight the thread pulls. Too loose or too tight tension makes uneven stitches. Adjust the dial slowly and test on scrap fabric. Find the setting where stitches look balanced and neat.
Quick Fixes
Quick fixes can solve many common problems with your Singer Heavy Duty sewing machine. These simple steps save time and keep your machine running smoothly. Regular care prevents bigger issues later.
Try these easy troubleshooting tips before calling for repairs. They help fix thread jams, uneven stitches, and machine noises fast.
Re-threading The Machine
Incorrect threading causes thread breakage and poor stitches. Remove the thread and start fresh. Follow the threading path carefully. Make sure the thread passes through all guides and tension discs. Pull the thread tight but not too tight.
Replacing The Needle
Dull or bent needles cause skipped stitches and fabric damage. Change the needle regularly after 8 hours of sewing. Use the right needle type for your fabric. Insert the needle with the flat side facing the back. Tighten the needle clamp securely.
Adjusting Tension
Wrong tension leads to loose or tight stitches. Test on a scrap fabric first. Turn the tension dial slowly to find the right balance. Upper and lower threads should lock in the middle of the fabric layers. Adjust until stitches look even on both sides.
Cleaning The Machine
Dust and lint build-up block machine parts. Remove the needle plate and clean inside the bobbin area. Use a small brush or compressed air. Clean after every few hours of sewing. Avoid oil or spray inside the motor area.
Lubricating Moving Parts
Proper lubrication keeps parts moving smoothly. Use sewing machine oil only. Apply a drop on the hook race and other metal parts as shown in the manual. Wipe off excess oil to prevent stains on fabric. Oil the machine every few hours of use.
Advanced Solutions
Advanced solutions for the Singer Heavy Duty Sewing Machine address complex problems. These fixes require careful handling and a bit of skill. They go beyond basic troubleshooting and target deeper mechanical or electrical issues. Understanding these solutions can save time and money on repairs.
Fixing Timing Issues
Timing problems cause skipped stitches or thread jams. The needle and hook must move in sync. To fix timing, remove the machine’s cover. Adjust the hook position carefully with the timing screws. Turn the handwheel slowly to check alignment. Proper timing ensures smooth, even stitches.
Replacing Drive Belts
Drive belts power the machine’s moving parts. Worn or broken belts cause slow or no movement. Unplug the machine first. Open the belt cover and remove the old belt. Install a new belt of the same size and type. Tighten it just enough to avoid slipping.
Repairing Electrical Components
Electrical issues can stop the machine from running. Check the power cord for cuts or damage. Test the foot pedal and switch with a multimeter. Replace any faulty wires or parts. Use proper tools to avoid shocks. Electrical repairs require caution and precision.
Adjusting Feed Dogs
Feed dogs move fabric under the needle. If fabric doesn’t feed correctly, adjust the feed dog height. Locate the feed dog adjustment screw under the machine. Turn it slightly to raise or lower the feed dogs. Test on scrap fabric to ensure smooth feeding.
Calibrating Stitch Length
Incorrect stitch length affects sewing quality. Find the stitch length dial or lever. Set it to the desired length. Sew a test line on fabric. Adjust as needed for even, consistent stitches. Proper calibration improves the finished project’s appearance.
Maintenance Tips
Maintaining your Singer Heavy Duty Sewing Machine is key to keeping it working smoothly. Simple care helps prevent common problems and extends the machine’s life. Regular upkeep ensures you avoid costly repairs and sewing interruptions.
Regular Cleaning Schedule
Dust and lint build up inside the machine. Clean the bobbin area and feed dogs often. Use a small brush or compressed air to remove debris. Clean after every few hours of sewing to keep parts moving freely.
Proper Storage Methods
Store the machine in a dry, dust-free place. Cover it with a cloth or case to protect from dirt. Avoid humid or hot areas that can damage metal parts. Keep it safe from accidental drops or bumps.
Using Quality Threads
Choose strong, smooth threads made for heavy-duty sewing. Cheap threads can break or cause jams. Good thread reduces stress on the machine and improves stitch quality. Match thread type to your fabric for best results.
Routine Inspections
Check the machine regularly for loose screws or worn parts. Look at the needle for bends or dullness and replace if needed. Test tension settings and adjust to avoid thread breakage. Early detection prevents bigger problems.
Professional Servicing
Have your machine serviced by a technician once a year. Professionals clean and oil parts you can’t reach. They fix hidden issues and keep the machine running like new. Regular service saves time and money over time.

Credit: www.amazon.com
When To Seek Help
Knowing when to seek help for your Singer Heavy Duty sewing machine saves time and avoids bigger issues. Some problems need professional care to keep your machine safe and working well. Paying attention to signs helps you decide when to get expert support.
Persistent Problems
Small issues that keep happening can cause serious damage. If your machine keeps skipping stitches or jamming, it needs a closer look. Repeated problems mean something inside is not right. Don’t ignore these signs to protect your machine.
Unusual Noises
Strange sounds like grinding, clanking, or squeaking are warning signs. These noises often mean parts are loose or worn out. Your machine should run smoothly and quietly. Unusual sounds require a professional to check and fix the cause.
Electrical Malfunctions
Electrical problems can be dangerous. Sparks, burning smells, or a machine that won’t start are serious issues. Stop using the machine immediately if you notice these problems. Contact a trained technician to handle electrical repairs safely.
Warranty And Support
Check your Singer machine’s warranty before attempting repairs. Many repairs are covered by the warranty, saving you money. Use official support channels to avoid voiding your warranty. Follow the manufacturer’s advice for the best service.
Finding Authorized Repair Centers
Authorized repair centers have trained experts and genuine parts. Using these centers keeps your machine in top condition. Visit the Singer website or call customer service to find nearby authorized centers. Avoid unlicensed shops to protect your machine’s quality and warranty.

Credit: www.youtube.com
Frequently Asked Questions
Why Is My Singer Heavy Duty Sewing Machine Not Stitching Properly?
Check if the needle is bent or dull. Thread tension might be too tight or loose. Clean the machine to remove lint and dust.
How Do I Fix Thread Bunching On The Bottom Fabric?
Thread bunching often means the bobbin is inserted wrong. Rewind and reinsert the bobbin carefully. Also, check thread tension settings.
What Causes The Sewing Machine To Skip Stitches?
A damaged or dull needle usually causes skipped stitches. Use the correct needle size for your fabric. Make sure the needle is fully inserted.
Why Does My Singer Machine Make Loud Noises While Sewing?
Noise may come from lack of oil or dirt buildup. Clean and oil the machine as per the manual. Tighten any loose screws or parts.
How Can I Fix The Machine If It Won’t Feed Fabric?
Check if the feed dogs are lowered or dirty. Raise and clean the feed dogs gently. Avoid pulling fabric; let the machine feed it.
What Should I Do If The Machine Thread Keeps Breaking?
Thread breaking can happen if the needle eye is rough or thread is poor quality. Rethread the machine and use good thread. Check tension and needle condition.
Conclusion
Troubleshooting your Singer Heavy Duty sewing machine is easier than it seems. Simple steps often fix common problems quickly. Keep your machine clean and well-oiled to avoid issues. Check the needle, thread, and tension regularly for smooth sewing. Don’t ignore small problems; they can grow bigger fast.
Patience and care will help your machine work longer. Sewing should stay fun and stress-free. With these tips, you can keep stitching without worry. Your Singer machine is ready to handle any project.