
You can trigger lg refrigerator smart diagnosis by opening the fridge door and holding the “Freezer” button for three seconds until the display flashes. This tool sends audio signals from your appliance to a customer support representative or the mobile app to identify internal errors. It’s most useful if your screen shows an error code or if the cooling feels inconsistent. You should keep your phone near the speaker on the front of the unit during this process.
What you need for smart diagnosis
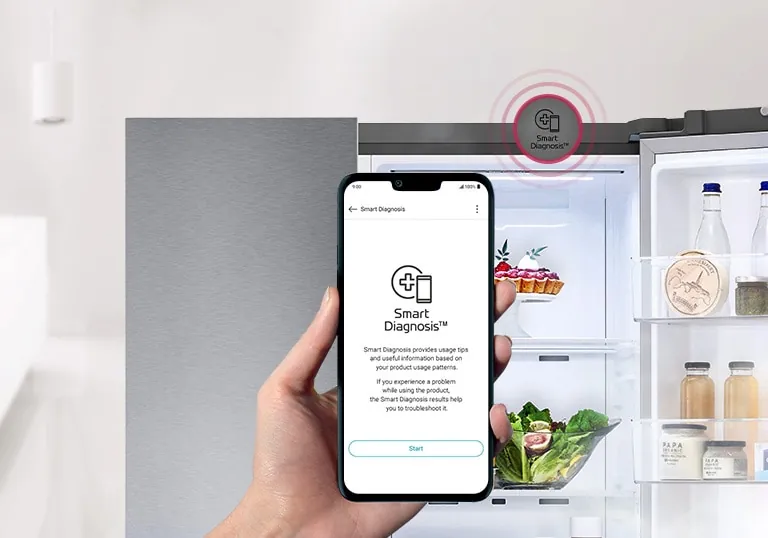
To run this diagnostic check, you need to have a few items ready. Having everything nearby prevents the process from timing out before the data transmission completes.
Your smartphone must have a functional microphone to capture the high-frequency audio signal. If your phone case is thick or rubberized, remove it before starting. A bulky case muffles the tone, which causes the app to reject the data stream as background noise.
Download the official LG ThinQ mobile application to interpret the sound. Ensure your app permissions allow microphone access before you approach the appliance. If the app fails to recognize the tone after three attempts, check your phone’s volume settings.
Move any magnets, decorative notes, or metal covers away from the front panel. These items vibrate during the transmission and distort the audio signal.
Ensure your home network is active if you’re using the app version of this feature. If the app hangs on the “connecting” screen, toggle your phone’s Wi-Fi off and use cellular data instead. This bypasses local firewall restrictions that occasionally block the diagnostic handshake.
Verify your fridge is plugged in and the main display is active. If the display is dark, the diagnostic board isn’t receiving power.
You can substitute the app with a phone call to customer support if you don’t have a compatible smartphone. Hold your phone handset directly against the speaker icon. Keep the phone steady for the full 60 seconds of the transmission. If you move the phone, the audio sequence breaks, and you must restart the entire cycle from the beginning. Representatives require your model and serial number to view your system history, so keep these printed on a card nearby.
Steps to run the diagnostic tool
Follow these steps to generate the diagnostic signal and read the results. If your model has a different button layout, check your specific owner’s manual for the exact “Smart Diagnosis” trigger location.
- Open the refrigerator door to access the main control panel.
- Press and hold the “Freezer” button for three seconds.
- Listen for the display to beep or flash, indicating it’s ready to transmit.
- Hold your phone microphone within 2 inches of the speaker icon on the unit.
- Keep the phone steady while the fridge emits a series of audible tones.
- Wait for the app or the support representative to confirm the data transfer is complete.
- Check the app screen or listen for the agent to provide the status of your components.
Tip: Don’t move the phone while the tones are playing, as background noise can corrupt the data.
Careful: If the diagnostic shows a “Service Required” message, don’t attempt to open the rear panel or touch internal electrical components. A capacitor inside the unit can hold a lethal charge even when the power is unplugged; always contact a certified technician for internal repairs.
Situations affecting your results
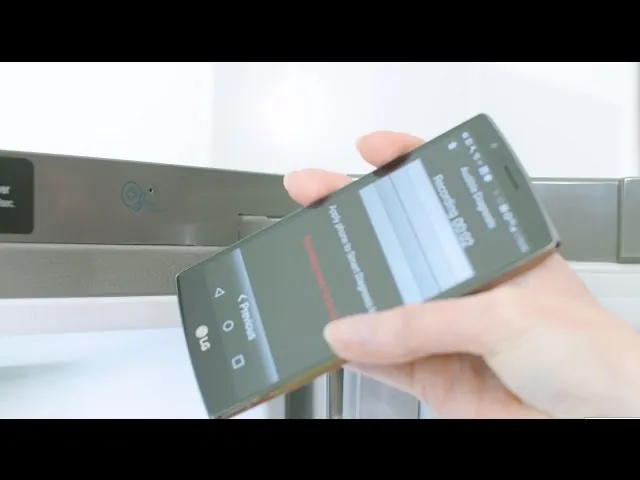
The speed and success of the diagnosis depend on your current environment. Interference from nearby appliances or loud background noises can interrupt the signal transmission, forcing the system to work harder to filter out ambient sound.
| Situation | Time required | Key difference | Watch for |
|---|---|---|---|
| Quiet room | 30-60 seconds | High signal clarity | Progress bar in app |
| Noisy kitchen | 60-90 seconds | Potential for errors | “Try again” prompts |
| No app access | 2-5 minutes | Requires phone call | Agent confirmation |
It’s safer to start in a quiet room and try the transmission once than to rush the process in a loud area. If the app displays a “Try again” prompt, move at least ten feet away from humming appliances like dishwashers or microwave ovens before restarting. These machines often emit high-frequency vibrations that mimic the diagnostic tone, causing the software to misinterpret the data.
Repeating the test three times without success suggests the microphone is blocked or the internal speaker is faulty, not necessarily that the fridge has a major failure. Check the small intake port near the control panel for dust buildup or moisture. If you can see debris, use a dry, soft-bristled brush to clear the opening gently.
If you’re in a room with hard surfaces like tile or granite, the sound may echo and create a feedback loop. In these cases, place a thick towel under your phone to dampen surface vibrations. Move to a carpeted room or a space with soft furnishings to resolve the signal drop.
How to read the diagnostic output
A good result shows a “System Normal” status on your app or confirms that all sensors are reporting within expected ranges. If you see an error code, it usually points to a specific issue like a faulty door sensor, a blocked fan, or a temperature fluctuation. These errors happen because the internal computer detects a reading that falls outside the factory-set parameters for your specific model.
Most users make the mistake of resetting the unit immediately after an error appears. This clears the diagnostic log, making it impossible for a technician to identify the root cause later. Instead, write down the specific alphanumeric code before you power cycle the machine. If the code persists after a hard reset, the issue is mechanical rather than a temporary software glitch.
You can prevent false error readings by keeping the internal vents clear of food boxes. Ensure the door gaskets are clean and sealing tightly, as a warm fridge often triggers “Cooling Error” codes. If the diagnosis consistently reports a failure, check that the ice maker isn’t jammed and that the air filter is replaced according to your manual’s schedule.
If the error code is accompanied by a flashing light, prioritize the hardware check. A constant light suggests a sensor calibration issue, while a blinking light indicates a component failure that requires immediate intervention.
If the system reports a “Communication Error,” check the wiring harness at the rear of the unit for signs of fraying or loose connections before calling for professional service. Always verify that your firmware is updated, as outdated software often misinterprets healthy sensor data as a critical system fault.
Rules for maintenance and safety
The primary rule is that this tool is for identification, not for fixing mechanical parts. Use it to isolate the origin of a failure, then record any error codes provided by the system to share with your repair technician. After you finish the test, close the door firmly and check the display to ensure it returns to the normal temperature view.
If the unit continues to beep or show an error, unplug it only if you smell burning or see sparks, then call for professional help. Most users mistakenly attempt to reset the control board by cycling power, but this often erases the diagnostic history your technician needs to identify the root cause. If the error persists without physical signs of damage, leave the unit powered on so the diagnostic memory remains intact.
The diagnostic result is valid only as long as the appliance condition remains unchanged. If you move the fridge or endure a power outage, run a new diagnostic to confirm the system status. Internal sensors often recalibrate after power cycles, which can mask intermittent failures.
Always use authorized service providers to keep your warranty valid and ensure the use of genuine replacement parts. Non-OEM components often lack the specific resistance values required by the control board, which can trigger false error codes. When in doubt, check the serial plate for the specific revision number to ensure your technician orders the exact component match.
Alternative diagnostic methods
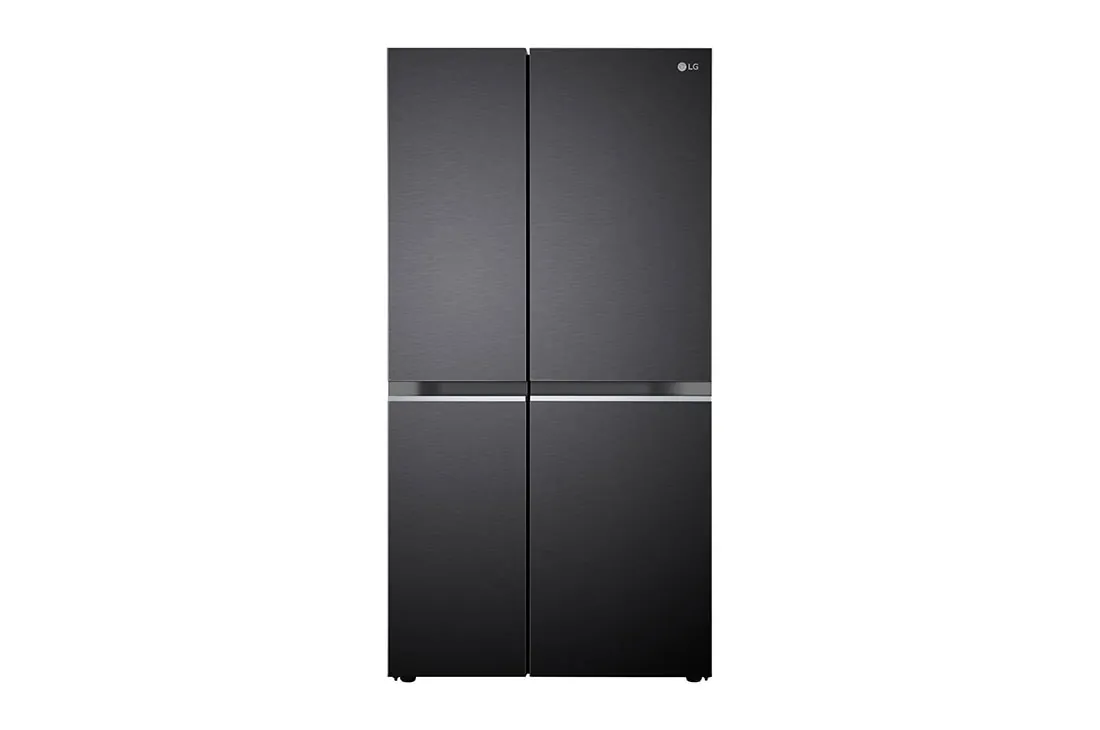
Manual display codes
Some models show codes directly on the external screen. If you see “E” followed by a number, write it down immediately. This is faster than an audio signal but provides less detail about the specific component health.
Audible alarm patterns
Listen for consistent beeping patterns when the door is left open. While not a full diagnosis, these tones indicate the system is still powered and capable of communicating basic status alerts to you.
Professional inspection
If the smart diagnostic can’t identify the cause, hire a technician to inspect the compressor and evaporator coils. This is the only way to confirm a physical leak or a mechanical motor failure that the internal software can’t detect.
Related guides
Frequently asked questions
Can I use this on an old fridge?
Only models labeled with the “Smart Diagnosis” logo on the front panel support this feature. If your unit lacks this sticker and the specific button combination, it doesn’t have the hardware required to transmit audio diagnostic data.
Is it safe to ignore an error code?
No, you should never ignore a code, as it often indicates a part is struggling to work correctly. Ignoring a fan error can lead to the compressor overheating, which is a much more expensive repair later on.
How often should I run a check?
You should run a check once every six months or whenever you notice a change in cooling performance. There’s no benefit to running it daily, as the system does not “learn” from frequent testing.
What if the app fails to hear the tones?
If the app fails, move your phone closer to the speaker and ensure the room is completely silent. If it still fails, the issue is likely a weak microphone on your phone or a blocked speaker on the fridge.
Will this fix my ice maker?
This tool will tell you if the ice maker is disconnected or faulty, but it can’t physically repair a jam. You’ll still need to manually clear any ice buildup or replace the filter.
How long does the diagnostic take?
The transmission of the audio signal takes about 30 to 60 seconds. You must remain perfectly still during this time to ensure the data is captured correctly by your smartphone.
Conclusion
If the system doesn’t resolve your issue, don’t hesitate to reach out to a professional technician for a deeper inspection. They’ll have the right tools to fix any persistent mechanical problems. Keeping your appliance in good shape ensures your food stays fresh, so it’s worth taking care of those small glitches early.