
Effective dryer vent repair involves clearing debris from the ductwork and sealing any cracks with foil tape to ensure proper airflow. You should perform this maintenance at least once a year to prevent lint buildup and reduce fire risks. If your dryer takes longer than one cycle to dry clothes or feels hot to the touch, you need to inspect the exhaust system immediately. This method works for anyone with basic tools who wants to improve their machine’s efficiency and safety.
Tools and Materials for Maintenance
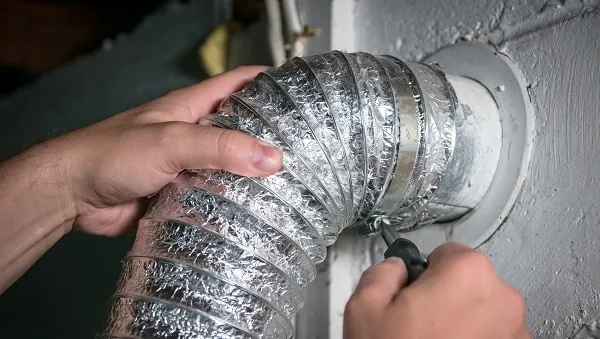
You need a few simple items to clean and fix your vent lines properly. Having these ready before you start will save you time and keep the workspace organized.
A vacuum cleaner with a long hose attachment is essential for removing loose lint. Use a crevice tool to reach the first few inches of the wall duct where buildup is heaviest.
A dryer vent cleaning brush kit with flexible rods allows you to reach deep into the walls. These rods snake through bends that a standard vacuum hose can’t navigate.
Keep metal foil tape on hand for sealing joints in the vent pipe. Don’t use standard duct tape, as the heat from the dryer will cause the adhesive to fail and the tape to peel.
A screwdriver set is required for removing the vent cover and clamps. If your screws are rusted or stripped, replace them with new stainless steel fasteners to ensure a tight seal.
A flashlight helps you see deep inside the ductwork. If you see white, fuzzy material clinging to the interior walls, the vent is clogged and requires a second pass with the brush.
Work gloves protect your hands from sharp metal edges. Dryer vent pipes are often cut with tin snips, leaving jagged burrs that can slice skin during the cleaning process.
If you have a rigid metal duct, you can use a professional-grade brush kit. If your system uses flexible plastic or thin foil tubing, you must replace it with rigid or semi-rigid metal ducting.
The U.S. Consumer Product Safety Commission advises that flexible plastic vents are a fire hazard and should be removed. If the material feels like a thin plastic bag or crinkles loudly when touched, it’s a fire risk that must be swapped for metal.
If you aren’t comfortable moving your heavy dryer unit, call a professional technician. Attempting to drag a heavy appliance across tile or hardwood often leaves permanent gouges. If your dryer is stacked on top of a washer, the weight makes it impossible to move safely without a second person. In this case, hire a pro to avoid injury or damage to your flooring.
Fixing Your Dryer Exhaust System
Follow these steps to clear your vents and seal any leaks. Always disconnect the power before starting work on your machine.
- Unplug the dryer from the electrical outlet or shut off the gas supply valve.
- Pull the dryer away from the wall to access the vent connection at the back.
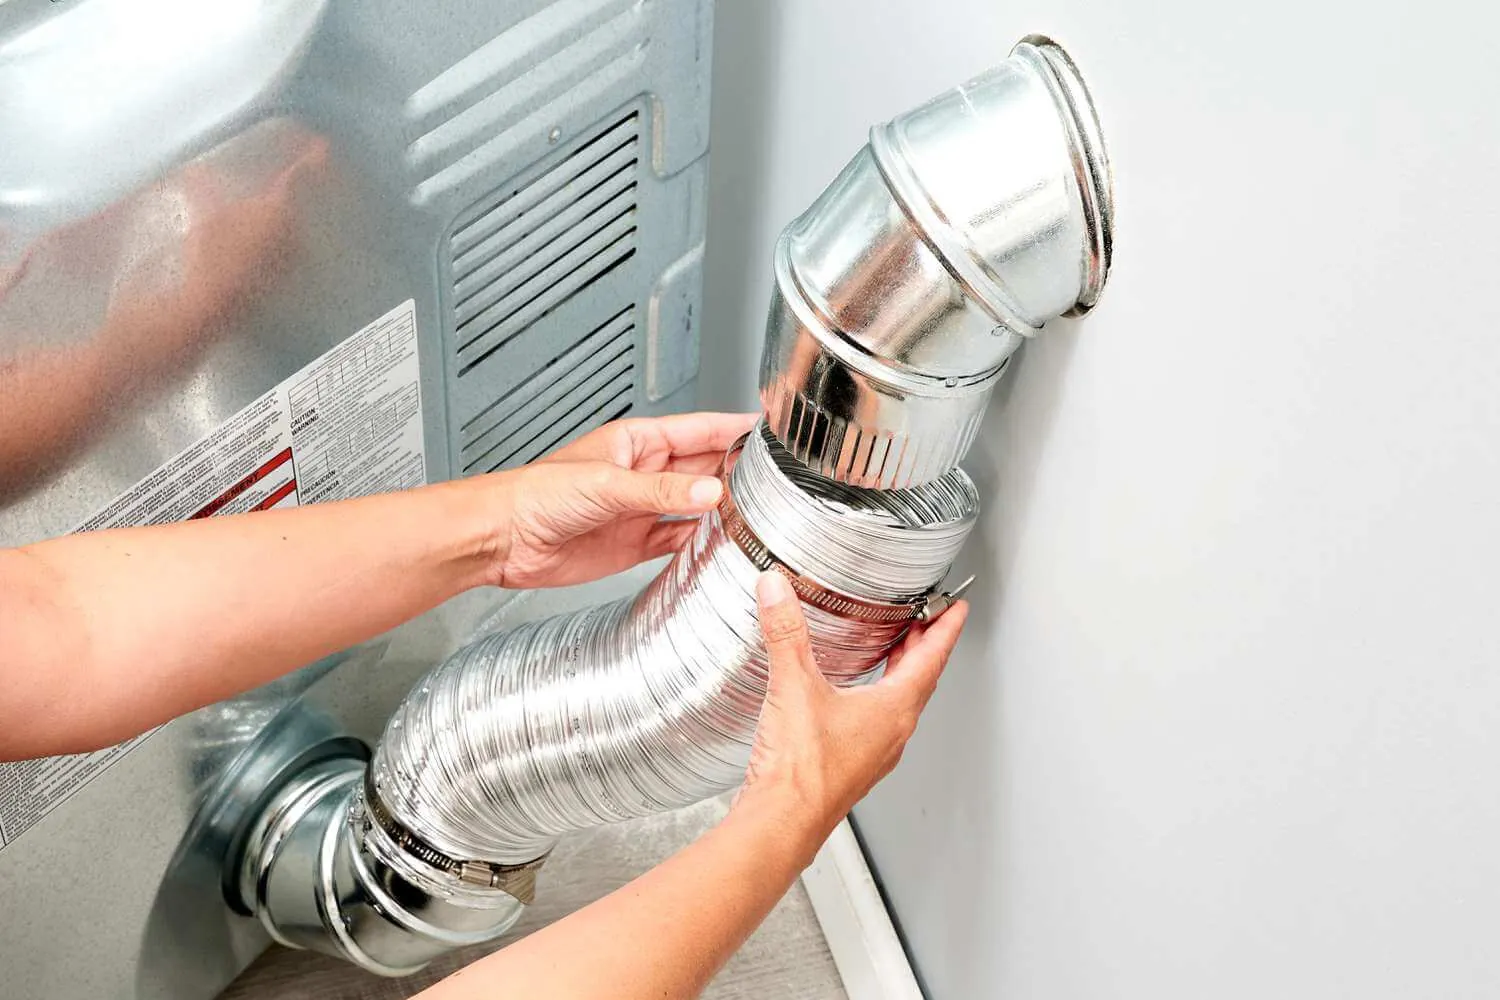
- Loosen the metal clamp and disconnect the vent pipe from the back of the dryer.
- Remove the exterior vent cover on the outside of your home using a screwdriver.
- Insert the cleaning brush into the vent pipe and rotate it as you push it through the entire length of the duct.
- Vacuum all the lint that falls out from both the inside and outside openings.
- Check the pipe for gaps or holes and apply foil tape over any damaged areas to create an airtight seal.
- Reconnect the vent pipe to the dryer and secure it tightly with the metal clamp.
- Turn the power back on and run the dryer on a short air-fluff cycle to blow out any remaining dust.
Tip: Never use screws to hold the vent pipes together, as they catch lint and cause clogs. Careful: If you hear a grinding noise while the dryer runs after reattaching the vent, turn it off immediately and check that no debris is blocking the blower wheel.
Situations Affecting Your Dryer Vent Repair
The time and difficulty of your repair depend on the layout of your home and the state of your vent pipes.
| Situation | Time Needed | Difficulty | What to Watch |
|---|---|---|---|
| Short, straight vent | 30 minutes | Easy | Loose joints |
| Long, curved vent | 90 minutes | Moderate | Clog corners |
| Attic or roof vent | 2 hours | Hard | Safety harness |
| Damaged pipe | 60 minutes | Moderate | Sharp edges |
If your vent run exceeds 10 feet or contains more than two 90-degree elbows, expect the job to take at least an hour longer than estimated. These configurations trap lint in the turns, requiring you to access the pipe from both ends to clear the blockage effectively.
A common mistake is assuming a standard brush will navigate these sharp turns. If you feel significant resistance, stop pushing immediately. Forcing the brush through a bend often punctures thin-walled aluminum, which forces a full pipe replacement rather than a simple cleaning.
If your vent exits through the roof, you must use a heavy-duty harness and secure your ladder to the gutter. If you can’t safely access the vent or maintain stability on the roof, hire a professional. You’re in the “hard” category if the vent is inaccessible from the ground floor. If you can reach the entire run from your basement or laundry room, you can safely skip the roof work entirely.
Signs of a Successful Repair
A job well done means your dryer performs efficiently without overheating. You should notice that your clothes are dry after a single cycle and the exterior vent flap opens freely when the machine is running.
If you still see lint gathering around the connection point, your seal isn’t tight enough. This usually happens if the surfaces were dusty when you applied the tape, so wipe them with a damp cloth first.
If the air pressure at the outside vent remains weak, a hidden blockage might exist inside the wall. Test this by disconnecting the hose from the wall and running the dryer for thirty seconds. If the airflow is strong at the machine but weak at the exterior exit, the obstruction is in your home’s ductwork, not the appliance.
Ensure that you don’t push the dryer too close to the wall, which can crush the vent hose and ruin your hard work. Leave at least six inches of clearance behind the unit. If your space is too tight to allow this gap, use a rigid 90-degree elbow fitting to prevent the hose from kinking against the drywall. Keep the path between the machine and the wall clear to maintain steady airflow.
Regulations and Maintenance Rules
The National Fire Protection Association sets the standard for dryer safety, recommending that you clean your vents regularly to prevent fire hazards. After finishing your repair, keep a record of the date in a home maintenance log so you don’t forget the next service interval. Most households need a full cleaning every 12 months, though homes with large families or heavy usage should check their vents every 6 months.
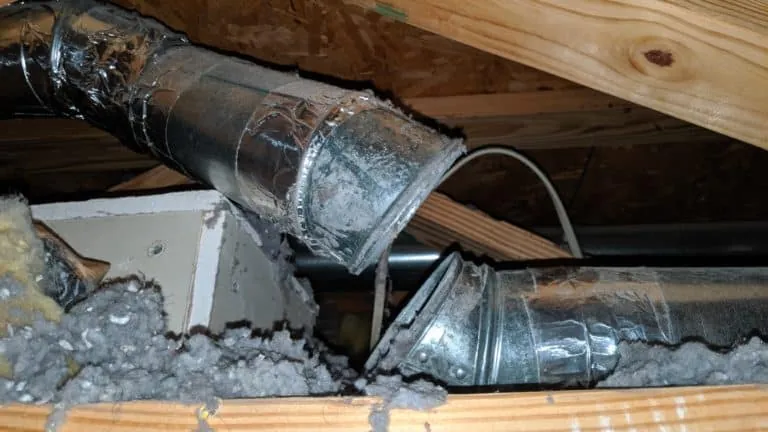
If your vent pipe runs through a crawlspace or behind drywall, you might need a professional with specialized inspection cameras to ensure it’s clear. Never attempt to clean vents that require you to climb onto a roof unless you have the proper safety equipment and training. If you’re unsure about the state of your ducting, contact a local HVAC contractor to perform a professional inspection.
Alternative Ways to Improve Airflow
Hire a Professional Service
A professional technician uses high-pressure air tools to clear vents that are too long or complex for a DIY brush kit. This costs more but ensures the entire system is free of debris, which is helpful if your vents run deep inside the home structure.
Install a Booster Fan
If your dryer vent run exceeds 25 feet, the air may struggle to exit the pipe. Adding an inline booster fan helps push the lint out, but this requires an electrical connection and professional installation to meet local building codes.
Switch to a Rigid Vent
Replacing flexible, accordion-style tubing with smooth, rigid metal pipe reduces the surface area where lint can stick. This is the best long-term solution for efficiency, though it requires precise measuring and cutting to fit your home’s unique dimensions.
Related guides
Frequently asked questions
Can I use duct tape for dryer vent repair?
No, you should never use standard duct tape because the adhesive melts when exposed to high heat. Always use aluminum foil tape, which is designed to withstand high temperatures and won’t peel or create a fire hazard over time.
How do I know if my dryer vent is clogged?
Your dryer vent is likely clogged if your clothes are still damp after a normal cycle or if the top of the machine feels hot to the touch. You may also notice a burning smell or see very little air coming out of the outside vent.
Is it safe to clean my own dryer vent?
Yes, it’s safe to clean your own vent if the ductwork is accessible and you don’t need to climb on a roof. Always disconnect the power first, and stop if you can’t reach the blockage with your brush kit.
How long does a dryer vent cleaning take?
A basic cleaning takes about 30 to 60 minutes for a standard setup. If your vent run is very long or has many tight turns, it may take up to 2 hours to clear all the lint thoroughly.
What happens if I don’t clean my dryer vent?
If you don’t clean your vent, lint will continue to build up and restrict airflow, which makes your dryer work harder and increases your energy bills. Eventually, the excessive heat can ignite the lint, which is a leading cause of house fires.
How often should I clean my dryer vent?
You should clean your dryer vent based on your frequency of use; consult your owner’s manual for the recommended maintenance schedule.
Conclusion
Keeping your laundry area clean doesn’t just save energy; it gives you peace of mind while your machine runs. Once you’ve finished these checks, mark your calendar for a quick follow-up inspection next season. You’ll find that your clothes dry faster, and you won’t have to worry about hidden hazards anymore.