
If your unit has stopped reaching the proper temperature, a common reason for a freezer not freezing is that the condenser coils are blocked by dust or debris. You should start by unplugging the unit and vacuuming these coils, which are usually located at the back or bottom of the appliance. If the coils are clean but the unit still struggles, check the door seal for gaps. A loose seal allows cold air to escape, forcing the compressor to work harder than it should.
Why your freezer stopped freezing
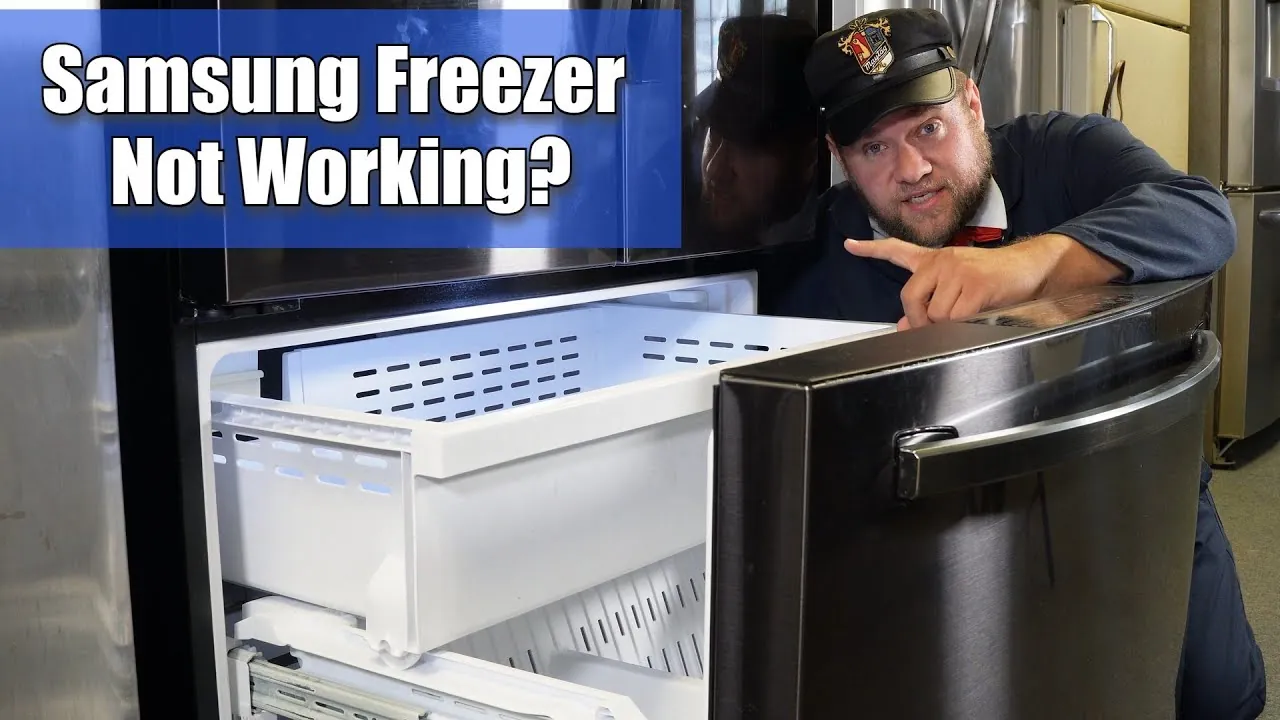
A cooling malfunction often stems from poor airflow or mechanical strain. When the condenser coils accumulate a layer of dust thicker than a nickel, they can’t release heat effectively. This causes the internal temperature to rise because the refrigerant can’t cool down enough to absorb heat from the cabinet.
If the coils are clear, inspect the evaporator fan. This fan pulls air across the coils and pushes it throughout the unit. If the fan motor fails or the blades are obstructed by ice buildup, the air inside will stay warm even if the compressor is running.
Another major cause is a faulty start relay or a failing compressor. The start relay provides the electrical surge required to initiate the compressor cycle. If this part burns out, the compressor won’t turn on, and the unit will emit a rhythmic clicking sound every few minutes instead of its usual hum.
Check the thermostat setting before assuming a hardware failure. If the dial sits at a warmer position than usual, the compressor will cycle off prematurely. If the unit begins cooling immediately, the thermostat is faulty and requires replacement.
Avoid the common mistake of overstuffing the cabinet. If items block the internal vents, air can’t circulate, leading to localized warm spots. If the unit runs constantly but fails to reach the target temperature, you likely have a refrigerant leak. In that case, call a professional rather than attempting a DIY repair.
Clear the condenser coils
Cleaning the condenser coils is a simple task that restores efficiency to most refrigerators. First, unplug the appliance to ensure your safety. If you have a bottom-mount unit, pull it away from the wall and remove the lower kick plate.
Use a soft brush attachment on your vacuum to remove dust, pet hair, and lint from the coils. Be gentle, as these coils are often fragile. Once the coils look clean, plug the unit back in and wait 24 hours to see if the temperature drops.
If you have a side-by-side or top-mount model, the coils are typically located behind a panel on the back of the unit. Use a screwdriver to remove the metal cover and vacuum the area thoroughly. Don’t use water or wet cloths to clean these parts, as moisture can cause rust or electrical shorts.
If you find the coils are coated in a thick, sticky residue, you may need a specialized coil cleaning brush. This job is for you if you’re comfortable moving the appliance; however, if you hear loud grinding noises or smell burning plastic, stop immediately and call a professional technician. Never attempt to touch the internal electrical components, as a capacitor can hold a lethal charge even when the unit is unplugged.
Replace the door gasket
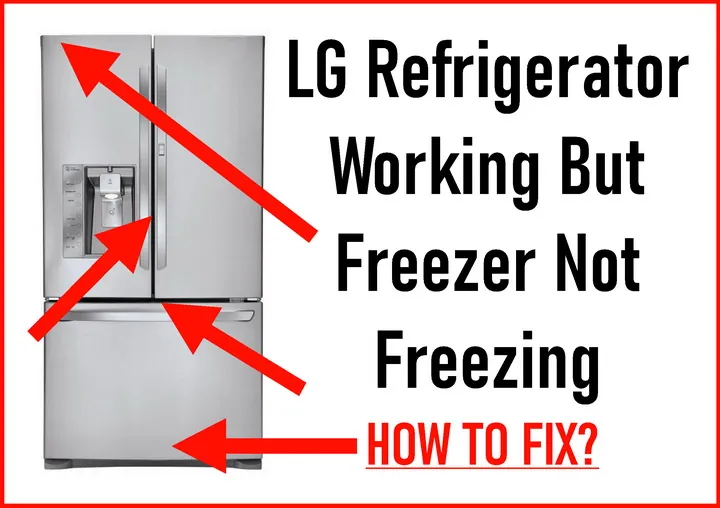
A damaged or loose door gasket is a frequent culprit when a freezer fails to maintain a freezing temperature. If the seal isn’t airtight, warm, humid air from your kitchen enters the cabinet. This causes excessive frost buildup on the evaporator coils, which eventually blocks the airflow needed to cool your food.
To test the seal, place a thin piece of paper between the door and the frame. Close the door and try to pull the paper out. If it slides out with almost no resistance, the gasket is likely worn out and needs replacement.
To replace the seal, buy a gasket that matches your specific model number. Start by soaking the new gasket in warm water to make it pliable and easy to install. Remove the old seal by pulling it out of the channel around the door perimeter. Press the new gasket into the groove, starting at the top corners and working your way around.
Make sure the seal is flat and not twisted, as even a small ripple can let air leak inside. If the door still feels loose after you replace the gasket, the hinges may need adjustment. You can often tighten the hinge screws with a standard screwdriver to align the door correctly.
Troubleshoot the fan and thermostat
The evaporator fan and thermostat are the brain and lungs of your cooling system. If you hear no sound coming from the back of the freezer, the thermostat might be the issue. Locate the temperature control dial and turn it from the lowest setting to the highest. If you don’t hear a “click” as you move the dial, the internal switch is likely broken. Replacing a thermostat requires basic tool skills, but it’s a straightforward fix for most home owners.
The evaporator fan is located inside the freezer compartment, usually behind a panel at the back. If you notice the freezer isn’t cooling but you hear a loud, irregular noise, the fan blades might be hitting ice buildup. You can manually defrost the unit by unplugging it and leaving the door open for 24 hours to melt the ice.
If the fan still doesn’t spin after the ice melts, the motor is likely dead. Replacing a fan motor involves removing the housing, which requires careful handling of the wiring. If you aren’t confident with electrical repairs, contact a certified service professional to avoid damaging the control board.
Avoid these common mistakes
Overfilling the freezer creates a thermal trap. Keep items at least two inches away from the internal walls to ensure cold air circulates freely. If you can’t see the vents, the unit is too full.
Leaving the door ajar forces the compressor to run indefinitely. This constant strain accelerates wear on the motor and creates thick frost buildup. Always check the door seal by closing it on a dollar bill; if you can pull the bill out with zero resistance, the gasket is failing and needs immediate replacement.
Never use sharp tools to chip away ice. Poking at the evaporator coils with a knife risks puncturing the refrigerant lines. This mistake turns a simple defrosting task into a permanent, expensive system failure that often exceeds the cost of a new appliance.
A repetitive clicking sound indicates the start relay is failing. Ignoring this warning leads to a burned-out compressor. If you hear this rhythm, unplug the unit immediately to prevent a total motor burnout.
Finally, never stack boxes against the internal vents. Blocking the air intake prevents the cold air return, causing temperatures to spike within hours.
Prevent future cooling issues
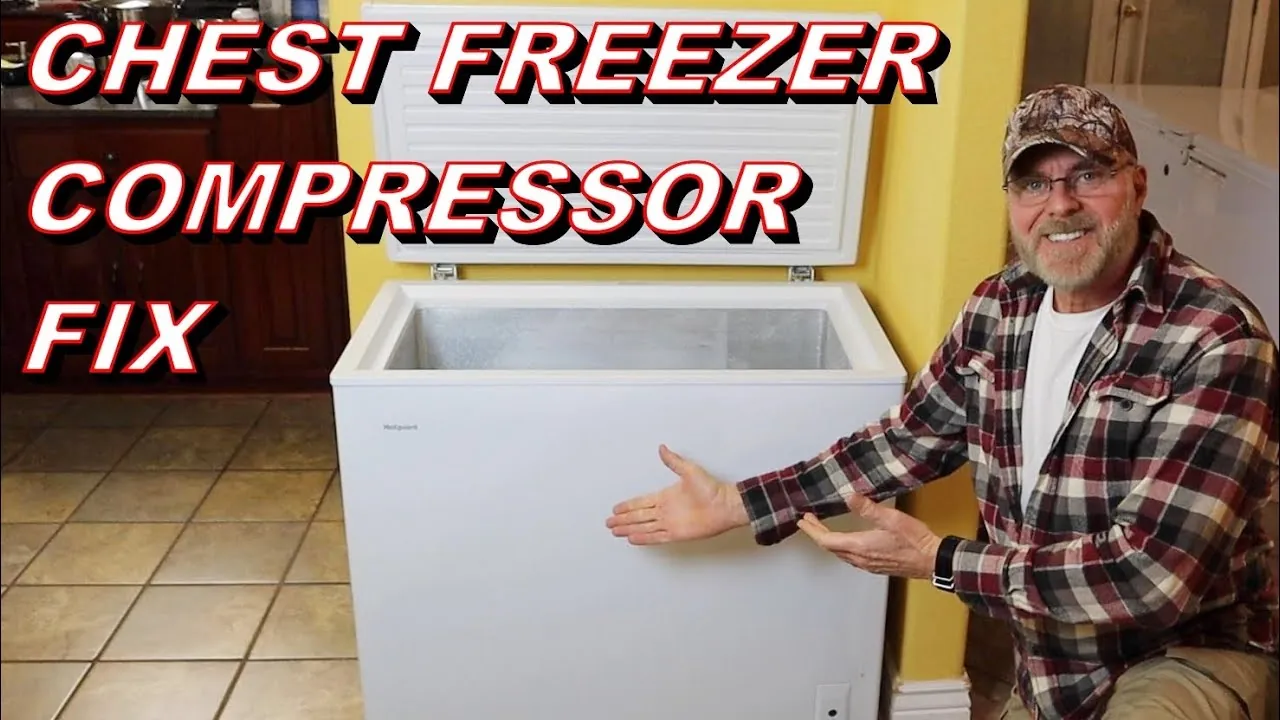
Regular maintenance is the best way to keep your freezer running for many years. Most manufacturers suggest cleaning the coils at least twice a year to ensure heat can escape. If you live in a dusty home or have pets, you should check the coils every three months. Keeping the freezer at least 75% full helps it stay cold, but never stack items so high that they touch the ceiling of the compartment.
| If you’re doing this | Do this instead | Why |
|---|---|---|
| Leaving it in a hot garage | Keep it in a climate-controlled room | Extreme heat forces the compressor to run nonstop |
| Chipping ice with a knife | Use a plastic scraper or let it thaw naturally | Tools can easily puncture the cooling lines |
| Cleaning coils with water | Use a vacuum with a soft brush | Water causes rust and risks electrical damage |
| Ignoring a soft clicking noise | Check the start relay immediately | A bad relay can ruin the expensive compressor |
Frequently asked questions
How long should a freezer take to freeze after a repair?
A freezer typically takes 24 hours to reach its target temperature after a repair. During this time, avoid opening the door to prevent cold air loss. If the unit remains warm after a full day, verify the thermostat is set to 0°F before calling a professional.
Is it safe to eat food from a freezer that stopped working?
It isn’t safe to consume food if the freezer temperature has risen above 40°F for more than two hours. Bacteria grow rapidly in this range, leading to foodborne illness. If you’re unsure how long the unit was broken, follow the rule: when in doubt, throw it out.
Why is my freezer running but not freezing?
Your freezer may not be cooling due to a failed evaporator fan or frost buildup on the coils. When the fan stops, cold air can’t circulate through the cabinet. If the coils are encased in ice, the defrost system is likely failing and requires professional repair.
Can I fix a freezer that isn’t freezing myself?
You can fix minor issues like dirty condenser coils or loose door seals yourself. However, if the problem involves the sealed refrigerant system or compressor, you must call a professional. These repairs require specialized tools and EPA certification to perform safely and legally.
How often should I clean my freezer coils?
You should clean your freezer coils every six months to maintain efficiency. Dust acts as insulation, trapping heat and preventing the unit from cooling properly. Use a vacuum with a soft brush attachment to remove buildup without damaging the delicate metal fins.
Conclusion
If these quick checks don’t solve the problem, it’s time to call a professional technician. They’ll have the right tools to diagnose internal issues like a faulty thermostat or a failing compressor. Don’t wait too long to reach out, or you’ll risk losing all the food stored inside your appliance.