
You can perform Liftmaster Lock Button Troubleshooting by checking if the wall console is in Vacation Mode, as this is the most common reason the button stops responding to remote controls. If the LED light on your wall console is flashing, it confirms the lock function is currently engaged. To fix this, press and hold the lock button for three seconds until the light stops flashing. If the light persists or the door remains unresponsive, the issue might stem from a wiring connection or a console fault.
Liftmaster Lock Button Troubleshooting
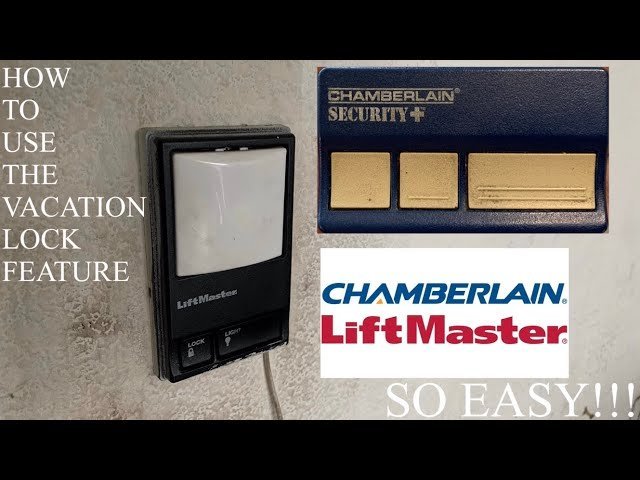
The primary cause for an unresponsive lock button is the activation of the vacation or lock feature. This mode is designed to disable all remote entries, which is useful when you’re away from home for an extended period. Many users accidentally trigger this by holding the button down while trying to turn on the wall console light.
Another common cause is a power surge or a brief interruption in electrical service. Garage door openers are sensitive to voltage fluctuations, and these events can sometimes force the control board into a protected state.
Physical wear on the button itself also plays a role. Over many years, the internal switch behind the plastic button can become stuck or lose its connection to the circuit board. If you press the button and feel no tactile “click,” the mechanical switch may be broken. In this case, no amount of software resetting will fix the issue because the signal never reaches the logic board.
Finally, check for interference with the wall console wiring. If the two wires running from the opener to the wall console are loose, frayed, or touching, the console may not receive a steady signal. If the connection is poor, the opener may intermittently ignore the “unlock” command, making it seem as if the button is malfunctioning.
Reset the wall console
If the button feels like it’s working but the door remains locked, you should perform a power cycle on the wall console. This is for users who have confirmed that the wall panel has power but continues to show a locked status indicator.
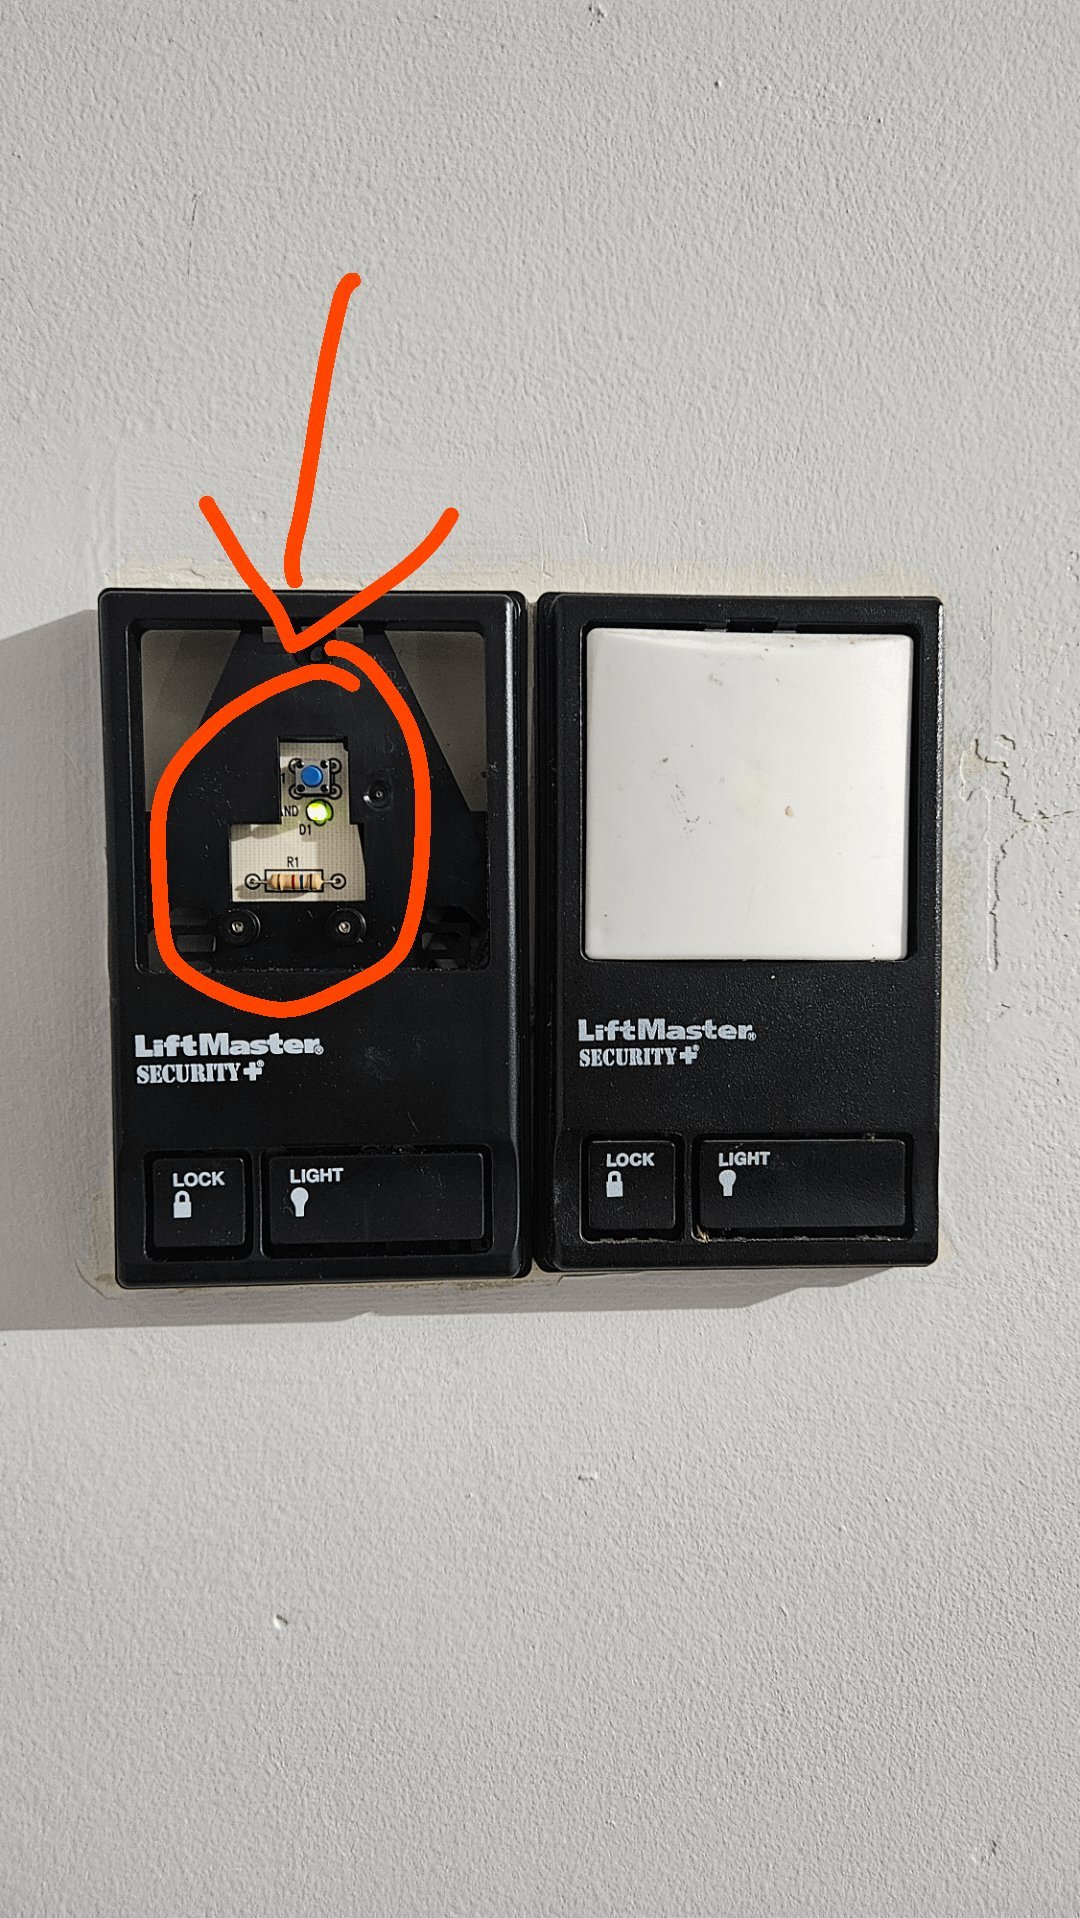
First, remove the wall console from the wall bracket by sliding it upward or using a small screwdriver to release the locking tab. Check the wires at the back to ensure they’re firmly tucked into their terminals. If a wire is loose, disconnect it, trim the end, and reconnect it securely. Once you’re sure the wires are tight, leave the console disconnected from the wires for sixty seconds. After the minute has passed, reconnect the wires and snap the console back into its bracket.
If the unit is working correctly, the LED should stop blinking immediately. If the light remains solid or continues to blink, the internal circuitry of the console may have failed. This is a common point of failure for older units that have been exposed to high humidity or extreme temperature swings in a garage. If the console is unresponsive after this reset, it’s usually time to replace the wall control unit itself, as these parts are generally not serviceable by the end user.
Check for wiring faults
If the console reset didn’t change the status of the lock, inspect the wiring path between the garage door opener and the wall console. This step is for users who suspect a damaged wire rather than a faulty button. Look for any visible damage along the two-wire cable that runs from the ceiling motor unit down to the wall.
Common issues include staples that have been driven too deep into the wire, crushing the insulation and causing a short, or pest damage if the wires are exposed. If you find a section of wire that’s cut or frayed, replace the entire length of wire between the motor and the console. Ensure that the red and white wires don’t touch each other at any point, as this will trigger a false signal to the logic board.
If the wiring looks perfect, verify the connection at the motor unit on the ceiling. Locate the terminals labeled “Red” and “White” and ensure the wires are securely seated inside the clips. Simply ensuring the wires are clean and tight is usually sufficient. This fix isn’t for those who are uncomfortable working on a ladder or near exposed electrical terminals.
Test the remote control signals
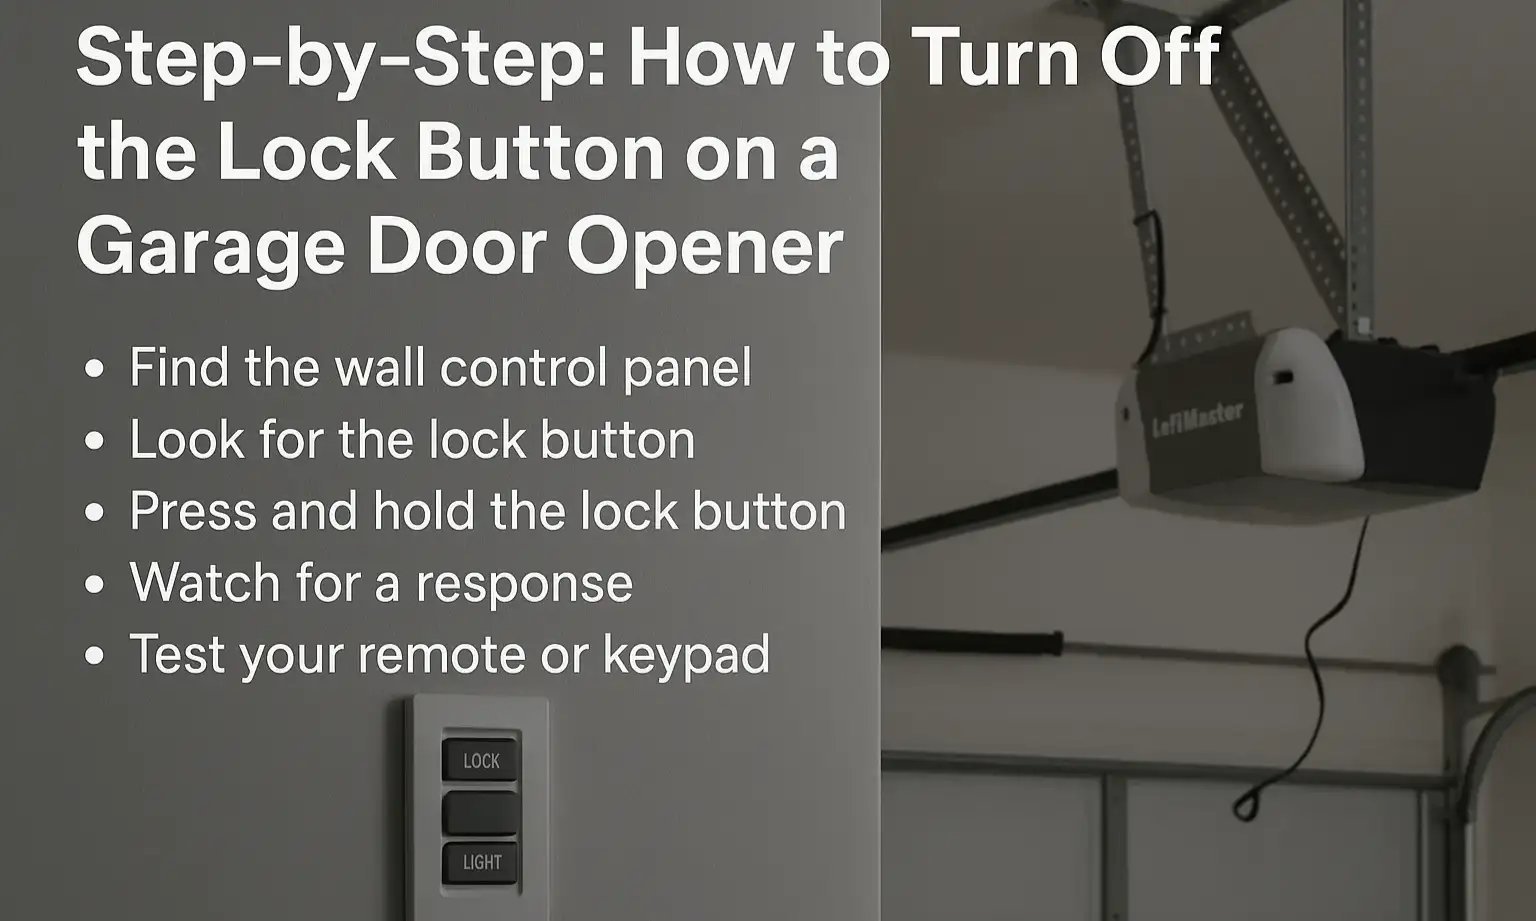
When the lock button is stuck or disabled, it’s helpful to verify if the problem is localized to the wall station. This fix is for users who want to confirm that the logic board in the motor unit is still receiving signals from other sources.
Try using a keypad located outside the garage or a different handheld remote. If the keypad works but the wall console remains in a locked state, the issue is confirmed to be the wall console or the wire leading to it. If neither the remote nor the keypad works, the problem is likely with the logic board of the opener itself, not the lock button.
This helps you decide if you need to buy a new wall console or if you need to call for a more expensive repair of the main opener unit. If you find that the logic board is the culprit, check the manufacturer’s manual to see if you can perform a factory reset of the remote settings. Note that this will erase all existing remotes, and you’ll need to re-program them one by one. If you aren’t confident in your ability to program remote codes, professional service is the safest path to avoid being locked out of your garage entirely.
What not to do
- Don’t spray contact cleaner into the button housing. This can damage the plastic and seep into the circuit board, causing permanent electrical failure.
- Don’t force the button if it’s physically stuck. If you push too hard, you risk snapping the plastic switch, which will make a simple repair impossible.
- Don’t attempt to open the motor unit housing on the ceiling. This area contains high-voltage components, and any work here should be left to a licensed professional to avoid injury.
- Don’t bypass the wall console by twisting the two wires together. This creates a permanent signal that can cause the door to behave erratically or cause the logic board to malfunction.
How to stop it happening again
To prevent future issues, keep the wall console dry and free of debris. If your garage is humid, consider using a moisture-proof cover or ensuring the console is mounted away from areas where rain or snow can blow in.
| If you’re doing this | Do this instead | Why |
|---|---|---|
| Pressing the button repeatedly | Hold for three seconds | Prevents accidental mode changes |
| Cleaning with wet cloths | Use a dry microfiber cloth | Avoids internal water damage |
| Leaving wires exposed | Use wire staples/clips | Prevents shorts from movement |
| Ignoring flashing lights | Check the user manual | Catches errors before they escalate |
Frequently asked questions
Can I use my remote if the lock button is on?
No, the lock feature is specifically designed to disable all remote control signals for your security. You must unlock the system using the wall console before any handheld remote or outdoor keypad will function again. If you lose the ability to use the wall console, you won’t be able to open the door with your remotes until the lock status is cleared.
Why is my wall console light flashing constantly?
The light flashes to indicate that the lock feature is active and your remotes are currently disabled. This is a visual warning to let you know that the security mode is engaged. If you have already tried the standard unlock procedure and the light continues to flash, it indicates a communication error between the wall station and the main motor unit.
How long does it take for the lock to reset?
The lock will stay active indefinitely until you manually deactivate it by holding the lock button for three seconds. It doesn’t have a timer that turns it off automatically after a set period. This ensures your garage remains secure even if you’re away for several months at a time.
Is it safe to leave the lock button on?
Yes, it’s perfectly safe to leave the lock button engaged as long as you have another way to enter your garage, such as a side door. This feature is intended to enhance your home security by preventing anyone with a remote from gaining access. It doesn’t damage the motor or the electronics to stay in this mode for long periods.
What happens if I disconnect the wires?
If you disconnect the wires from the wall console, the garage door opener will lose its connection to that specific control point. The door will stop responding to the wall button, and in some models, it may default to a state where remotes are also ignored. Always ensure the wires are reconnected properly before assuming the opener is broken.
Final Thoughts
If these quick fixes don’t get your door moving again, don’t worry. It’s likely time to inspect the wires behind the console for any loose connections or signs of wear. If you’re still having trouble, reach out to a local technician who’ll be happy to help you get everything running smoothly.