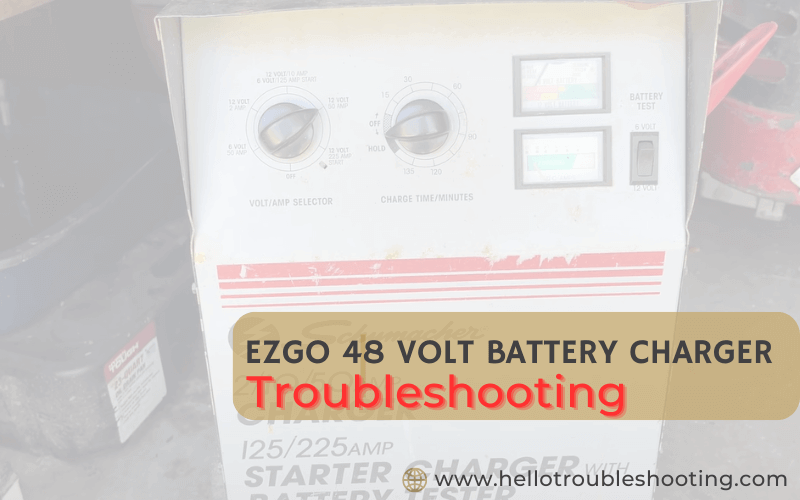
**Ezgo 48 Volt Battery Charger Troubleshooting** First, check the power source and connections. Next, inspect the charger for any visible damage or loose wires.
**Introduction** Ezgo 48 Volt battery chargers are crucial for maintaining your golf cart’s performance. Troubleshooting these chargers can save time and money. Common issues include faulty connections, damaged cords, or internal problems. Regular maintenance helps prolong charger life. Identifying problems early can prevent larger issues.
Always use a multimeter to test voltage. Clean terminals regularly to ensure good connections. Follow safety guidelines when handling electrical components. Understanding basic troubleshooting steps ensures your charger operates efficiently. Consult the user manual for specific instructions. For complex issues, seek professional assistance. Proper care and timely interventions keep your Ezgo charger functioning optimally, ensuring your golf cart remains reliable.

Common Issues
Ezgo 48 Volt Battery Chargers are reliable. But sometimes, issues can arise. Understanding common problems helps in quick troubleshooting. Here, we’ll explore two frequent issues.
Charger Not Turning On
If the charger doesn’t turn on, check the power source. Ensure the outlet is working. Try plugging another device into the same outlet.
Inspect the power cord for any visible damage. A damaged cord can prevent the charger from turning on.
Also, examine the fuse inside the charger. A blown fuse might be the culprit. Replace the fuse if needed. Here’s a quick list to follow:
- Check the power source
- Inspect the power cord
- Examine the fuse
Battery Not Charging
If the battery is not charging, check the connections. Ensure all connections are clean and tight.
Verify the battery voltage. The voltage should match the charger’s specifications. Use a voltmeter to check this.
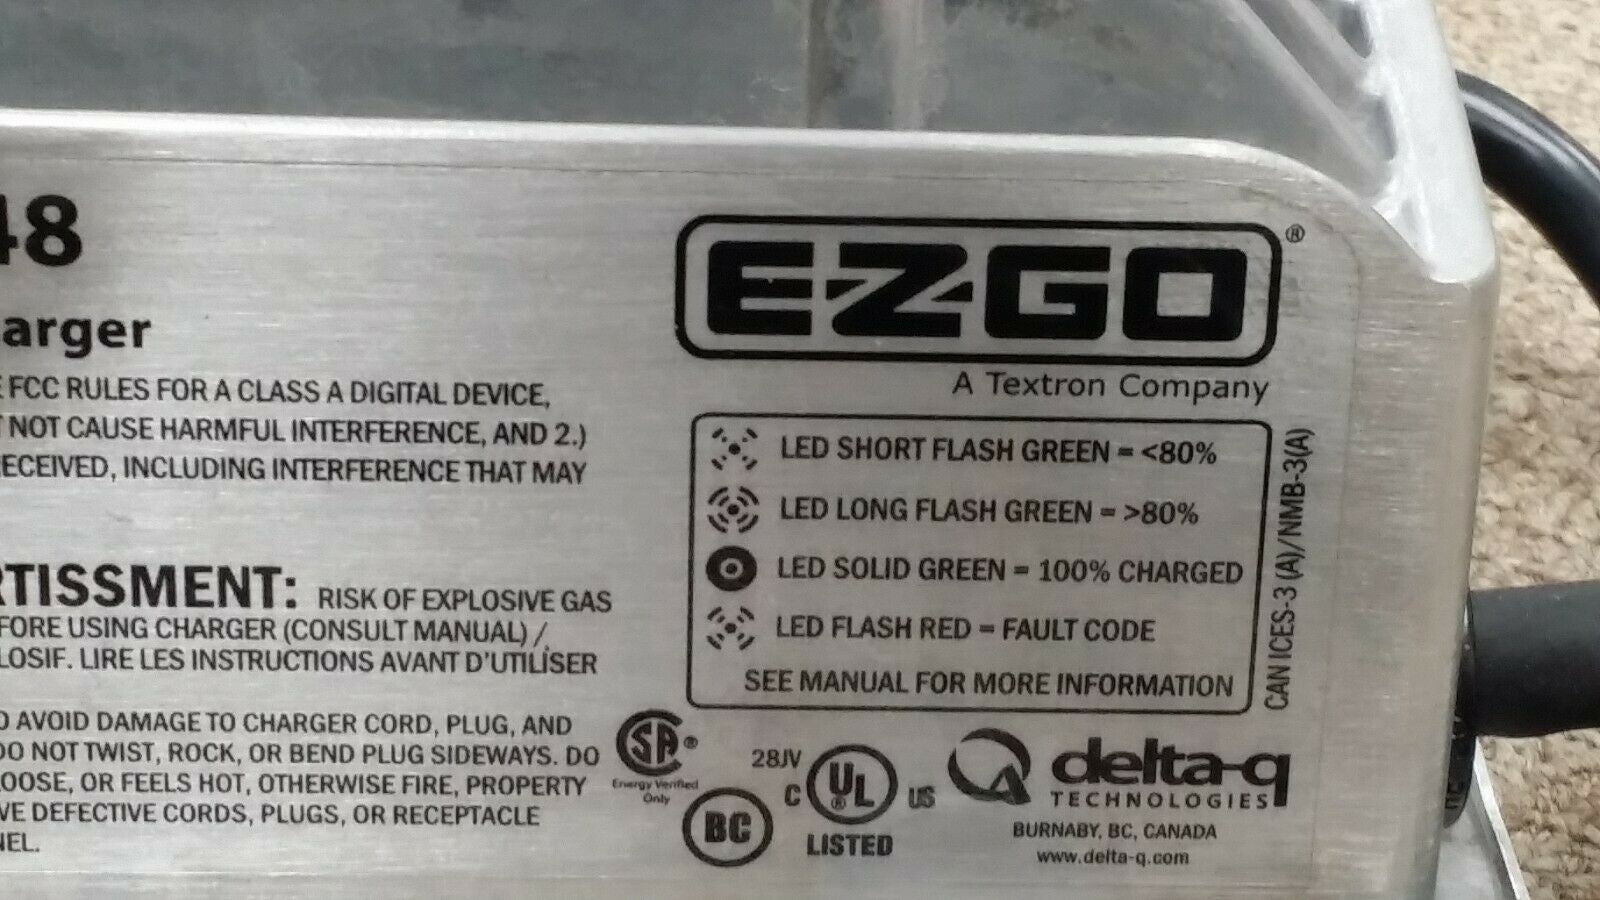
Look at the indicator lights on the charger. They often signal if there’s an issue. Refer to the user manual for light codes.
Here’s a table summarizing the checks:
| Check | Details |
|---|---|
| Connections | Ensure they are clean and tight |
| Battery Voltage | Match with charger specifications |
| Indicator Lights | Refer to user manual for codes |
If these steps don’t work, the battery or charger might be faulty. It might be time for a replacement.
Initial Checks
Before diving into complex troubleshooting for your Ezgo 48 Volt Battery Charger, start with some initial checks. These simple steps can often solve common issues quickly. Let’s break down the essential initial checks into two main parts.
Power Source Verification
Ensure the charger is plugged into a functioning power source. A dead outlet can cause charging issues. Use a different outlet to test. Also, check if the outlet has a switch and that it’s turned on. You can also verify by plugging in another device.
Here’s a quick checklist to verify the power source:
- Test the outlet with another device.
- Ensure the outlet switch is on.
- Try different outlets if needed.
Inspecting Cables
Inspect the charging cables for any damage. Frayed or broken cables can disrupt charging. Look closely at the connectors for any dirt or corrosion.
Follow these steps to inspect the cables:
- Check for visible damage on cables.
- Examine connectors for dirt or rust.
- Ensure connectors are securely attached.
Use a soft cloth to clean the connectors if dirty. Tighten any loose connections.
Charger Components
The Ezgo 48 Volt Battery Charger is a crucial device for maintaining your golf cart’s power. Understanding its components can help in troubleshooting issues. This section will cover the key components of the charger.
Fuses And Breakers
Fuses and breakers protect the charger from electrical overloads. They act as safety devices to prevent damage.
- Fuses: These are small, replaceable components. They burn out if there is too much current.
- Breakers: These can be reset after tripping. They trip to stop the flow of electricity.
If your charger isn’t working, check these components first. A blown fuse or tripped breaker might be the issue.
Internal Connections
Internal connections are the wiring inside the charger. These wires connect different components together.
- Wiring Harness: This is a bundle of wires. It connects major parts of the charger.
- Connectors: These join the wires to various components. They ensure a secure and stable connection.
Loose or damaged connections can cause the charger to malfunction. Ensure all connections are tight and secure.
Inspect the wiring harness and connectors if the charger is not working. Look for signs of wear or damage.

Credit: www.youtube.com
Battery Health
Maintaining good battery health is crucial for your Ezgo 48 Volt Battery Charger. Proper care ensures long-lasting performance and prevents unexpected problems. Let’s dive into two important aspects of battery health: Voltage Levels and Signs of Wear.
Voltage Levels
Monitoring voltage levels helps in identifying battery performance. Use a voltmeter to check the voltage.
| Battery Status | Voltage Level |
|---|---|
| Fully Charged | 48-50V |
| Partially Charged | 42-47V |
| Needs Charging | Below 42V |
Always keep the voltage within the recommended range. This ensures optimal battery health.
Signs Of Wear
Recognizing signs of wear helps in timely maintenance. Look for these signs:
- Reduced Run Time: The battery drains faster than usual.
- Slow Charging: Takes longer to reach full charge.
- Physical Damage: Swelling or leaks on the battery.
- Inconsistent Voltage: Fluctuating voltage readings.
If you notice any of these signs, consider inspecting the battery. Early detection can save you from costly repairs.
Environmental Factors
Environmental factors can greatly impact the performance of your Ezgo 48 Volt Battery Charger. Understanding how temperature, dust, and debris affect your charger can help you maintain it better. Keeping these factors in check ensures longer battery life and optimal performance.
Temperature Effects
High and low temperatures can affect your Ezgo 48 Volt Battery Charger. Extreme heat can cause the charger to overheat and shut down. Cold temperatures can slow down the charging process.
Ideal charging temperature is between 50°F and 80°F. Always store the charger in a cool, dry place. Avoid placing it in direct sunlight.
| Temperature | Effect on Charger |
|---|---|
| Below 50°F | Slows down charging |
| 50°F – 80°F | Optimal performance |
| Above 80°F | Overheats and may shut down |
Dust And Debris
Dust and debris can clog the vents of your charger. This can lead to overheating. Regular cleaning is essential to keep the charger in good condition.
Use a soft brush or compressed air to clean the vents. Do this at least once a month. Ensure the charger is unplugged before cleaning.
- Keep the charger in a clean environment.
- Avoid placing it on the ground.
- Store it on a shelf or a table.
Following these steps can help extend the life of your Ezgo 48 Volt Battery Charger.
Safety Precautions
When troubleshooting your Ezgo 48 Volt Battery Charger, safety is crucial. Handling electrical components without the right precautions can be dangerous. This guide provides essential safety tips to ensure you remain safe while working on your charger.
Handling Electrical Components
Handling electrical components requires extreme care. Always ensure the charger is unplugged before starting any troubleshooting. Use insulated tools to prevent electrical shocks. Avoid touching exposed wires and components with bare hands. Regularly inspect tools and equipment for any damage.
| Task | Safety Tip |
|---|---|
| Unplugging Charger | Ensure hands are dry |
| Inspecting Components | Use insulated tools |
| Touching Wires | Wear rubber gloves |
Proper Gear
Wearing the proper gear can prevent injuries. Always wear protective eyewear to safeguard your eyes from sparks. Use rubber gloves to protect your hands from electrical shocks. Ensure your clothing is dry and avoid wearing metal accessories.
- Wear protective eyewear
- Use rubber gloves
- Keep clothing dry
- Avoid metal accessories
These safety tips are vital for your protection. Ensuring you follow these precautions will help you troubleshoot your Ezgo 48 Volt Battery Charger safely and effectively.
Advanced Troubleshooting
Advanced troubleshooting of the Ezgo 48 Volt Battery Charger involves deeper checks. Use tools like a multimeter to diagnose issues. Testing individual cells can also pinpoint problems. This guide will help you with these advanced techniques.
Using A Multimeter
To start, you need a digital multimeter. This tool measures voltage, current, and resistance. Follow these steps:
- Set the multimeter to the DC voltage mode.
- Connect the multimeter probes to the battery terminals.
- Read the voltage displayed on the multimeter.
Compare the reading with the battery’s rated voltage. A fully charged 48-volt battery should read around 50-52 volts. If it reads below 48 volts, the battery might be undercharged.
Testing Individual Cells
Testing individual cells can identify weak or faulty cells. Follow these steps:
- Disconnect the battery from the charger.
- Open the battery casing to access individual cells.
- Use the multimeter to measure each cell’s voltage.
Each cell should read around 2 volts. If a cell reads significantly lower, it could be faulty.
| Cell Number | Expected Voltage | Actual Voltage |
|---|---|---|
| 1 | 2 volts | 1.8 volts |
| 2 | 2 volts | 2 volts |
| 3 | 2 volts | 2.1 volts |
Replace any cell with a low voltage reading. This ensures optimal performance of your Ezgo 48 Volt Battery Charger.

Credit: specialtypartsinc.com
Maintenance Tips
Proper maintenance of your Ezgo 48 Volt Battery Charger is crucial. It ensures optimal performance and longevity. Follow these maintenance tips to keep your charger in top condition.
Regular Inspections
Regular inspections are essential. Check your charger for any visible damage. Look for frayed wires, cracks, or loose connections. Ensure all parts are in good condition.
Inspect the charging cables. Make sure they are not worn out. Check the connectors for corrosion. Corroded connectors can affect performance.
| Inspection Item | Frequency | Action |
|---|---|---|
| Charging Cables | Monthly | Check for wear and tear |
| Connectors | Monthly | Check for corrosion |
| Overall Condition | Quarterly | Inspect for physical damage |
Cleaning Procedures
Cleaning your Ezgo 48 Volt Battery Charger is necessary. Dirt and dust can build up. This affects performance.
Use a dry cloth to wipe down the charger. Avoid using water or liquid cleaners. Water can damage the electronic components.
Clean the connectors with a wire brush. This removes corrosion. Make sure to disconnect the charger before cleaning.
- Wipe the charger with a dry cloth
- Use a wire brush for connectors
- Disconnect before cleaning
Keep the charger in a dry, cool place. Avoid exposing it to extreme temperatures. This helps in maintaining its efficiency.
Frequently Asked Questions
How Do I Reset My Ezgo 48v Charger?
To reset, unplug the charger, wait 10 seconds, then plug it back in.
Why Is My Ezgo Charger Not Working?
Check for loose connections, damaged cables, or blown fuses. Ensure the power source is functional.
How Do I Test My Ezgo Charger?
Use a voltmeter to measure the output voltage. It should match the charger’s rated output.
What Does A Blinking Light On My Charger Mean?
A blinking light often indicates a charging error. Refer to the charger manual for specific error codes.
Can A Bad Battery Affect The Charger?
Yes, a faulty battery can prevent the charger from functioning properly. Test your batteries regularly.
Conclusion
Resolving issues with your Ezgo 48 Volt battery charger can be straightforward. Follow the troubleshooting steps carefully. Ensure connections are secure and components are functional. Regular maintenance will extend your charger’s life. Always consult the manual for specific guidance. Keep your golf cart running smoothly with these practical tips.
