When it comes to protecting your RV, one thing you can’t afford to overlook is the sealant you use. The right RV sealant keeps water out, prevents leaks, and saves you from costly repairs down the road.
But with so many options available, how do you know which one is truly the best for your needs? You’ll discover the top RV sealants that offer durability, easy application, and long-lasting protection. By the end, you’ll be confident in choosing the perfect sealant to keep your RV safe and dry, no matter where the road takes you.
Keep reading to find out which product suits your RV best!
Credit: daytripper28.com
Why Choose The Right Rv Sealant
Choosing the right RV sealant is crucial for protecting your vehicle. It keeps water out and stops damage. Poor sealants can cause leaks and costly repairs. Good sealants last longer and work better. They save time and money. Understanding common issues and benefits helps you pick the best product.
Common Rv Leak Issues
Leaks often start at windows, vents, or roof seams. Water can enter through small cracks or gaps. These leaks cause mold, rust, and wood rot. They can ruin insulation and damage electrical parts. Many leaks come from old or dried-out sealant. Fixing leaks early prevents bigger problems.
Benefits Of Quality Sealants
Quality sealants stay flexible and strong over time. They resist weather, UV rays, and temperature changes. This keeps the RV dry and safe inside. Good sealants fill gaps tightly, blocking water and air. They also reduce noise and improve energy efficiency. Using the right sealant means fewer repairs and longer RV life.

Credit: www.youtube.com
Types Of Rv Sealants
Choosing the right RV sealant is important for protecting your vehicle from leaks and damage. Different sealants have unique properties that suit various parts of your RV. Understanding these types helps you pick the best one for your needs.
Silicone Sealants
Silicone sealants are flexible and waterproof. They stick well to many surfaces like glass and metal. These sealants resist UV rays and weather changes. Silicone stays soft and does not crack easily. It is great for sealing windows and vents.
Polyurethane Sealants
Polyurethane sealants are strong and durable. They bond well with metal, wood, and plastic. These sealants can handle movement without breaking. Polyurethane also resists water and chemicals. Use it for roofs and seams that need extra strength.
Butyl Sealants
Butyl sealants are sticky and easy to apply. They form a tight, waterproof seal. Butyl stays flexible for years. It works well for sealing seams and joints. This sealant is perfect for areas prone to vibration and movement.
Ms Polymer Sealants
MS polymer sealants are modern and versatile. They do not shrink or crack after drying. These sealants stick to many materials without primer. MS polymers resist water, UV rays, and chemicals. They are ideal for general sealing and repairs.
Top Weatherproof Sealant Brands
Choosing the right weatherproof sealant is key to protecting your RV. The best sealants stop water, air, and dirt from entering. They keep your RV safe in all weather. Many brands offer great products, but some stand out for their unique features. Here are top weatherproof sealant brands that excel in durability, flexibility, and UV resistance.
Best For Durability
Durability means the sealant lasts long under tough conditions. Sikaflex is a popular brand known for strong, long-lasting sealants. Their products resist cracking and peeling over time. Sikaflex sealants work well on many RV surfaces. They handle heat, cold, and moisture without losing strength.
Best For Flexibility
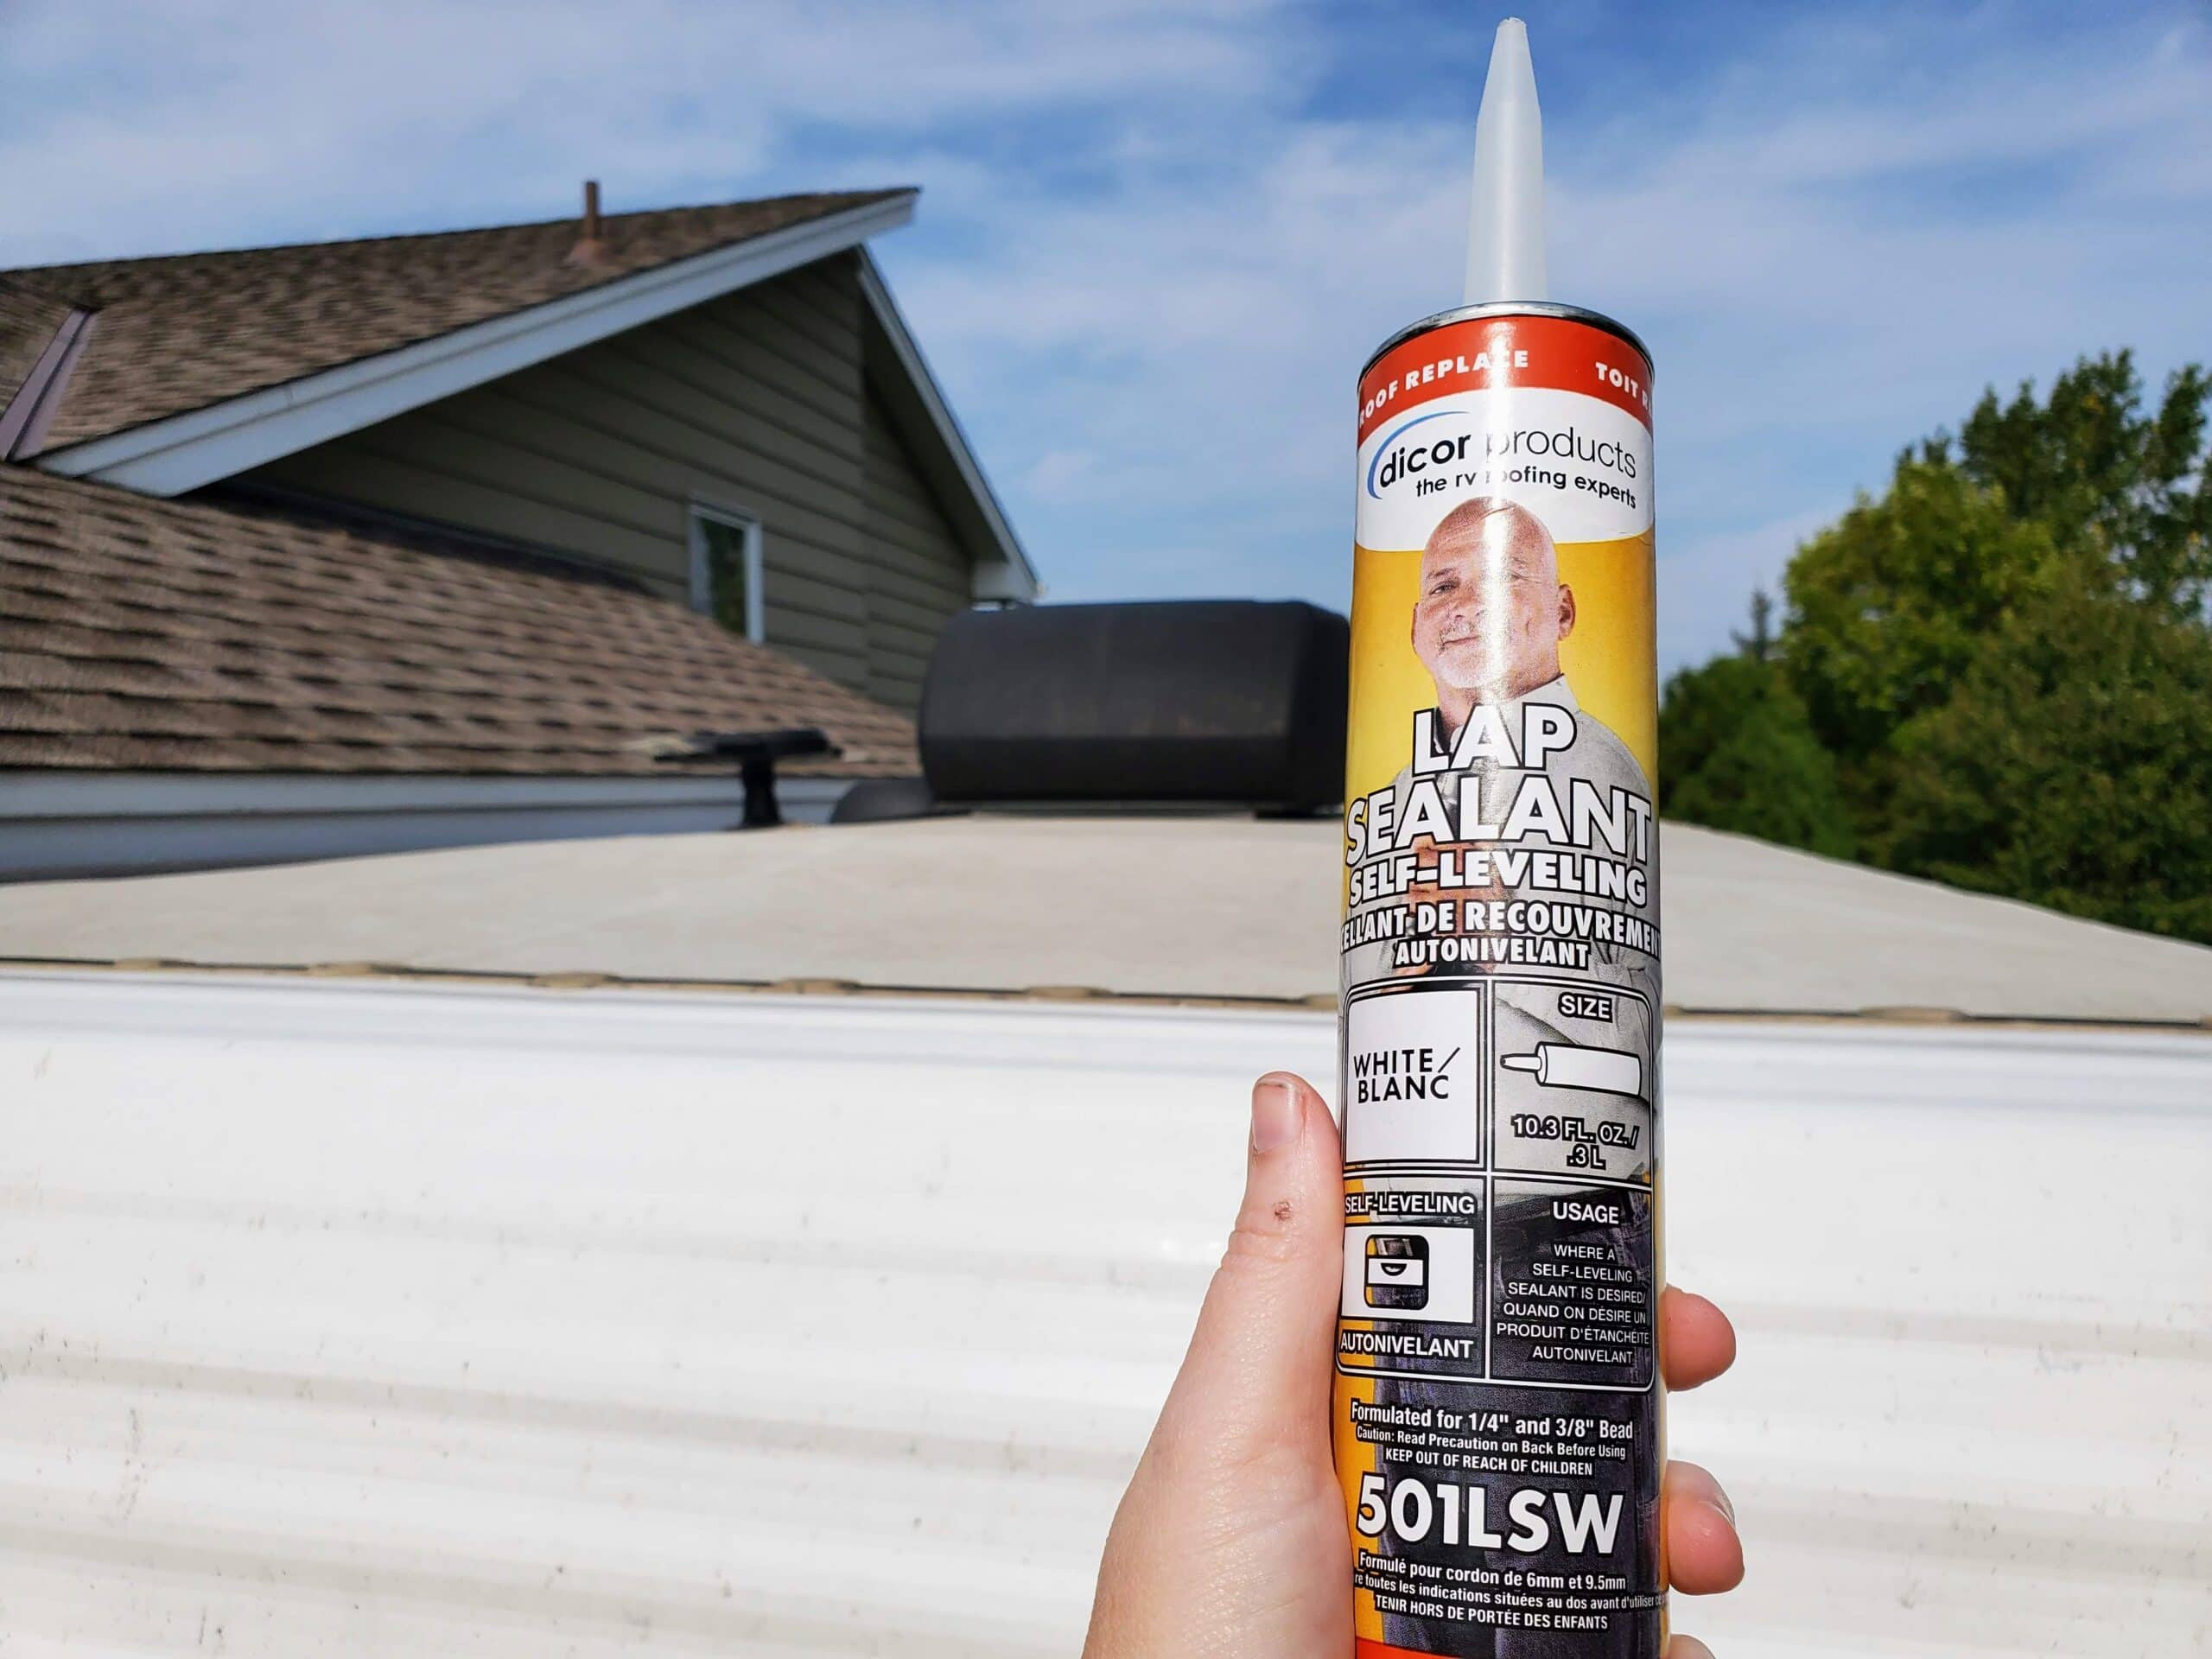
Flexibility allows the sealant to stretch and move with your RV. Dicor is a trusted name for flexible RV sealants. Their sealants stay soft and elastic after drying. This helps prevent cracks caused by vibrations and temperature changes. Dicor sealants maintain a tight seal on roofs and seams.
Best For Uv Resistance
UV resistance protects the sealant from sun damage. 3M offers sealants designed to resist fading and breaking down. Their products hold up well under strong sunlight. Using 3M sealants keeps your RV sealed and looking good longer. These sealants prevent damage from harmful UV rays.
How To Apply Rv Sealant
Applying RV sealant correctly is key to protecting your vehicle from leaks. Follow clear steps to get a strong, lasting seal. Proper preparation and careful application make all the difference.
Preparing The Surface
Clean the area well before applying sealant. Remove dirt, old sealant, and grease. Use a scraper or brush for old material. Dry the surface completely. A clean, dry surface helps the sealant stick better.
Application Tips
Cut the sealant tube tip at an angle. Apply a steady, even bead along the seam. Use a caulking gun for control. Smooth the bead with a wet finger or tool. This helps the sealant fill gaps and stick well.
Curing And Maintenance
Let the sealant dry fully before exposing to water or weather. Curing time varies by product, usually 24-48 hours. Check the seal regularly for cracks or gaps. Reapply sealant if needed to keep leaks away.
Common Mistakes To Avoid
Choosing the best RV sealant is important for keeping your vehicle safe and dry. Many people make simple mistakes that cause leaks or damage. Avoiding these errors helps your sealant last longer and work better.
Using Wrong Sealant Type
Different sealants work on different materials. Using the wrong type can cause poor adhesion. Some sealants dry too hard or stay too soft. Always check if the sealant suits your RV’s surface.
Ignoring Surface Preparation
Cleaning the area before sealing is crucial. Dirt, dust, or old sealant stops new sealant from sticking well. Use a cleaner and let the surface dry completely. Skipping this step leads to weak seals and leaks.
Overapplication Issues
Applying too much sealant does not improve protection. Thick layers take longer to dry and can crack. Spread the sealant evenly in a thin layer. This ensures a smooth, strong seal that lasts.
Diy Vs Professional Sealant Application
Choosing the right method for applying RV sealant can affect your vehicle’s protection and lifespan. Deciding between doing it yourself or hiring a professional depends on several factors. Both options have benefits and challenges. Understanding these can help you make the best choice for your RV.
When To Diy
DIY sealant application suits small repairs and tight budgets. Basic tools and sealants are easy to find. Simple cracks or gaps can be sealed with some patience and care. This approach saves money and builds your skills. Your time and comfort with tools also matter. A quiet, controlled space improves results. Be ready to follow instructions closely. Mistakes can cause leaks or damage.
When To Hire Experts
Professionals handle complex or large sealant jobs well. They use special tools and high-quality materials. Experts spot hidden problems you may miss. Their experience ensures a durable and neat finish. Professional work often lasts longer and prevents future leaks. Choose pros for roof sealing or multiple cracks. This choice avoids costly repairs later. It also saves your time and stress.
Sealant Maintenance For Longevity
Proper maintenance of your RV sealant keeps your vehicle safe and dry. Sealants protect against water leaks and weather damage. Without regular care, the sealant can crack or peel, causing costly repairs. Taking small steps to maintain sealant extends its life and saves money.
Checking your sealant often helps spot problems early. Fixing small issues prevents bigger damage to your RV. A little attention goes a long way in keeping your RV in good shape.
Regular Inspection
Inspect your RV sealant every few months. Look for cracks, gaps, or areas that feel soft. Pay close attention to roof seams and windows. Use a flashlight to see hard-to-reach spots. Early detection helps avoid water leaks and mold growth. Keep a checklist to track any changes over time.
Touch-up Techniques
Clean the area before applying new sealant. Use a soft cloth and mild detergent to remove dirt. Make sure the surface is dry before sealing. Choose a sealant that matches the original type. Apply the sealant in a smooth, even layer. Allow it to dry completely before exposure to rain. Regular touch-ups keep the seal tight and strong.

Credit: blog.campingworld.com
Frequently Asked Questions
What Is The Best Rv Sealant For Roof Repairs?
The best RV sealant for roofs is flexible, waterproof, and sticks well to surfaces.
How Long Does Rv Sealant Usually Last?
Most RV sealants last 5 to 10 years before needing reapplication.
Can I Use Silicone Sealant On My Rv?
Silicone sealant works well for small cracks but may not stick to all RV surfaces.
How Do I Prepare My Rv Surface For Sealing?
Clean, dry, and remove old sealant before applying new RV sealant for best results.
Is It Safe To Use Rv Sealant Indoors?
Only use sealants labeled safe for indoor use to avoid harmful fumes.
How Often Should I Inspect My Rv Sealant?
Check your RV sealant at least twice a year for cracks or damage.
Conclusion
Choosing the best RV sealant keeps your vehicle safe and dry. Good sealant stops leaks and protects from weather damage. Applying it right helps avoid costly repairs later. Always check the sealant’s durability and ease of use. A small effort now saves big problems in the future.
Keep your RV in top shape for every trip. Seal well, travel with peace of mind.