Is your RV slide out trim looking worn, cracked, or damaged? Replacing it might seem like a hassle, but it’s easier than you think—and it can make a big difference in keeping your RV looking great and functioning smoothly.
If you want to protect your RV from leaks, drafts, and wear, this guide will walk you through everything you need to know to replace your slide out trim quickly and confidently. Keep reading, and you’ll learn simple steps to restore your RV’s slide out to perfect condition.
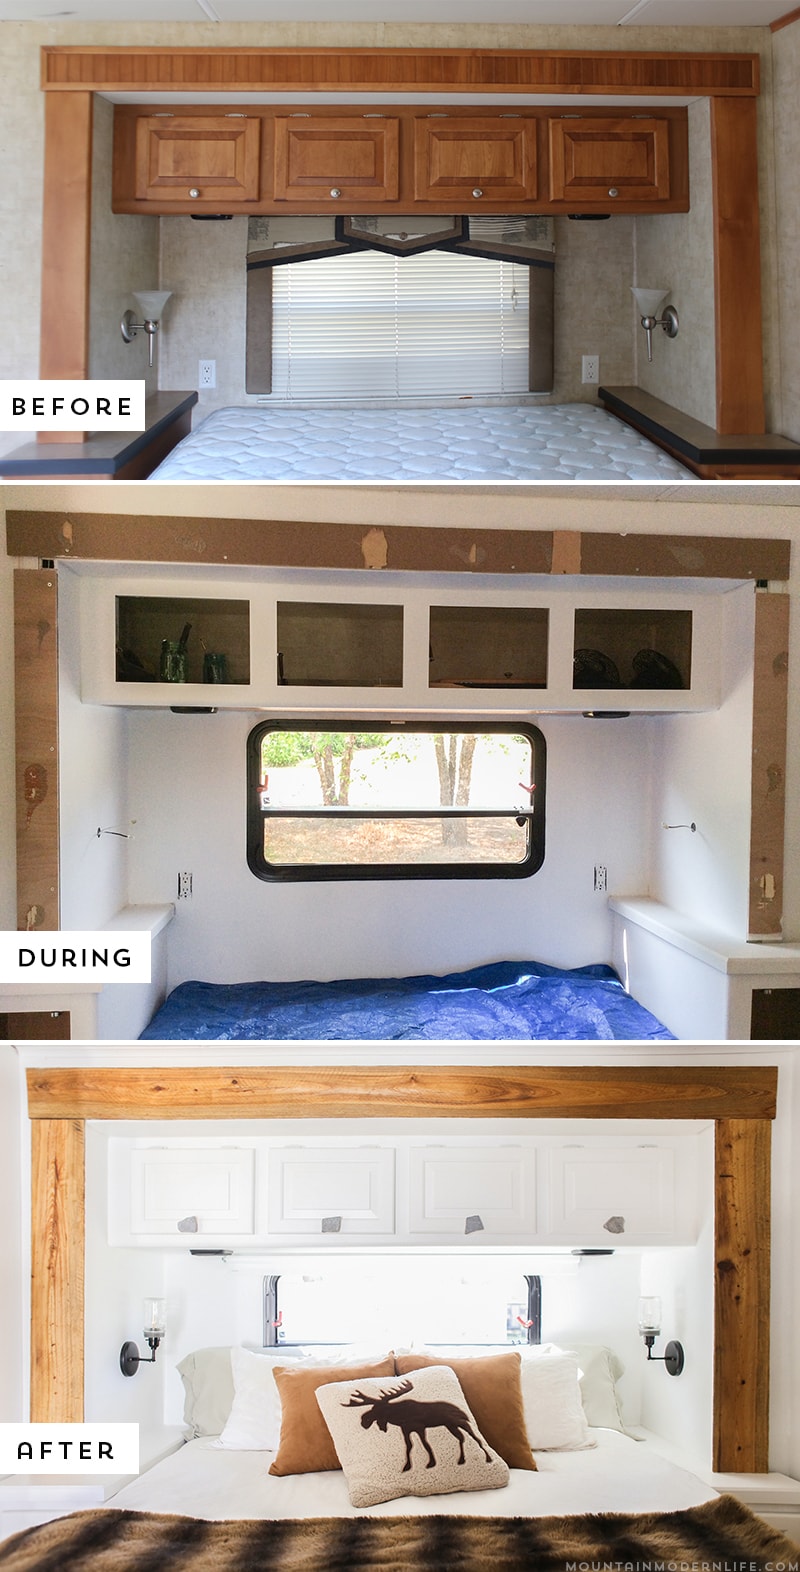
Credit: mountainmodernlife.com
Tools And Materials Needed
Replacing your RV slide out trim needs the right tools and materials. Having everything ready saves time and avoids frustration. You get a smooth, clean finish with the right supplies. Below are the essential tools and materials for this task.
Tools Needed
A few basic tools make the job easier. A screwdriver set helps remove old trim screws. A utility knife cuts through old sealant and trim. A putty knife scrapes off old adhesive. A tape measure ensures precise trimming. Lastly, a cordless drill speeds up screw removal and installation.
Materials Required
Use quality materials for a long-lasting repair. New slide out trim matches your RV’s style and size. Exterior-grade sealant keeps water out and prevents leaks. Replacement screws secure the trim tightly. Cleaning supplies remove dirt and old sealant before installation.
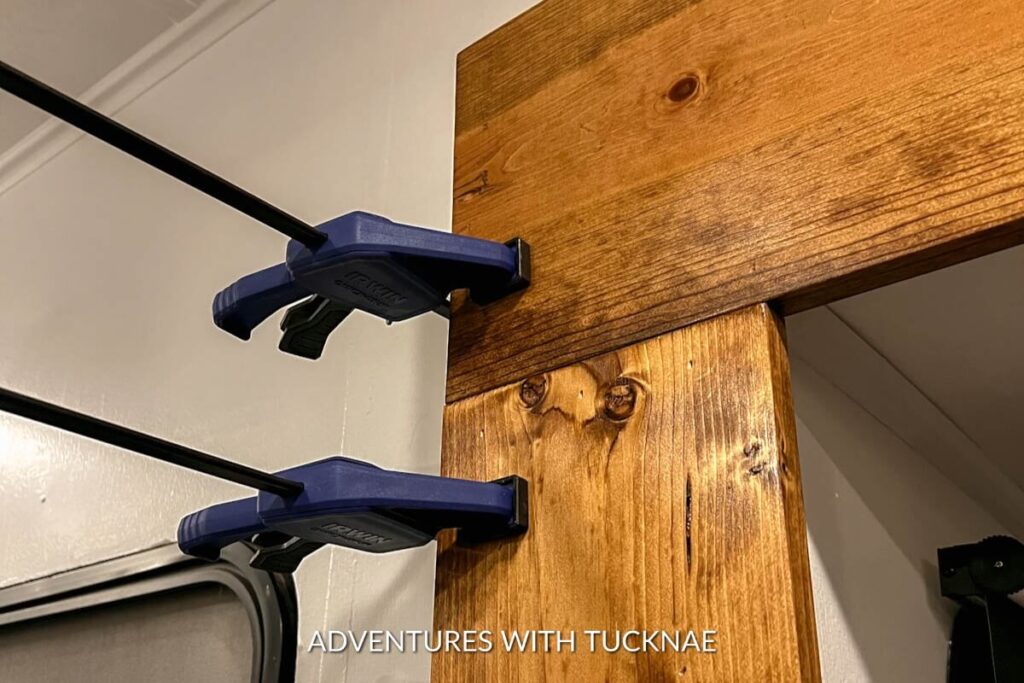
Credit: adventureswithtucknae.com
Preparing The Slide Out
Preparing the slide out is an important first step before replacing the RV slide out trim. This preparation ensures the new trim fits well and lasts longer. Clean and smooth surfaces make the trim stick better. Removing old trim helps avoid bumps and gaps under the new trim.
Taking time to prepare the slide out saves effort later. It prevents leaks and damage caused by poor installation. Follow these steps carefully for the best results.
Cleaning The Surface
Start by cleaning the slide out surface thoroughly. Use soap and water to remove dirt and grime. Dry the area completely with a clean cloth. Remove any grease or sticky residue with rubbing alcohol. A clean surface helps the new trim stick properly. Avoid using harsh cleaners that can damage the RV finish.
Removing Old Trim
Next, remove the old slide out trim carefully. Use a plastic scraper to avoid scratching the RV. Pull the trim slowly to prevent damage to the slide out. Remove any leftover adhesive with a scraper or adhesive remover. Clean the surface again after removing the old trim. This step ensures a smooth base for the new trim installation.
Measuring And Cutting New Trim
Measuring and cutting new trim for your RV slide out is a key step. It helps ensure a perfect fit and a neat finish. Precise measurements and clean cuts make the replacement easier and look professional.
Taking Accurate Measurements
Start by measuring the old trim or the space where the new trim will fit. Use a tape measure for exact numbers. Measure the length and width carefully. Write down each measurement clearly. Double-check the numbers before cutting. Accurate measurements prevent wasted material and fit issues.
Choosing The Right Trim Material
Select trim material made for outdoor use. Look for weather-resistant options like rubber, vinyl, or aluminum. Match the new trim’s color and style with your RV’s existing trim. Durable materials last longer and protect your slide out. Choose a material that is easy to cut and install.
Cutting Techniques
Use a fine-toothed saw or a sharp utility knife for cutting trim. Cut slowly to avoid rough edges. Follow your measurements strictly. Sand edges lightly for a smooth finish. Wear safety goggles and gloves for protection. Clean cuts help the trim fit tightly and look clean.
Attaching The New Trim
Attaching the new trim to your RV slide out is a key step. It protects the edges and gives a neat look. Doing this right ensures the trim lasts long and fits well. Careful work now saves problems later.
Aligning The Trim Properly
Start by placing the new trim along the slide out edge. Check the fit at every corner and curve. Make sure the trim sits flush against the surface. Adjust it slightly to avoid gaps or overlaps. Use a level or straight edge to keep it even. Proper alignment keeps water and dirt out.
Securing With Adhesives Or Screws
Choose the best method to hold the trim in place. Adhesive offers a clean look without holes. Apply a strong, waterproof adhesive evenly on the trim back. Press the trim firmly against the slide out. Hold it for a few minutes to bond well.
Screws add extra strength, especially on rough roads. Pre-drill holes in the trim and slide out frame. Use screws made for outdoor use to prevent rust. Tighten screws carefully to avoid cracking the trim. Combine adhesive and screws for a stronger hold.
Finishing Touches
Finishing touches make your RV slide out trim look neat and last longer. They protect the trim from water and dirt. Proper finishing also keeps the slide out working smoothly. Small steps here save big repairs later.
Pay close attention to details. This ensures a clean, professional look. Let’s explore key finishing steps for your RV slide out trim.
Sealing Edges
Seal all edges to block water from entering. Use a good quality sealant made for RVs. Apply the sealant evenly along the trim edges. Smooth it with a finger or tool. This stops leaks and prevents wood or metal damage.
Check for any missed spots. Proper sealing keeps your RV dry and strong. It also stops mold and rust from developing.
Inspecting For Gaps Or Imperfections
Look closely for gaps or rough spots in the trim. Use a flashlight if needed. Gaps let water and pests inside. Imperfections can cause future damage.
Fill any gaps with sealant or foam filler. Sand rough areas smooth. This step improves the trim’s fit and finish. A tight, clean trim protects your RV better.

Credit: www.youtube.com
Maintenance Tips
Keeping your RV slide out trim in good shape helps avoid costly repairs. Regular care extends the life of the trim. It also keeps your RV looking neat and clean. Follow these simple maintenance tips to protect your slide out trim.
Regular Cleaning
Clean the slide out trim often. Use mild soap and water to remove dirt and grime. Avoid harsh chemicals that can damage the trim. Use a soft cloth or sponge to wipe gently. Dry the trim after cleaning to stop water spots and rust.
Periodic Inspections
Check the trim regularly for cracks or loose parts. Look for signs of wear or damage. Tighten screws or fasteners as needed. Early detection helps prevent bigger problems. Fix small issues before they grow into expensive repairs.
Frequently Asked Questions
What Tools Do I Need To Replace Rv Slide Out Trim?
Basic tools like a screwdriver, utility knife, and adhesive remover work well for this task.
How Long Does It Take To Replace Slide Out Trim?
Most replacements take about 1 to 2 hours, depending on experience and trim condition.
Can I Replace Rv Slide Out Trim Myself Safely?
Yes, with care and the right tools, DIY replacement is safe and doable for beginners.
What Materials Are Best For Rv Slide Out Trim Replacement?
Vinyl and rubber trims are common, as they resist weather and are easy to install.
How Do I Remove Old Slide Out Trim Without Damage?
Use a utility knife and gentle prying to avoid hurting the RV surface or frame.
How Often Should I Replace Rv Slide Out Trim?
Replace trim every 3 to 5 years or when it shows cracks or leaks.
Conclusion
Replacing RV slide out trim keeps your vehicle looking neat and protected. It stops water leaks and prevents damage. A good trim also makes your RV look fresh and cared for. Take your time to choose the right material and size.
Simple tools and steps make the job easier. Regular checks can help you spot wear early. Keep your RV safe and comfortable with new slide out trim. Small fixes go a long way in protecting your investment.