Are you thinking about wrapping your RV but don’t know where to start? Wrapping an RV can transform its look, protect its surface, and even boost its resale value.
But it’s not just about slapping on a big sticker. There’s a smart way to do it that saves you time, money, and frustration. You’ll discover what wrapping an RV really involves, the best materials to use, and tips to get a flawless finish.
Keep reading, and you’ll feel confident about giving your RV a fresh, eye-catching new style.
Benefits Of Wrapping An Rv
Wrapping an RV offers many benefits beyond just changing its look. It protects the vehicle while making it stand out. Many RV owners choose wraps to keep their investment safe and stylish. The process is quick and less costly than paint jobs. Here are some key advantages of wrapping an RV.
Enhancing Curb Appeal
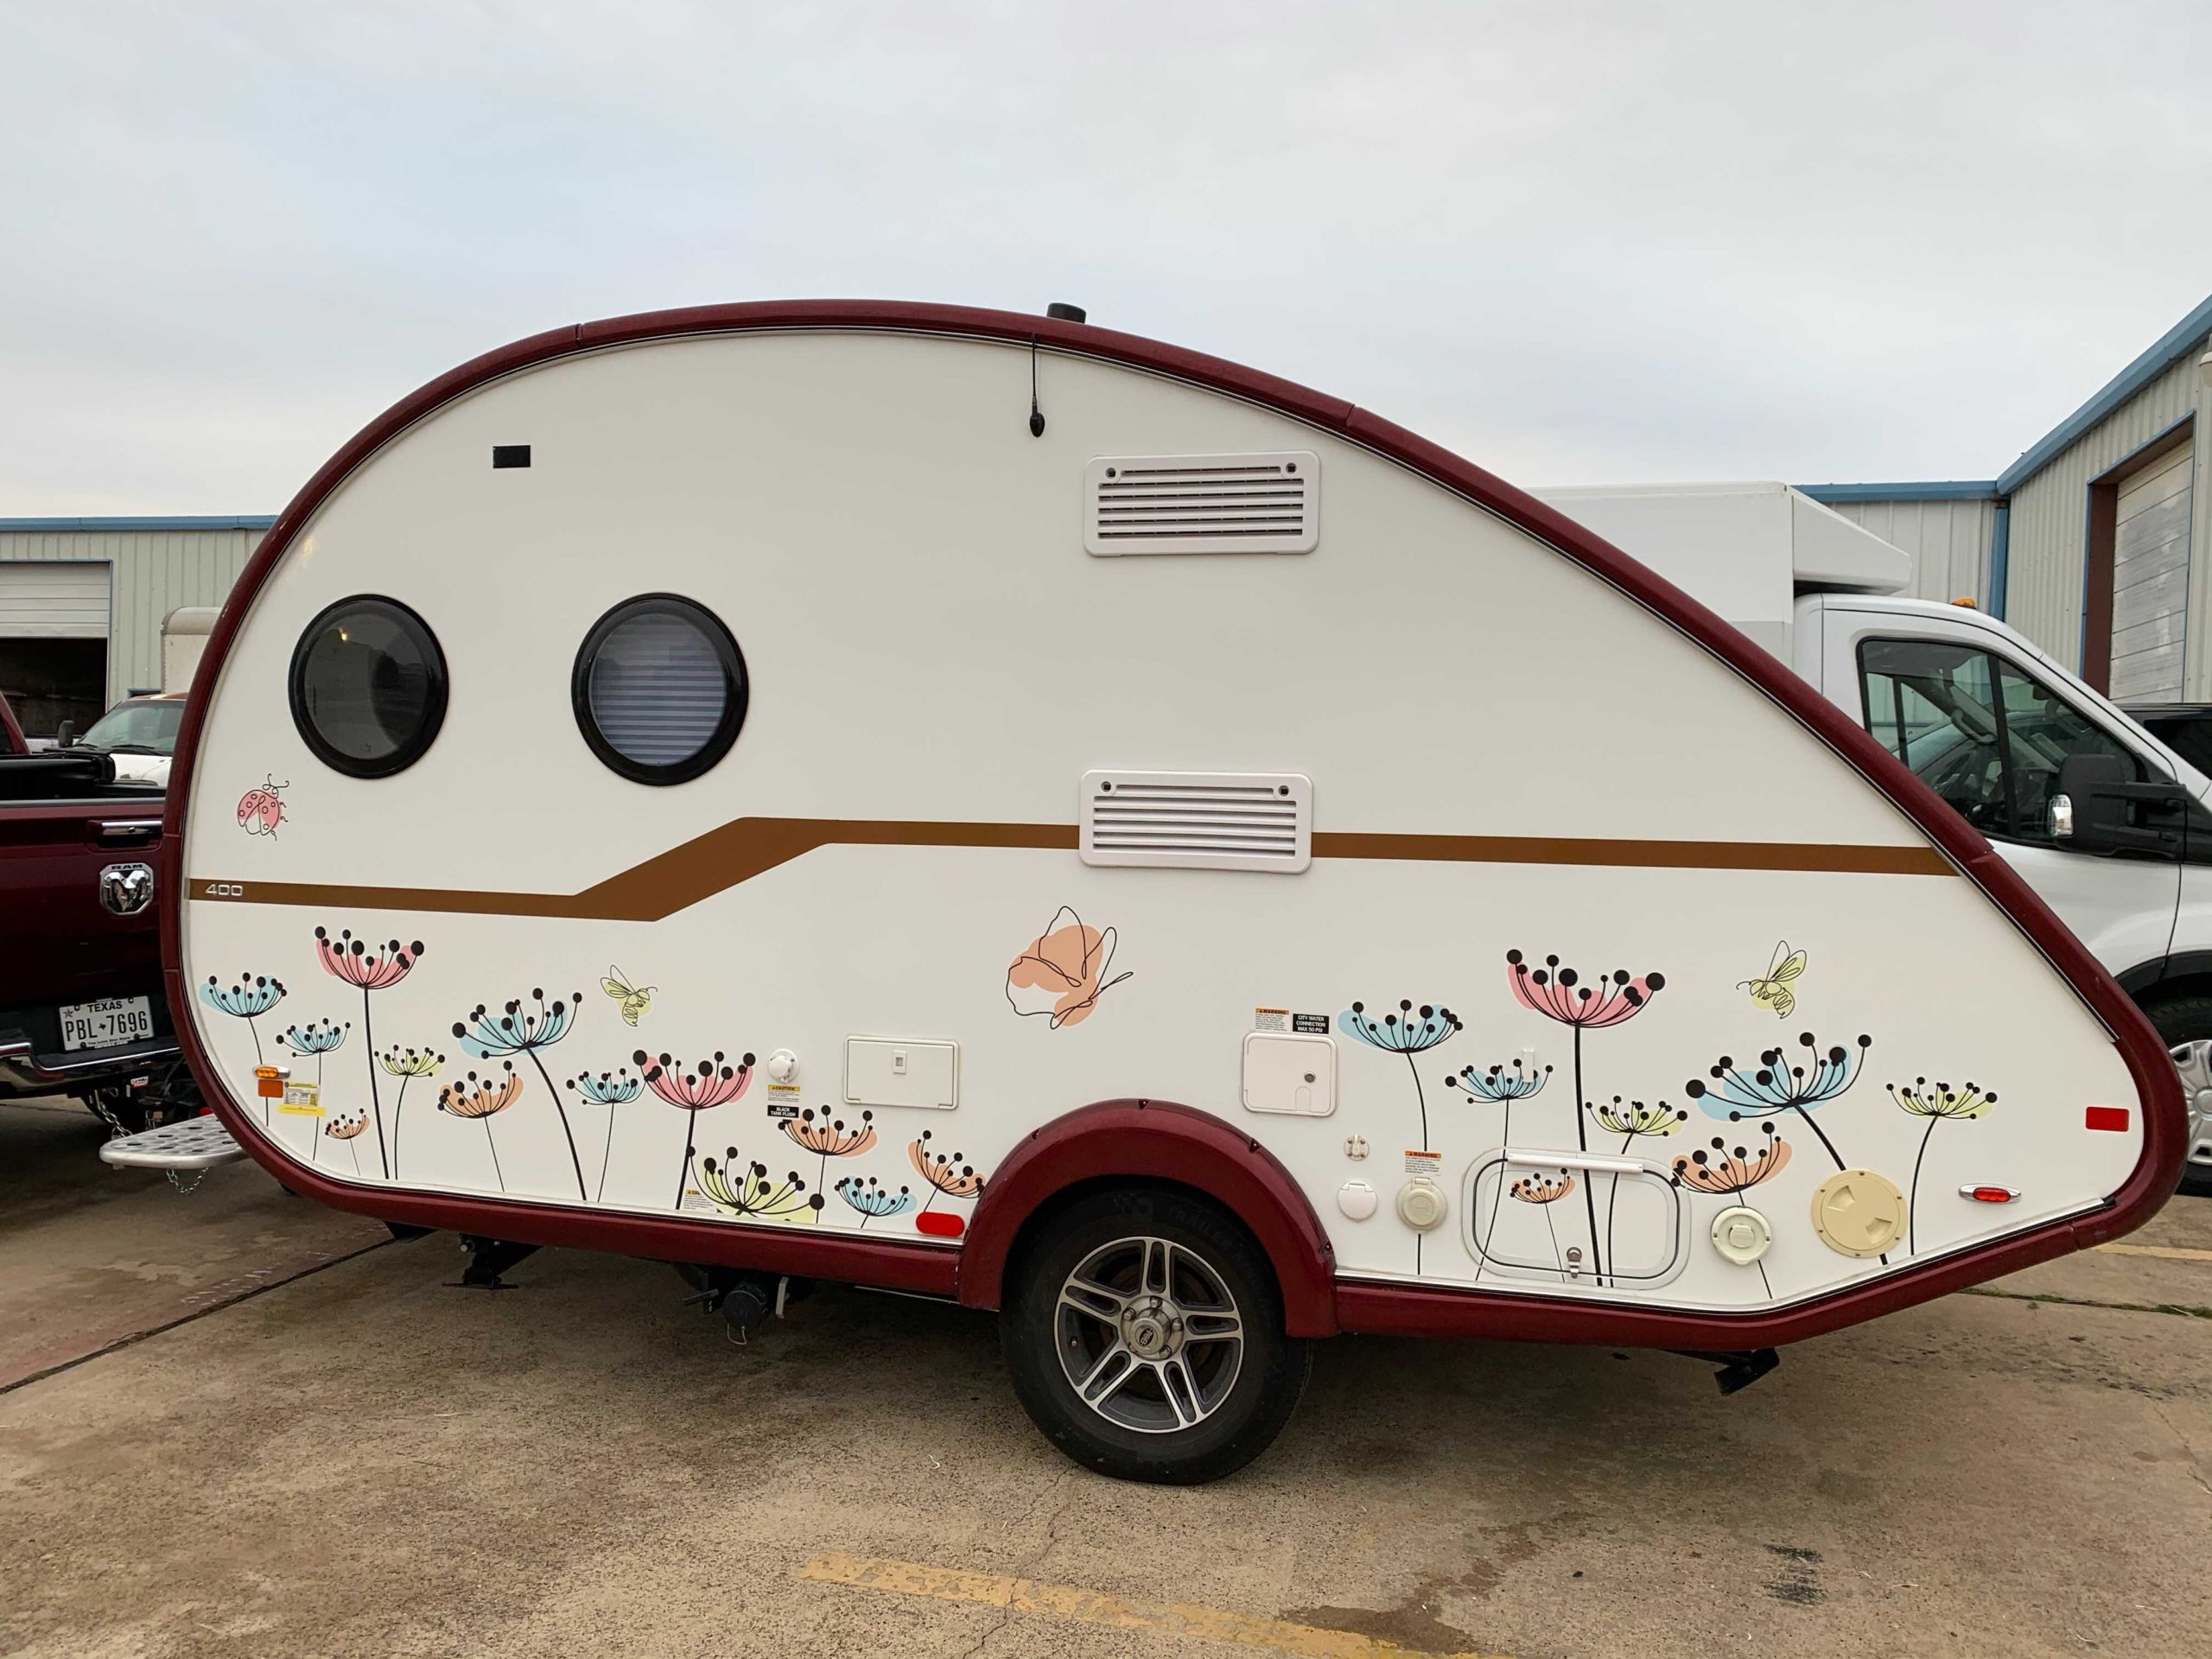
A wrap can give your RV a fresh, new appearance. It allows you to choose bold colors and unique designs. Your RV will look modern and clean on the road. A good wrap catches attention and makes your vehicle stand out.
Protecting The Original Paint
The wrap acts as a shield against scratches and sun damage. It preserves the original paint underneath. This protection helps maintain the RV’s value over time. Removing the wrap later reveals the paint in good condition.
Cost-effective Customization
Wrapping costs less than a full paint job. It lets you customize your RV’s look easily. You can change designs without permanent changes. This makes it affordable to update the style as you wish.
Ease Of Maintenance
Wraps are easy to clean and care for. They resist dirt and stains better than paint. A quick wash keeps your RV looking great. The wrap also hides minor scratches and marks well.

Credit: rvlifestyle.com
Choosing The Right Wrap Material
Choosing the right wrap material is key to a successful RV wrap. It affects how your RV looks and how long the wrap lasts. The material must handle weather, stay strong, and fit your style. Understanding the types of vinyl, durability, finishes, and eco-friendly options helps you make the best choice.
Vinyl Wrap Types
There are various vinyl types for RV wraps. Cast vinyl is thin and flexible. It molds well to curves and lasts long. Calendered vinyl is thicker and less flexible. It suits flat surfaces and has a lower cost. Choosing between cast and calendered depends on your RV’s shape and budget.
Durability And Weather Resistance
Durability matters for an RV wrap. The wrap faces sun, rain, wind, and dirt. Good vinyl resists fading and cracking. Look for materials with UV protection and strong adhesives. This keeps the wrap looking fresh for years. Weather resistance ensures your wrap stays intact through seasons.
Finish Options: Matte, Glossy, Satin
Wrap finishes change your RV’s look. Matte gives a smooth, non-shiny surface. It hides dirt and scratches well. Glossy finish shines bright and grabs attention. Satin offers a soft shine between matte and glossy. Pick a finish that suits your style and maintenance needs.
Eco-friendly Materials
Eco-friendly wraps reduce harm to the environment. These materials use fewer chemicals and can be recycled. Some vinyls use water-based inks for printing. Choosing eco-friendly options supports a cleaner planet. It also may improve air quality around your RV.
Design Ideas For Rv Wraps
Designing an RV wrap lets you change your vehicle’s look easily. It protects your RV and shows your style. Choosing the right design makes your RV stand out on the road. Below are some design ideas to inspire your RV wrap.
Bold Graphics And Patterns
Big shapes and bright colors catch the eye fast. Stripes, flames, or geometric patterns add energy to your RV. Bold designs make your vehicle easy to see from far away. These wraps create a strong and fun look.
Subtle Color Changes
Soft tones and gentle shifts in color give a calm feel. Using shades of the same color creates a smooth, clean look. This style suits those who want a quiet but stylish wrap. It gives your RV a fresh and neat appearance.
Branding And Personalization
Add your logo, name, or special message to your RV. Personal touches make your RV unique and easy to spot. Businesses use wraps to show their brand and attract customers. Personalization tells a story about you or your company.
Incorporating Reflective Elements
Reflective materials improve safety by lighting up at night. These parts make your RV visible in low light or dark areas. Reflective wraps combine style with function. They help prevent accidents while looking cool.
Credit: blog.wrapmate.com
Preparing Your Rv For Wrapping
Preparing your RV for wrapping is a key step to get the best results. The wrap needs a smooth, clean surface to stick well. Taking time to prepare your RV helps the wrap last longer and look better.
Focus on cleaning, fixing damages, and removing anything that can block the wrap. Also, consider the weather and temperature before starting the job. These steps make the wrapping process easier and more effective.
Cleaning And Surface Preparation
Start by washing your RV thoroughly. Use soap and water to remove dirt, dust, and grease. Dry the surface completely to avoid trapping moisture under the wrap. Use rubbing alcohol to clean spots with oils or wax. A clean surface helps the wrap stick tightly and last longer.
Repairing Damages
Check your RV for dents, scratches, and rust spots. Small dents can cause bubbles under the wrap. Fix any damage before wrapping. Sand rough areas and apply primer to rusted spots. A smooth surface improves the wrap’s appearance and durability.
Removing Accessories And Decals
Remove any loose parts like mirrors, antennas, and roof racks. These can block the wrap and cause wrinkles. Peel off old decals and stickers carefully. Leftover glue can prevent the wrap from sticking. Removing these items creates a flat surface for the wrap.
Temperature And Environment Considerations
Choose a dry day with mild temperatures to wrap your RV. The ideal temperature is between 60°F and 80°F. Avoid very hot or cold days. Extreme temperatures can make the wrap hard to handle or stick poorly. Work in a shaded or indoor area to keep the wrap clean.
Professional Vs Diy Wrapping
Wrapping an RV can change its look and protect its surface. Choosing between professional and DIY wrapping affects cost, quality, and time. Both options have pros and cons. Understanding the differences helps you pick the best path.
Cost Comparison
Professional wrapping costs more upfront. Experts charge for labor and materials. DIY wrapping saves money on labor. You only pay for the wrap and tools. But mistakes can add to costs later.
Skill Level And Tools Needed
Professional wrappers have training and experience. They use special tools for smooth application. DIY wrapping needs patience and skill. You must buy or rent tools like squeegees and heat guns. Without practice, bubbles and wrinkles happen.
Time Commitment
Professionals finish the job faster. They work with a team or alone but efficiently. DIY wrapping takes longer, often days. Learning and fixing errors add time. Prepare for many hours of work.
Quality And Longevity
Professionals deliver clean, long-lasting wraps. They ensure no damage to the RV surface. DIY wraps can look uneven or peel early. Proper cleaning and wrapping technique affect durability. Quality depends on your skill and effort.
Step-by-step Wrapping Process
Wrapping an RV can transform its look and protect its surface. The process requires care and patience. Follow these clear steps to get a smooth, lasting wrap.
Measuring And Cutting The Wrap
Start by measuring the RV carefully. Note the length and width of each section. Add a few extra inches for adjustments. Use these measurements to cut the wrap accurately. Cutting with precision saves time and material.
Applying The Wrap Smoothly
Clean the RV surface thoroughly before applying the wrap. Peel the backing slowly as you place the wrap on the RV. Use a squeegee to press the wrap down. Work from the center out to remove air bubbles. Take your time for a flat, smooth finish.
Handling Curves And Edges
Curves and edges need special attention. Heat the wrap gently with a heat gun. This makes it flexible and easier to shape. Stretch the wrap carefully around curves. Avoid overstretching to prevent damage. Press firmly to secure the wrap on edges.
Trimming And Finishing Touches
Trim excess wrap with a sharp knife. Cut close to the edges for a clean look. Check for small bubbles or wrinkles. Smooth them out with a squeegee or heat. Finish by sealing edges to protect the wrap from peeling.
Maintaining Your Rv Wrap
Maintaining your RV wrap keeps it looking great and protects your investment. Proper care helps the wrap last longer and stay vibrant. Simple steps make a big difference in wrap quality over time.
Cleaning Techniques
Use a soft cloth or sponge with mild soap and water. Avoid harsh chemicals or abrasive materials that can scratch the wrap. Rinse the wrap thoroughly and dry with a microfiber towel. Clean your RV wrap regularly to remove dirt and grime.
Avoiding Damage
Park your RV in shaded areas to reduce sun damage. Avoid parking near trees that drop sap or bird droppings. Use gentle pressure when washing to prevent peeling. Do not use high-pressure washers close to the edges of the wrap.
Repairing Minor Tears
Small tears can be fixed with vinyl wrap repair kits. Clean the area before applying adhesive patches. Press the patch firmly and smooth out air bubbles. Repair minor damage quickly to stop it from getting worse.
Expected Lifespan
Most RV wraps last between five and seven years. Lifespan depends on exposure to sun, weather, and care. Regular cleaning and avoiding damage can extend how long your wrap stays fresh. Watch for fading or peeling as signs the wrap may need replacement.

Credit: www.rvinyl.com
Removing And Replacing Rv Wraps
Removing and replacing RV wraps is an important part of maintaining your vehicle’s look. Old wraps can fade, peel, or get damaged. Removing the old wrap carefully keeps the RV’s surface safe. Installing a new wrap gives your RV a fresh, updated appearance. The process needs careful steps to avoid damage and ensure the new wrap sticks well.
Signs It’s Time To Remove
Peeling edges show the wrap is worn out. Faded colors mean the wrap lost its shine. Bubbles or wrinkles affect the smooth look. Cracks or tears expose the RV surface. Dirt or stains that won’t clean off. These signs mean the wrap needs removal soon.
Safe Removal Methods
Heat helps soften the adhesive for easy peeling. Use a heat gun or warm air blower. Pull the wrap slowly at a low angle. Avoid sharp tools that can scratch the paint. Clean leftover glue with a mild solvent. Work in small sections to avoid damage.
Preparing For A New Wrap
Wash the RV surface thoroughly to remove dirt. Dry it completely before starting the new wrap. Fix any dents or scratches on the surface. Use a clay bar to remove fine particles. Ensure the surface is smooth and clean. This helps the new wrap stick better.
Disposal And Recycling
Wrap materials are mostly vinyl, which can be recycled. Check local recycling programs for vinyl film acceptance. Avoid throwing wraps in regular trash. Proper disposal helps reduce waste and pollution. Cut the wrap into smaller pieces for easier handling. Always follow local laws on disposal and recycling.
Cost Factors And Budgeting
Wrapping an RV involves several costs. Understanding these costs helps in planning your budget. Knowing what affects the price lets you make smart choices. This section breaks down key cost factors for RV wrapping.
Material Costs
The type of wrap material changes the price. Vinyl is the most common choice. Quality vinyl lasts longer but costs more. Matte, gloss, or textured finishes affect cost too. Bigger RVs need more material, raising expenses.
Labor Charges
Professional installers charge for their work. Skill and experience impact the hourly rate. Complex shapes take more time, increasing labor costs. Some shops offer fixed prices for full wraps. Always ask for a detailed quote before starting.
Design Complexity
Simple designs cost less to produce and install. Custom graphics or logos add to the price. Detailed artwork requires more time and effort. The more colors used, the higher the cost. Simple color wraps keep the budget lower.
Long-term Savings
Wrapping protects your RV’s paint from damage. It reduces the need for costly paint repairs. Vinyl wraps can be removed or changed easily. This keeps your RV looking new longer. Over time, wraps save money on maintenance.
Common Challenges And Solutions
Wrapping an RV can give it a fresh, new look. Yet, some problems may appear during or after the process. Knowing common challenges helps you avoid mistakes and fix issues fast. This section explains typical problems and how to solve them.
Air Bubbles And Wrinkles
Air bubbles often appear under the wrap. They cause uneven surfaces and spoil the look. Wrinkles happen when the film folds or stretches too much. These issues occur from quick application or dirty surfaces.
To prevent bubbles and wrinkles, clean the RV well before wrapping. Use a squeegee to smooth the wrap slowly. If bubbles form, poke a tiny hole with a pin and press out the air. For wrinkles, warm the film gently and stretch it carefully.
Peeling And Lifting
Peeling happens when the wrap edges lift from the RV. It looks bad and shortens the wrap’s life. Lifting occurs due to poor surface cleaning or bad weather during installation. It also happens if the wrap is low quality.
Fix peeling by cleaning the edges and applying strong adhesive tape. Avoid washing the RV for a few days after wrapping. Choose high-quality vinyl for better sticking. Install the wrap in dry, warm weather to help it bond well.
Color Fading
Color fading makes the wrap look old and dull. Sun exposure and harsh weather cause fading. Low-grade vinyl loses color faster than premium films. Fading reduces the wrap’s appeal and protection.
Protect your wrap by parking in the shade or covering it. Use UV-resistant vinyl to slow down fading. Clean the wrap with gentle soap and water. Avoid harsh chemicals or abrasive tools that damage the color.
Weather-related Issues
Weather affects the wrapping process and the wrap’s durability. Rain or cold temperatures can stop the vinyl from sticking well. Heat can make the wrap too soft and hard to handle. Wind may blow dust and dirt onto the surface.
Wrap the RV in mild, dry weather for the best results. Store the wrap film in a cool place before use. Check the weather forecast to avoid sudden changes. Proper timing helps the wrap last longer and look better.
Frequently Asked Questions
What Is Rv Wrapping And Why Is It Done?
RV wrapping covers the vehicle with vinyl film for protection and new designs. It changes the look without paint.
How Long Does It Take To Wrap An Rv?
Wrapping an RV usually takes 3 to 7 days, depending on size and complexity.
Can Rv Wraps Protect The Original Paint?
Yes, vinyl wrap shields paint from scratches and sun damage, keeping the RV’s look fresh.
Is Rv Wrapping Cost-effective Compared To Painting?
Wrapping costs less upfront and can be removed, making it a budget-friendly option versus painting.
How Do I Maintain A Wrapped Rv?
Wash gently with mild soap and water. Avoid harsh chemicals and automatic car washes.
Can I Wrap My Rv Myself Or Hire A Professional?
Professional installation ensures smooth, long-lasting results. DIY is possible but challenging for beginners.
Conclusion
Wrapping an RV protects it from dirt and weather damage. It also gives your vehicle a fresh, new look. The process is affordable and can save money on paint repairs. Choosing the right material and professional help ensures a smooth wrap.
Regular care keeps the wrap looking great for years. Consider wrapping to keep your RV safe and stylish on every trip.