Have you ever faced the frustration of a stuck check valve in your well system? When your check valve doesn’t move freely, it can cause serious problems like reduced water flow or even damage to your pump.
But don’t worry—you don’t need to call a professional right away. You’ll discover simple, effective steps to unstick your well check valve quickly and safely. By the end, you’ll have the confidence to fix the issue yourself and keep your water system running smoothly.
Keep reading, because the solution is easier than you think.

Credit: okmarts.com
Signs Of A Stuck Check Valve
A stuck check valve can cause many problems in a well system. It stops water from flowing properly. Knowing the signs of a stuck valve helps fix the issue early. This avoids damage and keeps the system working well.
Signs often appear in different ways. Recognizing these clues saves time and money on repairs. Below are common symptoms and how they affect system performance.
Common Symptoms
Water may not flow as it should. Pressure may drop suddenly or stay low. You might hear strange noises near the valve. These noises sound like banging or knocking. Sometimes the pump runs longer than usual. Water might leak back into the well. The valve may feel stuck when touched.
Impact On System Performance
A stuck valve reduces water pressure. Pumps work harder and use more energy. Water flow becomes inconsistent or stops. The system may cycle on and off more often. This wears out parts faster. The overall water supply becomes unreliable. Early detection helps keep the system safe and efficient.

Credit: www.youtube.com
Tools And Materials Needed
Before you start fixing a stuck well check valve, gather the right tools and materials. Having these ready saves time and makes the job easier. The right tools help you work safely and efficiently. Below is a list of what you will need.
Basic Tools
- Adjustable wrench for loosening bolts and nuts
- Screwdriver set for removing covers or screws
- Pliers to grip and turn small parts
- Pipe wrench for handling larger pipes
- Lubricant like WD-40 to loosen stuck parts
- Cleaning brush to remove dirt and debris
- Bucket to catch water during the repair
- Rags or cloths for wiping and cleaning
Safety Gear
- Protective gloves to protect your hands
- Safety goggles to shield your eyes
- Work boots with good grip for stability
- Dust mask if working in a dusty area
- Long sleeves to protect your skin
Step-by-step Unsticking Process
Unsticking a well check valve is a simple task with the right steps. Follow this step-by-step process to get the valve moving smoothly again. Each step will help you avoid damage and restore proper function quickly.
Shutting Off The System
First, turn off the power or pump that feeds the well system. This stops water flow and pressure. Safety is key. Make sure no water moves through the valve before you start.
Accessing The Valve
Locate the check valve on the water line. It is usually near the well or pump. Remove any covers or fittings blocking the valve. You may need tools like a wrench to open it.
Manual Cleaning And Lubrication
Open the valve carefully. Check for dirt, debris, or rust inside. Use a soft brush to clean all parts gently. Apply a small amount of silicone-based lubricant. Avoid oil-based products; they can damage the valve.
Testing The Valve Movement
After cleaning, move the valve parts by hand. The valve should open and close smoothly. If it still sticks, repeat cleaning or check for damage. Once it moves freely, reassemble the valve and turn the system back on.
Preventing Future Valve Sticking
Preventing a well check valve from sticking saves time and money. Stuck valves reduce water flow and cause pump damage. Simple steps help keep the valve working well for years. Follow easy practices to avoid future problems with your valve.
Regular Maintenance Tips
Check the valve every few months. Clean dirt and debris from the valve parts. Inspect for cracks or worn areas. Tighten any loose bolts or fittings. Replace damaged seals to stop leaks. Lubricate moving parts to keep them smooth. Maintenance keeps the valve working properly.
Using Quality Components
Choose valves made from strong materials like stainless steel or brass. Avoid cheap plastic parts that wear out fast. Use seals and gaskets designed for water systems. Better parts last longer and resist sticking. Quality components reduce repairs and extend valve life.
When To Replace The Check Valve
Knowing when to replace a well check valve is important for maintaining your water system. A stuck or damaged valve can cause water flow issues and damage your pump. Replacing the valve at the right time prevents bigger problems and keeps your system running smoothly.
Signs Replacement Is Necessary
One sign is water leaking back into the well. This means the valve is not closing properly. Another sign is a drop in water pressure. It shows the valve may be blocked or stuck. Strange noises or vibrations near the valve also indicate trouble. Rust or corrosion on the valve parts can weaken it. If cleaning the valve does not fix the problem, replacement is needed.
Choosing The Right Replacement Valve
Pick a valve that fits your well system size and type. Check the material; stainless steel or brass valves last longer. Look for valves that match your water pressure range. Easy-to-install valves save time and effort. A valve with a good seal prevents leaks and backflow. Buying from a trusted brand ensures better quality and support.
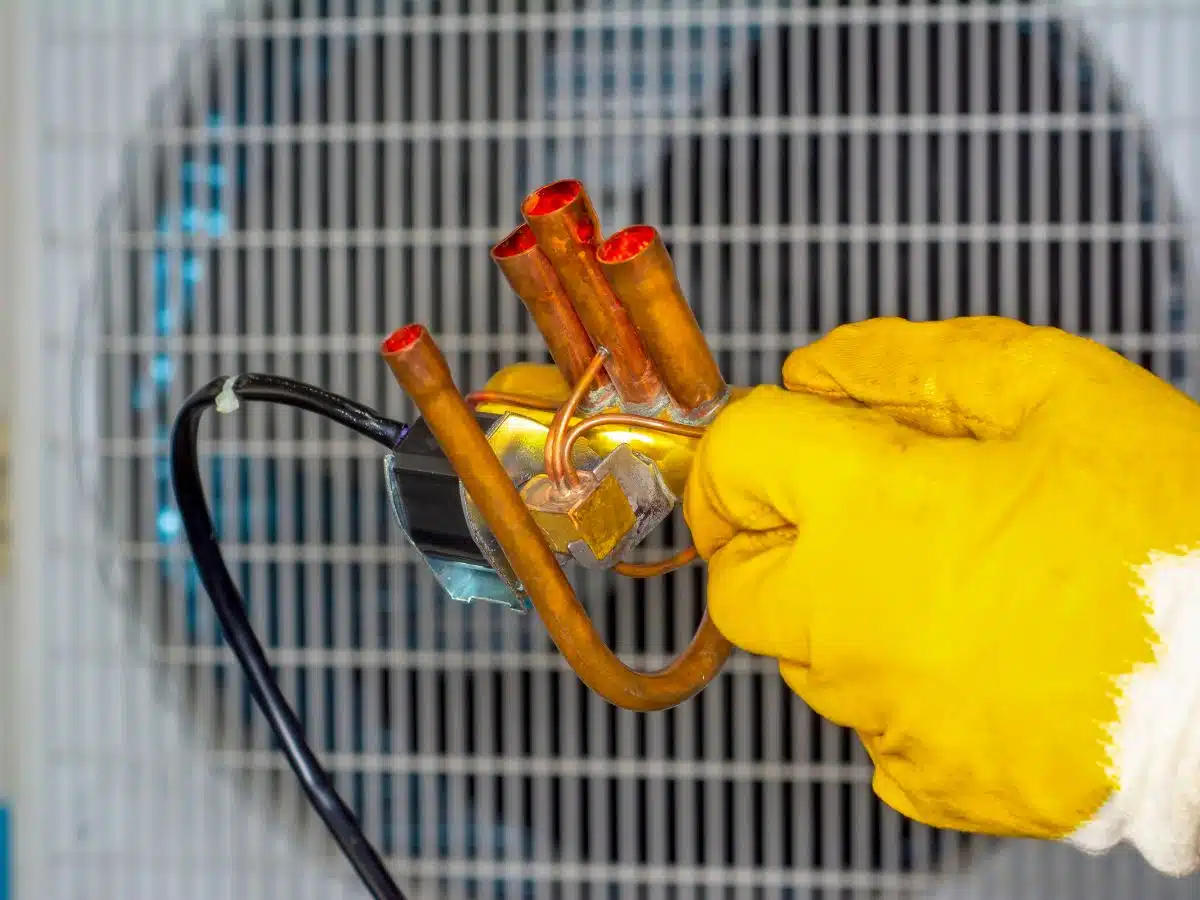
Credit: andersonair.com
Frequently Asked Questions
What Causes A Well Check Valve To Get Stuck?
Debris, rust, or mineral buildup inside the valve can cause it to stick or jam.
How Can I Safely Unstick A Well Check Valve?
Turn off the pump, release pressure, then gently tap or clean the valve parts.
How Often Should I Inspect My Well Check Valve?
Check the valve every 6 to 12 months to prevent buildup and sticking issues.
Can A Stuck Well Check Valve Damage My Water Pump?
Yes, a stuck valve can cause pump strain and reduce its lifespan.
When Should I Replace A Stuck Well Check Valve?
Replace it if cleaning doesn’t fix the problem or if the valve is damaged.
Conclusion
A stuck well check valve can cause many problems. Cleaning and checking the valve often solves the issue. Use simple tools and take safety steps. Regular maintenance helps keep your system working well. Small efforts prevent bigger repairs later. Keep an eye on water flow and pressure.
A smooth-running valve saves time and money. Don’t ignore signs of valve trouble. Fix it early to avoid costly damage. Simple care goes a long way.