Is your Whirlpool WRQA59CNKZ light not working and leaving you in the dark? It’s frustrating when a simple feature like the fridge light stops working, making it harder to find what you need quickly.
But don’t worry—you’re not alone, and this problem is often easier to fix than you think. You’ll discover clear, step-by-step solutions to get your fridge light shining bright again. Keep reading to save time, avoid unnecessary repairs, and bring back the convenience you deserve.
Common Causes Of Light Failure
The light inside your Whirlpool WRQA59CNKZ fridge helps you see your food clearly. Sometimes, this light stops working. Several reasons cause this problem. Knowing these reasons saves time and effort. It helps you fix the light faster. Here are the common causes of light failure.
Burnt Out Bulb
The most common reason is a burnt-out bulb. Over time, bulbs wear out. They stop shining completely. Replacing the bulb is easy and cheap. Always use the right bulb type for your fridge model.
Faulty Door Switch
The door switch controls the light. It turns the light on when the door opens. If the switch breaks, the light stays off. Check the switch for damage or wear. Replace it if it does not work properly.
Wiring Issues
Wiring connects the light to power. Wires can get loose or damaged. This stops electricity from reaching the bulb. Inspect wires for cuts or loose connections. Fixing wiring problems often requires a professional.
Control Board Problems
The control board manages many fridge functions. It sends power to the light. A faulty board can cause the light to fail. Signs include other fridge issues too. Testing and replacing the board may be needed.

Credit: www.youtube.com
Tools You’ll Need
Fixing the light on your Whirlpool WRQA59CNKZ requires a few simple tools. Having these tools ready makes the task easier and faster. They help you check the problem and replace any broken parts safely.
Screwdrivers
Screwdrivers are essential for opening panels and removing screws. A Phillips and a flathead screwdriver usually work best. These tools help you access the light bulb and other components.
Multimeter
A multimeter checks if the light bulb and wiring have power. It measures voltage and continuity. This tool helps find electrical issues without guesswork.
Replacement Bulb
Keep a replacement bulb that fits your model. Using the right bulb ensures proper lighting and safety. Check your manual for the correct bulb type.
Safety Gear
Safety gear protects you during repairs. Wear gloves to avoid cuts and electrical shocks. Safety glasses shield your eyes from debris.
Checking And Replacing The Bulb
Checking and replacing the bulb in your Whirlpool WRQA59CNKZ is a simple way to fix the light problem. A burnt-out bulb often causes the light to stop working. You can solve this by finding the bulb, removing the old one, and installing a new bulb. Follow these steps carefully to restore the light inside your fridge.
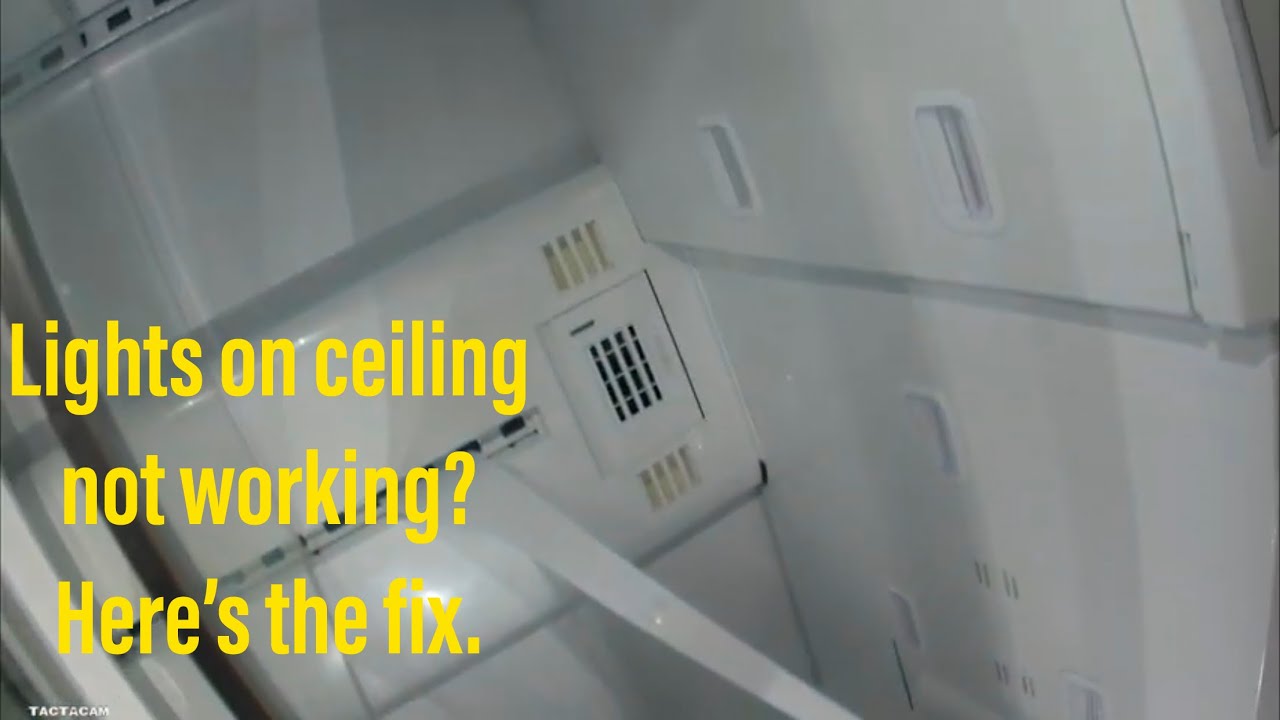
Locating The Light Bulb
Open the fridge door fully. Look at the top or side inside walls. The light bulb usually sits under a plastic cover. This cover protects the bulb and keeps it safe. Sometimes, the bulb is behind a small panel or shield. Use a flashlight to see clearly if needed.
Removing The Old Bulb Safely
Turn off the fridge or unplug it first. This prevents any electrical shock. Wait a few minutes for the bulb to cool down. Use a cloth or gloves to hold the bulb. Twist the bulb counterclockwise gently. Pull the bulb out carefully without forcing it.
Installing The New Bulb
Choose a bulb that fits your fridge model. Check the wattage and size before buying. Place the new bulb into the socket. Turn it clockwise until it feels tight but not too hard. Replace the plastic cover or panel. Plug the fridge back in or turn it on. Open the door and check if the light works.

Credit: www.callahansappliance.com
Testing The Door Switch
Testing the door switch is a key step to fix the Whirlpool WRQA59CNKZ light problem. This switch tells the washer when the door is closed. If it fails, the light may not turn on. Checking the switch can save time and money before calling a technician.
Accessing The Door Switch
First, unplug the washer for safety. Open the door and locate the door switch near the door frame. You might need to remove the door seal or panel to reach it. Use a screwdriver to take off any screws holding the panel. Handle parts carefully to avoid damage.
Using A Multimeter For Testing
Set your multimeter to the continuity test mode. Remove the door switch from the washer. Touch the multimeter probes to the switch terminals. A beep or zero reading means the switch works. No sound or infinite reading means the switch is broken. Test a few times to be sure.
Replacing A Faulty Switch
Buy a new door switch made for Whirlpool WRQA59CNKZ. Remove the old switch by disconnecting wires and screws. Connect the new switch wires in the same way. Screw the new switch back into place. Plug in the washer and test the door light. It should work perfectly now.
Inspecting Wiring Connections
Inspecting wiring connections is an important step when the Whirlpool WRQA59CNKZ light is not working. Electrical issues often cause the light to fail. Checking wires can help find loose or damaged connections that stop power flow.
Wiring problems are common and easy to fix with care. Look closely at each wire to see if it is secure and in good condition. Small issues can cause big problems with the light.
Identifying Loose Or Damaged Wires
Start by unplugging the fridge for safety. Remove the light cover to access the wires. Look for wires that are loose or disconnected. Check for signs of damage like cuts or burns. Wires that are frayed or broken need attention. Tighten any loose wires carefully with a screwdriver or pliers.
Fixing Wiring Issues
Replace wires that are damaged or worn out. Use wires with the same size and type for safety. Strip the ends of the new wire before connecting. Twist wires firmly together and use wire nuts to secure them. Make sure all connections are tight and no bare wire is exposed. Test the light by plugging the fridge back in after fixing the wires.
When To Call A Professional
Call a professional if you do not feel comfortable handling wires. Electrical repairs can be dangerous without proper knowledge. A technician can safely fix wiring problems and prevent more damage. Contact a certified repair service if the light still does not work after checking wires.
Resetting Or Replacing The Control Board
The control board in your Whirlpool WRQA59CNKZ controls many functions, including the light. Sometimes, resetting or replacing this board can fix light problems. It is a key step to restore normal operation.
Resetting the control board can clear minor glitches. If resetting does not work, the board may be damaged and need replacement. Knowing the signs of a bad control board helps decide the next steps.
How To Reset The Control Board
Unplug the refrigerator from the power outlet. Wait for about five minutes to allow the board to reset. Plug the refrigerator back in and check the light. This process can clear small errors in the system. If the light still does not work, try other solutions.
Signs Of A Bad Control Board
The light remains off even after a reset. Other functions like the display or cooling may also fail. The refrigerator shows error codes or strange behavior. The control board gets warm or smells burnt. These signs suggest the board might need replacement.
Replacing The Control Board
Turn off power to the refrigerator before starting. Remove the back panel to access the control board. Disconnect all wires carefully and note their positions. Install the new control board by reversing the steps. Restore power and test if the light works. Always use a compatible control board for your model.
Preventive Tips For Light Maintenance
Maintaining the light in your Whirlpool WRQA59CNKZ helps keep your appliance working well. Small efforts can stop the light from going out. Follow these simple tips to keep your light bright and lasting longer.
Regular Cleaning
Dust and grease can cover the light bulb and fixture. Clean the light area carefully with a soft cloth. Avoid using water or harsh chemicals near the bulb. Clean regularly to stop dirt buildup and keep the light clear.
Avoiding Overloads
Do not put too many items near the light bulb. Overloading can cause heat and damage the bulb. Keep the area around the light free from heavy or blocking items. This helps the bulb cool and work properly.
Routine Inspections
Check the light and wiring often for any damage or wear. Look for loose wires or dark spots on the bulb. Replace damaged parts quickly to avoid bigger problems. Regular checks keep the light safe and functional.
Credit: www.youtube.com
Frequently Asked Questions
Why Is Whirlpool Wrqa59cnkz Light Not Turning On?
The light bulb might be burnt out or the socket could be faulty. Check and replace if needed.
How To Fix Whirlpool Wrqa59cnkz Fridge Light Quickly?
Unplug the fridge, remove the bulb, and test it. Replace with the correct bulb if it’s bad.
Can A Faulty Door Switch Cause Light Failure?
Yes, the door switch controls the light. If broken, the light won’t turn on.
Is It Safe To Replace Whirlpool Fridge Light Myself?
Yes, just unplug the fridge first and use the right bulb type for safety.
How To Check If The Light Socket Is Working?
Use a multimeter to test for power at the socket when the door opens.
Conclusion
Fixing the Whirlpool WRQA59CNKZ light is usually simple. Check the bulb and power first. Sometimes, a quick bulb change solves the problem. If not, inspect the door switch or wiring. Small issues often cause the light to stop working. Taking these steps saves time and avoids costly repairs.
Keep your fridge light bright for easy use. Regular checks help prevent future problems. Stay patient and follow the steps carefully. Your fridge will light up again soon.