Is your GE XL44 oven suddenly not working? You rely on your oven every day, and when it stops heating or won’t turn on, it can throw your whole routine off.
Don’t worry—you’re not alone, and this problem is often fixable. You’ll discover simple steps to identify what’s wrong and how to get your oven back to cooking perfectly. Keep reading, and you’ll learn exactly what to do next to save time, money, and frustration.
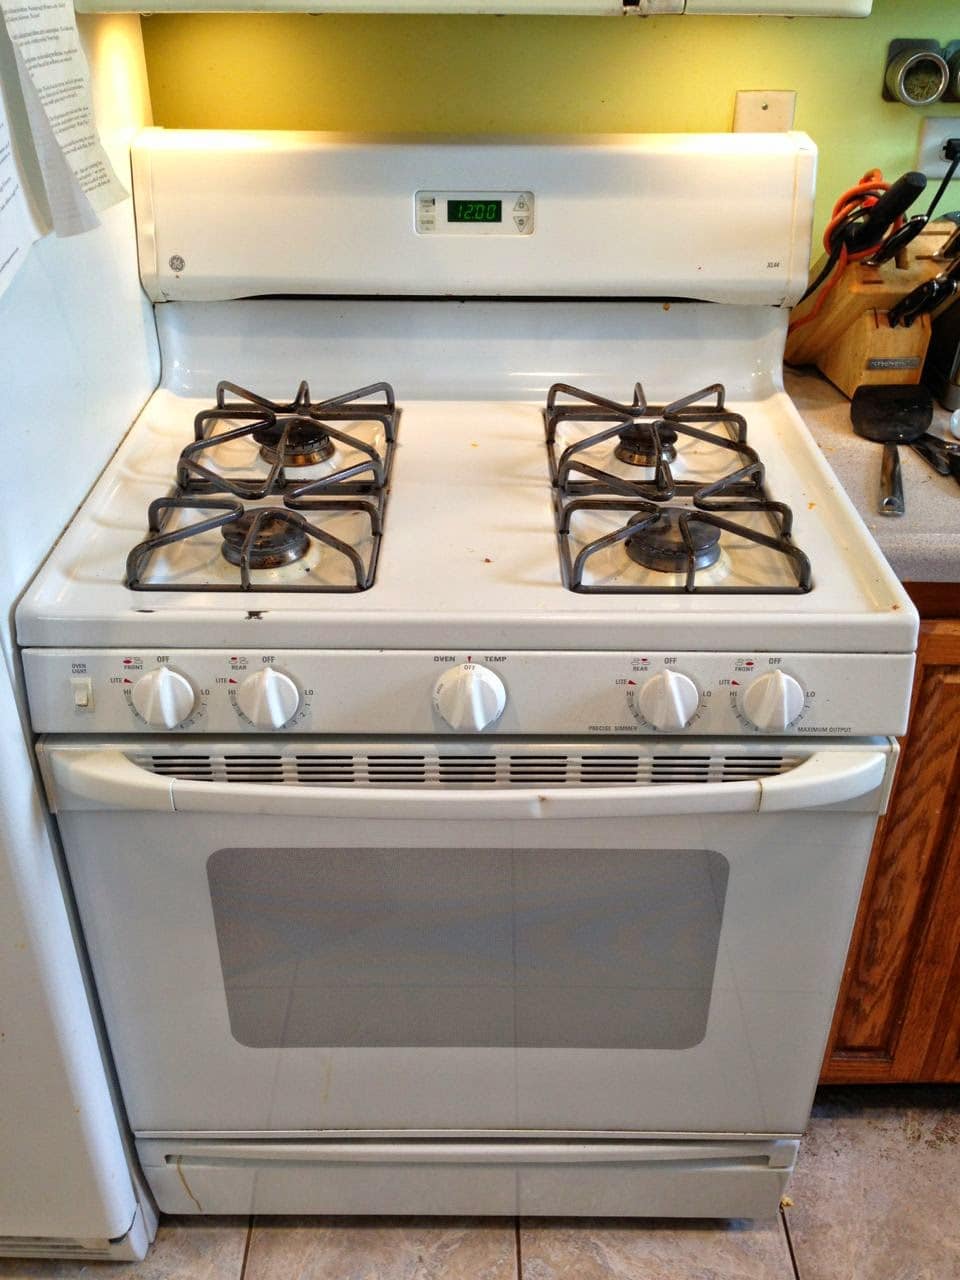
Credit: www.shareyourrepair.com
Common Reasons Oven Stops Working
Ovens can stop working for several reasons. Understanding these causes helps fix the problem faster. The GE XL44 oven may have common issues that prevent it from heating or turning on.
Power Supply Issues
The oven needs steady power to work. A tripped circuit breaker can stop the oven from getting power. Loose or damaged power cords also cause problems. Check the outlet and power source for proper voltage.
Faulty Heating Elements
The heating elements make the oven hot. If these elements burn out or break, the oven will not heat. Burn marks or breaks on the element show damage. Replacing faulty elements restores heat quickly.
Thermostat Malfunctions
The thermostat controls oven temperature. A bad thermostat gives wrong signals to heat. This causes the oven to stay cold or too hot. Testing and replacing the thermostat fixes temperature problems.
Control Board Problems
The control board manages oven functions and settings. A damaged control board can stop the oven from working. Faulty buttons or error codes often mean control board failure. Repair or replacement may be needed to restore operation.

Credit: www.youtube.com
Quick Checks Before Repair
Before calling for a repair on your GE XL44 oven, try some quick checks. These steps can save time and money. Often, the problem is simple and easy to fix. Start by checking basic power and settings.
Inspecting The Power Cord And Outlet
Look at the oven’s power cord. Make sure it is firmly plugged into the outlet. Check the cord for any visible damage or frays. Try plugging another device into the same outlet. This helps confirm if the outlet works well. If the outlet has no power, the oven won’t start.
Resetting The Circuit Breaker
Find the circuit breaker box in your home. Check if the breaker linked to the kitchen or oven has tripped. A tripped breaker often cuts power to the oven. Flip the breaker off, then on again. This can restore power and reset the oven’s system.
Examining Oven Settings
Look at the control panel. Make sure the oven is set to the correct mode. Check the temperature setting; it should be above room temperature. Confirm the timer is not set too low or off. Wrong settings often stop the oven from heating.
Fixing Heating Element Problems
Fixing heating element problems is key to restoring your GE XL44 oven’s function. The heating element heats the oven, allowing it to cook food properly. If it stops working, the oven won’t heat up. This issue is common and often easy to fix at home.
Start by checking the heating element carefully. Look for visible signs of damage like breaks or burns. Sometimes the element looks fine but does not work. Testing it with a multimeter can confirm if it is broken. Knowing how to spot the problem saves time and money.
Identifying A Broken Heating Element
Turn off the oven and unplug it for safety. Open the oven door and look at the heating element. It is usually a long, thick wire at the bottom or top inside the oven. Check for cracks, blisters, or breaks. These signs show it is broken.
If the element looks okay, use a multimeter to test it. Set the multimeter to the resistance setting. Touch the probes to the two terminals on the heating element. A reading of zero or infinite resistance means it is faulty. A normal reading means the element is fine.
Replacing The Heating Element Safely
First, unplug the oven from the power source. Safety is very important. Remove the screws holding the heating element in place. Carefully pull the element out without damaging wires.
Disconnect the wires from the old element. Attach them to the new heating element. Make sure connections are tight and secure. Place the new element back into the oven and screw it in.
Plug the oven back in and test the new element. The oven should start heating up quickly. If it does not, double-check your work or call a professional.

Credit: www.geappliances.com
Addressing Thermostat Issues
The thermostat plays a key role in the GE XL44 oven’s performance. It controls the oven temperature to ensure even cooking. Thermostat issues can cause the oven to not heat properly or stop working. Addressing these problems quickly helps avoid bigger repairs.
Testing Thermostat Function
Start by checking if the thermostat works correctly. Use a multimeter to test its electrical resistance. First, unplug the oven to stay safe. Remove the thermostat from the oven. Set the multimeter to the ohms setting. Connect the probes to the thermostat terminals. A normal reading shows continuity. If the meter reads infinite resistance, the thermostat is faulty.
Calibrating Or Replacing Thermostat
Sometimes the thermostat needs calibration. Use an oven thermometer to check actual temperature. Set the oven to 350°F and compare readings after 15 minutes. Adjust the thermostat dial if temperatures differ. If calibration does not fix the problem, replace the thermostat. Purchase a part matching your GE XL44 model. Follow the manual instructions for replacement. A new thermostat can restore proper oven heating.
Troubleshooting Control Board Errors
The control board is the brain of your GE XL44 oven. It controls all the oven’s functions. When it fails, the oven may stop working properly.
Troubleshooting control board errors helps identify problems early. You can fix small issues before they become big. This saves time and money.
Signs Of Control Board Failure
One sign is the oven not heating up. Buttons may stop responding or work incorrectly. The display might show strange codes or stay blank.
Sometimes, the oven cycles on and off by itself. Lights flicker or the oven door lock does not work. These symptoms often point to control board issues.
Steps To Reset Or Replace Control Board
Start by unplugging the oven for one minute. This can reset the control board and clear errors. Plug it back in and check if it works.
If resetting fails, the control board might need replacement. Turn off power to the oven before you start. Remove the back panel to access the control board.
Disconnect wires carefully and remove screws holding the board. Install the new board by reversing these steps. Restore power and test the oven for normal function.
When To Call A Professional
Knowing when to call a professional for your GE XL44 oven saves time and avoids risks. Some oven problems need special tools and skills. Trying to fix these issues alone can cause more damage or even injury. Recognizing the signs that require expert help is important for safety and proper repair.
Safety Considerations
Ovens use electricity and gas, both can be dangerous. If you smell gas, turn off the oven and leave the area immediately. Avoid touching any wires or parts inside the oven. A professional has the training to handle these hazards safely. Do not attempt repairs if you feel unsure or unsafe.
Complex Repairs Beyond Diy
Some oven problems involve complex parts like the control board or gas valve. These require special tools and knowledge to fix properly. Repairing these parts without experience can lead to more damage or fire risk. A professional technician can diagnose and repair these issues correctly. Save time and avoid frustration by calling an expert for complex repairs.
Preventive Tips To Keep Oven Working
Keeping your GE XL44 oven working well saves time and money. Small actions can stop big problems. Follow simple steps to avoid common oven issues. These tips help your oven last longer and cook better.
Regular Cleaning And Maintenance
Clean your oven often to stop grease build-up. Use mild cleaners and soft cloths. Avoid harsh chemicals that can damage parts. Check oven racks and trays for dirt. Wipe spills immediately to prevent stains.
Inspect the oven door seal. A tight seal keeps heat inside. Replace worn seals quickly to save energy. Clean the oven’s heating elements gently. Dust and debris can cause uneven heating.
Avoiding Overloads And Misuse
Do not overload your oven with heavy dishes. Too much weight can harm the racks and door. Use oven-safe cookware only. Plastic or paper can melt or catch fire.
Do not use the oven for storage. Items inside can block heat and cause damage. Follow the manufacturer’s instructions for cooking times and temperatures. Avoid opening the door too often during use. This helps keep a steady temperature inside.
Frequently Asked Questions
Why Is My Ge Xl44 Oven Not Heating Up?
The heating element may be faulty or the thermostat might need replacement. Check both parts.
How Do I Reset The Ge Xl44 Oven?
Unplug the oven for 5 minutes, then plug it back in to reset the control board.
What Causes The Ge Xl44 Oven Door To Stay Locked?
A malfunction in the door lock mechanism or control board can cause the door to lock.
Why Does My Ge Xl44 Oven Timer Not Work?
The timer motor might be broken or the control board could have issues needing repair.
Can A Blown Fuse Stop The Ge Xl44 Oven From Working?
Yes, a blown fuse can cut power. Check the oven’s fuse box and replace if needed.
Conclusion
Troubleshooting the GE XL44 oven can save time and money. Check the power supply and oven settings first. Clean the oven regularly to avoid common issues. Replace faulty parts carefully when needed. Always follow safety rules during repairs. For persistent problems, contacting a professional helps.
A working oven makes cooking easier and more enjoyable. Keep these tips in mind to fix your oven quickly. Stay patient and methodical for best results. Your kitchen will be back to normal soon.