Are you frustrated because your Browning trail camera isn’t working the way you expected? You rely on it to capture crucial moments in the wild, but problems keep getting in the way.
Whether it’s false triggers, poor image quality, or battery issues, these glitches can ruin your experience and waste your time. You’ll discover common Browning trail camera problems and easy fixes to get your camera back on track. Keep reading to make sure you never miss another important shot again.
Credit: naturespy.org
Power Issues
Power issues are common with Browning trail cameras. They can cause the camera to stop working or miss important moments. Understanding these problems helps keep the camera running longer. Many power problems come from battery and connection faults. Fixing these can improve your camera’s performance and save frustration.
Battery Drain Solutions
Battery drain is a frequent issue. Use fresh, high-quality batteries for longer life. Avoid cheap or old batteries that lose power fast. Remove batteries if the camera will not be used for weeks. Turn off the camera when not in use to save power. Check battery contacts for dirt or corrosion. Clean them gently to ensure good contact. Consider using rechargeable batteries made for trail cameras. They can save money over time and provide stable power.
Power Connection Tips
Loose or damaged power connections cause failures. Check cables and connectors regularly for wear or damage. Make sure connectors fit tightly without gaps. Avoid bending or twisting cables sharply. Use waterproof connectors to protect from rain or moisture. Keep the camera’s battery compartment clean and dry. Secure the camera in a stable place to prevent cable strain. Proper connections reduce power interruptions and improve camera reliability.
Credit: playgrounddad.com
Image Quality Problems
Image quality problems are common with Browning trail cameras. Clear pictures help identify animals and track their behavior. Poor image quality can cause frustration and missed moments. Understanding common issues helps improve photo results.
Several factors affect image clarity. Dirt on the lens, wrong settings, or low battery power can cause blurry or dark photos. Adjusting these elements can greatly enhance picture sharpness and detail.
Blurry Photos Fixes
Check the camera lens for dirt or smudges. Clean it gently with a soft cloth. Secure the camera firmly to avoid shaking. Use a sturdy mount or tree strap to keep it still.
Ensure the camera focuses correctly. Some models allow manual focus; adjust it if possible. Replace weak batteries to keep the camera operating smoothly. Weak power can cause slow shutter speed and blur.
Adjusting Night Vision Settings
Night vision may produce grainy or dark images. Adjust the infrared flash strength in the camera menu. A higher setting brightens the photo but may scare animals.
Lower settings reduce flash brightness but might cause underexposed images. Find a balance based on your environment and target animals. Position the camera to avoid reflections from nearby objects. This helps reduce glare in night photos.
Trigger And Detection Errors
Trigger and detection errors are common issues with Browning trail cameras. These errors affect the camera’s ability to capture wildlife accurately. They can cause missed shots or unwanted photos. Understanding these problems helps improve your camera’s performance and photo quality.
False Triggers Causes
False triggers happen when the camera takes pictures without animals present. Moving leaves, sunlight, or heat changes can set off the sensor. Small animals or insects flying close to the lens may also cause false shots. This wastes battery power and fills memory cards with useless photos.
Improving Sensor Accuracy
To improve sensor accuracy, place the camera away from moving branches or direct sunlight. Adjust the camera’s sensitivity settings to reduce false triggers. Cleaning the lens and sensor regularly helps maintain proper function. Test the camera in the area before long use to find the best setup.
Storage And Memory Troubles
Storage and memory issues can cause Browning trail cameras to stop working well. These problems affect how many photos or videos the camera can save. They can also slow down the camera or cause errors. Understanding these troubles helps keep the camera ready for use.
Sd Card Compatibility
Not all SD cards work with Browning trail cameras. Some cards may be too large or too slow. The camera needs a card that matches its speed and size rules. Using the wrong card can cause the camera to fail to save photos. Always check the camera’s manual for the right card type. Buying a card from a trusted brand helps avoid problems.
Managing Storage Space
Trail cameras can fill up storage quickly with many photos and videos. Full storage stops the camera from saving new images. Regularly deleting old files frees up space. Using cards with bigger storage allows more captures. Some cameras let you set how many photos to keep. Managing storage keeps the camera working longer without interruption.
Connectivity Challenges
Connectivity challenges can make using a Browning trail camera frustrating. These cameras often rely on wireless connections for remote viewing and management. Poor signal, incorrect settings, or app issues may stop the camera from syncing properly. Understanding common problems helps keep your camera working smoothly.
Wireless Setup Tips
Place the camera where it gets a strong Wi-Fi or cellular signal. Avoid thick trees or metal objects near the camera. Use fresh batteries to keep the signal stable. Turn off other devices that may cause interference. Check the network name and password carefully. Connect the camera to a 2.4 GHz network for better range.
Troubleshooting App Sync
Make sure the app is updated to the latest version. Restart your phone and the trail camera before syncing. Confirm the camera’s firmware is current. Log out and log back into the app. Clear the app cache if syncing fails repeatedly. Try syncing from a different phone to rule out device issues. Check if the camera shows as online in the app.
Firmware And Software Updates
Firmware and software updates are important for Browning trail cameras. They fix bugs, improve performance, and add new features. Keeping your camera updated helps it run smoothly and avoid common problems.
Updates also improve battery life and image quality. Skipping updates may cause glitches or slow operation. Regularly checking for updates keeps your camera reliable and ready for action.
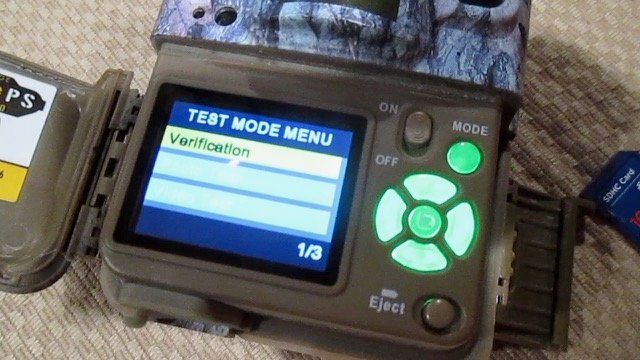
Updating Camera Firmware
Start by visiting the Browning website to find the latest firmware. Download the correct file for your camera model. Copy it to a formatted SD card or USB drive.
Insert the card or drive into your camera. Follow the on-screen instructions to begin the update. Do not turn off the camera during this process. The update takes a few minutes.
After updating, restart your camera. Check the firmware version in settings to confirm success. This simple step can solve many problems.
Resolving Software Bugs
Software bugs cause your camera to freeze or not capture images. Updating firmware often fixes these issues. If problems continue, reset the camera to factory settings.
Clear the memory card and reformat it in the camera. Remove and reinstall batteries to refresh power. If bugs persist, contact Browning support for help.
Staying current with software updates keeps your camera working well.
Physical Damage And Maintenance
Physical damage is a common issue for Browning trail cameras. These cameras face rough outdoor conditions. Rain, dust, and accidental drops can harm them. Proper maintenance helps keep your camera working well. It also extends the camera’s life. Taking small steps daily prevents many problems.
Protecting Your Camera
Choose a sturdy case to shield the camera from impact. Place the camera in a safe spot, away from heavy branches. Use straps or locks to secure it firmly to trees. Avoid direct sun exposure to prevent overheating. Check the camera regularly for signs of cracks or dents. Cover the lens with a clear plastic guard if possible.
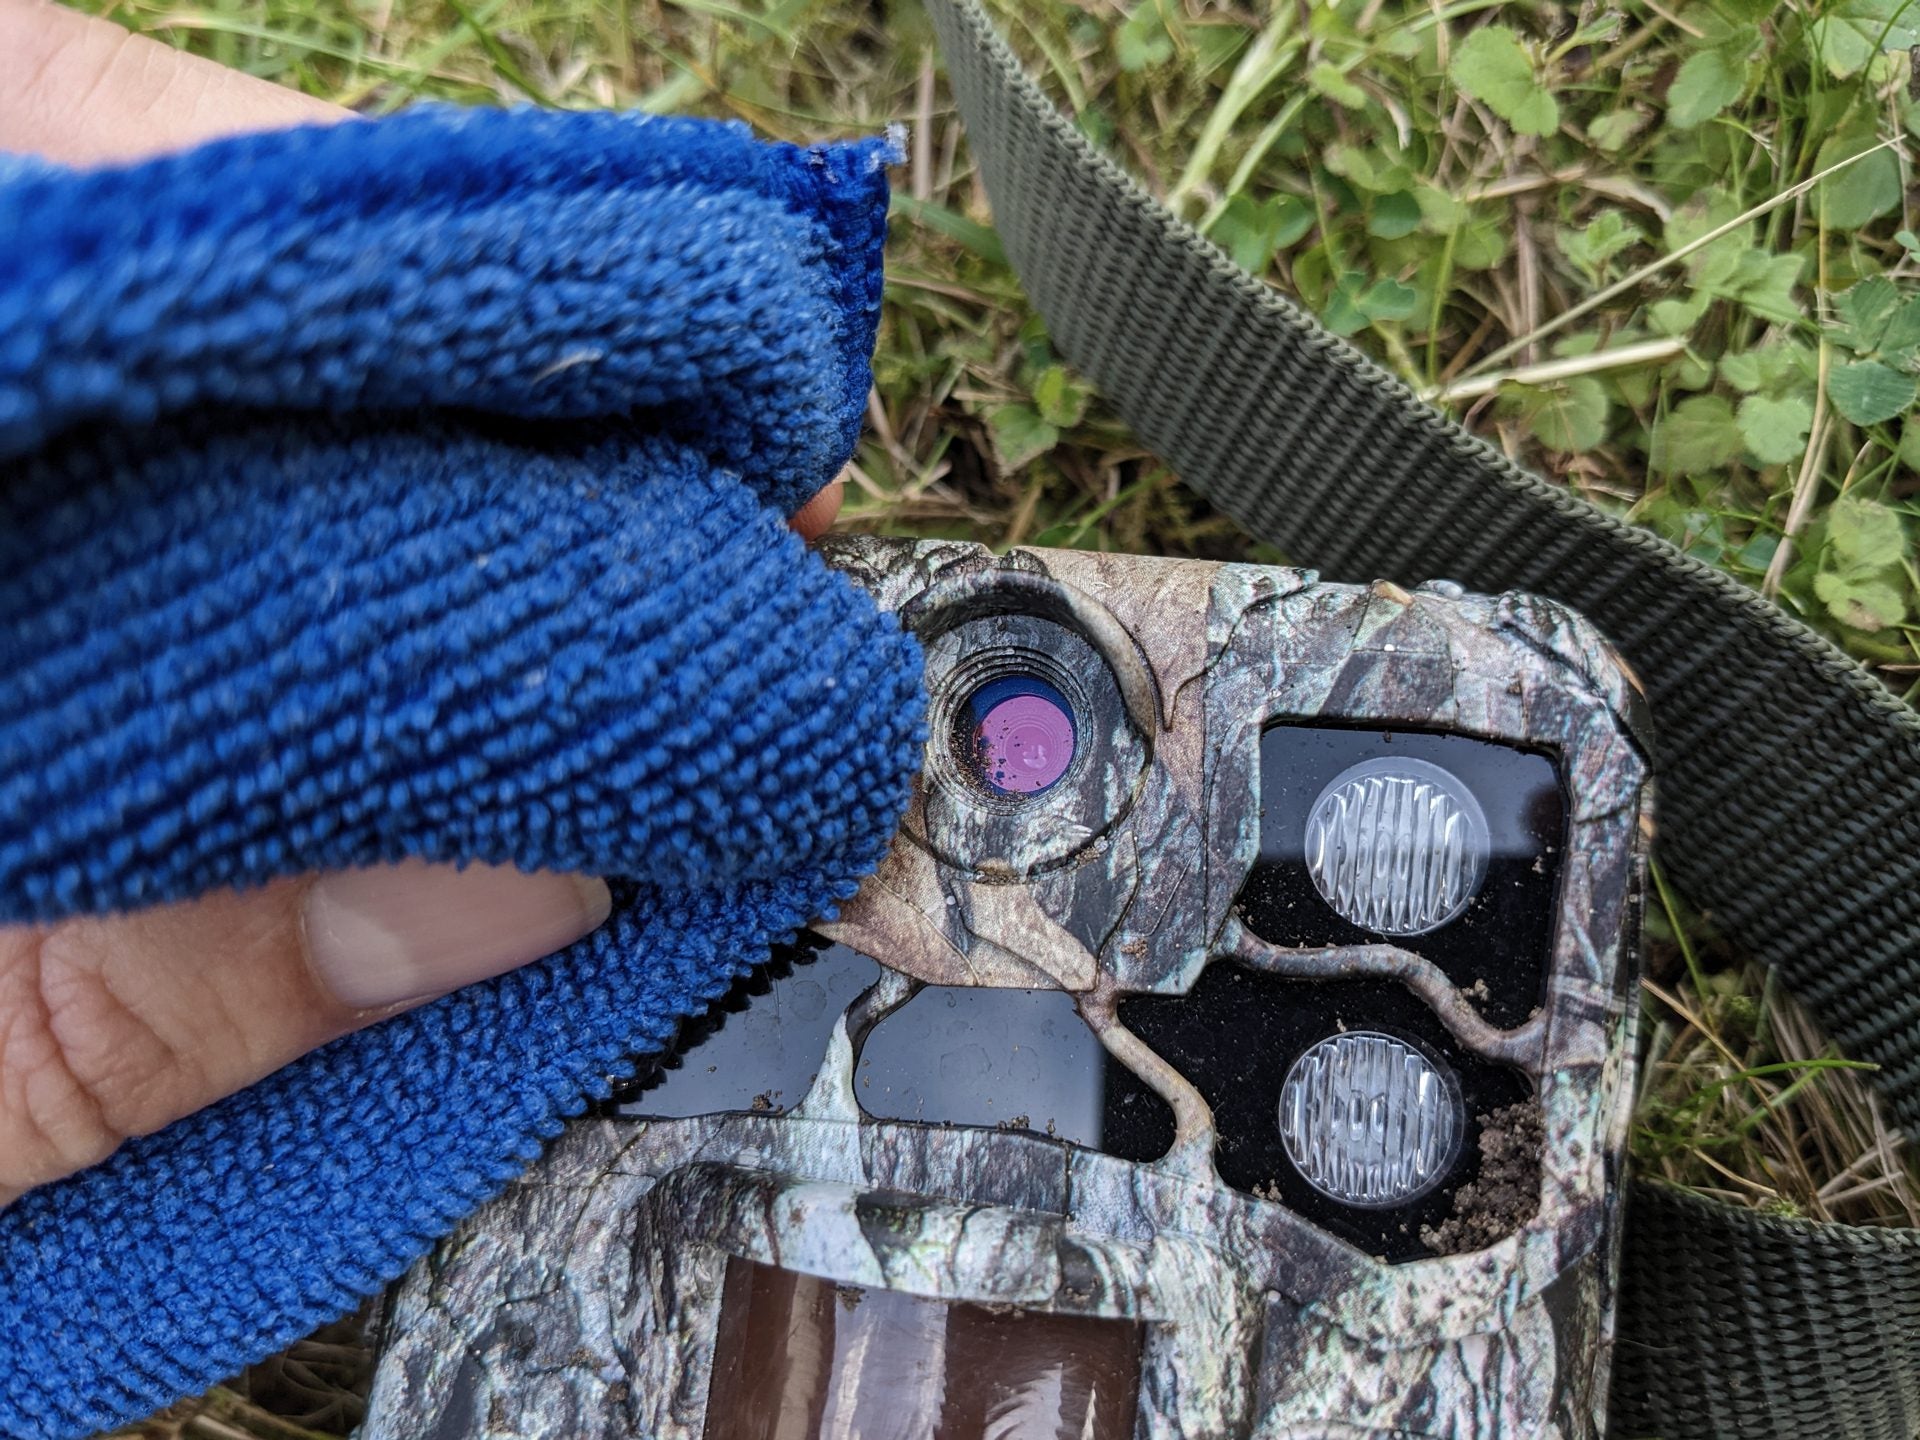
Cleaning And Care Tips
Use a soft cloth to wipe dirt from the lens and body. Avoid harsh chemicals that can damage the camera’s surface. Remove dust with a gentle brush or compressed air. Dry the camera thoroughly if it gets wet. Store the camera in a dry, cool place during long breaks. Regular cleaning improves photo quality and camera performance.

Credit: trailcamrookies.com
Frequently Asked Questions
Why Does My Browning Trail Camera Not Turn On?
Check the batteries first; weak or dead batteries often cause power issues.
How To Fix Browning Camera Not Taking Pictures?
Clean the lens and ensure the memory card is properly inserted.
What Causes Browning Trail Camera To Have Blurry Photos?
Dirty lens or incorrect focus settings can make images unclear.
Why Is My Browning Trail Camera’s Motion Sensor Not Working?
Obstructions or wrong sensor angle can block motion detection.
How To Prevent Browning Trail Camera From False Triggers?
Adjust sensitivity settings and avoid placing camera near heat sources.
Conclusion
Browning trail cameras can face common problems. Battery life may drain faster than expected. Sometimes, the camera might not trigger correctly. Image quality could be blurry or dark. These issues often have simple fixes. Check battery connections and replace old batteries.
Clean the lens regularly for clear pictures. Adjust settings to match your environment. Regular maintenance helps keep the camera working well. Understanding these problems saves time and frustration. Stay patient and troubleshoot step by step. Your trail camera will capture better wildlife moments.