A dripping faucet can be more than just an annoyance; it can be a relentless drip-drip-drip that keeps you awake at night and slowly drains your wallet by increasing your water bill. But don’t worry, you’re not alone in this battle.
Imagine the satisfaction of fixing that leak yourself, saving money, and gaining a new skill. It’s easier than you might think, and you don’t need to be a plumbing expert to do it. In this guide, you’ll discover simple and effective steps to stop that pesky drip once and for all.
Ready to take control and silence that faucet? Let’s dive in and turn off the drip for good.
Identify The Cause
Start by pinpointing the cause of your dripping faucet. Check for worn-out washers or damaged seals. Identifying the problem early can save water and prevent further damage.
A dripping faucet isn’t just an annoying sound echoing through your home; it’s also a waste of water and money. To fix a leaking faucet, you first need to identify the cause. This step is crucial as it helps you pinpoint the problem and tackle it effectively. Imagine waking up to the sound of a persistent drip, only to find a puddle forming beneath your sink. Wouldn’t it be great to solve this issue without calling a plumber? Let’s dive into understanding what might be causing your faucet to drip and how you can fix it.Common Dripping Issues
Dripping faucets can arise from several common issues. A worn-out washer or O-ring could be the culprit. Over time, these components wear out and cause leaks. Another possibility is a corroded valve seat. This is where the faucet connects to the spout and can be damaged by mineral deposits. Loose parts or broken plumbing can also lead to dripping. Check for loose nuts and bolts that might need tightening. Have you ever noticed how a simple twist of a wrench can sometimes silence a persistent drip? It’s often these small, overlooked issues that cause big headaches.Types Of Faucets
Understanding the type of faucet you have is key to identifying and fixing drips. There are four main types: compression, ball, cartridge, and ceramic disk. Compression faucets are the oldest type and have separate hot and cold handles. They often drip due to worn-out washers. Ball faucets are common in kitchens and have a single handle. They are prone to leaking due to the number of parts involved. Cartridge faucets can be single or double-handled. Drips usually occur when the cartridge wears out. Ceramic disk faucets are the most durable. However, a drip here might indicate a faulty ceramic disk. Next time you face a dripping faucet, take a moment to identify its type. With this knowledge, you’ll be better equipped to tackle the problem head-on. Are you ready to roll up your sleeves and stop that drip for good?
Credit: www.wikihow.com
Gather Necessary Tools
Stopping a faucet from dripping saves water and reduces your bill. Before beginning this simple DIY task, gather the right tools. Having the right tools makes the job quicker and easier. Let’s explore the basic and specialized tools you’ll need.
Basic Toolkit
Start with a basic toolkit. A flathead screwdriver and a Phillips screwdriver are essential. They help remove faucet handles and other parts. You’ll also need an adjustable wrench. It helps in loosening and tightening nuts and bolts. Don’t forget pliers. They grip and twist small parts with ease.
A flashlight is useful too. It helps you see in dark or tight spaces. Finally, keep a bucket handy. It catches water and prevents mess.
Specialized Equipment
Some tasks need specialized equipment. A basin wrench is great for hard-to-reach nuts. It’s perfect for under-the-sink work. A cartridge puller is useful for removing faucet cartridges. It makes the task easier and avoids damage.
Consider buying a faucet repair kit. It contains O-rings, washers, and seals. These parts often cause leaks. Having extras ensures you complete the repair without delay.
Turn Off Water Supply
Stopping a dripping faucet saves water and cuts utility costs. The first step is turning off the water supply. This prevents more water from flowing through the faucet, making it easier to fix the leak. It’s essential for safety and to avoid making a mess. This simple task is crucial before tackling the actual repair process.
Locate The Shut-off Valve
Find the shut-off valve under the sink. It’s usually close to the wall. Look for a small knob or lever. Turn it clockwise to close. This stops water flow to the faucet. If you can’t find it, check near the main water line.
Release Remaining Water
Once the valve is closed, open the faucet. This releases any water left in the pipes. Let it run until it stops completely. Doing this ensures the faucet is empty, making repairs easier and safer.
Disassemble The Faucet
Stopping a faucet from dripping involves disassembling it carefully. First, turn off the water supply to prevent leaks. Next, unscrew and remove the faucet handle to access the inner parts for repair.
A dripping faucet isn’t just annoying; it’s also a waste of water and money. Learning how to disassemble your faucet can be a game-changer. It’s a simple process that can save you from calling a plumber. Let’s dive into the steps to stop that relentless drip.Remove Faucet Handle
The first step is to remove the faucet handle. This might sound daunting, but it’s straightforward. Most handles are secured with a screw hidden under a decorative cap. Use a flathead screwdriver to gently pry off the cap. Once removed, you’ll see the screw that holds the handle in place. Using a screwdriver, unscrew it and carefully lift off the handle. It’s crucial to keep these small parts in a safe place to avoid losing them. Have you ever spent hours looking for a tiny screw on the floor? It’s not fun.Access The Valve
With the handle out of the way, you can now access the valve. The valve is the heart of your faucet. It’s what controls the flow of water. To get to it, you might need to remove a few more components. Use an adjustable wrench to unscrew the retaining nut. Once it’s loose, you can take out the valve stem or cartridge. Inspect it closely. Is it worn out or damaged? This could be the culprit behind your dripping faucet. Replacing a faulty valve is often a quick fix that stops the drip immediately. Remember, patience is key. Take your time to understand how each part fits together. Have you ever fixed something and felt a great sense of accomplishment? That’s what awaits you here. By taking these steps, you’re not just fixing a faucet; you’re gaining confidence in tackling household repairs. Who knew stopping a drip could be so empowering?Inspect And Replace Parts
Inspecting and replacing parts can stop a faucet from dripping. This process involves checking and possibly changing components inside the faucet. Many times, worn-out parts are the culprits behind leaks. With a few tools and some patience, you can fix the issue yourself. Here’s how to inspect and replace crucial parts.
Check Washers And O-rings
Washers and O-rings often wear out over time. They create seals in the faucet. Start by turning off the water supply. Then, take apart the faucet handle. Look for the washer and O-ring at the base. Inspect them closely. If they appear cracked or worn, replace them. Use the correct size for your model. A new washer or O-ring can stop the drip.
Examine Valve Seat
The valve seat is another important part. It connects the faucet and the spout. Mineral deposits can corrode the valve seat. This leads to leaks. Remove the valve seat with a seat wrench. Check for damage or wear. If needed, replace it with a new one. A smooth valve seat ensures a tight seal. This helps in stopping the drip.
Reassemble The Faucet
Fixing a dripping faucet involves reassembling it carefully. Ensure all parts fit snugly to stop leaks. Proper alignment prevents further drips and saves water.
Reassemble the faucet carefully to stop the annoying drip. This crucial step ensures your faucet functions well and remains leak-free. Follow these guidelines to reassemble each part correctly. Proper reassembly will prevent future issues and extend the life of your faucet.Properly Align Components
Start with aligning all faucet components correctly. Place each piece in its designated position. Check the valve seat and the washer. Ensure they fit snugly and smoothly. Misaligned parts can cause leaks. Use diagrams or instructions to guide you. Proper alignment ensures a tight seal. It prevents water from escaping. Double-check all alignments before proceeding.Secure The Handle
Once components are aligned, secure the handle firmly. Attach the handle to its base. Tighten the screw properly. Loose handles may cause a dripping faucet. Use a screwdriver to ensure a secure fit. Check for any wobbling or movement. A secure handle prevents water from leaking. Test the handle after tightening. Ensure it operates smoothly and without resistance.Test For Leaks
Testing for leaks is a crucial step in fixing a dripping faucet. After repairing the faucet, ensure everything works perfectly. Leaks can cause water wastage and increase your bill. Identifying and stopping leaks is essential.
Restore Water Supply
Start by restoring the water supply to the faucet. Turn the main valve gently to avoid pressure issues. This step checks if the repair holds under normal water pressure. If the faucet drips, further inspection is needed.
Monitor For Dripping
Observe the faucet closely for any signs of dripping. Listen for water sounds and watch for drops. Monitoring helps ensure the repair was successful. If dripping occurs, adjustments might be necessary. Tighten any loose parts or replace faulty components. Ensure all seals are intact and correctly fitted.

Credit: www.wmhendersoninc.com
Prevent Future Drips
Fixing a dripping faucet saves water and reduces utility bills. Replace worn-out washers or seals to prevent leaks. Tighten any loose parts carefully to ensure a proper fit.
Preventing future drips saves money and reduces waste. Regular checks and upgrades help maintain faucets. These steps ensure smooth operation and longevity. Avoid leaks and costly repairs by keeping your faucet in top condition. Follow these tips for a drip-free experience.Regular Maintenance Tips
Routine maintenance keeps faucets in peak condition. Clean them regularly to prevent mineral buildup. Use a soft cloth and mild cleaner. Check seals and washers for wear. Replace them if damaged. Tighten loose parts to avoid leaks. Listen for unusual sounds. They may indicate a problem. Fix them early to prevent bigger issues.Upgrade Faucet Components
Old parts cause frequent drips. Consider upgrading faucet components. Modern faucets use durable materials. They last longer and need fewer repairs. Ceramic disk faucets resist wear better than rubber washers. Install them for reliable performance. Choose high-quality brands. They often offer better warranties. Ensure compatibility before purchasing new parts. Better components mean fewer drips.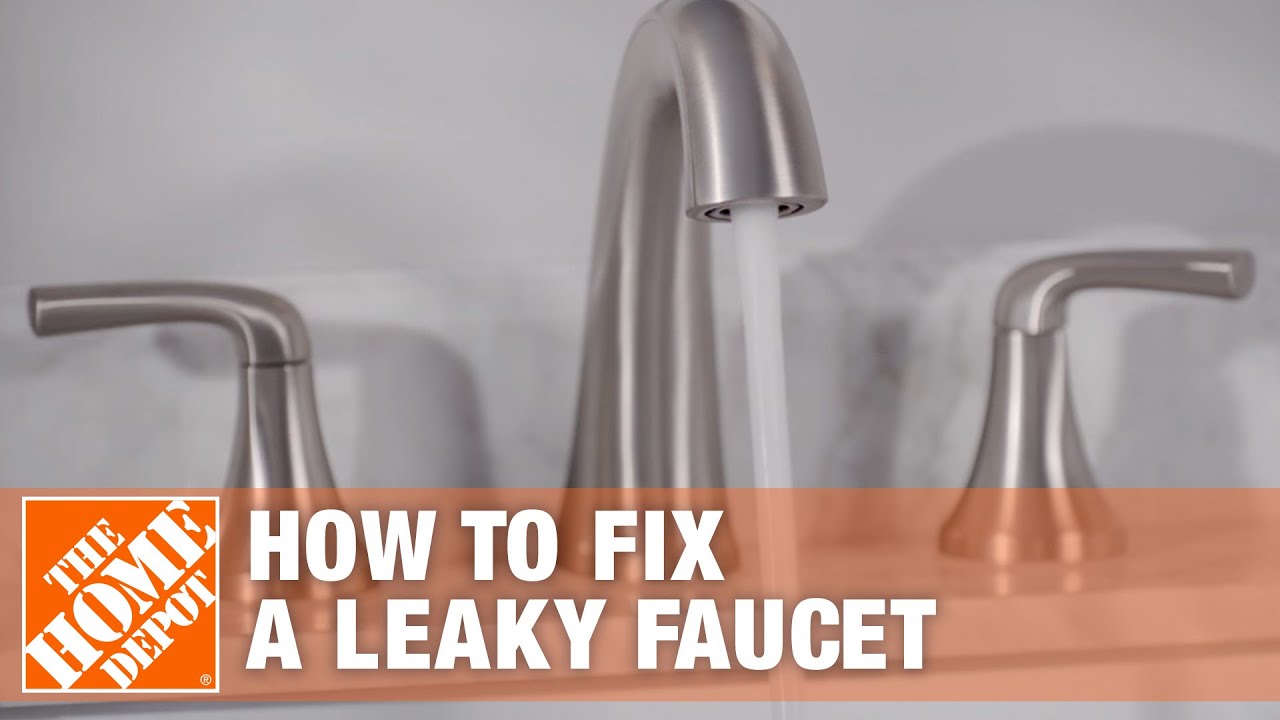
Credit: www.homedepot.com
Frequently Asked Questions
What Causes A Faucet To Drip?
A faucet usually drips due to worn-out washers or seals. Mineral build-up can also cause leaks. Check these first.
How Can I Fix A Dripping Faucet Myself?
Turn off the water supply. Replace the worn-out parts like washers or seals. Use basic tools like a wrench.
Is A Dripping Faucet Expensive To Repair?
Fixing a dripping faucet is often cheap. Parts like washers cost a few dollars. DIY repairs save money.
Do Dripping Faucets Waste A Lot Of Water?
Yes, dripping faucets waste significant water over time. A single drip can waste gallons annually. Fix leaks promptly.
Can A Dripping Faucet Lead To Higher Bills?
Absolutely! Unfixed drips increase water usage, leading to higher bills. Repairing leaks helps reduce costs quickly.
Conclusion
Stopping a faucet from dripping saves water and money. Start by identifying the problem. Check washers and seals; replace if worn. Tighten loose parts carefully. Use a wrench if needed. Avoid over-tightening. Consider professional help for complex issues. Regular maintenance prevents future drips.
Keep tools handy for quick fixes. Leaky faucets waste resources. A little effort goes a long way. Enjoy a drip-free sink. It’s simple and cost-effective. Follow these tips to keep your faucet leak-free. Experience the satisfaction of a dry countertop.
Enjoy peace of mind with every drop saved.