Your kitchen is the heart of your home, a place where you gather, create, and enjoy meals with loved ones. But let’s face it, keeping your kitchen floor tiles spotless can be a real challenge.
Every day, spills, splatters, and crumbs can turn your pristine tiles into a grimy mess. You might feel overwhelmed just thinking about cleaning them, but don’t worry! We’ve got you covered with simple and effective tips that will make your kitchen shine again.
Imagine walking into a kitchen where the floor gleams with cleanliness, making every cooking session more enjoyable. By the end of this article, you’ll have all the knowledge you need to tackle those stubborn stains and maintain a fresh, inviting kitchen space that you can be proud of. So, let’s dive in and discover how you can transform your kitchen tiles from dull to dazzling!
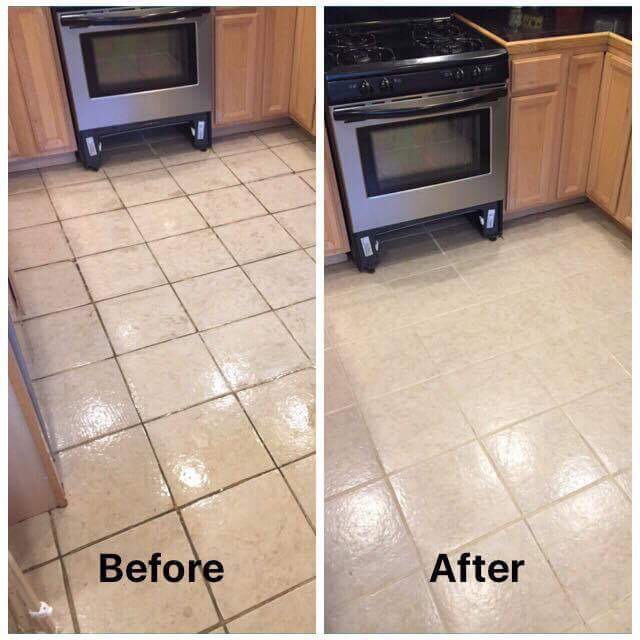
Credit: afineshine.com
Choosing The Right Cleaning Tools
Cleaning kitchen floor tiles can be a daunting task. But with the right tools, it becomes much easier. Selecting the perfect cleaning tools ensures your tiles stay spotless. It also preserves their shine and durability. Let’s explore how to choose the best tools for cleaning your kitchen floor tiles.
1. Broom And Dustpan
A good-quality broom is essential for sweeping away dirt. Opt for one with soft bristles. This will prevent scratches on your tiles. Pair it with a dustpan that has a rubber edge. This helps in gathering even the smallest debris.
2. Microfiber Mop
Microfiber mops are ideal for tile floors. They attract dust and grime effectively. Choose a mop with a removable, washable pad. This makes it eco-friendly and cost-effective. Microfiber mops also dry quickly, preventing water spots.
3. Sponge Mop
Sponge mops are perfect for sticky spills. Select one with an extendable handle. This allows you to reach under appliances and furniture. Make sure the sponge is replaceable. This ensures hygiene and efficiency.
4. Scrub Brush
Stubborn stains need a sturdy scrub brush. Look for one with a comfortable grip. It should have firm bristles for effective cleaning. A long handle is a bonus for reaching corners. Use it with mild cleaning solutions for best results.
5. Vacuum Cleaner
A vacuum cleaner with a hard floor setting is useful. It quickly removes dust and crumbs. Choose one with a soft brush attachment. This will prevent any scratches on the tiles. A lightweight vacuum is easy to maneuver in tight spaces.
6. Cleaning Solutions
Select a cleaning solution made for tile floors. Avoid harsh chemicals that can damage the surface. Natural solutions like vinegar and water are effective. Always test on a small area first. This ensures the solution doesn’t affect the tile’s finish.
Credit: www.homedepot.com
Selecting Suitable Cleaning Solutions
Choosing the right cleaning solution for your kitchen floor tiles can make a world of difference. It’s not just about achieving a spotless floor but also preserving the quality and longevity of the tiles. The challenge is finding a solution that effectively cleans without causing damage or leaving a residue.
Understanding Your Tile Type
Before grabbing any cleaning product, identify the type of tile you have. Ceramic, porcelain, stone, and vinyl each require different care. Using the wrong cleaner can lead to faded colors or even eroded surfaces.
Consider how your tiles react to water. Some tiles, like natural stone, are more porous and need specific solutions that won’t seep in and cause damage.
Opting For Mild Detergents
Mild detergents are often your best friend when it comes to regular cleaning. They are effective for removing everyday grime while being gentle on most tile surfaces. A mix of warm water and a few drops of mild dish soap can work wonders.
Remember the time when I tried a harsh cleaner on my ceramic tiles, only to find out it dulled the finish? It taught me that sometimes less is more.
The Power Of Natural Solutions
Vinegar and baking soda can be surprisingly effective, especially for stubborn stains. Vinegar cuts through grease, while baking soda acts as a gentle scrub. However, steer clear of vinegar on natural stone tiles as it can eat away at the surface.
Have you ever thought about the environmental impact of your cleaning routine? Natural solutions are not only effective but also eco-friendly, reducing your carbon footprint one clean at a time.
Commercial Cleaners: What To Look For
When selecting a commercial cleaner, look for those specifically labeled for your tile type. Avoid products with harsh chemicals or strong fragrances that can linger and affect indoor air quality. Reading reviews and asking for recommendations can guide you to the most effective products.
Reflect on the last time you bought a cleaner based on the packaging or brand name alone. Did it meet your expectations or leave you wishing you had researched more?
Testing Before Committing
Always test a new cleaning solution on a small, inconspicuous area first. This helps you avoid widespread damage if the product doesn’t agree with your tiles. It’s a simple step that many skip, but it can save you a lot of headaches.
Think about how much peace of mind you get from knowing your entire floor won’t be affected by a poor product choice. Isn’t it worth the extra minute it takes to test?
Selecting the right cleaning solution isn’t just about cleanliness; it’s about maintaining your kitchen’s charm and functionality. With the right approach, you can enjoy a spotless kitchen floor without compromising its beauty or integrity. What solutions have you found most effective for your kitchen tiles?
Preparing The Kitchen For Cleaning
Preparing your kitchen for cleaning is an essential first step. It sets the stage for an efficient cleaning process. Proper preparation minimizes disruption and ensures thorough cleaning.
Before you begin, clear the area of any obstacles. This includes removing furniture and appliances from the kitchen floor. A clutter-free space allows easy access to every corner.
Gather all necessary cleaning supplies beforehand. This prevents unnecessary interruptions during the cleaning process. Choose cleaning products suitable for your tile type to avoid damage.
Ensure proper ventilation in your kitchen. Open windows and doors for fresh air circulation. This helps in reducing the accumulation of cleaning fumes.
Put on gloves to protect your hands from harsh chemicals. Safety is a priority, and gloves prevent skin irritation.
Declutter The Kitchen Space
Start by removing any items from the floor. Chairs, tables, and appliances should be moved aside. This creates a clear path for cleaning.
Check for loose objects, like toys or utensils. Pick them up and store them safely. A tidy workspace enhances cleaning efficiency.
Organize Cleaning Supplies
Place all cleaning tools in one accessible location. Include a mop, bucket, and cleaning solution. Having everything nearby saves time.
Ensure the cleaning products match your tile’s material. Different tiles require specific cleaners. Read labels carefully to avoid damage.
Ensure Proper Ventilation
Open windows and doors before starting. This allows fresh air to circulate. Proper ventilation reduces the risk of inhaling cleaning fumes.
Use fans if available. They help in maintaining air flow. Fresh air keeps the environment safe and comfortable.
Wear Protective Gloves
Put on gloves to shield your skin. Cleaning chemicals can cause irritation. Gloves offer protection and comfort.
Choose gloves that fit snugly. Loose gloves may hinder movement. A proper fit ensures ease of use during cleaning.
Credit: www.goodhousekeeping.com
Removing Loose Debris
Removing loose debris is the first step in cleaning kitchen floor tiles. This process makes it easier to tackle stains and dirt later. Loose debris includes crumbs, dust, and small particles. It is important to remove them before using water or cleaning solutions.
Sweeping Techniques
Start with a quality broom. It should have soft bristles to avoid scratching tiles. Sweep in straight lines from one end to the other. Don’t forget corners and edges; they often hide dirt. Sweep regularly to prevent build-up.
Vacuuming Tips
Use a vacuum cleaner with a hard floor setting. This prevents damage to tiles. Choose a model with strong suction for best results. Vacuum edges and corners thoroughly. Empty the vacuum bag often to maintain efficiency.
Deep Cleaning Methods
Maintaining spotless kitchen floor tiles enhances the overall look of your kitchen. Regular cleaning is essential, but sometimes, deep cleaning is necessary. Deep cleaning methods ensure your tiles remain shiny and free of stains. This section explores effective ways to deeply clean your kitchen tiles, ensuring they look their best.
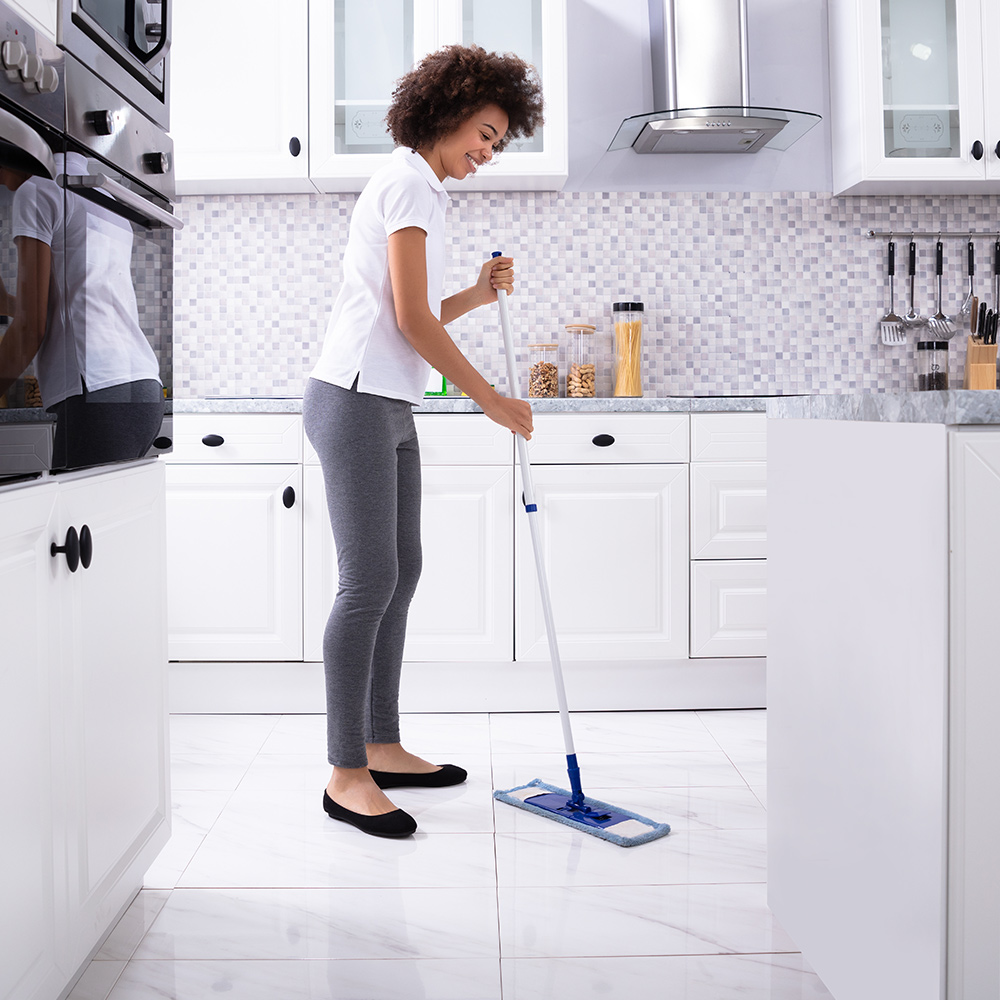
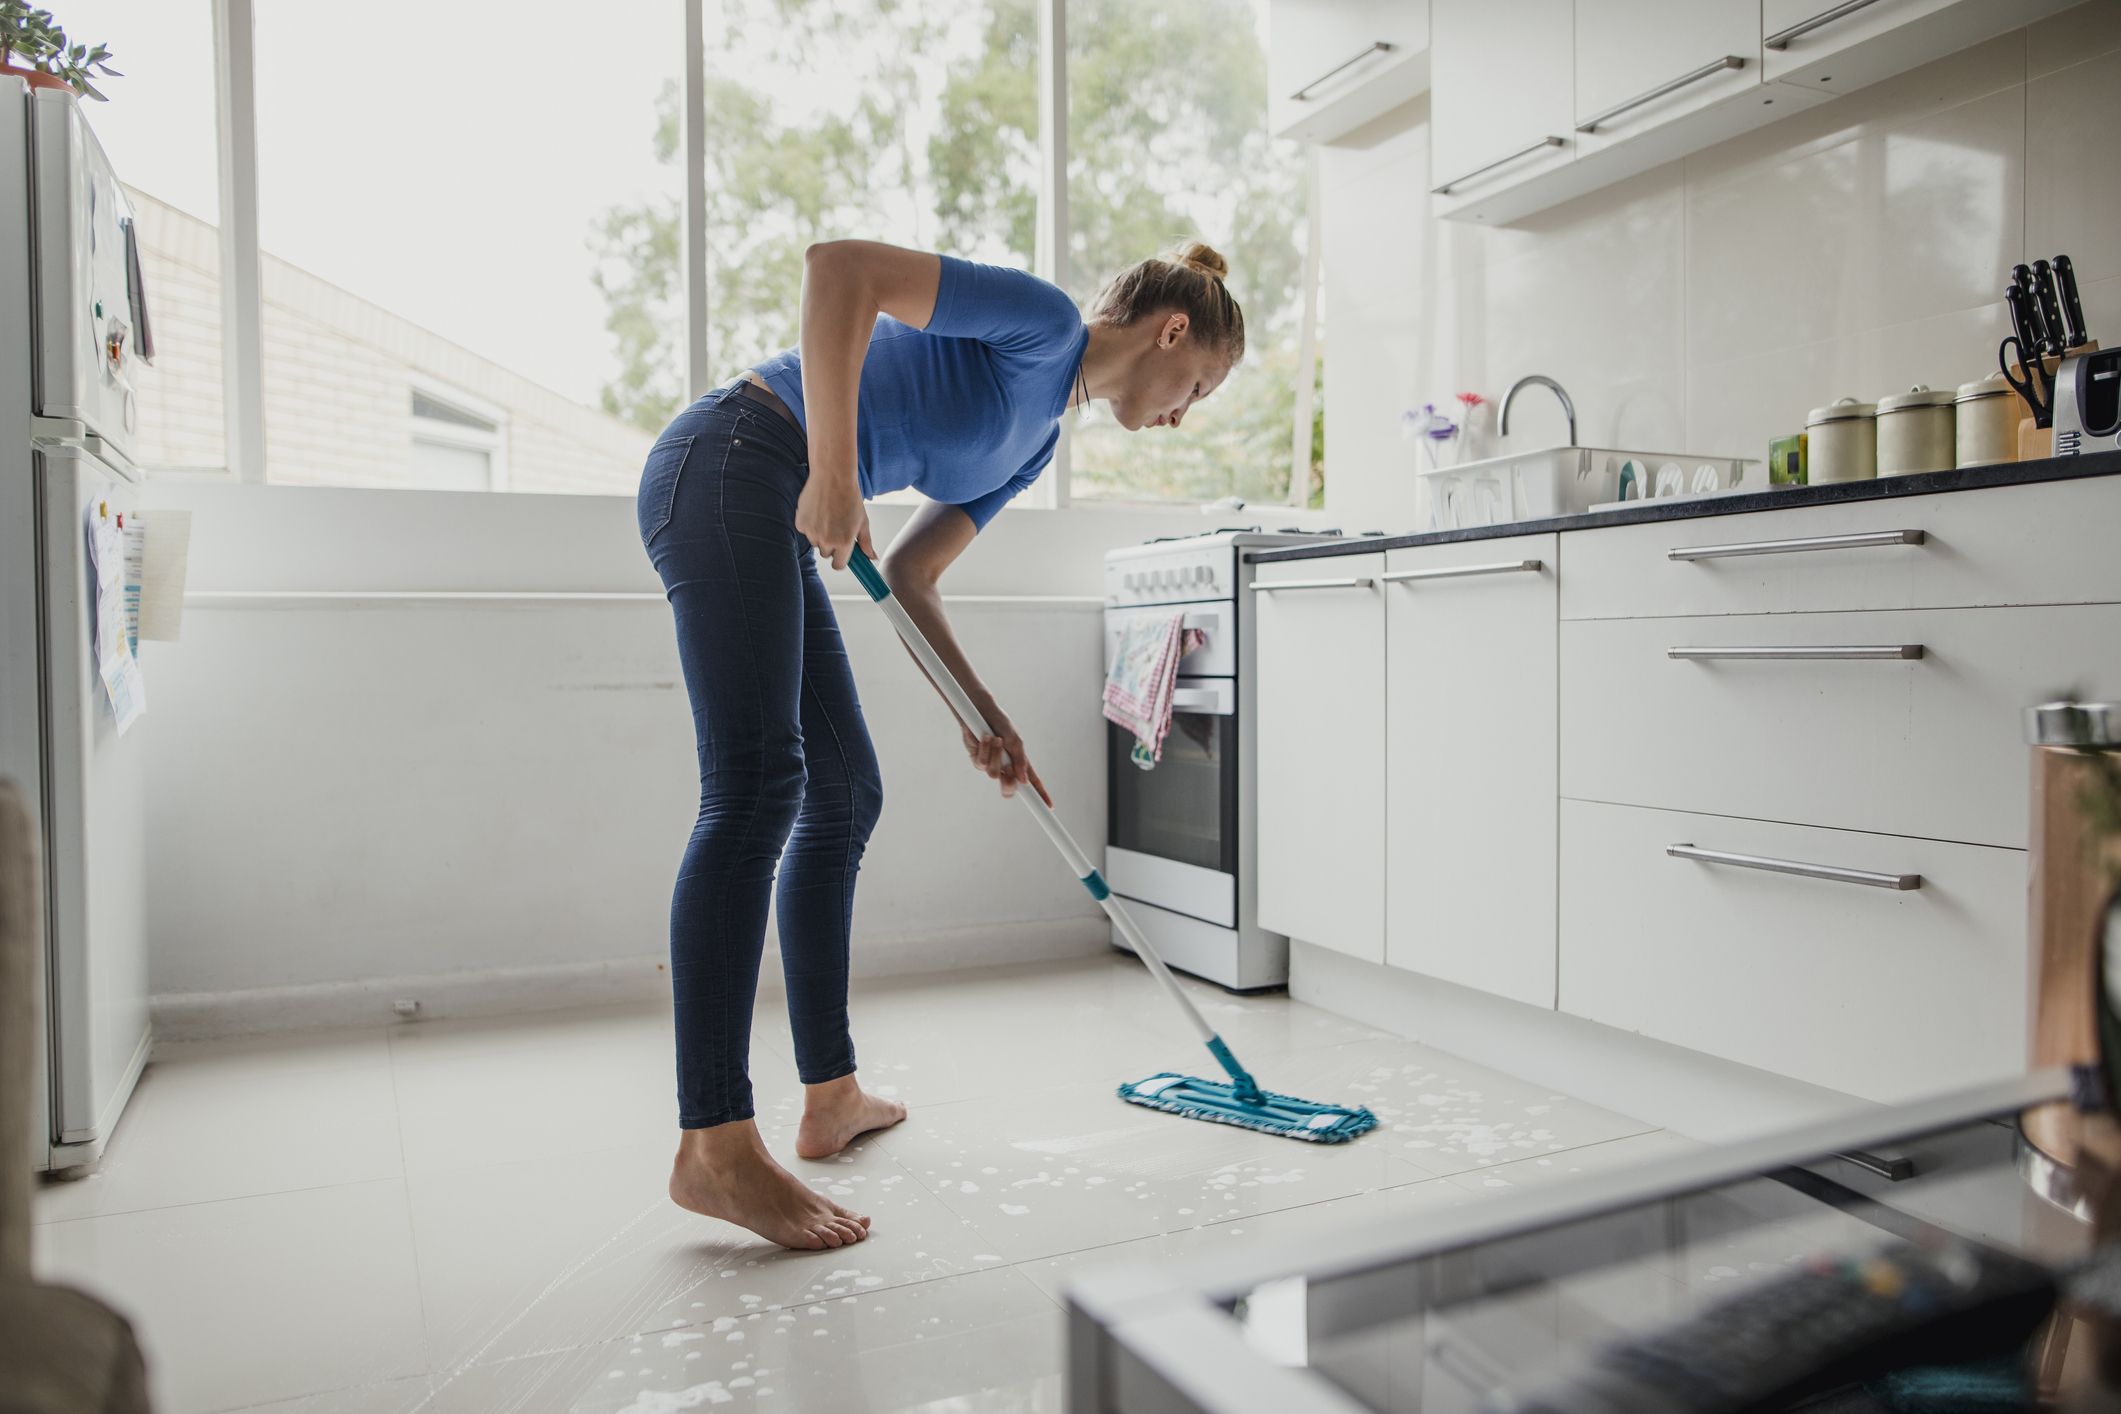
Mopping Techniques
Mopping is a fundamental cleaning method for kitchen tiles. Use a microfiber mop for the best results. It traps dirt and dust efficiently. Start by sweeping the floor to remove loose debris. Then, fill a bucket with warm water and a few drops of mild detergent. Dip the mop into the solution, wring it out, and start mopping. Use overlapping strokes for thorough cleaning. Change the water if it becomes cloudy. This method prevents dirt from spreading across the floor.
Steam Cleaning
Steam cleaning is a powerful method to deep clean tiles. It uses heat to remove grime and bacteria. Fill the steam cleaner with water and let it heat up. Start cleaning from one corner and work your way across the room. Move the steam cleaner slowly to allow the steam to penetrate the tiles. This method is chemical-free, making it safe for homes with children and pets. Remember to dry the floor with a clean towel afterward. This step prevents water spots and streaks.
Tackling Stubborn Stains
Cleaning kitchen floor tiles can be challenging. Stubborn stains often refuse to budge. They require special attention. Regular cleaning methods might not work. In this section, learn effective ways to handle these stains.
Spot Cleaning Tips
Identify the type of stain first. Use a soft cloth for scrubbing. Avoid hard brushes. They can damage tiles. For greasy stains, use dish soap. Mix with warm water. Gently scrub the area. Rinse with clean water. Dry with a soft towel. For coffee or tea stains, use vinegar. Apply with a cloth. Let it sit for a few minutes. Scrub gently. Rinse and dry thoroughly.
Natural Remedies
Lemons work wonders on stubborn stains. Cut a lemon in half. Rub it directly on the stain. Let it sit for 10 minutes. Rinse with warm water. Baking soda is another option. Make a paste with water. Apply to the stain. Leave it for 15 minutes. Scrub gently with a soft brush. Rinse and dry the area. Hydrogen peroxide helps with tough stains. Apply directly. Let it sit for a few minutes. Rinse off and dry.
Maintaining Tile Grout
Kitchen floor tiles need regular cleaning for a fresh look. Use a mild cleaner and a soft brush to scrub grout gently. Rinse with water and dry with a clean cloth to prevent mold and stains.
Maintaining the grout between your kitchen floor tiles is essential to keeping your kitchen looking fresh and clean. Grout can easily become discolored and stained, especially in high-traffic areas. Regular maintenance not only enhances your kitchen’s appearance but also extends the life of your tiles.
###
Grout Cleaning Solutions
Choosing the right cleaning solution can make all the difference. A mixture of baking soda and water is a natural and effective option. Simply create a paste, apply it to the grout, and scrub gently with a toothbrush.
For a stronger clean, consider using a commercial grout cleaner. These products are specifically designed to tackle tough stains. Always follow the instructions carefully to avoid damaging the grout.
A little trick from my own kitchen: white vinegar and water can work wonders. Spray it on, let it sit, and watch the grime lift away.
###
Preventing Grout Discoloration
Prevention is key to keeping grout looking new. Seal your grout lines once a year to protect them from moisture and stains. A grout sealer acts as a barrier, making it easier to clean spills before they seep in.
Regularly sweep and mop your floors. Dirt and spills left unattended can quickly lead to discoloration. Use a pH-neutral cleaner to avoid damaging the grout over time.
Think about how often you walk through your kitchen. How often do you check the grout for stains? Being proactive can save time and effort in the long run.
Finally, place mats or rugs in high-traffic areas. They help minimize the dirt and debris that gets tracked onto your tiles and grout. Keep your grout looking its best with these simple measures.
Drying And Finishing Touches
Ensure a spotless finish by drying tiles with a clean cloth. This prevents water spots. For a polished look, buff tiles gently.
Cleaning your kitchen floor tiles is only part of the journey to a spotless and welcoming space. It’s the drying and finishing touches that truly complete the process, leaving your kitchen looking pristine and ready for action. This final step is not just about aesthetics; it’s also about ensuring safety and preserving the longevity of your tiles. Let’s dive into the details of how you can achieve a perfect finish.
Drying The Floor Thoroughly
Once you’ve cleaned your tiles, drying them properly is crucial. Use a clean, dry microfiber mop or a soft towel to gently absorb the remaining moisture. This prevents water spots and streaks that could dull the shine of your tiles.
Open windows or use a fan to promote air circulation. This speeds up the drying process, especially in humid environments. Have you ever noticed how quickly a room transforms when it’s well-ventilated?
Inspecting For Missed Spots
After drying, take a moment to inspect your floor. Look for any spots you might have missed. A flashlight can help highlight areas that still need attention.
Don’t hesitate to give a quick touch-up if necessary. Even the most thorough cleaning can leave behind stubborn dirt in grout lines or corners.
Applying A Protective Sealant
Consider applying a protective sealant to your tiles, especially if they’re porous. This adds an extra layer of protection against stains and spills.
Check the manufacturer’s guidelines for the best type of sealant for your tiles. Investing a little time in this step can save you from future headaches.
Rearranging Furniture With Care
Before moving furniture back into place, ensure the floor is completely dry. This prevents scratches and scuffs. Use furniture pads to protect your tiles.
Have you ever tried rearranging your kitchen layout for a fresh look? Now might be the perfect time to experiment with new arrangements.
Reflect On Your Cleaning Routine
As you wrap up, consider how your cleaning routine went. Did you encounter any challenges? Was there a particular step that made a difference in the results?
Your feedback can help fine-tune your process for next time. Cleaning is not just a task—it’s an opportunity to create a space where you feel at home.
Preventive Measures For Future Cleaning
Regular cleaning keeps kitchen floor tiles looking fresh. Use mild soap and water for daily maintenance. Wipe spills immediately to prevent stains. For deep cleaning, consider a mixture of vinegar and water. Avoid abrasive cleaners to protect tile surfaces. Consistent care extends the life of your tiles.
Cleaning kitchen floor tiles can be a chore, but with preventive measures, you can make future cleaning easier. Imagine walking into your kitchen and seeing sparkling tiles without the need for a deep clean every week. By adopting simple habits and protective strategies, you can keep your kitchen floor looking its best for longer.
Regular Maintenance Schedule
Consistency is key. Establish a routine for cleaning your floor tiles regularly. Consider setting aside a few minutes each day to sweep or vacuum. This helps prevent dirt and grime from building up.
Weekly mopping with warm water and a mild detergent can keep tiles looking fresh. If you’re already in the habit of cleaning other parts of your kitchen, simply extend that routine to the floor tiles.
Protective Measures
Think about how you can protect your tiles from scratches and stains. Place rugs or mats in high traffic areas, especially near the sink and stove. They can catch spills before they hit the tiles.
Use felt pads under furniture legs to prevent scratches. A friend once told me how she avoided a costly tile replacement by using these pads under her dining table and chairs.
Have you considered sealing your tiles? Sealants can act as a barrier against stains and water damage, keeping your tiles pristine.
By implementing these preventive measures, you can save time and effort in future cleaning. What small changes can you make today to maintain your kitchen floor tiles?
Frequently Asked Questions
How Often Should I Clean Kitchen Tiles?
Clean kitchen tiles weekly to prevent grime buildup. Regular cleaning keeps them looking fresh and hygienic.
What Is The Best Cleaner For Kitchen Tiles?
Use mild dish soap or vinegar. Both effectively remove dirt without damaging tiles. Avoid harsh chemicals.
Can Vinegar Damage Kitchen Floor Tiles?
Vinegar is safe for most tiles. It cleans well without harm. Test a small area first to be sure.
How Do I Remove Stains From Kitchen Tiles?
Use baking soda paste. Apply on stain, scrub gently, then rinse. Effective for most common stains.
Is Steam Cleaning Safe For Kitchen Tiles?
Steam cleaning is safe for ceramic and porcelain tiles. It cleans deeply, removing bacteria without chemicals.
Conclusion
Clean kitchen floor tiles regularly. It keeps them sparkling and hygienic. Use mild cleaners. They protect the tile surface. Avoid harsh chemicals. They can damage the tiles. A soft brush works well. It reaches tough spots. Rinse thoroughly after cleaning.
It removes residue. Dry the floor completely. It prevents mold growth. Always follow safety tips. Wear gloves while cleaning. Keep your kitchen clean and safe. The right technique makes a difference. Enjoy a spotless kitchen floor!