Are you tired of your kitchen’s outdated look but hesitant to invest in a costly renovation? What if you could transform your kitchen cabinets with just a few strokes of a brush?
Enter the world of chalk paint—a simple, budget-friendly solution that can breathe new life into your kitchen without breaking the bank. If you’ve ever wondered, “Can you chalk paint kitchen cabinets? ” You’re in the right place. This article will guide you through everything you need to know about using chalk paint on your cabinets, exploring its benefits, potential drawbacks, and the steps to achieve a stunning, professional finish.
Get ready to unleash your inner DIY expert and discover how this transformative paint could be the perfect solution for your kitchen makeover dreams!
Chalk Paint Basics
Chalk paint offers a unique finish for kitchen cabinets. This paint provides an easy way to refresh old cabinets. The matte finish of chalk paint gives a modern look without the need for priming. It’s popular for its simplicity and versatility. Let’s dive into the basics of chalk paint.
What Is Chalk Paint?
Chalk paint is a water-based paint with a chalky finish. It dries quickly and adheres to surfaces without much preparation. Annie Sloan created it for furniture, but it works on cabinets too. Chalk paint covers well and hides imperfections easily. It’s ideal for people wanting a quick makeover.
Benefits Of Chalk Paint
Chalk paint doesn’t need extensive prep work. You can skip sanding and priming. It’s perfect for busy homeowners. The paint dries fast, reducing project time. Chalk paint offers a vintage look with minimal effort. It’s durable and easy to clean.
How To Apply Chalk Paint
Applying chalk paint is straightforward. Start with a clean surface. Use a brush or roller for smooth application. Two coats are usually enough. Let the paint dry between coats. Finish with a wax or topcoat for protection.
Choosing The Right Color
Chalk paint comes in various colors. Choose a color that matches your kitchen style. Lighter shades make spaces appear bigger. Darker tones add depth and warmth. Experiment with samples before painting all cabinets.
Maintaining Chalk Painted Cabinets
Maintenance is simple with chalk paint. Wipe cabinets with a damp cloth. Avoid harsh chemicals. Re-wax every year for best results. Regular care keeps the paint looking fresh longer.
Benefits Of Chalk Painting Cabinets
Chalk painting kitchen cabinets offers a fresh and affordable way to update your space. This method has gained popularity for its unique finish and ease of use. Chalk paint brings a rustic charm, making cabinets look chic and stylish. Homeowners love it for its flexibility, letting them customize their kitchen without breaking the bank.
Cost-effectiveness
Chalk paint is budget-friendly. You can transform your cabinets without spending a lot. Traditional cabinet refinishing can be pricey, but chalk paint is affordable. This makes it a great choice for budget-conscious home improvements.
Versatility And Style
Chalk paint offers a versatile finish. It suits various styles, from modern to vintage. You can create a matte or distressed look easily. The range of colors available lets you personalize your kitchen. This adds character and charm to your home.
Minimal Prep Work
Chalk painting requires little preparation. You don’t need to sand cabinets extensively. This saves time and effort. The paint adheres well to most surfaces, simplifying the process. You can start painting quickly, making it an efficient choice.
Choosing The Right Chalk Paint
Painting kitchen cabinets with chalk paint can transform your space. Choosing the right chalk paint is essential for a stunning result. Not all chalk paints are created equal. Quality and color are key factors. Understanding these can help you make an informed choice.
Popular Brands
Several brands offer high-quality chalk paints. Annie Sloan is a favorite among DIY enthusiasts. It provides a smooth finish and vibrant colors. Rust-Oleum is another trusted name. It offers durability and a wide range of shades. FolkArt has options that are easy to use for beginners.
Color Selection
Color choice can impact your kitchen’s atmosphere. Light colors make spaces feel larger and airy. Dark shades add warmth and coziness. Consider your kitchen’s natural light. Popular colors include white, gray, and soft pastels. Bold colors can add a unique touch.
Finish Options
Chalk paint offers various finishes. Matte finish provides a rustic look, great for country-style kitchens. Satin finish adds subtle shine and is easy to clean. Glossy finish is modern and reflects light beautifully. Each finish has its own charm.
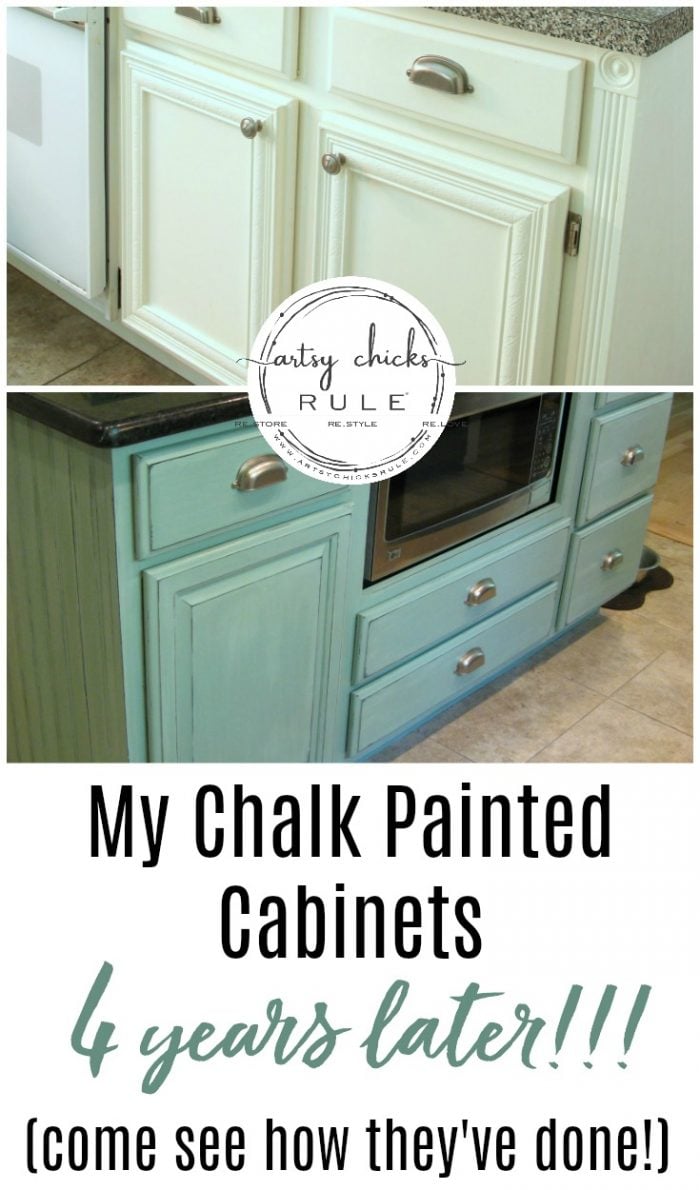
Credit: www.artsychicksrule.com
Preparing Cabinets For Chalk Paint
Thinking about refreshing your kitchen cabinets with a coat of chalk paint? You’re in for an exciting DIY project that can transform your kitchen without breaking the bank. However, before you dive into the painting process, it’s crucial to prepare your cabinets properly. Preparation ensures the paint adheres well and lasts longer. Here’s how to get your cabinets ready for chalk paint.
Cleaning And Degreasing
Start by thoroughly cleaning your cabinets. Grease and grime can prevent chalk paint from sticking properly. Use a gentle dish soap mixed with warm water to scrub the surfaces. Pay extra attention to areas around the stove, as these are often the greasiest.
After cleaning, wipe down the cabinets with a degreaser. This step is essential, especially if your kitchen sees a lot of cooking action. A well-degreased surface helps the paint bond better. You don’t want to skip this step if you want your hard work to last.
Sanding Techniques
Sanding is your next task. You might wonder, “Do I really need to sand?” The answer is a resounding yes. Sanding creates a smooth surface and helps the paint adhere. Use fine-grit sandpaper, around 120-150 grit, for best results.
Focus on areas with old paint or varnish. Lightly sand all surfaces, ensuring you don’t overdo it. You’re aiming for a slightly rough surface, not a completely stripped cabinet. This is a bit tedious, but it’s worth the effort.
Taping And Masking
Once sanding is complete, it’s time to tape and mask areas you don’t want painted. Carefully apply painter’s tape around edges and hinges. This keeps your paint lines clean and sharp.
Consider using plastic sheets or old newspapers to cover large areas like countertops and floors. This prevents accidental paint splatters. Ask yourself, “How much time do I want to spend cleaning up?” A little extra precaution now saves time later.
Preparing cabinets for chalk paint might seem like a lot of work, but it pays off. You’ll enjoy a stunning, durable finish that showcases your effort. Remember, the better the prep, the better the result. Are you ready to get started?
Applying Chalk Paint
Transform your kitchen cabinets with chalk paint for a fresh, stylish look. Easy application and minimal prep make it a popular choice. Opt for chalk paint to achieve a matte finish that enhances your kitchen’s charm effortlessly.
Applying chalk paint to kitchen cabinets can refresh your space without the need for a full renovation. The process is straightforward, making it accessible to DIY enthusiasts and first-timers alike. This section will guide you through the necessary tools, techniques, and tips to ensure your cabinets look stunning and last for years.
Essential Tools
Before you begin, gather the right tools. You’ll need a high-quality brush, a foam roller, and a paint tray. Don’t forget painter’s tape to protect areas you don’t want painted.
Having a drop cloth is also smart to protect your floors. A screwdriver will help remove cabinet doors and hardware. Lastly, a clean cloth for wiping down surfaces ensures a smooth finish.
Brush Vs. Roller
Should you use a brush or roller? Each has its perks. A brush is great for intricate areas and corners, giving you more control.
A foam roller offers a smoother finish on flat surfaces, reducing brush marks. Consider combining both for the best results.
Experiment on a small section to see what works best for your cabinets. You might find a combination gives you the finish you desire.
Layering And Coats
How many coats should you apply? Start with a thin first layer. This helps the paint adhere better to the surface.
Allow it to dry thoroughly before adding a second coat. Most cabinets will need two to three coats for full coverage.
Remember, patience is key. Rushing might leave you with unsightly streaks or an uneven finish. Wouldn’t you prefer a professional look that impresses guests? Follow these steps for a beautiful transformation.
Finishing Touches
Transforming kitchen cabinets with chalk paint breathes new life into any space. After painting, attention to finishing touches enhances beauty and durability. These steps ensure your cabinets stand the test of time.
Sealing With Wax Or Polyurethane
Protect chalk-painted cabinets with a sealer. Wax offers a soft, matte finish, perfect for a rustic look. Apply with a cloth, buffing for a smooth surface. Polyurethane is another option. It provides a durable, glossy finish. Use a brush to apply thin layers. Allow each coat to dry completely before adding the next. Both options guard against scratches and stains.
Distressing Techniques
Distressing adds character to your cabinets. Lightly sand edges and corners where wear naturally occurs. This creates an aged look. Use fine sandpaper for subtle effects. For deeper distressing, heavier sandpaper works best. Focus on areas that would naturally wear over time. This technique enhances the charm of chalk paint.
Adding Hardware
Hardware selection completes your cabinet’s makeover. Choose knobs or handles that match your kitchen’s style. Metal options like bronze or chrome add elegance. Glass knobs provide a vintage touch. Ensure hardware is functional and easy to grip. New hardware updates the look of cabinets significantly. Consider mixing different styles for a unique appearance. Properly aligned hardware adds visual harmony.
Maintenance And Care
Chalk painting kitchen cabinets offers a fresh look with minimal effort. Regular cleaning ensures lasting beauty and durability. Gently wipe surfaces with a damp cloth to maintain the finish. Avoid harsh chemicals to preserve the paint’s charm.
Maintaining and caring for chalk-painted kitchen cabinets is key to preserving their charm and functionality. You might think that this trendy paint choice demands a lot of upkeep, but it can actually be quite manageable. With the right approach, your cabinets can look stunning for years, even with daily use. Here’s how to keep them in top shape.
Cleaning Tips
Regular cleaning can prevent dirt build-up, which can dull the finish over time. Use a soft, damp cloth to wipe the surfaces gently, avoiding harsh chemicals that can damage the paint. A mix of mild dish soap and warm water is usually enough to tackle grease and grime.
Remember to dry the cabinets thoroughly after cleaning to avoid water spots. A microfiber cloth works wonders in absorbing excess moisture.
Make it a habit to clean spills right away. This prevents stains from setting and maintains the vibrant look of your chalk paint.
Repairing Chips And Scratches
Accidents happen, and your cabinets might get chipped or scratched. Don’t worry, touch-ups are easy with chalk paint. Keep a small amount of your cabinet paint handy for quick fixes.
To repair a chip, lightly sand the area to smooth it out. Apply a thin layer of paint with a small brush, and let it dry completely.
For deeper scratches, consider applying a bit of wood filler before repainting. This ensures a smooth, seamless finish that blends with the rest of the cabinet.
Longevity Of Chalk Paint
How long can you expect your chalk paint finish to last? With proper care, your cabinets can remain beautiful for years. The durability of chalk paint is one of its biggest advantages.
Sealing your cabinets with a clear wax or polyurethane can add an extra layer of protection. This is especially useful in high-traffic kitchen areas.
Regular maintenance, like cleaning and touch-ups, extends the life of the paint. By taking care of small issues promptly, you prevent them from becoming bigger problems.
Have you considered how the care you give impacts the lifespan of your cabinets? A little effort can go a long way in maintaining their appeal.
Inspiring Kitchen Transformations
Transform your kitchen with chalk paint cabinets for a fresh, stylish look. Easy to apply and budget-friendly, chalk paint offers vibrant color options and a smooth finish. Ideal for DIY enthusiasts seeking a modern touch without the hassle of traditional painting methods.
Transforming your kitchen can feel like an overwhelming task, but what if you could achieve a stunning makeover with just a can of chalk paint? Many homeowners are discovering the magic of chalk paint for refreshing their kitchen cabinets, turning ordinary spaces into extraordinary ones. Imagine walking into your kitchen and feeling like you’re stepping into a brand-new room, all thanks to the power of a little creativity and a few coats of paint.
Before And After Examples
Seeing is believing, and nothing proves the potential of chalk paint better than before and after photos. One homeowner took their dated oak cabinets and transformed them into a sleek, modern look with a soft gray chalk paint. The transformation was remarkable, making the kitchen look bigger and brighter.
Another example showcases a small kitchen with dark, gloomy cabinets. After applying a bright white chalk paint, the space felt open and inviting, and even seemed to increase the value of the home. These examples are proof that with chalk paint, your kitchen can experience a spectacular transformation without the hefty price tag of a full renovation.
Unique Design Ideas
Chalk paint is not just about changing colors; it’s about expressing your style. Consider using a two-tone effect, with a darker shade on the lower cabinets and a lighter one on the uppers. This approach adds depth and character to your kitchen.
You can also use chalk paint to create a vintage or distressed look, perfect for those who love the farmhouse style. Applying a wax finish can give your cabinets a soft, matte finish that oozes charm and elegance.
Have you thought about incorporating stencils? Add a personal touch by creating patterns or designs on cabinet doors. This can make your kitchen truly one-of-a-kind and a reflection of your creativity.
Reader Testimonials
What do those who have tried chalk painting their kitchen cabinets have to say? One reader shared, “I was skeptical at first, but the result was beyond my expectations. My kitchen feels like a brand-new space!”
Another commented on the ease of the process: “I loved how simple it was to apply. I didn’t need to sand or prime, and the finish is durable and beautiful.”
A reader also highlighted the cost-effectiveness: “I saved thousands by choosing chalk paint over new cabinets. It’s the best decision I’ve made for my home this year.”
These testimonials reflect the satisfaction and joy that comes from taking the leap to transform your kitchen with chalk paint. They serve as inspiration and encouragement for anyone considering this creative endeavor.
Are you ready to transform your kitchen? What unique ideas will you try? Let your kitchen be the canvas for your next DIY masterpiece!
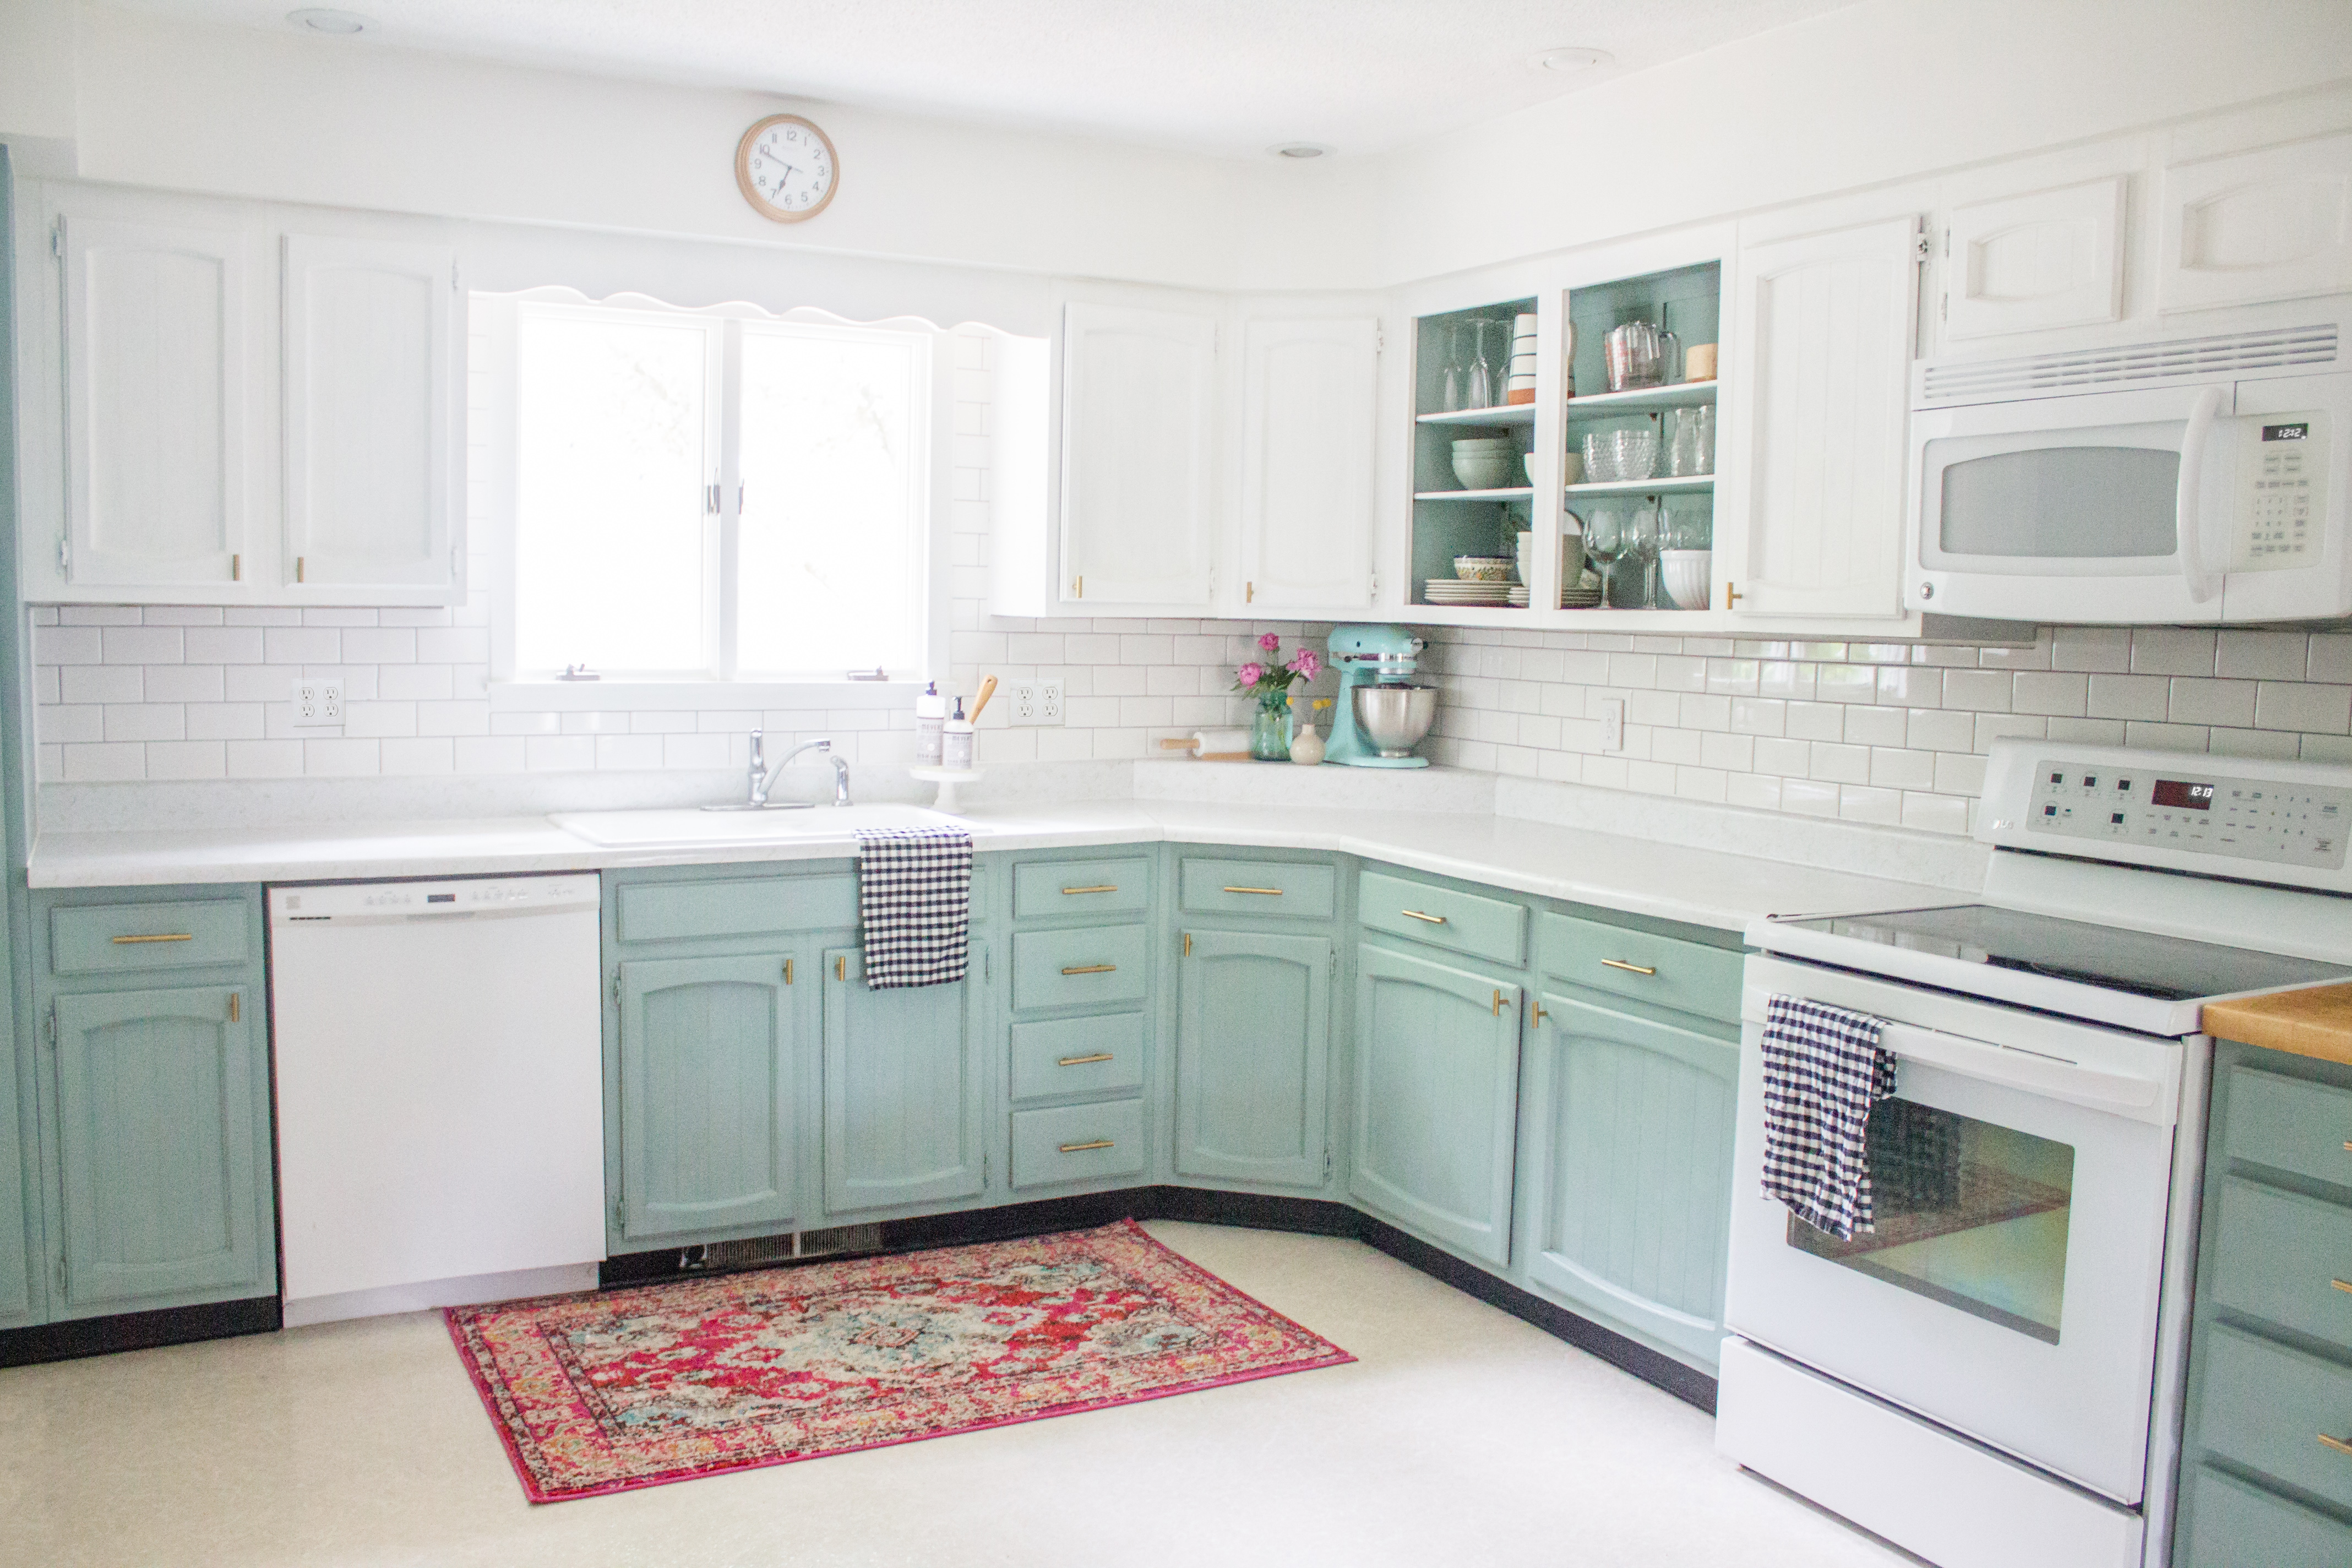
Credit: hollandavenuehome.com
Frequently Asked Questions
What Is Chalk Paint?
Chalk paint is a decorative paint. It dries to a matte finish. It’s popular for furniture.
Can Chalk Paint Be Used On Kitchen Cabinets?
Yes, chalk paint can be used on kitchen cabinets. It gives a rustic look. Requires sealing.
Do I Need To Sand Cabinets Before Chalk Painting?
No, sanding is often not necessary. Chalk paint adheres well. Clean the surface first.
How Long Does Chalk Paint Take To Dry?
Typically, chalk paint dries in 30 minutes. Full curing takes 24 hours. Depends on temperature.
Is Sealing Necessary After Chalk Painting Cabinets?
Yes, sealing is important. It protects the paint. Use wax or polyurethane for durability.
Conclusion
Chalk paint offers a fresh look for kitchen cabinets. It’s easy to apply and dries quickly. You can choose from many colors to match your style. This paint doesn’t need a primer, saving time and effort. It’s also budget-friendly, perfect for a quick update.
Remember, a clear topcoat helps with durability. Chalk paint can transform your kitchen with minimal fuss. Experiment with different shades and finishes. Enjoy a new kitchen vibe without a major renovation. Painting cabinets is a simple way to refresh your space.
Try it and see the difference it makes.