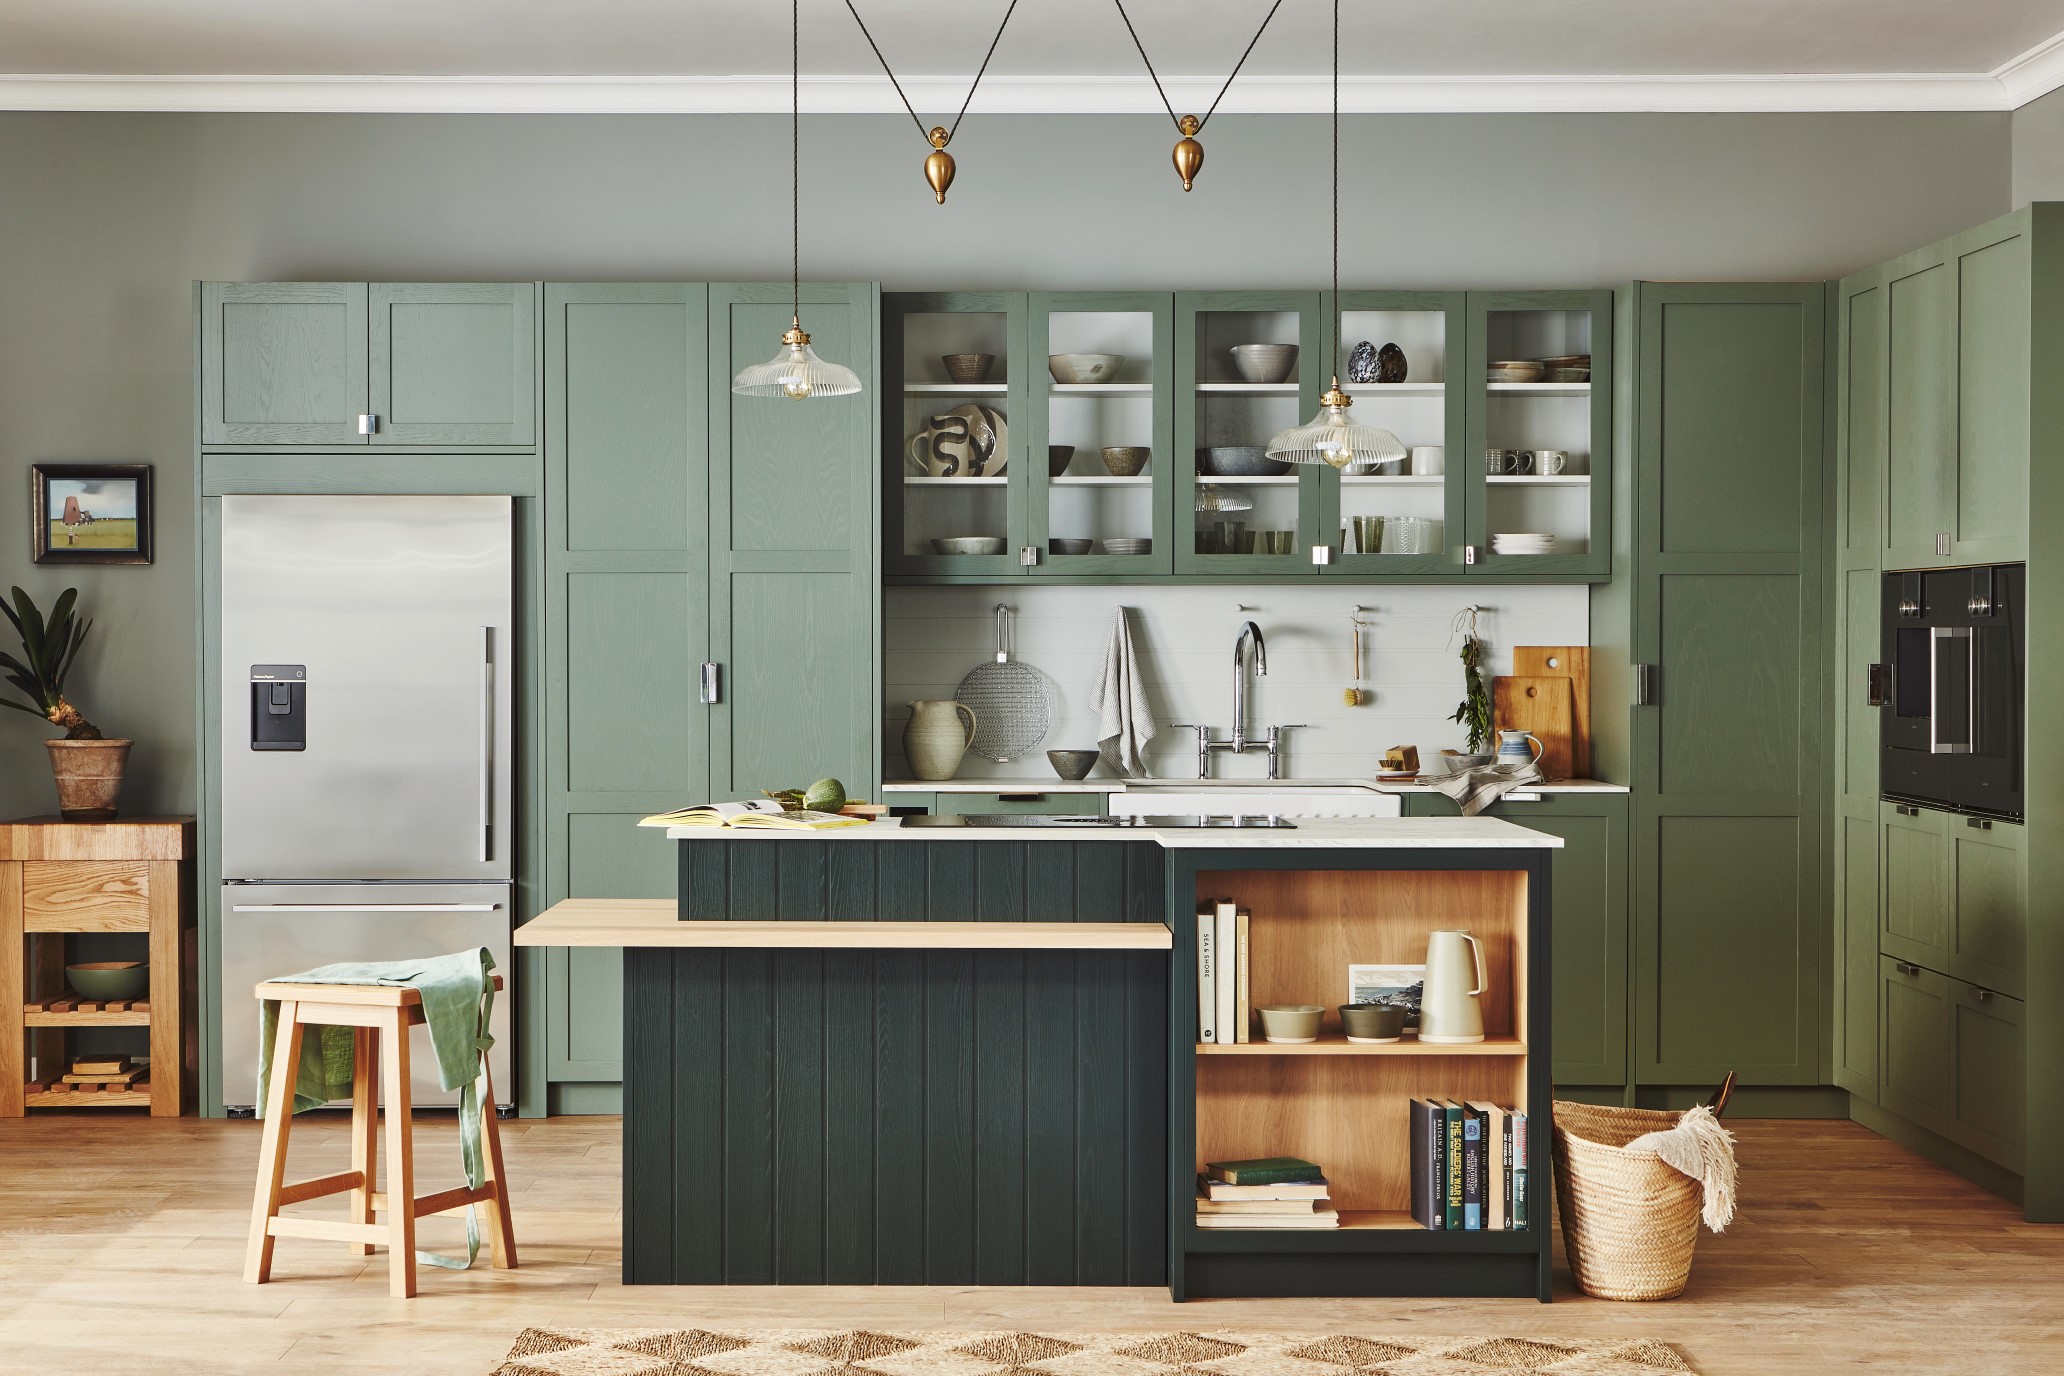
Are you ready to transform your kitchen into a space of beauty and functionality? Installing kitchen cabinets might seem like a daunting task, but with the right guidance, even a beginner can tackle this project with confidence.
Imagine the satisfaction of creating a perfect kitchen layout that meets your needs and style. This expert guide is designed to walk you through each step of the process, making sure you understand every detail without feeling overwhelmed. You’ll discover insider tips and tricks that simplify installation, ensuring your cabinets look professional and last for years.
Dive into the process and unlock the secrets to achieving a stunning kitchen that will impress anyone who walks through your door. Don’t miss out on the chance to elevate your home—your dream kitchen is just a few steps away!
Planning Your Cabinet Installation
Installing kitchen cabinets can be a rewarding DIY project, but it requires careful planning to ensure a smooth and successful process. Whether you’re revamping your kitchen or starting from scratch, planning your cabinet installation is crucial. It’s not just about picking cabinets that look good; it’s about making sure they fit your space and meet your needs. Let’s dive into the essential steps of planning your cabinet installation.
Measuring Your Space
Begin by measuring your kitchen space accurately. Use a tape measure to note the height, width, and depth of the area where you want to install cabinets. Pay attention to obstacles like windows, doors, and appliances. Create a rough sketch to visualize how the cabinets will fit. Have you considered how much storage you’ll need?
Precision matters here. Even a small error in measurement can lead to big headaches later. Double-check your numbers to avoid costly mistakes.
Choosing The Right Cabinets
With your measurements in hand, it’s time to choose the right cabinets. Look for cabinets that match your kitchen style and fit your budget. Consider the material: wood, laminate, or metal. Each has its pros and cons. What kind of finish do you prefer?
Think about functionality. Do you need drawers, shelves, or pull-out racks? Pick cabinets that make your kitchen both beautiful and practical. Remember, the right choice can make cooking more enjoyable.
Gathering Necessary Tools And Materials
Before you start installing, gather all the tools and materials you’ll need. A basic toolkit should include a drill, screwdriver, level, and measuring tape. Do you have safety gear like gloves and goggles?
You’ll also need brackets, screws, and possibly a stud finder to ensure cabinets are securely mounted. Having everything ready will save time and reduce frustration. Have you checked if you need any specialized tools?
Preparing ahead allows you to focus on the installation without interruptions. This step is crucial for a smooth process.
Are you ready to transform your kitchen into a functional and stylish space? With these planning steps, you are well on your way to successful cabinet installation.
Preparing The Kitchen Area
Start by clearing the kitchen area, ensuring enough space for cabinet installation. Remove any obstacles. Organize your tools.
Preparing the kitchen area is the first step in installing cabinets. A clean and organized space ensures a smooth installation process. Before starting, gather all necessary tools and materials. Clear out kitchen items for easy access to work areas.
Removing Old Cabinets
Begin by removing the old cabinets. This process requires a screwdriver and a pry bar. Unscrew the cabinet doors and remove them carefully. Detach the cabinet frames from the wall. Use the pry bar to gently loosen any stubborn parts. Handle heavy parts with care to avoid accidents.
Repairing Walls And Floors
Once the old cabinets are out, inspect the walls and floors. Look for damages or uneven surfaces. Use spackle or putty to fill holes and cracks. Sand the area for a smooth finish. Check the floor for any damage. Fixing these ensures new cabinets fit properly.
Marking Layout And Stud Locations
Plan the layout for new cabinets. Measure and mark the dimensions on the wall. Use a level to draw straight lines for guidance. Locate the wall studs using a stud finder. Mark these with a pencil. Attaching cabinets to studs ensures stability and support.
Proper preparation sets the stage for successful cabinet installation.
Assembling Cabinet Units
Assembling cabinet units can be an exciting project. It’s essential for creating a functional kitchen space. The process involves understanding each part and how they fit together. Proper assembly ensures your cabinets are sturdy and long-lasting. With a few basic tools and guidance, even beginners can achieve professional results.
Understanding Cabinet Parts
Cabinets have several parts you need to know. These include the box, doors, and shelves. The box is the main structure. Doors cover the front, adding style and function. Shelves provide storage space inside. Familiarize yourself with these elements. This understanding helps in proper assembly.
Following Assembly Instructions
Read instructions carefully before starting. They provide step-by-step guidance. Follow each step in order. Ensure all parts are available. Missing components can cause delays. Use the right tools as specified. This ensures a smooth assembly process. Instructions often include diagrams. These visuals aid in understanding.
Ensuring Structural Stability
Structural stability is crucial for safety. Use quality fasteners to secure parts. Tighten screws and bolts properly. Check alignment of doors and shelves. Misalignment can cause problems later. Reinforce joints where needed. This adds extra strength. Test the stability by gently shaking the unit. It should feel solid and secure.
Installing Upper Cabinets
Beginner-friendly steps make installing kitchen cabinets a manageable task. Measure wall space and mark cabinet positions accurately. Secure cabinets with screws, ensuring level alignment for a polished kitchen look.
Installing upper cabinets can seem daunting, but with the right guidance, even beginners can tackle this project. Upper cabinets are crucial for both storage and the overall look of your kitchen. They need to be installed securely and evenly, which requires careful planning and precision. Let’s dive into the essential steps you’ll need to follow.
###
Securing Cabinet Rail
Begin by securing the cabinet rail, which serves as the backbone for your upper cabinets. The rail must be attached firmly to the wall studs to ensure stability. Use a stud finder to locate the studs behind your kitchen wall.
Mark these positions clearly; accuracy is key here. Drill pilot holes and use screws to attach the rail. This is your foundation, so take your time with it. Have you ever hung a picture that kept tilting? Imagine that frustration on a larger scale—cabinet rails must be rock-solid.
###
Positioning And Mounting Cabinets
Now, let’s talk about positioning and mounting your cabinets. Measure the height from the floor to the bottom of the cabinets, ensuring ample headroom. Secure temporary supports or enlist a helper to hold the cabinets in place.
Align each cabinet with the rail and use clamps for extra stability. Screw the cabinet to the rail, and then to its neighboring cabinets. Ever played Tetris? It’s like that, but with wood. Each piece must fit snugly into the next.
###
Checking For Level And Alignment
Finally, checking for level and alignment is crucial. Use a level tool to ensure your cabinets are perfectly horizontal. Adjust the positioning if necessary before tightening the screws fully. A slight tilt can become a huge eyesore over time, and can even impact your cabinet doors’ function.
Consider stepping back to view the cabinets from different angles. Does everything look straight and aligned? Imagine hosting a dinner party and someone notices the crooked cabinet. It pays to double-check.
Installing upper cabinets is a rewarding project that can transform your kitchen. With patience and precision, you can achieve a professional finish. What tips would you add to this process? Your insights might just make someone’s DIY journey smoother.
Installing Base Cabinets
Installing base cabinets is a critical step in transforming your kitchen space. These cabinets serve as the foundation for countertops and provide essential storage. Getting this step right is key to ensuring a functional and visually pleasing kitchen. Whether you’re a seasoned DIY enthusiast or a complete beginner, understanding the process of installing base cabinets will empower you to tackle this project with confidence.
Positioning Base Cabinets
Start by measuring your kitchen space accurately. It’s essential to ensure the cabinets fit snugly. Begin at the highest point on the floor and mark a level line for your cabinets. This will serve as your guide.
Use a straight edge to draw a continuous line across the walls where the tops of the cabinets will sit. If you find any uneven spots, make a note to adjust later. Remember, precision is your best friend in this step.
Adjusting For Level And Plumb
Once positioned, check each cabinet for level and plumb. Use a spirit level to ensure the cabinets are even. Adjust by using shims under the cabinet base or behind the cabinet if necessary.
Getting the cabinets level and plumb prevents future issues with countertop installation. It may take a few tries, but patience will reward you with a perfectly aligned setup. Have you ever noticed how a slight tilt can throw off an entire room’s balance?
Securing To Wall And Floor
With cabinets in place and adjusted, it’s time to secure them. Begin by attaching the cabinets to the wall studs using screws. Ensure that you are screwing into solid wood and not just drywall.
For added stability, attach the base cabinets to each other. Use clamps to hold them tightly together while you secure them with screws. Finally, secure the cabinets to the floor, if necessary, for extra support.
Did you ever think about how much weight those cabinets will hold? Securing them correctly ensures they stand the test of time.
By following these steps, you set a strong foundation for your kitchen project. Have you ever tackled a project that seemed daunting at first but was rewarding in the end? Installing base cabinets might just be that project for you.
Final Touches
As you approach the final touches of installing kitchen cabinets, excitement builds. This stage brings the project to life, adding functionality and flair to your space. Follow these simple steps to ensure a polished look and seamless operation.
Installing Cabinet Doors And Drawers
Start by attaching the cabinet doors. Use a screwdriver to secure the hinges properly. Ensure the doors align with the cabinet frame. Adjust the hinges for a smooth opening and closing. Next, slide the drawers into their tracks. Test their movement to confirm they glide effortlessly.
Adding Hardware And Accessories
Select handles or knobs that match your kitchen style. Position them at the center of the doors and drawers. Secure them tightly using screws. Consider adding organizers inside the cabinets. These can maximize storage and enhance accessibility.
Inspecting And Adjusting Alignments
Check the alignment of all installed components. Look for even gaps between doors and drawer fronts. Adjust as needed for a symmetrical appearance. Ensure all elements are level and plumb. Use a spirit level to verify precision. A final inspection guarantees a professional finish.
Tips For A Professional Finish
Achieving a professional finish in kitchen cabinet installation involves precise measuring and careful alignment. Secure cabinets firmly to prevent wobbling. Use quality tools for a smooth, polished look.
Achieving a professional finish when installing kitchen cabinets is the key to transforming your space into a stunning, functional area. It’s not just about getting the cabinets up; it’s about ensuring they look seamless and last for years. Here are some essential tips to help you achieve that flawless finish, even if you’re a beginner.
Sealing Edges And Gaps
Ensuring edges and gaps are properly sealed is crucial for a polished look. Use a high-quality caulk to fill any spaces between the cabinets and walls. This not only improves the appearance but also prevents dust and insects from getting into those crevices.
When applying caulk, cut the tube at a 45-degree angle for precision. Smooth it out with a wet finger or a caulking tool for a tidy finish. Remember, a little practice goes a long way, so try it out on a scrap piece first.
Maintaining Your New Cabinets
Maintenance is vital to keep your cabinets looking new. Regular cleaning with a mild detergent and a soft cloth can prevent grease buildup. Avoid using harsh chemicals that might damage the finish.
Consider applying a protective wax or polish to keep the wood looking vibrant. This step will also help in safeguarding against minor scratches. Regular checks for loose screws or hinges can prevent bigger issues down the line.
Troubleshooting Common Issues
Sometimes, even the best plans hit a snag. If you notice uneven doors, check if the cabinet is level. Adjust the hinges slightly to ensure a perfect alignment.
For stubborn drawers that don’t glide smoothly, a little lubricant can work wonders. If your cabinets emit an unwanted smell, placing an open box of baking soda inside can help absorb odors.
Have you ever found yourself in a similar DIY predicament? Remember, patience and attention to detail make all the difference. Your kitchen isn’t just a workspace; it’s the heart of your home. By taking these extra steps, you’ll not only improve its look but also its longevity.

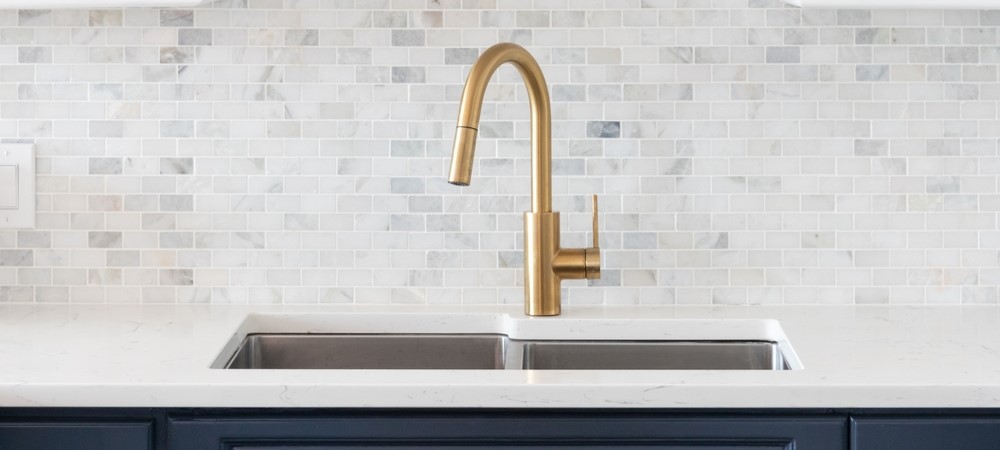
Credit: howwedo.net
Credit: gesealants.com
Frequently Asked Questions
How Do You Decide Where To Put Things In Kitchen Cabinets?
Organize kitchen cabinets by grouping similar items together. Keep frequently used items within easy reach. Store heavy items in lower cabinets and lighter ones higher. Use labels or clear containers for easy identification. Arrange items based on cooking workflow to enhance efficiency and functionality.
What Order Do You Install Kitchen Cabinets?
Begin with upper cabinets to avoid obstructions. Install corner cabinets first, then the rest. Finish with base cabinets for stability.
Do You Install Top Or Bottom Cabinets First?
Install upper cabinets first. This prevents damage to lower cabinets and provides easier access. Always ensure a stable and secure installation.
Do You Leave Shims Under Cabinets?
Yes, shims are left under cabinets to ensure proper leveling and stability. They prevent wobbling and maintain alignment, ensuring functionality and aesthetic appeal. Proper use of shims avoids potential damage and enhances cabinet performance over time.
What Tools Do I Need To Install Kitchen Cabinets?
Basic tools include a drill, level, tape measure, screwdriver, and stud finder.
Conclusion
Installing kitchen cabinets can seem challenging, but it gets easier with practice. Start with the right tools and follow the steps carefully. Measure twice to avoid mistakes. Secure cabinets firmly for safety. Work patiently to ensure proper alignment. Remember, patience and attention to detail make the process smoother.
You’ll feel proud once you see the results. Enjoy your new kitchen space. It’s rewarding to see your hard work pay off. Keep learning and improving your skills. Soon, you’ll be more confident in tackling home projects. Happy installing!