Experiencing issues with your Pioneer mini split system? Don’t worry, we’ve got you covered.
This troubleshooting guide will help you identify and resolve common problems quickly and easily. Mini split systems are great for efficient heating and cooling. But like any appliance, they can sometimes have issues. Understanding these problems and knowing how to fix them can save you time and money.
This guide offers step-by-step instructions to troubleshoot your Pioneer mini split system. From identifying error codes to fixing common issues, we aim to make your life easier. Read on to keep your mini split system running smoothly.
Introduction To Pioneer Mini Split Systems
Discover the essential Pioneer Mini Split Troubleshooting Guide. Learn how to identify and solve common issues easily. Keep your system running smoothly with these helpful tips.
Pioneer Mini Split Systems offer efficient heating and cooling solutions. They are perfect for homes and small businesses. These systems are known for their easy installation and energy efficiency. Homeowners appreciate the quiet operation and sleek design. Pioneer Mini Split Systems consist of two main components. The indoor unit handles the air distribution. The outdoor unit manages the heat exchange. Together, they provide a comfortable indoor environment.Benefits Of Mini Splits
Mini splits come with many benefits. They are energy-efficient, saving you money on energy bills. They also provide precise temperature control. Each room can have its own temperature setting. Installation is easy and does not require ductwork. This feature makes them ideal for homes without existing ducts. Mini splits are also quiet. You will hardly notice them running.Common Issues
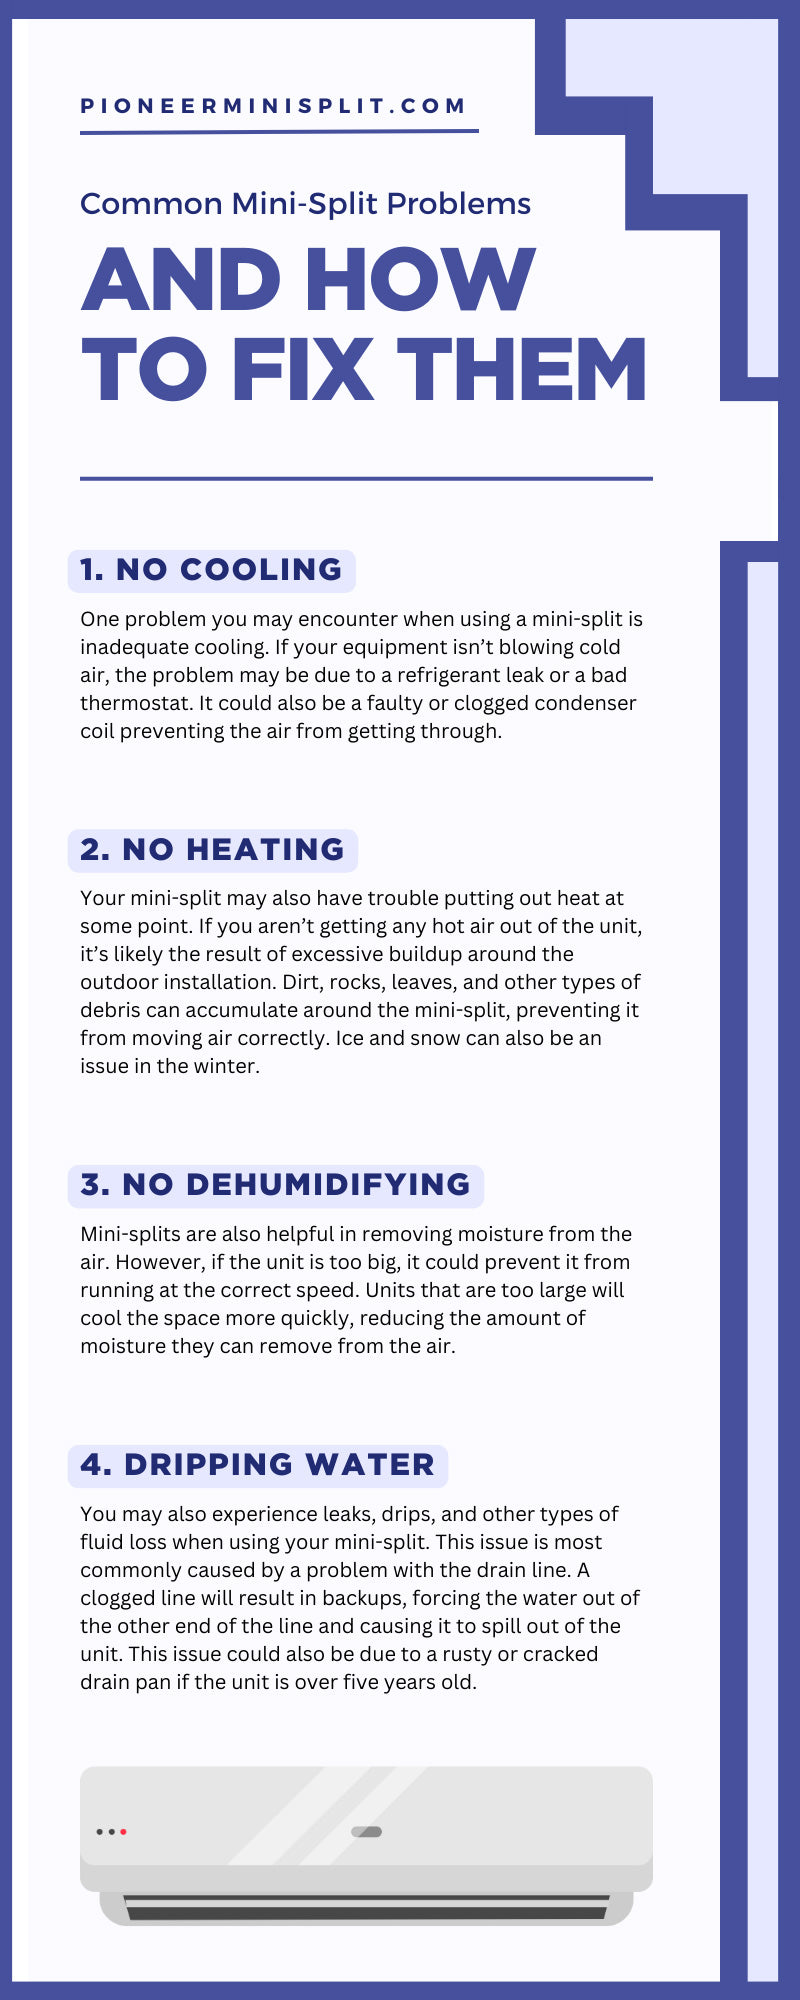
Despite their benefits, mini splits can face issues. One common problem is a lack of cooling or heating. This issue might be due to a refrigerant leak. Another issue is poor airflow. This problem can result from a dirty air filter. Sometimes, the system might make unusual noises. These noises could indicate a problem with the fan or motor. Water leaks are another issue. They often result from a clogged drain line. Regular maintenance can prevent many of these problems. Cleaning the filters and checking for leaks is essential. If issues persist, consult a professional technician. They can diagnose and fix the problem efficiently. “`Basic Troubleshooting Steps
Having trouble with your Pioneer Mini Split? Don’t worry! This section will guide you through some basic troubleshooting steps to get your system up and running. Follow these steps to identify and resolve common issues.
Initial Checks
Before diving into detailed troubleshooting, perform some initial checks. These simple steps can often resolve minor issues:
- Check the power supply: Ensure the unit is plugged in and the circuit breaker is not tripped.
- Inspect the remote: Verify that the remote has fresh batteries and is functioning correctly.
- Clean filters: Dirty filters can affect performance. Clean or replace them as needed.
- Examine the outdoor unit: Make sure there are no obstructions around the outdoor unit.
Resetting The System
If the initial checks do not resolve the issue, try resetting the system. This can often clear minor faults and restore normal operation:
- Turn off the power to the unit at the circuit breaker.
- Wait for about 5 minutes to ensure the system fully resets.
- Turn the power back on and wait for the unit to restart.
- Check if the issue persists. If it does, consider consulting the user manual or contacting support.
By following these basic troubleshooting steps, you can often resolve common issues with your Pioneer Mini Split. Always remember to perform regular maintenance to keep your system running smoothly.
Addressing Common Problems
Dealing with Pioneer mini split issues can be frustrating. Understanding common problems helps you find quick solutions. This guide covers frequent issues and their fixes.
Unit Not Turning On
First, check the power supply. Ensure the unit is plugged in. Inspect the circuit breaker. It should not be tripped. Reset it if necessary. If the unit still doesn’t turn on, check the remote control batteries. Replace them with new ones. If all else fails, consult a technician.
Inadequate Cooling Or Heating
Low refrigerant levels can cause poor performance. Check for leaks and refill if needed. Clean the air filters regularly. Dirty filters block airflow. Check the thermostat settings. Ensure they are correct. Sometimes, the outdoor unit may be blocked. Clear any debris around it. If the issue persists, call a professional.
Dealing With Error Codes
Encountering error codes on your Pioneer mini split can be frustrating. These codes indicate specific issues within the system. Understanding and resolving these errors helps maintain your unit’s efficiency.
Understanding Error Codes
Pioneer mini splits display error codes to signal problems. Each code corresponds to a particular issue. The unit’s manual usually includes a list of these codes. Refer to this list to identify the problem.
Common error codes include E1, E2, and E3. E1 typically relates to sensor issues. E2 often indicates temperature sensor problems. E3 may point to communication errors between indoor and outdoor units. Knowing these codes helps you pinpoint the issue quickly.
Resolving Common Errors
Once you understand the error code, you can start troubleshooting. For E1 errors, check the sensor connections. Ensure they are secure and not damaged. For E2 errors, inspect the temperature sensors. Make sure they are properly connected and functioning.
If you encounter an E3 error, verify the communication wiring. Ensure there are no loose connections. Sometimes, a simple reset can clear minor issues. Turn off the unit, wait a few minutes, and turn it back on. This can help reset the system and clear some error codes.
Always consult the manual for specific troubleshooting steps. If the problem persists, consider contacting a professional technician. Proper maintenance and timely repairs can extend the life of your Pioneer mini split.
Maintenance Tips
Proper maintenance of your Pioneer Mini Split system ensures it runs smoothly. Regular upkeep can prevent costly repairs and extend its lifespan. Follow these maintenance tips to keep your system efficient.
Regular Cleaning
Regular cleaning of your mini split system is crucial. Dust and dirt can affect its performance. Here are the steps for cleaning:
- Turn off the power.
- Remove the front panel of the indoor unit.
- Use a soft cloth to wipe the panel and vents.
- Clean the coils with a soft brush or vacuum.
- Check the outdoor unit and clear debris around it.
Cleaning the system every few months can prevent issues. It also helps maintain air quality in your home.
Filter Replacement
The filter in your mini split needs regular replacement. A dirty filter can reduce airflow and efficiency. Follow these steps to replace the filter:
- Turn off the power.
- Open the front panel of the indoor unit.
- Remove the old filter.
- Insert the new filter in the same position.
- Close the front panel and turn on the power.
Replace the filter every 3-4 months. If you have pets or allergies, replace it more often.
Maintaining your Pioneer Mini Split system is simple. Regular cleaning and filter replacement ensure it runs efficiently. Follow these tips to keep your system in top shape.
Credit: www.pioneerminisplit.com
Optimizing Performance
To get the best from your Pioneer mini split system, optimizing performance is essential. This guide will help you understand the key factors in ensuring your unit runs efficiently. Proper installation and effective operation are crucial.
Proper Installation
Proper installation is the first step to an efficient mini split system. Ensure that your unit is installed by a professional. Correct placement of the indoor and outdoor units is vital. The indoor unit should be high on the wall to allow proper air distribution. The outdoor unit needs to be placed in a well-ventilated area. Avoid placing it near obstacles that might block airflow. Regularly check for any signs of wear and tear. Address any issues immediately to avoid bigger problems.
Efficient Operation Tips
Running your mini split system efficiently can save energy and reduce costs. Set your thermostat to a comfortable yet energy-saving temperature. Use the timer function to avoid running the system unnecessarily. Clean the filters regularly to ensure proper airflow. Dirty filters can reduce efficiency and increase energy use. Keep the outdoor unit clear of debris. Regular maintenance checks can prevent major issues. Following these tips will help you get the best performance from your Pioneer mini split system.
When To Call A Professional
Dealing with a malfunctioning Pioneer Mini Split system can be frustrating. Some issues are easy to fix. Others are best left to professionals. Knowing when to call for expert help is crucial. This guide will help you understand when to seek professional assistance.
Identifying Complex Issues
Some problems need a trained eye. Here are signs you should call a technician:
- Strange Noises: Unusual sounds like grinding or squealing need expert attention.
- Frequent Cycling: If your unit turns on and off too often, it may need a pro.
- Water Leaks: Puddles around the unit signal a serious problem.
- Electrical Issues: Flickering lights or tripped breakers are dangerous.
- Poor Performance: If the unit fails to cool or heat properly, call a technician.
Finding A Qualified Technician
Choosing the right professional ensures effective and safe repairs. Here are some tips:
| Criteria | Why It Matters |
|---|---|
| Certification | Ensure the technician has proper licensing and certifications. |
| Experience | An experienced technician can quickly diagnose and fix issues. |
| Reviews | Check online reviews for honest feedback from past customers. |
| Warranty | A good technician offers a warranty on their work. |
| Availability | Choose a technician who can respond quickly to emergencies. |
Following these tips will help you find a skilled technician. This ensures your Pioneer Mini Split gets the best care.

Credit: blog.totalhomesupply.com
Preventive Measures
Keeping your Pioneer Mini Split in top condition is crucial. Preventive measures can save time and money. They also extend the life of your unit. Regular checks and smart practices ensure your system runs smoothly. Let’s explore some key preventive measures.
Scheduled Inspections
Regular inspections are vital for your Mini Split system. Schedule a professional check-up at least twice a year. Experts can spot potential problems early. This keeps small issues from becoming big ones. Clean filters during these inspections. Dirty filters reduce efficiency and air quality. Inspect the outdoor unit for debris. Clear any leaves, dirt, or obstructions. This helps the system work better.
Energy-saving Practices
Energy-saving practices benefit both your wallet and the environment. Set the thermostat to a moderate temperature. Avoid drastic changes. This reduces the strain on the system. Use ceiling fans to circulate air. This helps maintain a consistent temperature. Close curtains during hot days. This keeps your home cooler. Insulate your home well. Good insulation reduces the workload on your Mini Split.
Credit: www.pioneerminisplit.com
Frequently Asked Questions
Why Is My Pioneer Mini Split Not Cooling?
Check if the air filter is dirty. A clogged filter restricts airflow, reducing cooling efficiency.
How Do I Reset My Pioneer Mini Split?
Turn off the unit and disconnect power for 10 minutes. Reconnect and turn it on.
What Causes Water Leakage In My Pioneer Mini Split?
Water leakage can be due to a clogged drain pipe or low refrigerant levels. Check and clear the drain line.
Why Is My Pioneer Mini Split Making Noise?
Noises may come from loose parts or debris in the fan. Ensure all parts are secure and clean.
How Do I Clean The Air Filter In My Pioneer Mini Split?
Remove the filter and wash it with mild soap and water. Let it dry completely before reinstalling.
Conclusion
Troubleshooting your Pioneer mini split can save time and money. Follow the steps in this guide to diagnose common issues. Regular maintenance keeps your system running smoothly. If problems persist, contact a professional for help. Proper care ensures your mini split works efficiently for years.
Keep this guide handy for quick reference. Happy troubleshooting!