Garage door openers are a modern convenience. Liftmaster is a popular brand for many homeowners.
Sometimes, these devices can encounter issues. Knowing how to troubleshoot common problems can save time and money. Liftmaster garage door openers are reliable, but like any technology, they can sometimes malfunction. You might face issues like the door not opening, the remote not working, or strange noises.
These problems can be frustrating, especially when you’re in a hurry. Understanding the basics of troubleshooting can help you identify and fix the issue quickly. In this guide, we’ll explore common problems and simple solutions. Whether you’re a DIY enthusiast or just want to avoid a service call, these tips will help you keep your garage door opener running smoothly.
Common Issues
Experiencing problems with your Liftmaster garage door opener can be frustrating. Many homeowners face common issues that can be easily fixed. Understanding these problems can save you time and stress.
Door Not Opening
If your garage door isn’t opening, there might be a few reasons. First, check the power supply. Ensure the opener is plugged in properly. Sometimes, a tripped circuit breaker can be the cause.
Next, inspect the safety sensors. They should be aligned correctly and free of dirt. Misaligned or dirty sensors can prevent the door from opening. Clean them with a soft cloth and realign if needed.
Also, examine the garage door springs. Broken or worn-out springs can hinder the door’s movement. If you notice any damage, contact a professional for repair.
Remote Control Problems
Remote control issues are common with garage door openers. Start by replacing the remote’s batteries. Dead or weak batteries can cause the remote to malfunction.
If new batteries don’t help, try reprogramming the remote. Refer to your Liftmaster manual for specific instructions. Sometimes, the remote loses its connection to the opener.
Additionally, check for interference. Nearby electronic devices can disrupt the remote’s signal. Move these devices away from the garage area to see if the issue resolves.
Credit: www.youtube.com
Initial Checks
Having issues with your LiftMaster garage door opener? Start with the initial checks. These basic steps can save you time and money. They often solve common problems quickly. Let’s dive into two key areas: Power Supply and Lock Mode.
Power Supply
Ensure your garage door opener has power. A dead outlet can be the culprit. Check the power cord and the outlet. Use a lamp or another device to test the outlet. If the lamp lights up, the outlet works fine. If not, reset the circuit breaker.
Sometimes, the power cord itself is the issue. Inspect it for any visible damage. If you see frayed wires or cuts, replace the cord. A damaged cord can disrupt the power flow. This simple step can get your opener working again.
Lock Mode
Your LiftMaster garage door opener might be in Lock Mode. This feature prevents the door from opening. Look for a lock button on your wall control panel. If the lock is on, an indicator light will be lit.
To disable Lock Mode, press and hold the lock button for a few seconds. The light should turn off, indicating the lock is deactivated. Now, try using your remote or wall control to open the door. If it works, the problem is solved.
These initial checks are straightforward but crucial. They often resolve common issues with minimal effort. If your garage door opener still doesn’t work, you may need further troubleshooting.
Sensor Alignment
Having trouble with your LiftMaster garage door opener? Sensor alignment might be the issue. Sensors ensure your garage door operates safely. They prevent the door from closing if something is in its path. Misaligned sensors can cause the door to malfunction. Let’s explore how to clean and adjust them.
Cleaning Sensors
Dirt and debris can block sensor signals. Regular cleaning keeps sensors working. Use a soft cloth to clean the sensor lenses. Avoid harsh chemicals. A simple wipe with a damp cloth is enough. Check for cobwebs or dust around the sensors. Keep the area around them clean.
Adjusting Sensors
Misaligned sensors can cause the door to stop or reverse. Ensure both sensors face each other. They should be at the same height. You can use a level for accuracy. Loosen the wing nut holding the sensor. Adjust the sensor until the LED light is steady. Tighten the wing nut again. Test the door to ensure it works properly.

Credit: www.wikihow.com
Remote Control Troubles
Experiencing issues with your Liftmaster garage door opener remote control can be frustrating. The remote control is a key component. It ensures easy access to your garage. Let’s address common problems. This guide will help you troubleshoot and fix remote control issues effectively.
Battery Replacement
Often, the root cause of remote control troubles is a dead battery. Here’s how you can replace it:
- Locate the battery compartment on the back of the remote.
- Use a small screwdriver to open the compartment.
- Remove the old battery carefully.
- Insert a new battery. Ensure it matches the remote’s specifications.
- Close the compartment and test the remote.
Pro Tip: Use high-quality batteries to extend your remote’s life.
Reprogramming Remote
If replacing the battery doesn’t work, the remote may need reprogramming. Follow these steps to reprogram your remote:
- Press the “Learn” button on the garage door opener unit. It’s usually on the back or side.
- Hold the button until the LED light turns on.
- Press and hold the button on your remote. Do this until the LED light on the opener blinks.
- Release the remote button. The LED light should stop blinking.
- Test the remote to ensure it operates the garage door.
Note: If you have multiple remotes, repeat these steps for each one.
Troubleshooting your Liftmaster garage door opener remote can be straightforward. It’s often just a matter of replacing the battery or reprogramming the remote.
Wall Switch Issues
Experiencing problems with the wall switch of your Liftmaster Garage Door Opener can be frustrating. The wall switch is a crucial component that lets you control your garage door with ease. Let’s address some common issues and their solutions.
Loose Wiring
Loose wiring can cause the wall switch to malfunction. Here’s how to check and fix it:
- Turn off the power to the garage door opener.
- Remove the wall switch cover using a screwdriver.
- Inspect the wiring connections. Look for loose or disconnected wires.
- Tighten any loose screws and ensure all wires are secure.
- Replace the cover and turn the power back on.
- Test the wall switch to see if the issue is resolved.
Switch Replacement
If the wall switch is still not working, it may need replacement. Follow these steps:
- Purchase a compatible replacement wall switch for your Liftmaster model.
- Turn off the power to the garage door opener.
- Remove the old wall switch cover and disconnect the wires.
- Connect the wires to the new switch, matching the color codes.
- Secure the new switch to the wall using screws.
- Replace the cover and turn the power back on.
- Test the new switch to ensure it’s functioning correctly.
Addressing these common wall switch issues can help restore your garage door opener’s functionality. Regular maintenance and prompt troubleshooting ensure a smooth operation.
Motor Problems
Experiencing motor problems with your Liftmaster garage door opener can be frustrating. The motor is the heart of your garage door system. When it malfunctions, the whole system suffers. Below, we explore common issues like overheating and noise.
Overheating
Overheating is a common motor problem. It usually happens after continuous use. The motor needs cool-down time between operations. If it overheats, it may stop working. Check if your garage door opener feels hot. If so, let it rest. Avoid using it until it cools down. Ensure the opener has proper ventilation. This helps it stay cool and function well.
Noise Issues
Unusual noise can indicate a motor problem. Motors should run smoothly and quietly. If you hear grinding or buzzing sounds, something is wrong. Loose parts can cause noise. Check if any part is loose. Tighten them if necessary. Worn-out gears can also be noisy. Inspect the gears for wear and tear. Replace them if needed. Regular maintenance helps reduce noise problems. Lubricate moving parts to keep them running smoothly.
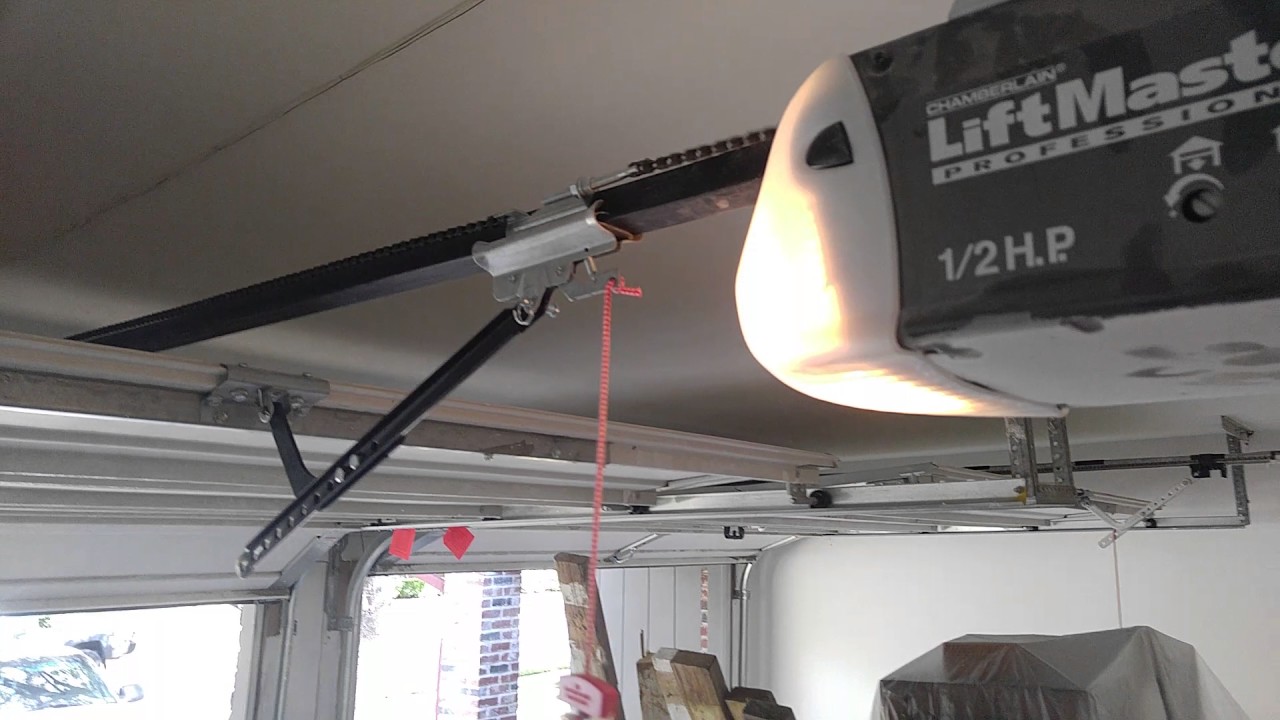
Chain/belt Tension
Maintaining the right chain/belt tension on your Liftmaster garage door opener is crucial. Proper tension ensures smooth operation and extends the lifespan of your opener. A loose chain or belt can cause issues like noise, poor performance, or even damage to the unit. Regularly checking and adjusting the tension can prevent these problems.
Adjusting Tension
To adjust the tension of your Liftmaster garage door opener, locate the tensioning bolt. This bolt is usually found near the motor unit. Use a wrench to turn the bolt. Turn it clockwise to tighten the chain or belt. Turn it counterclockwise to loosen it. Make small adjustments and check the tension after each turn. The chain or belt should have a slight sag in the middle. It should not be too tight or too loose.
Lubricating The Chain/belt
Lubrication is key to keeping your Liftmaster garage door opener running smoothly. Use a silicone-based lubricant for the chain or belt. Avoid using grease as it can attract dirt and debris. Apply the lubricant evenly along the entire length of the chain or belt. This reduces friction and wear. Repeat this process every six months to ensure optimal performance.
Professional Help
Troubleshooting a Liftmaster garage door opener can be tricky. Some issues need professional help. Getting a technician ensures safety and proper repair.
When To Call A Technician
Not all problems can be fixed alone. Here are signs you need a professional:
- Unusual noises: Grinding or screeching sounds.
- Inconsistent operation: Door opens or closes randomly.
- Remote issues: Remote controls not responding.
- Physical damage: Broken parts or visible wear.
- Safety concerns: Door reverses without obstruction.
Choosing A Repair Service
Finding a reliable repair service is crucial. Here are tips to help you choose:
- Experience: Check for certified and experienced technicians.
- Reviews: Look for positive customer feedback online.
- Warranty: Ensure they offer a warranty on repairs.
- Availability: Confirm they provide timely service.
- Cost: Compare prices but avoid very cheap services.
A good repair service ensures your Liftmaster garage door opener works smoothly.
Frequently Asked Questions
Why Is My Liftmaster Garage Door Opener Not Working?
Check if the power source is connected. Replace remote batteries. Inspect for obstructions on tracks.
How Do I Reset My Liftmaster Garage Door Opener?
Press the “Learn” button on the motor unit. Hold until the indicator light turns off.
What Does A Blinking Light On My Liftmaster Mean?
A blinking light usually signals a problem. Check for obstructions or sensor issues.
How Can I Fix A Noisy Liftmaster Garage Door Opener?
Lubricate the moving parts. Tighten loose hardware. Inspect for worn-out rollers or hinges.
Why Won’t My Liftmaster Garage Door Close Completely?
Ensure sensors are aligned. Check for obstructions on the tracks. Adjust the limit settings.
Conclusion
Fixing your Liftmaster garage door opener is simpler than it seems. Follow the steps and tips in this guide. You can solve common issues quickly. Keep your garage door opener in good condition. Regular maintenance helps avoid future problems. Understanding basic troubleshooting can save you time and money.
Always prioritize safety when working on your opener. Don’t hesitate to call a professional if needed. A well-functioning garage door opener brings peace of mind. Enjoy smooth, reliable operation every day. Thank you for reading!